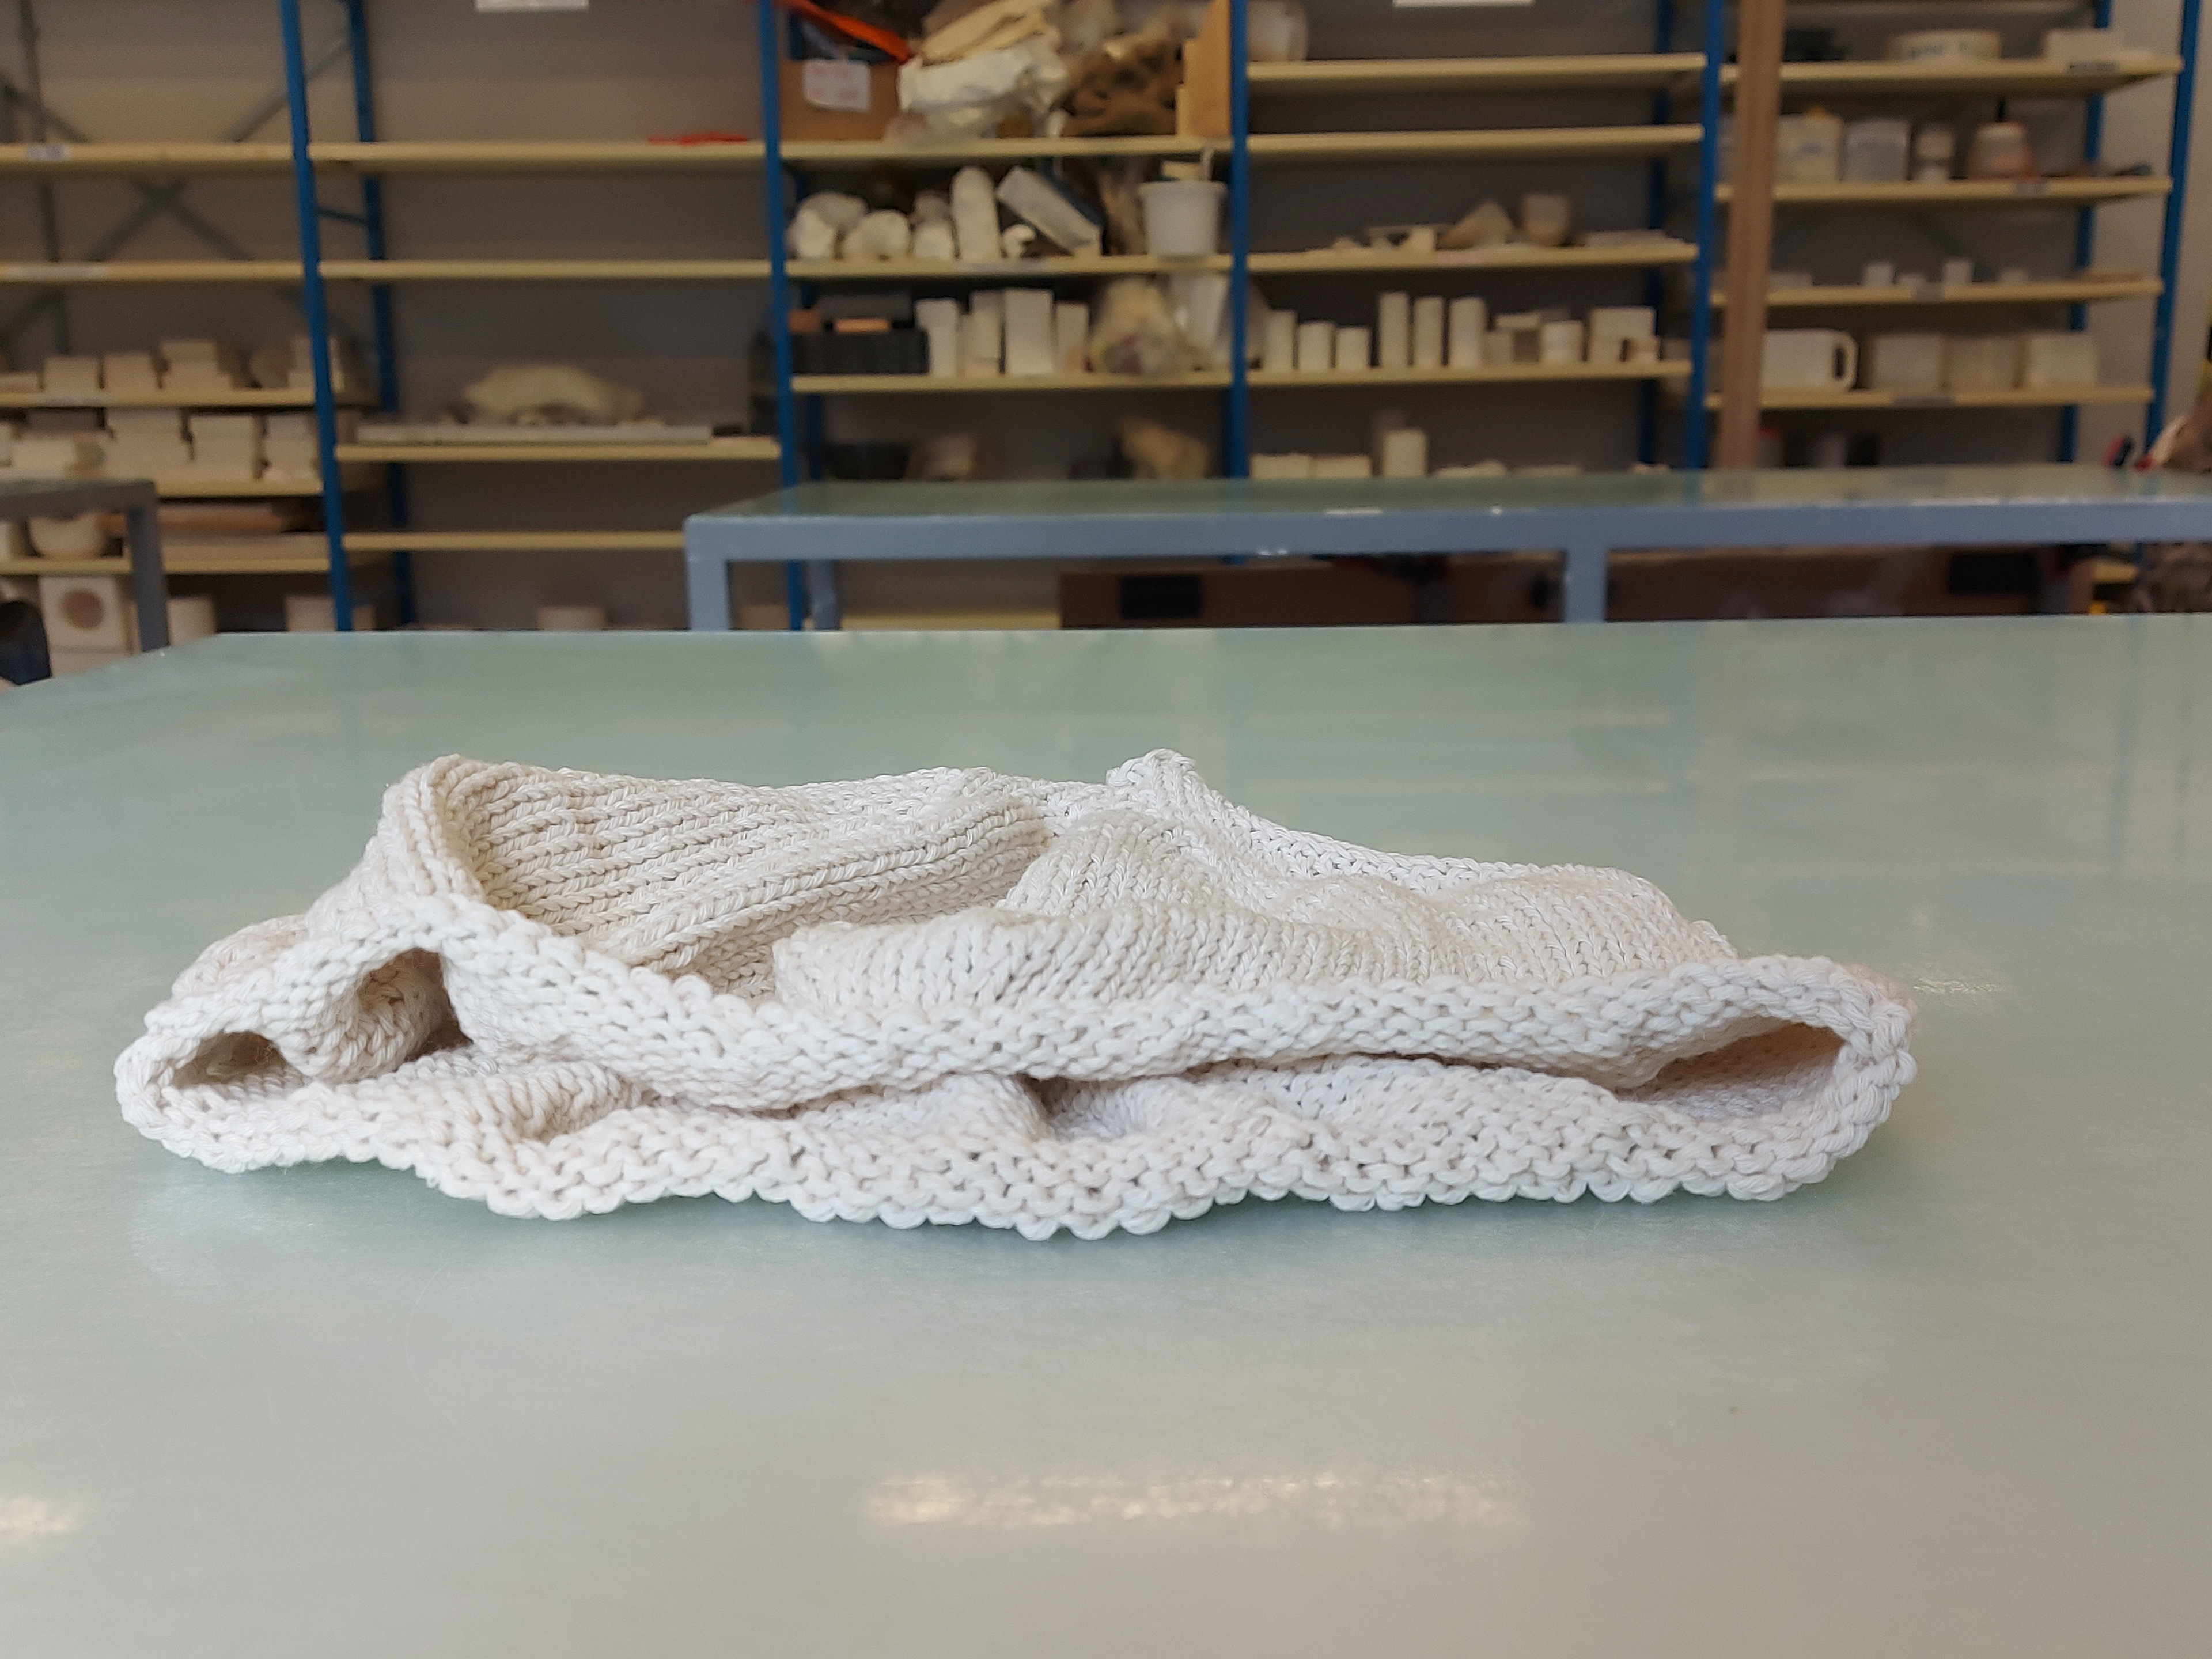
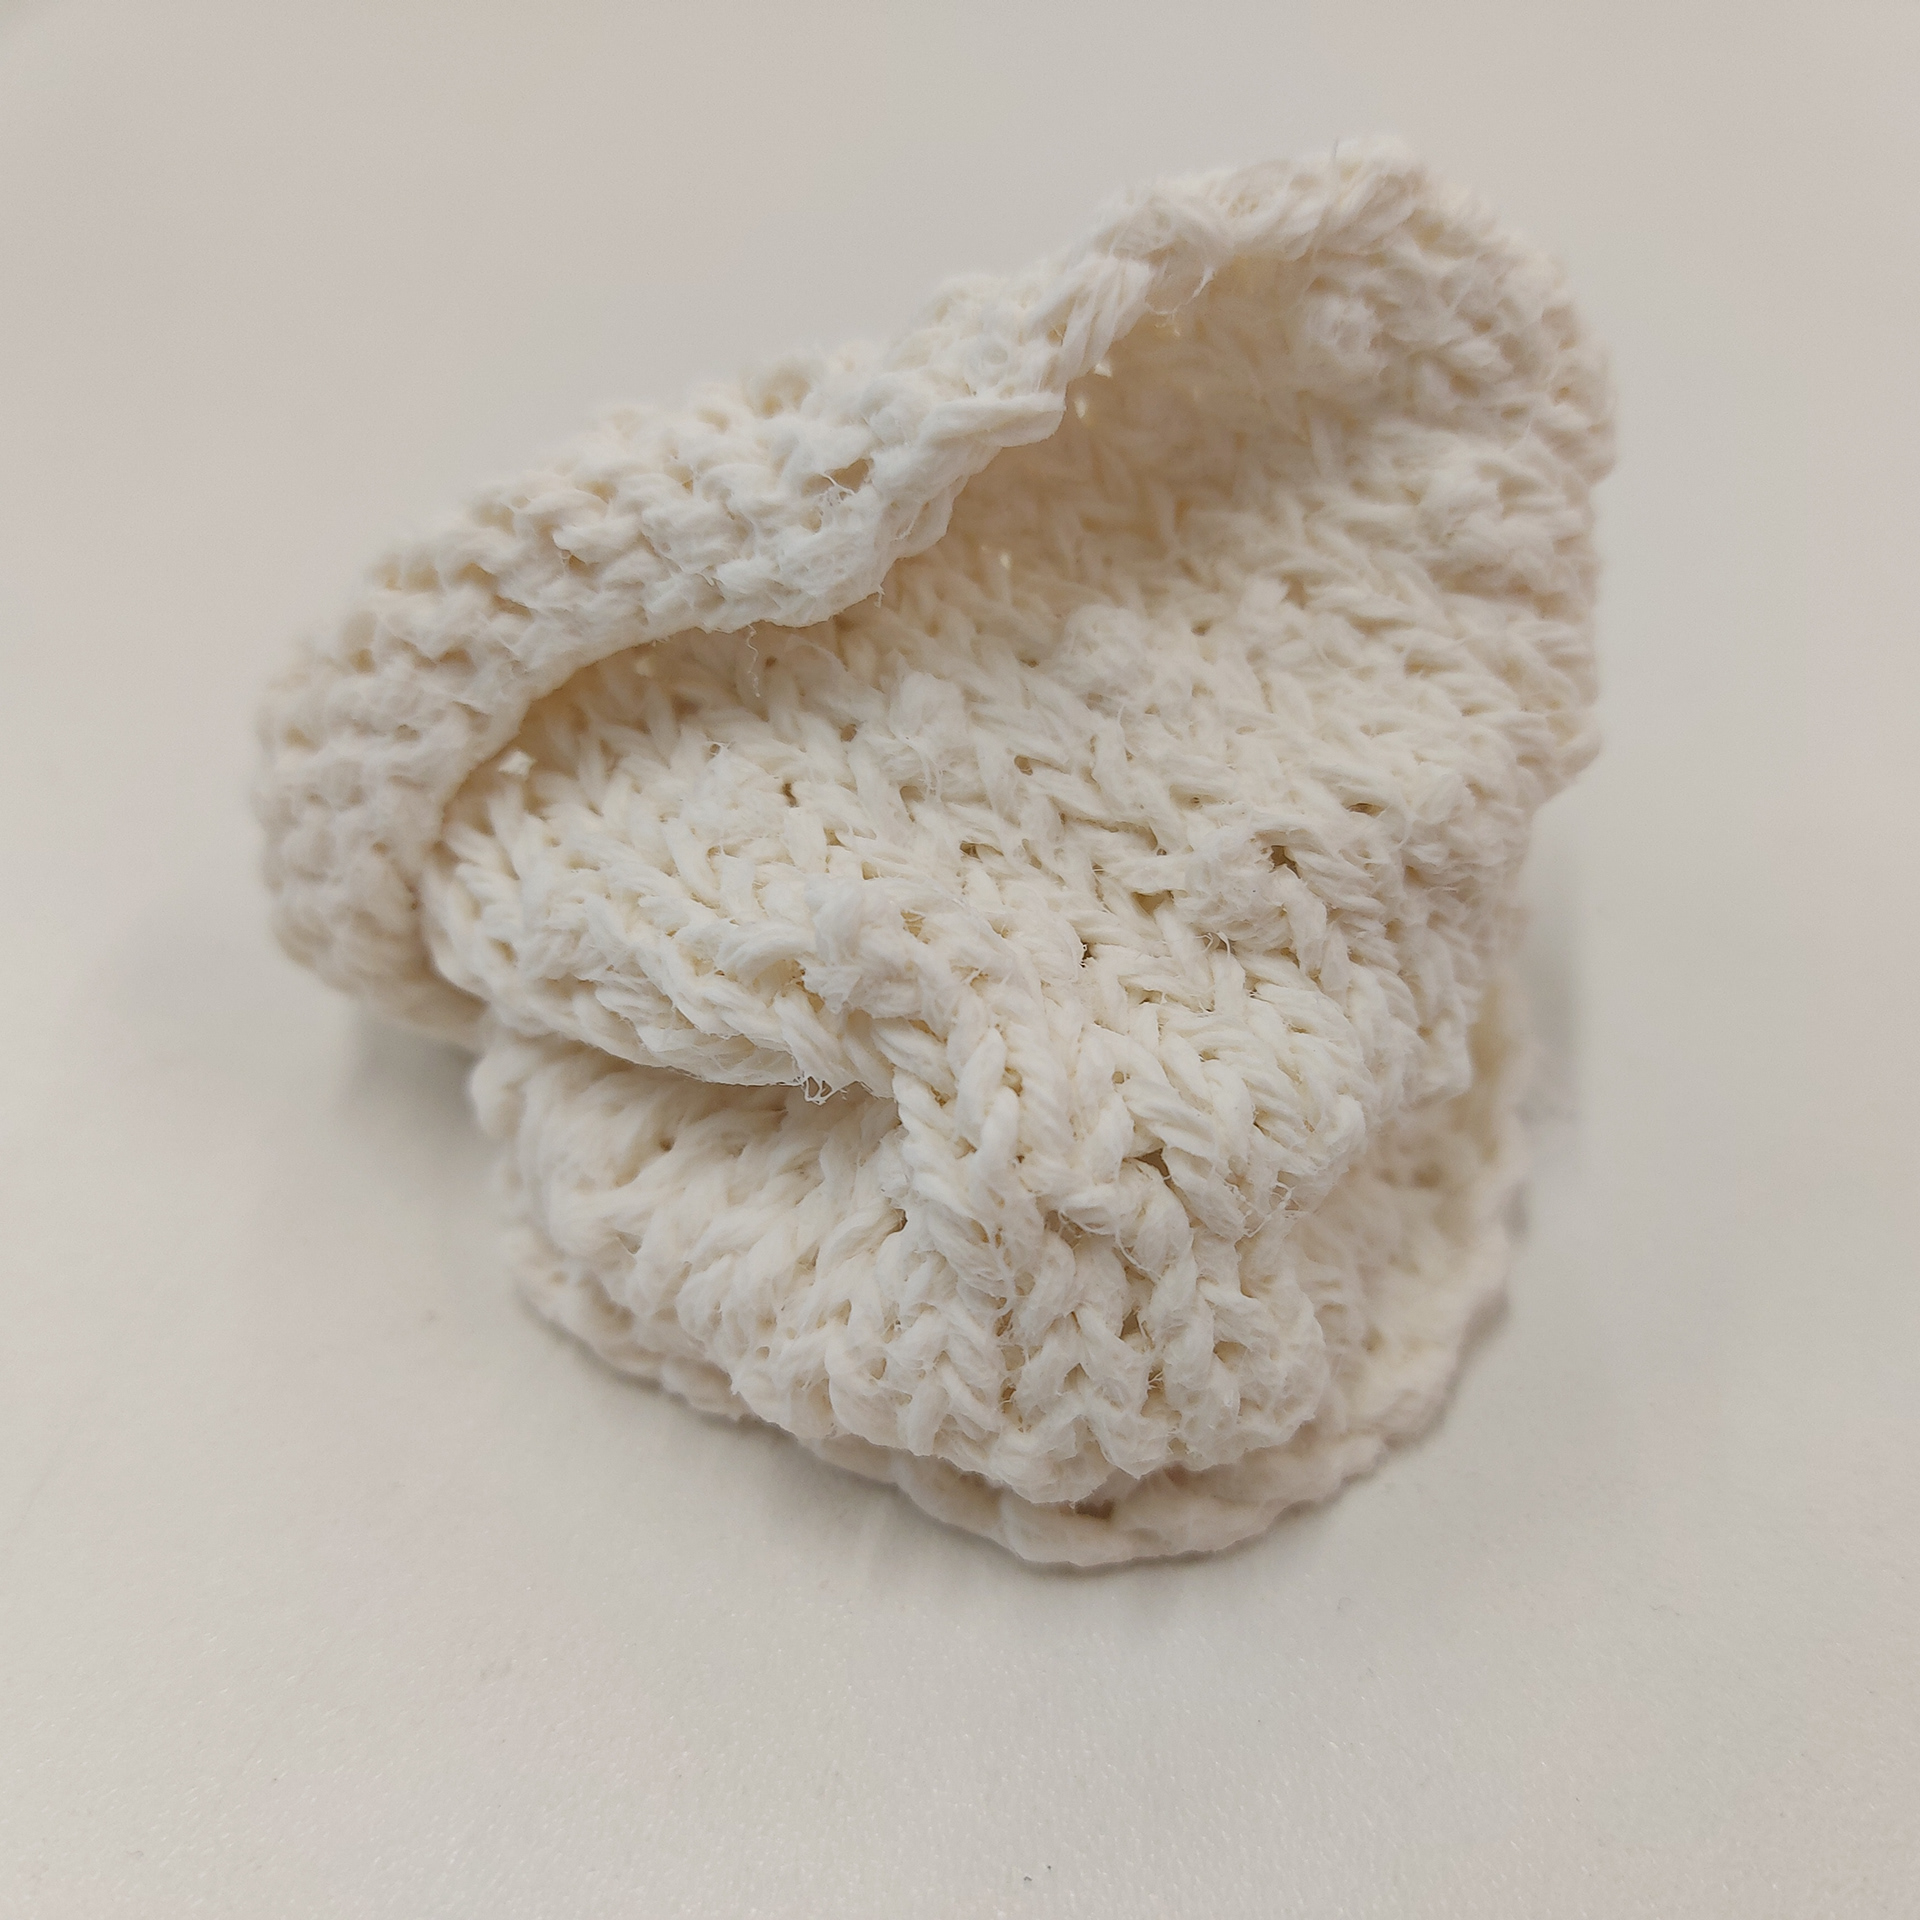
While knitting this design, I found myself knitting as I go, not planning what I was doing but writing as I go. I was working with different increase and decrease techniques, creating different parts of 'growth' within the knitted object. Within each section of knitting this object I was learning, seeing how these different techniques would turn out.
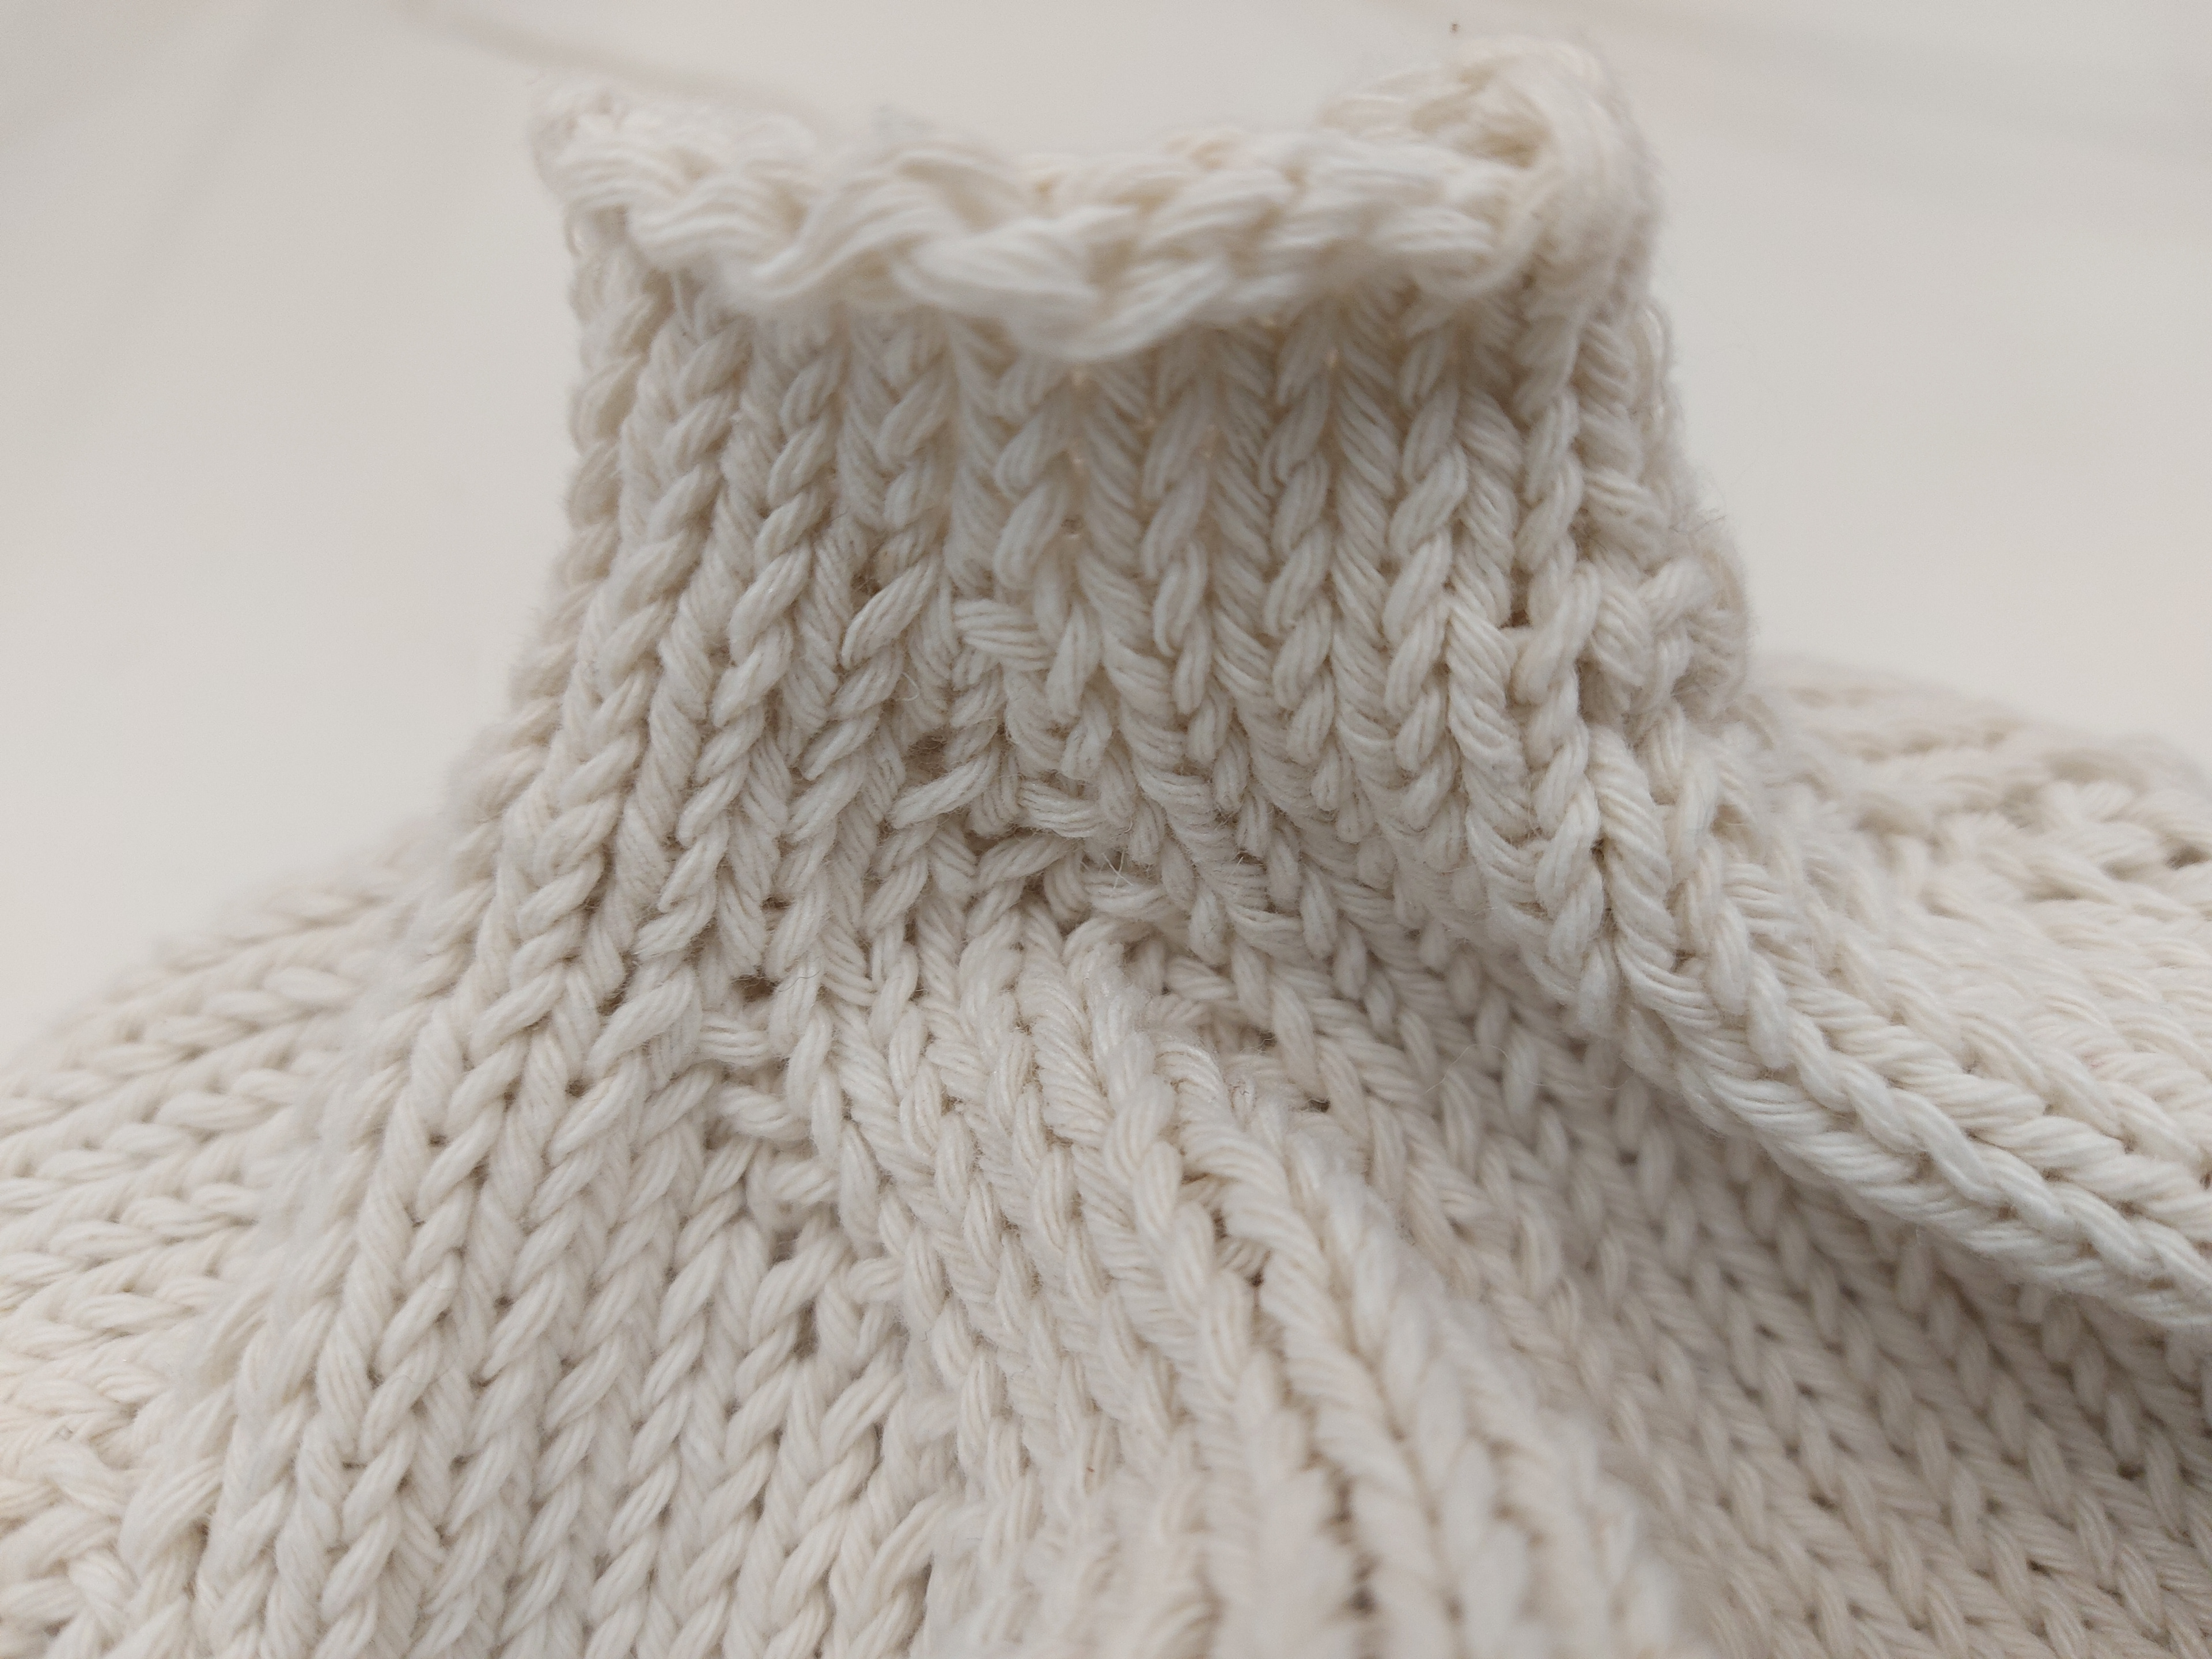
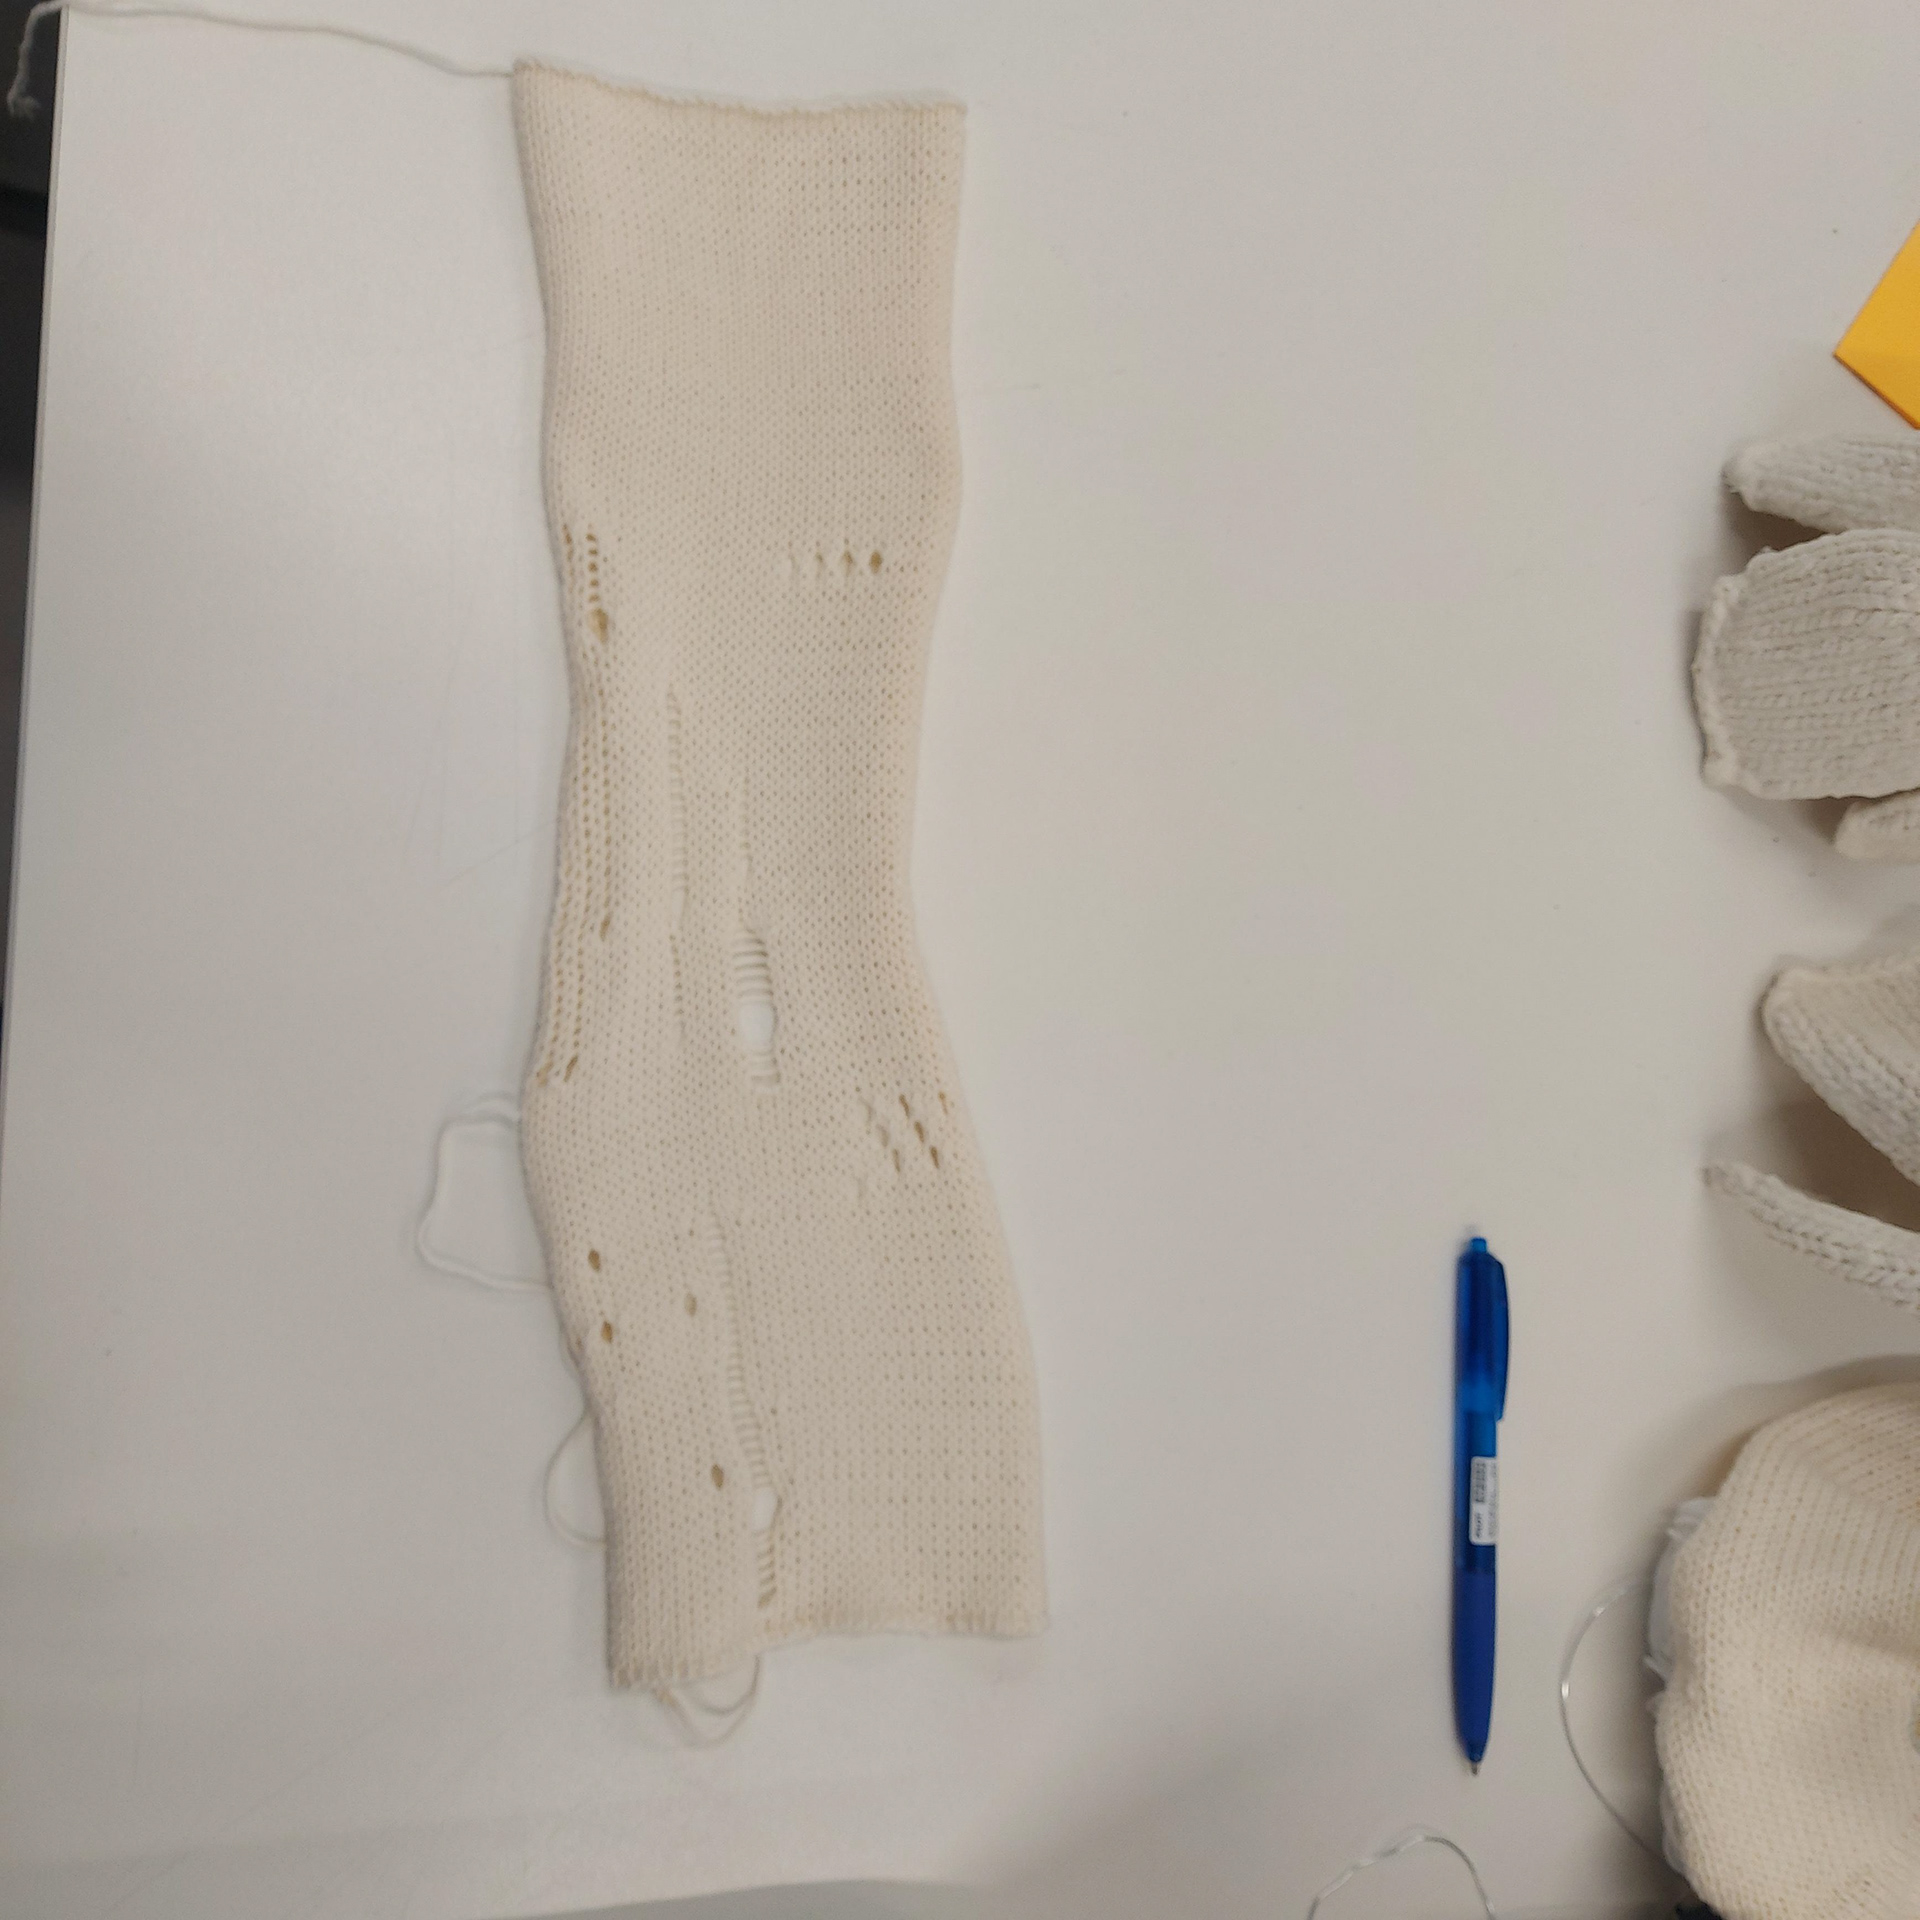
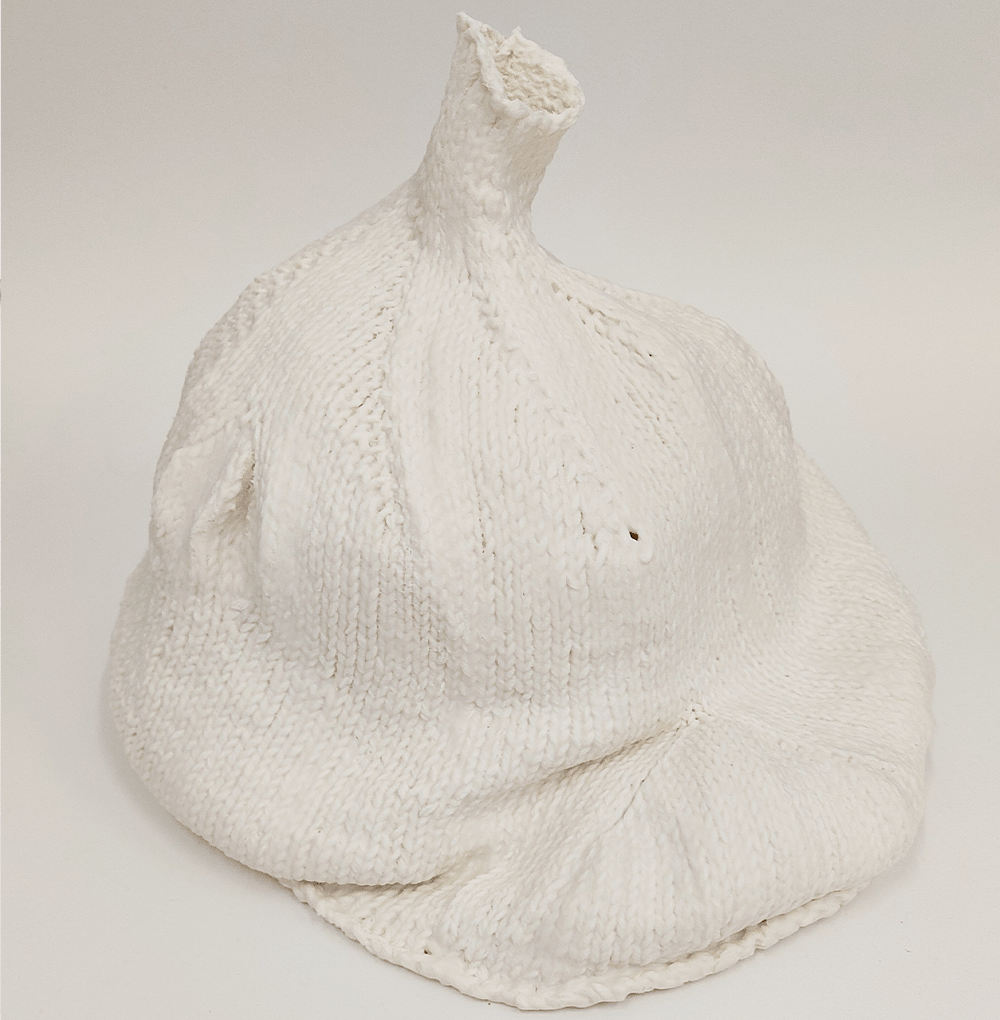
I started with 20 stitches, creating a funnel shape at the top, I knitted these stitches for 5 stitches before starting to increase these stitches. Increasing the stitches evenly around the round of stitches, I continued increasing to make the shape wider.
These branches of stitches are visible due to the the Knit Front Back stitch (KFB1) that means a stitch is knitted into twice in order to create two stitches from one. I used this stitch as I am the most used to making this increase stitch, however I tried another increase for making sloped forms as seen below.


For the first use of increases, I did a M1R and M1L. These are increases using the in between of the stitches either side of a stitch. These were increased on every row 6 times and then decreased on every other rown until row 48. This gave a quick increase that tapered slower than it increased. This created a slightly circular bump.
These extra stitches formed a diamond types shape. I did increases on either side (M1R,M1L) for 8 rows and then decreasing for every other row until I got to the bottom. This creates a slightly less protruding shape than the first.

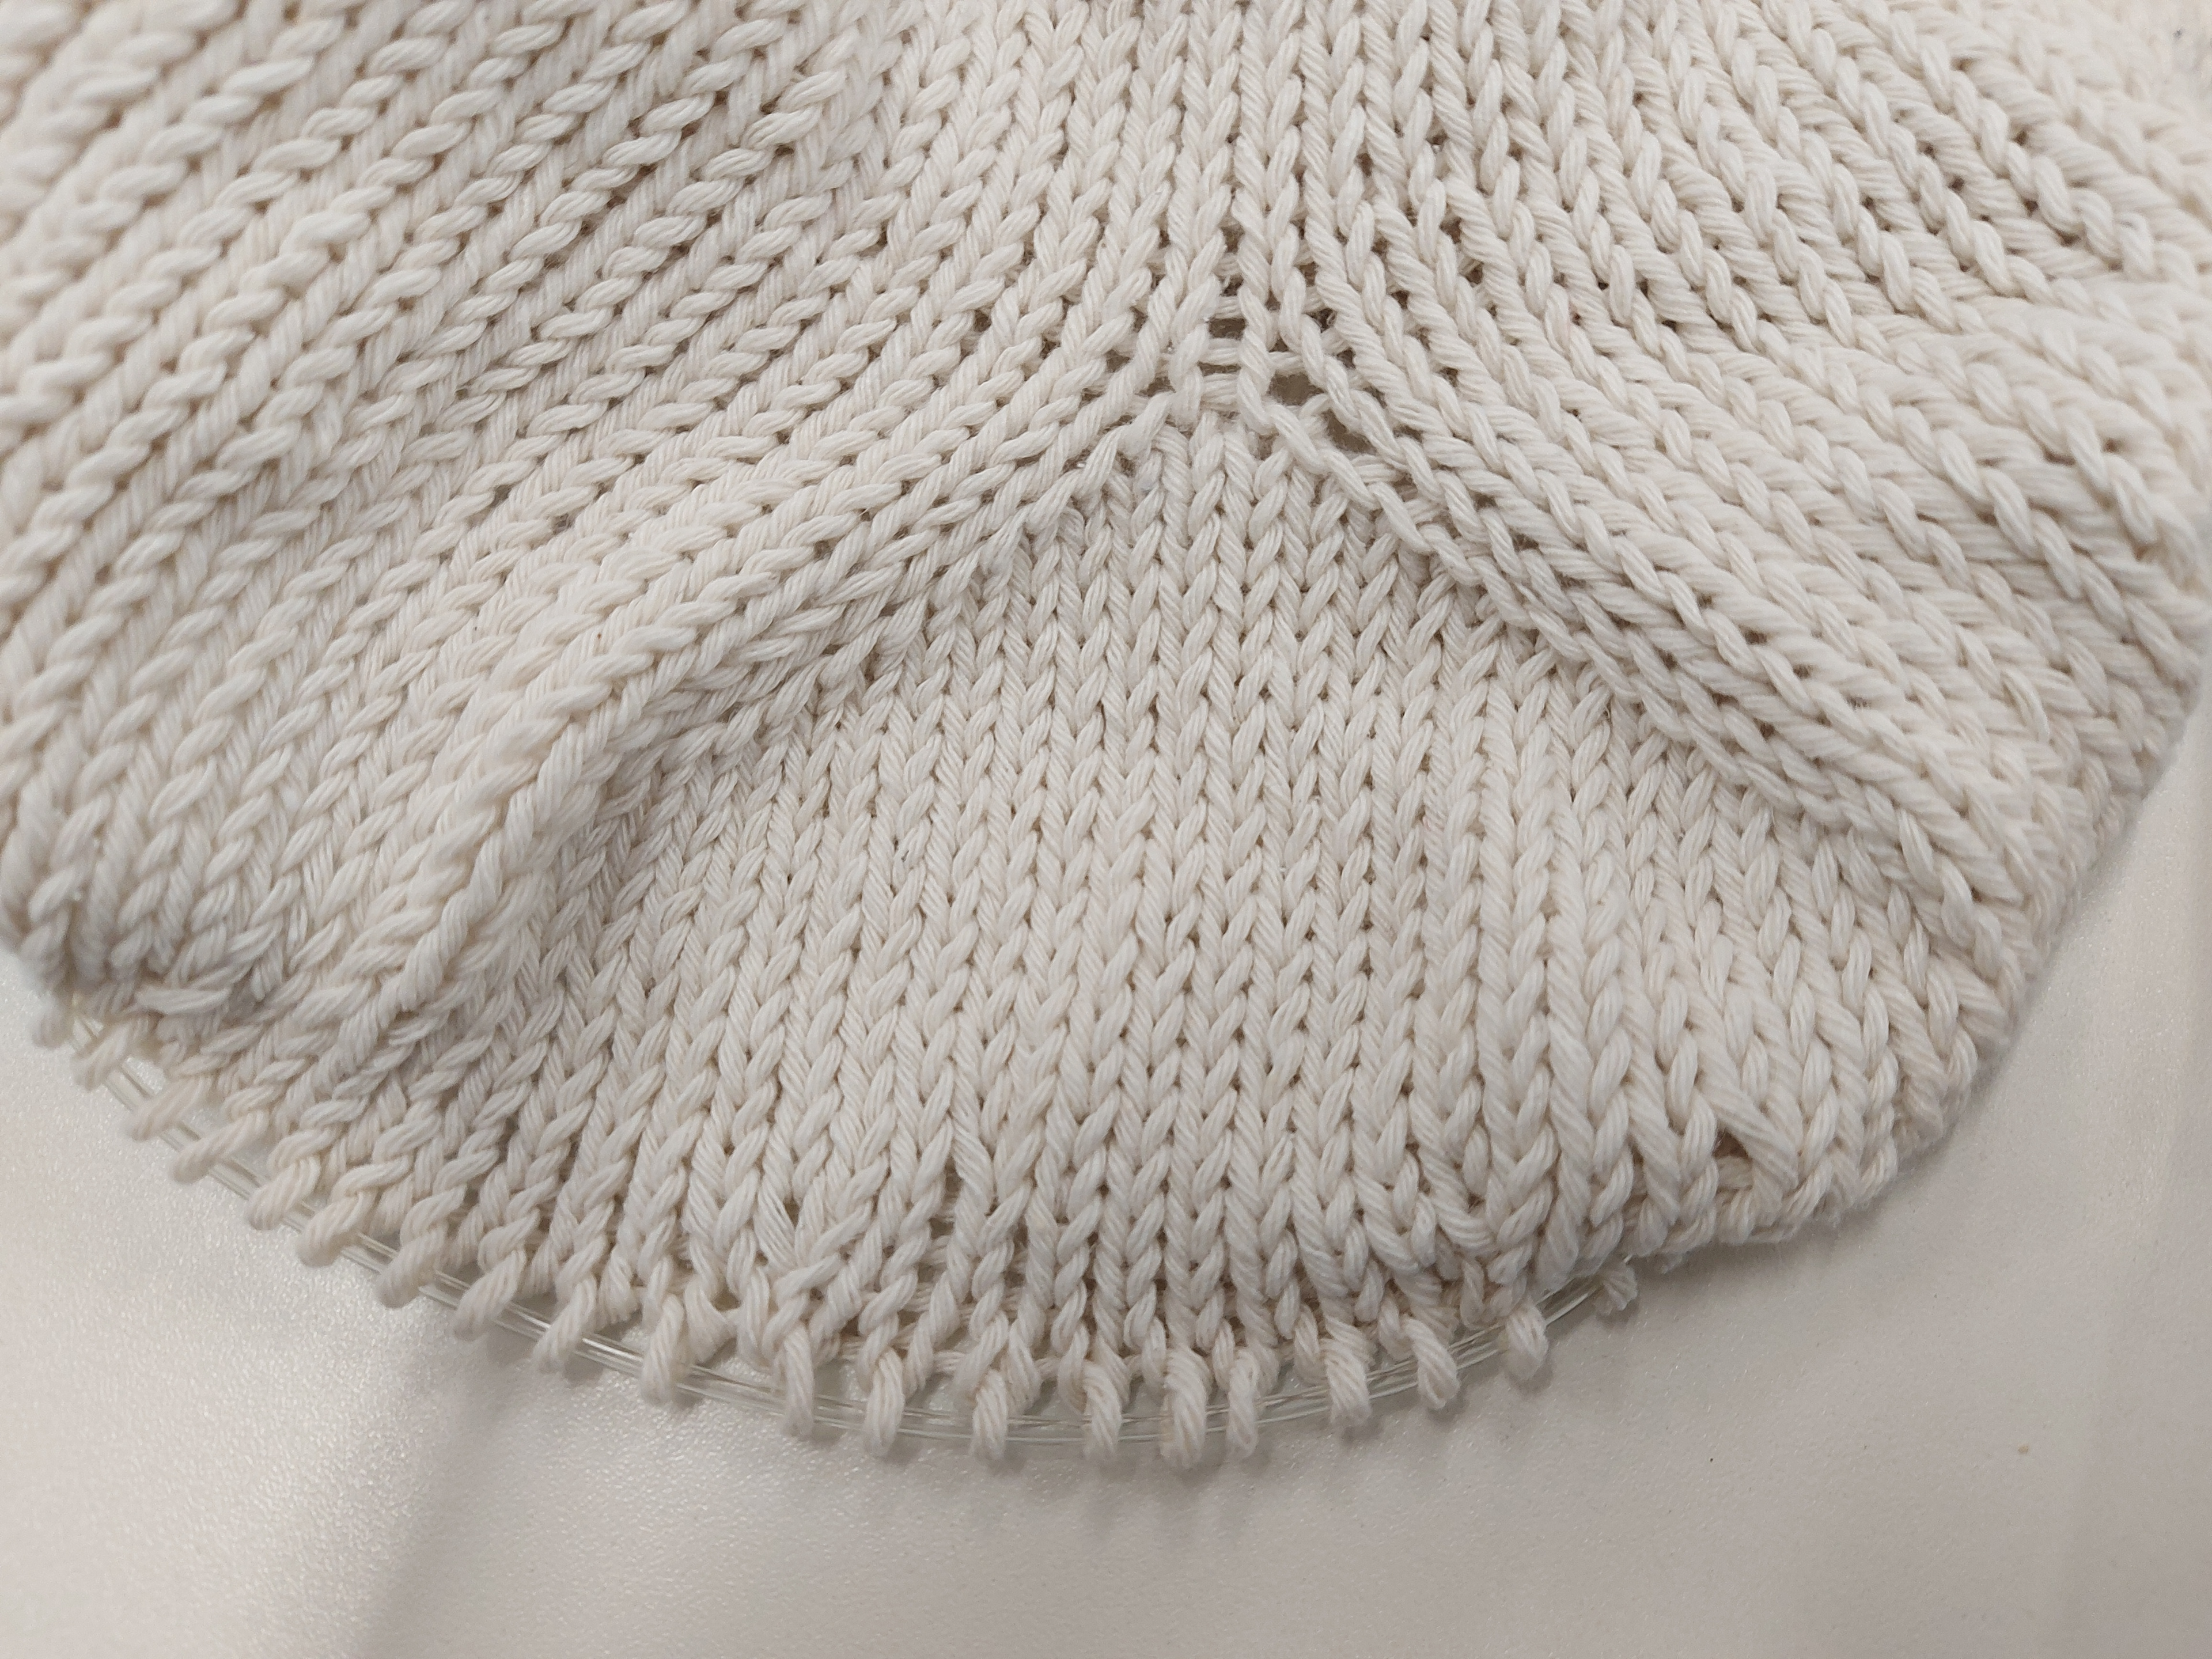
This was an increase only shape, seeing what would happen if I just increased my stitches and then keep them how they are. There was a 2 stitch increase for 11 rows. This shape was a tent like shape, starting off triangular and then fading into the big form as I started knitting as usual with no increases or decreases. The shape was able to protrude slightly but this was more subtle.
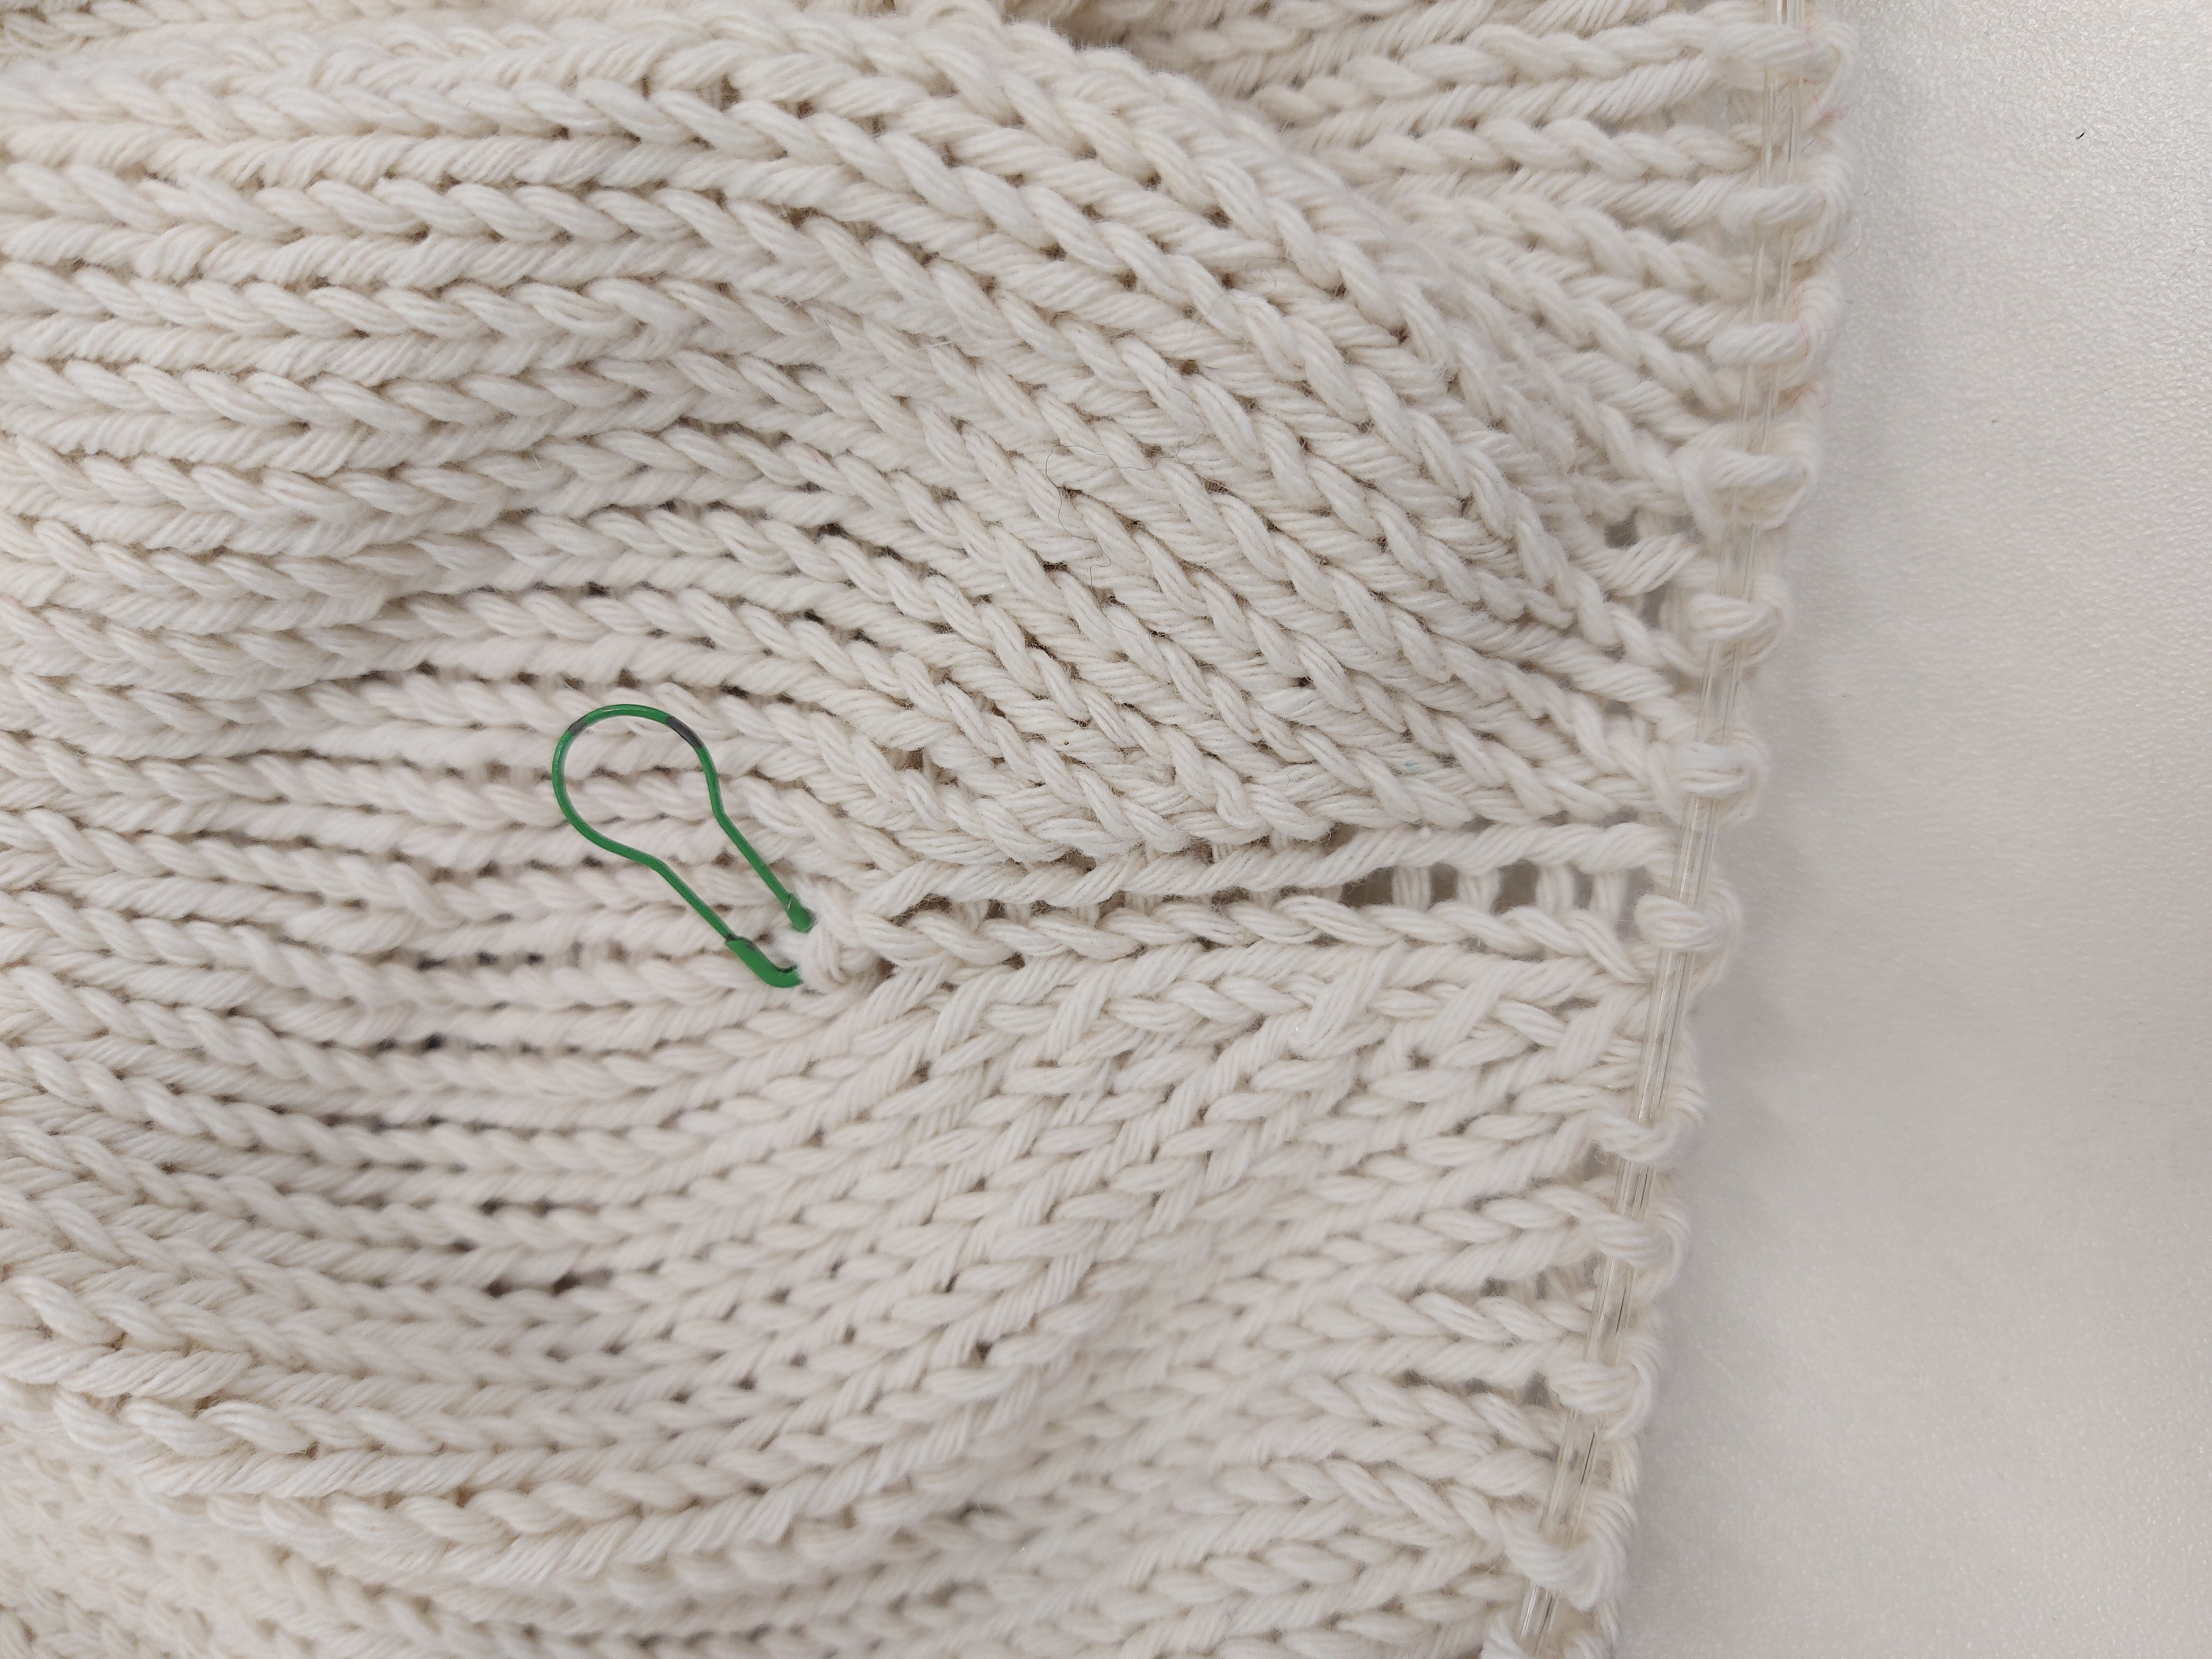
Here was a decrease only section. Putting a stitch marker around a stitch, I did a decrease on each side of the stitch. I made a different type of decrease on either side depending on how each decrease lies (SSK leans left, K2tog leans right. I started the decrease by overlapping the stitch with the stitches on either side. This made a small knot like shape and might be something to experiment with in the future.
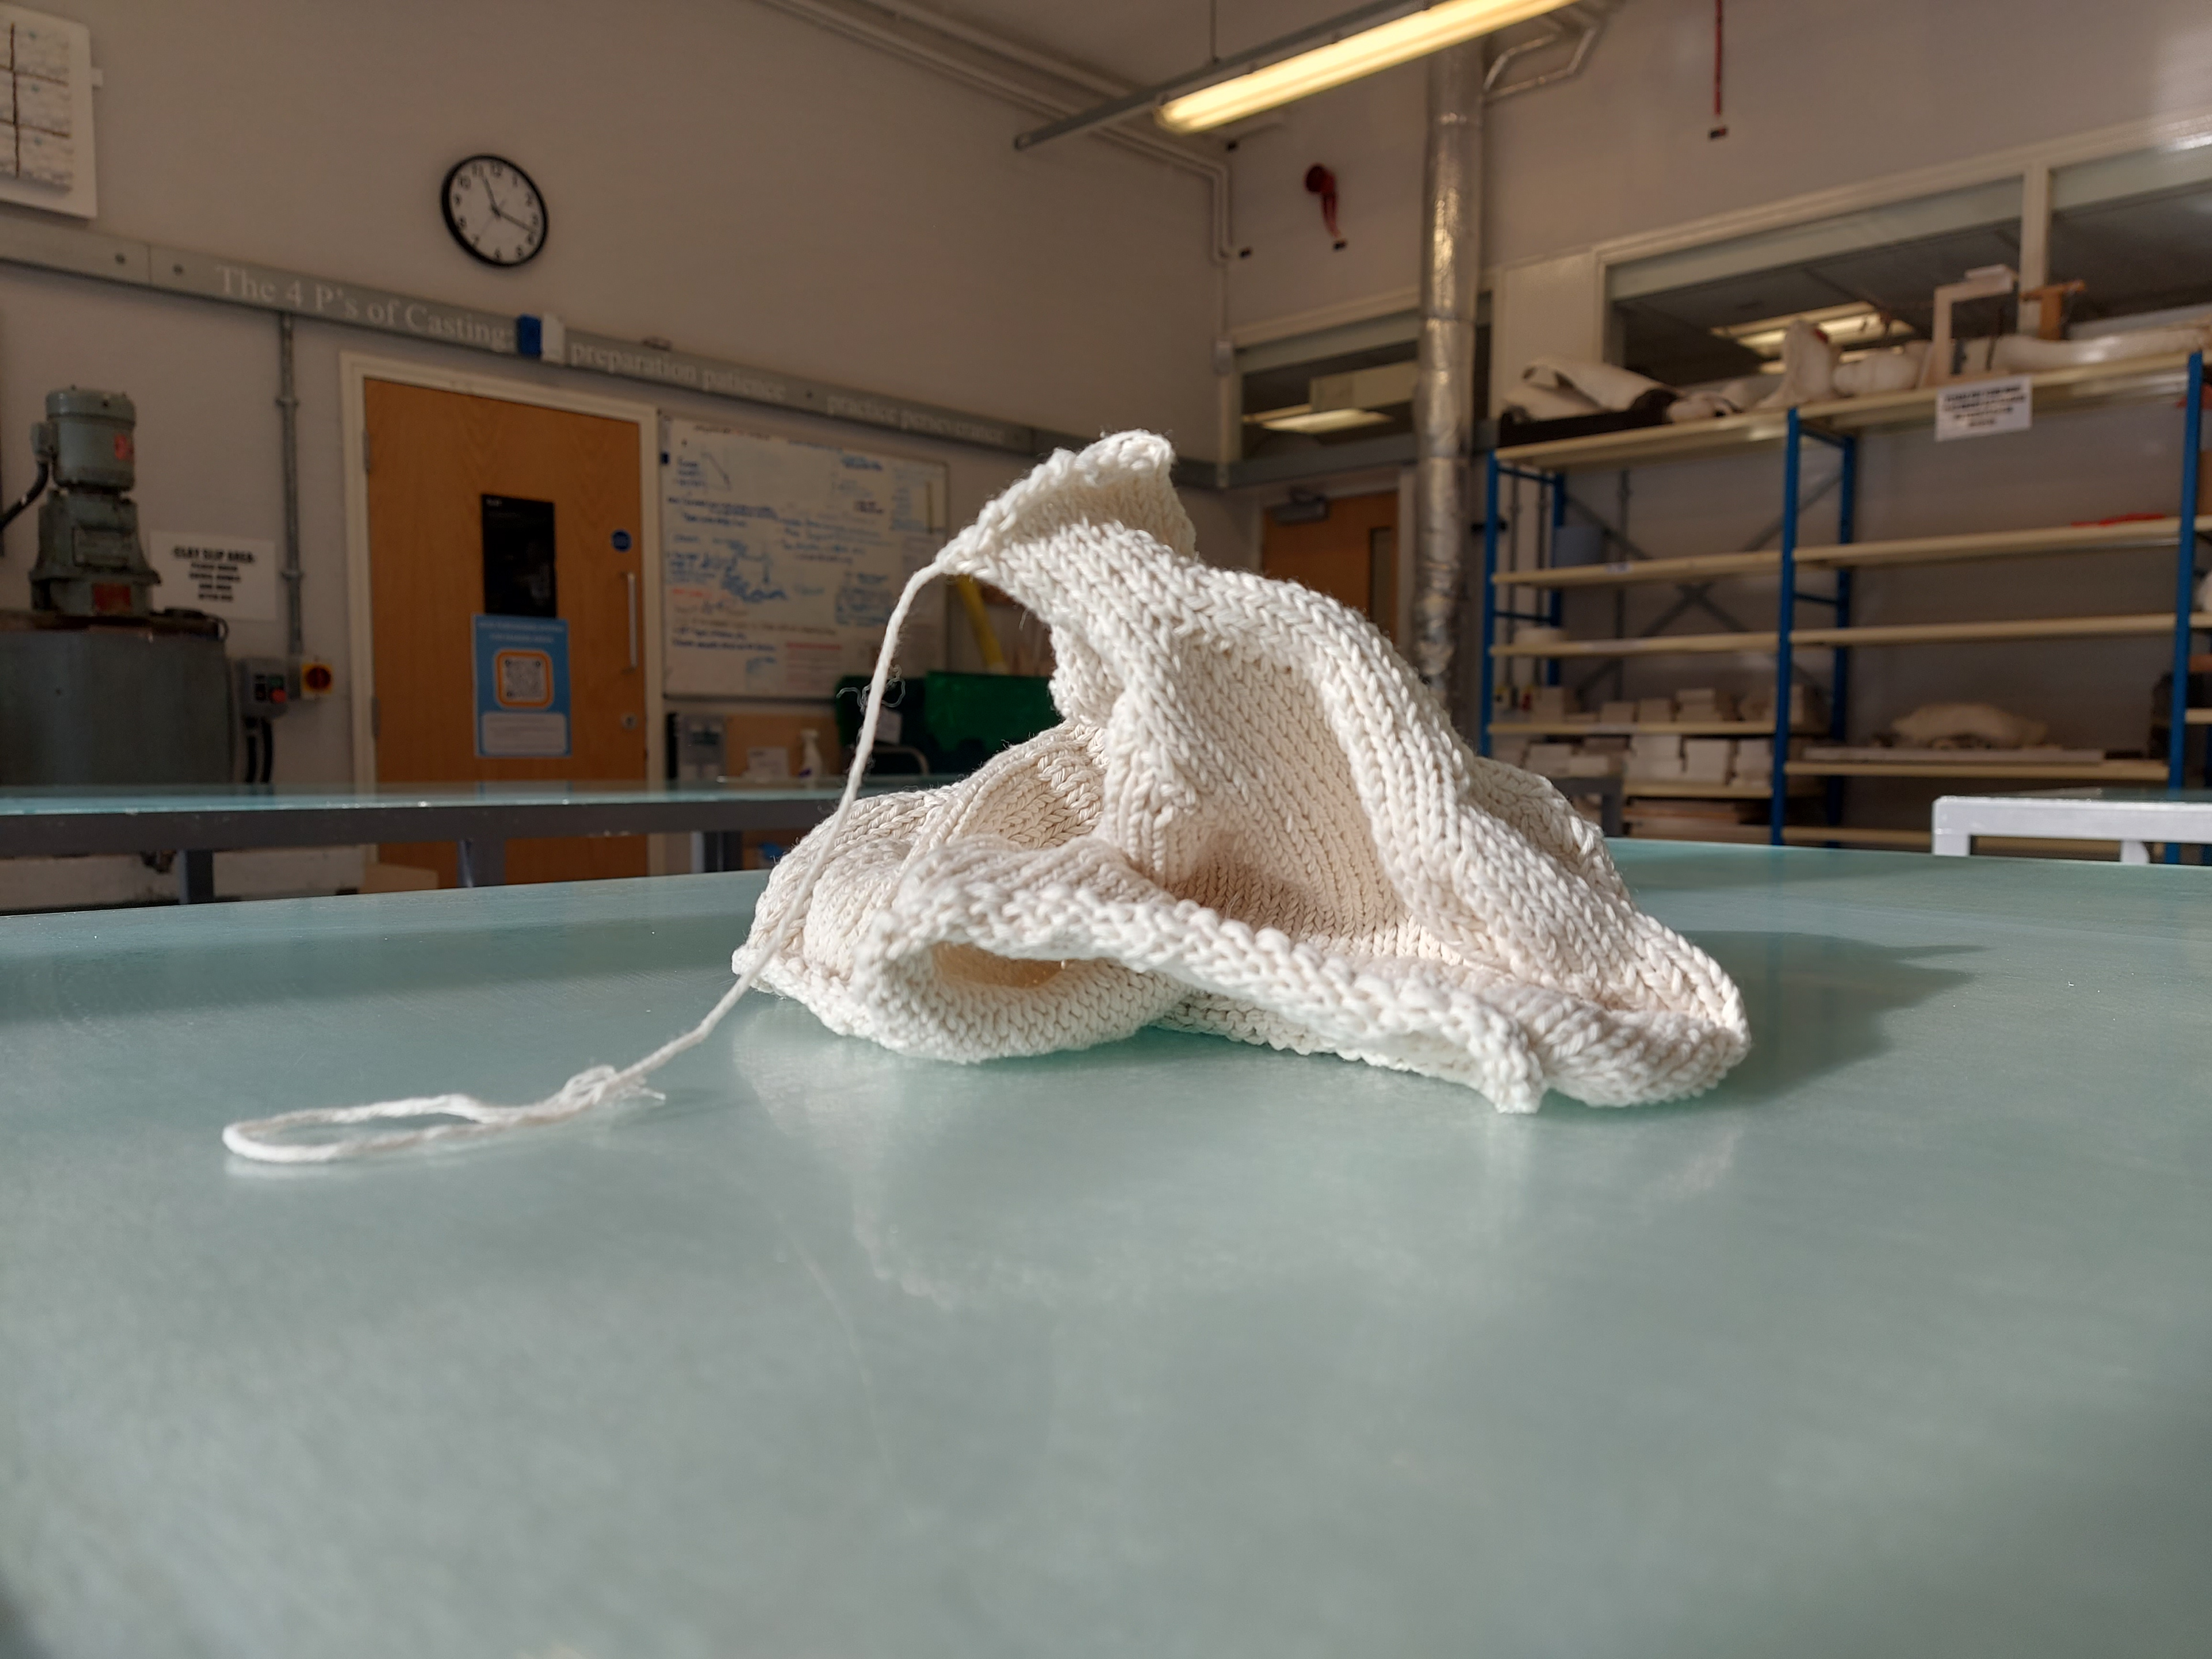

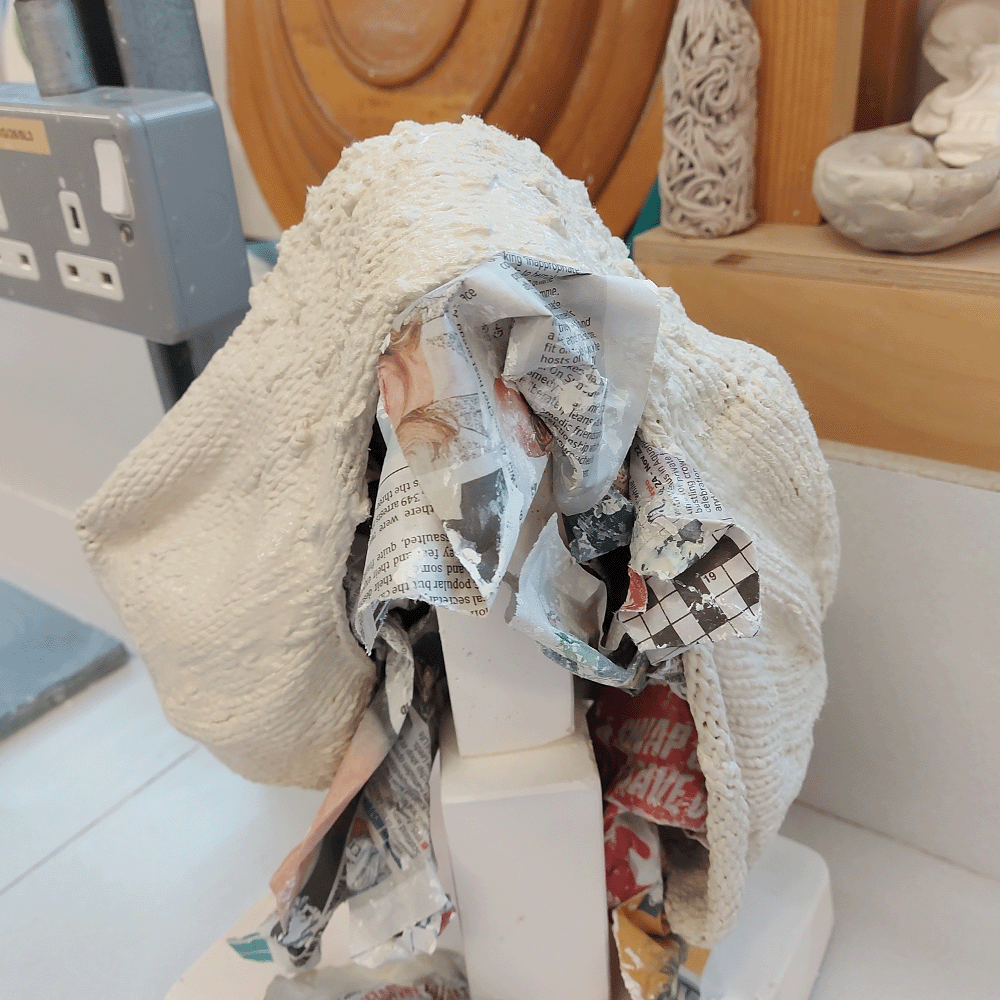
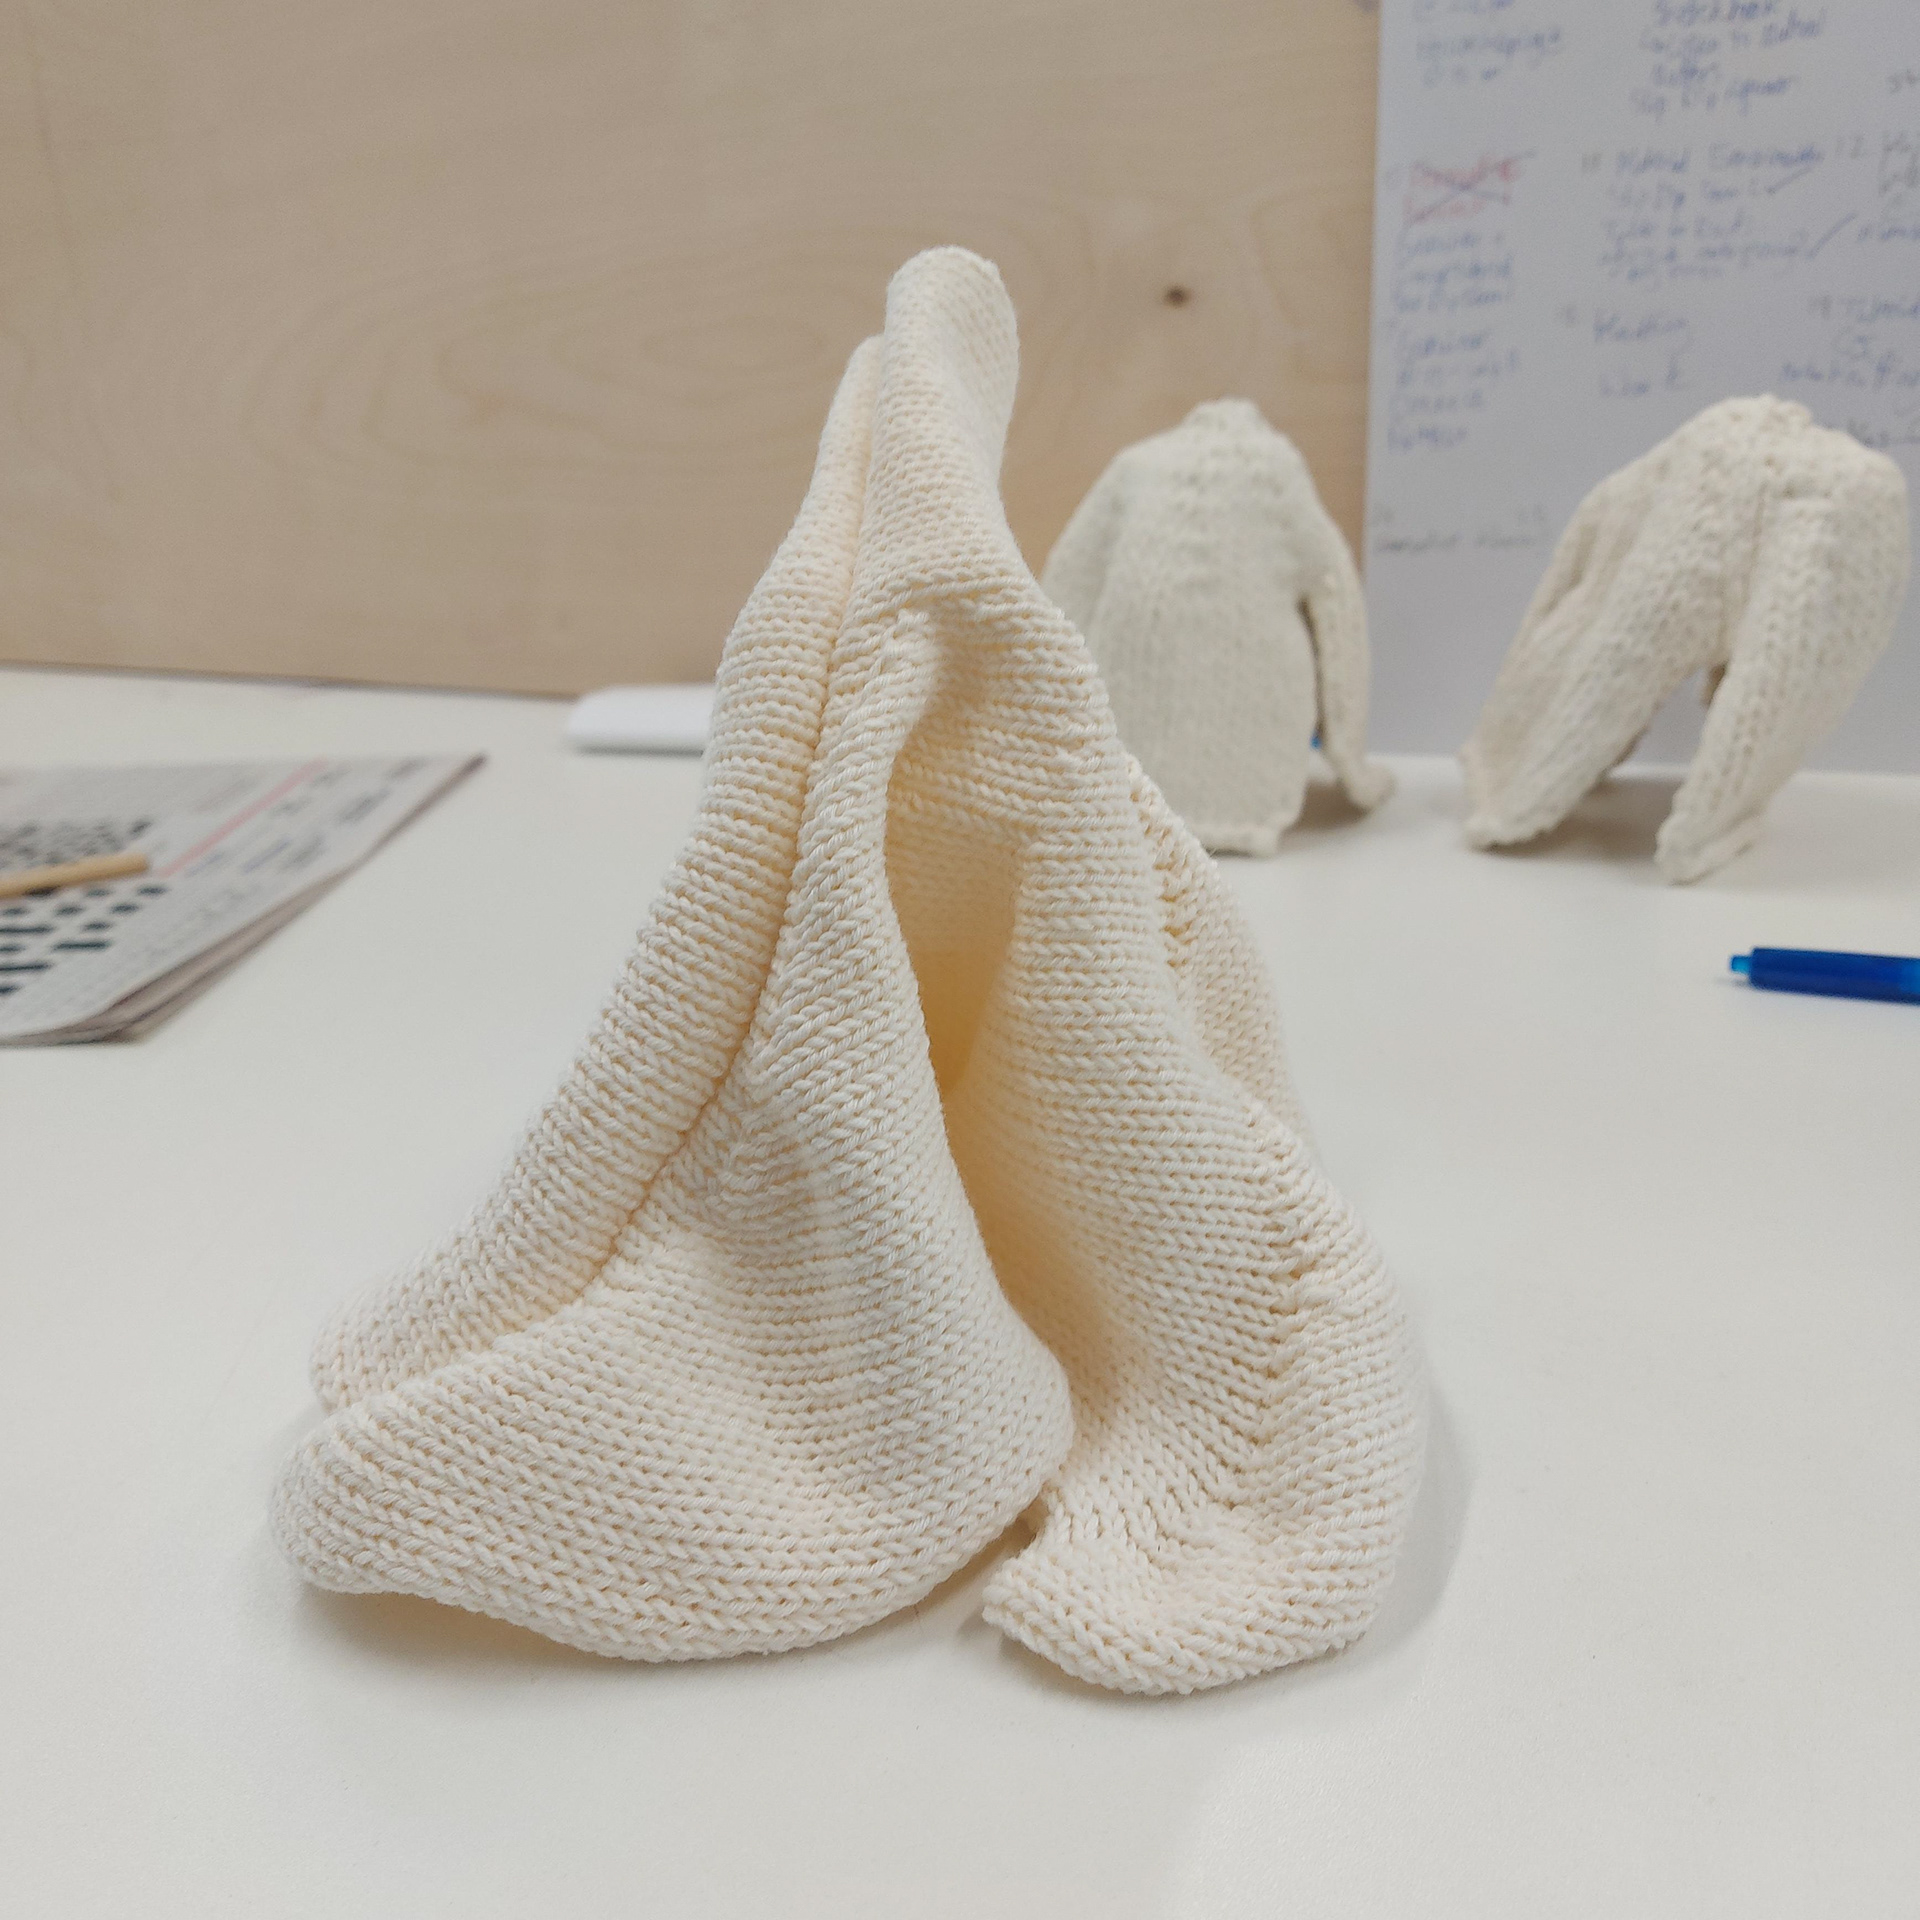
Before dipping the form in slip, I used newspaper that I had ripped up and scrunched, in order to know how much I may need. Knowing the piece normally stretches and weighs itself down with the slip and the dampness of the water, I decided to prepare some more newspaper to stuff in the knitting. I also kept a small piece of yarn at the top of the shape as I could use that to hold onto the form while putting it in the porcelain slip and making sure that its covered while also leaving a thin layer.
I found that although I wasn't able to get the piece perfect, I was able to learn from this experience. I was able to get the porcelain slip to cover the piece, however, although I tried to do this quickly, the weight and size of the piece meant I wasn't able to do this quickly enough without the slip clogging.


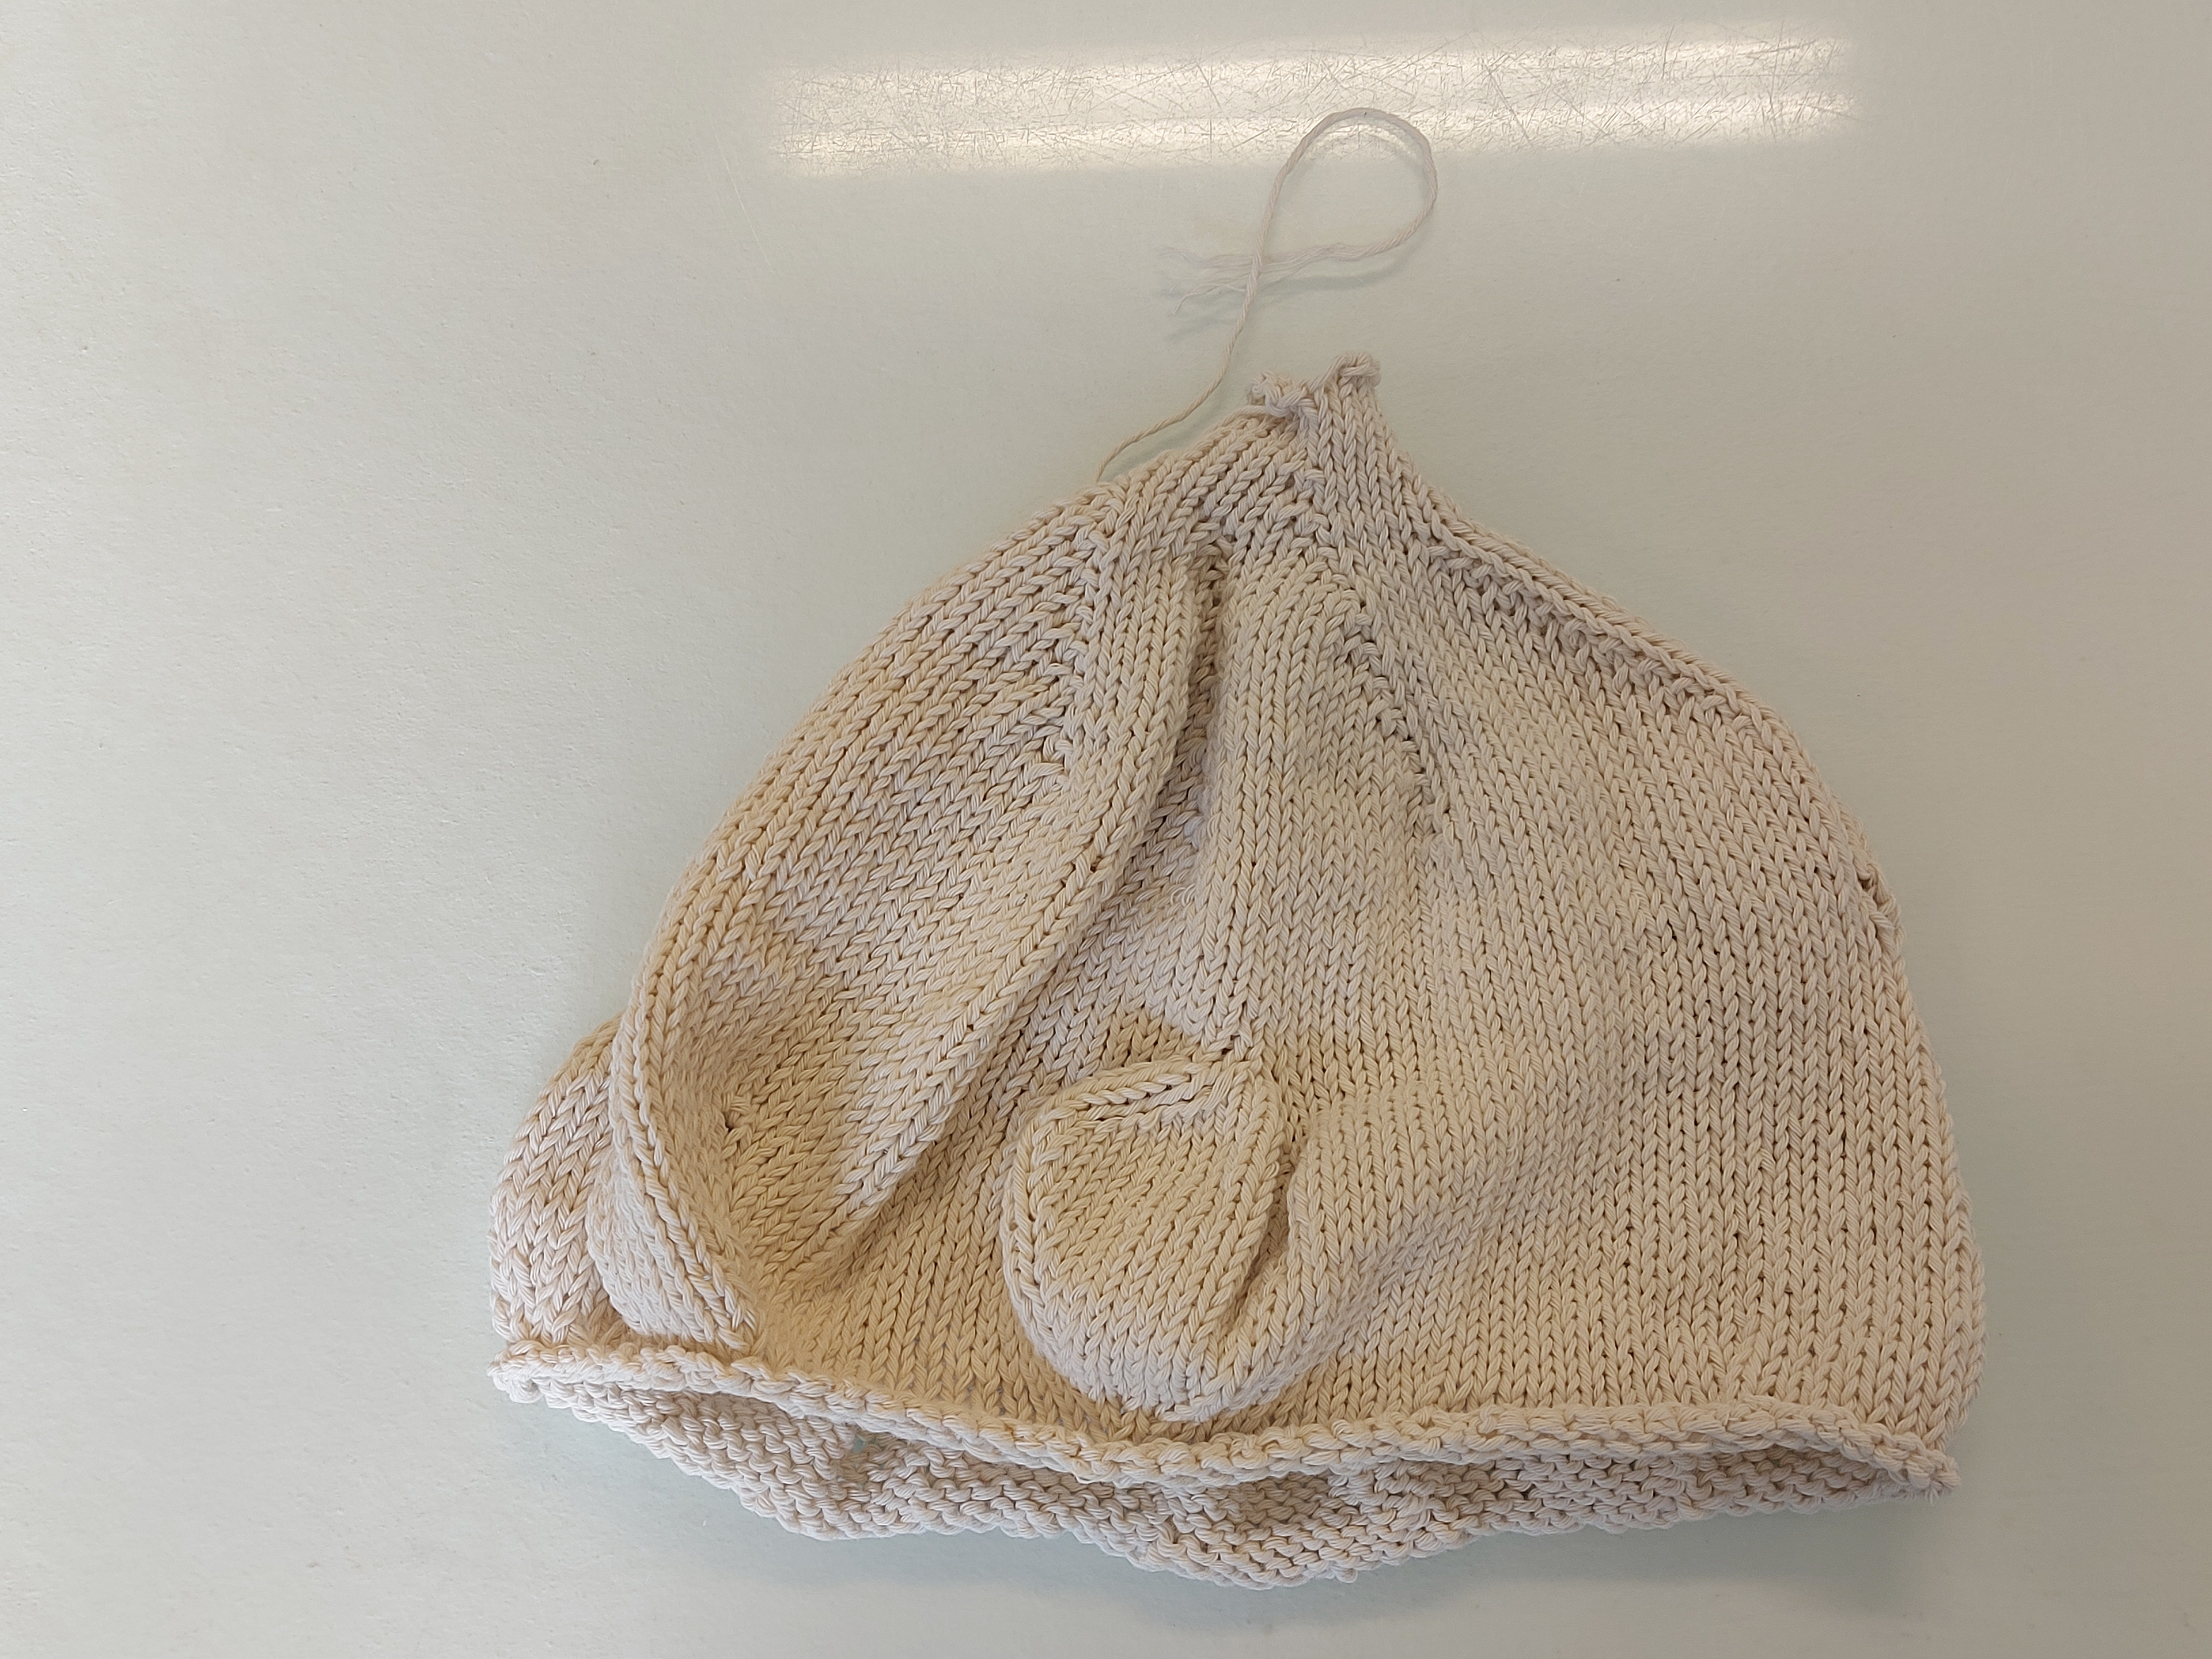
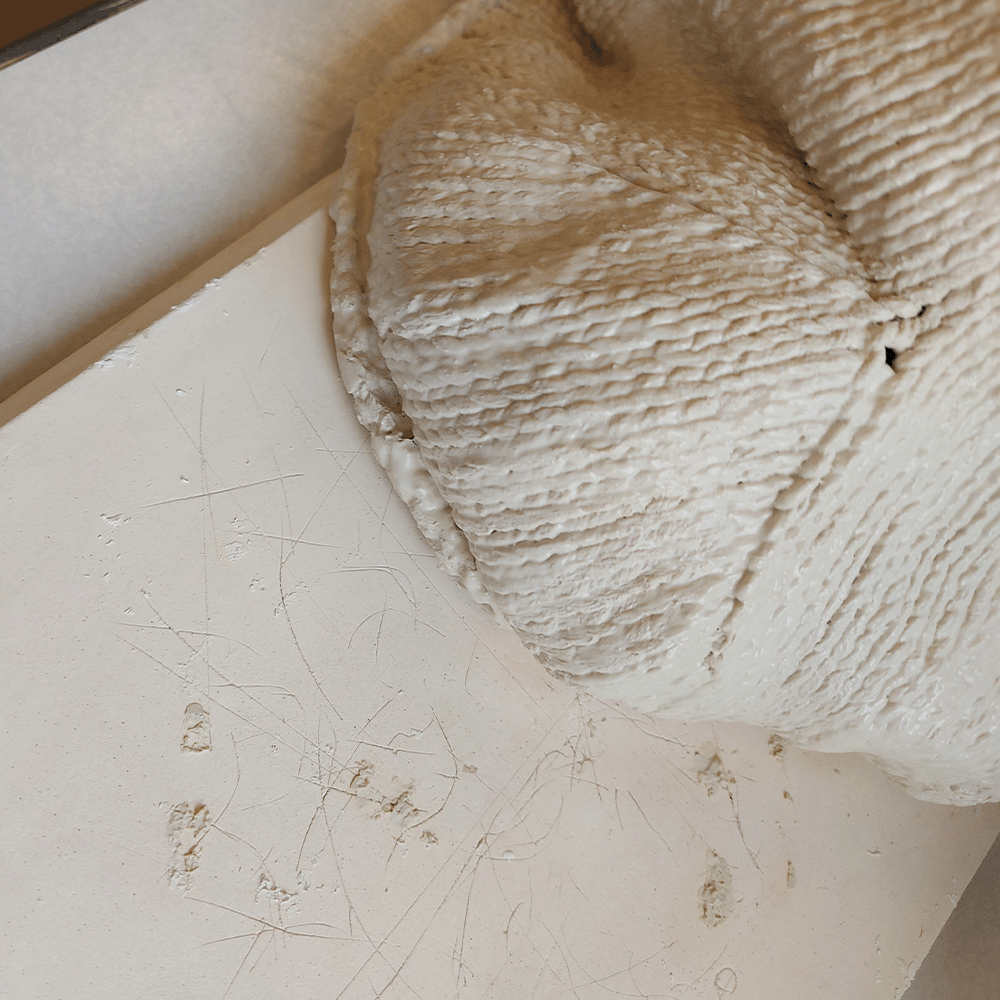
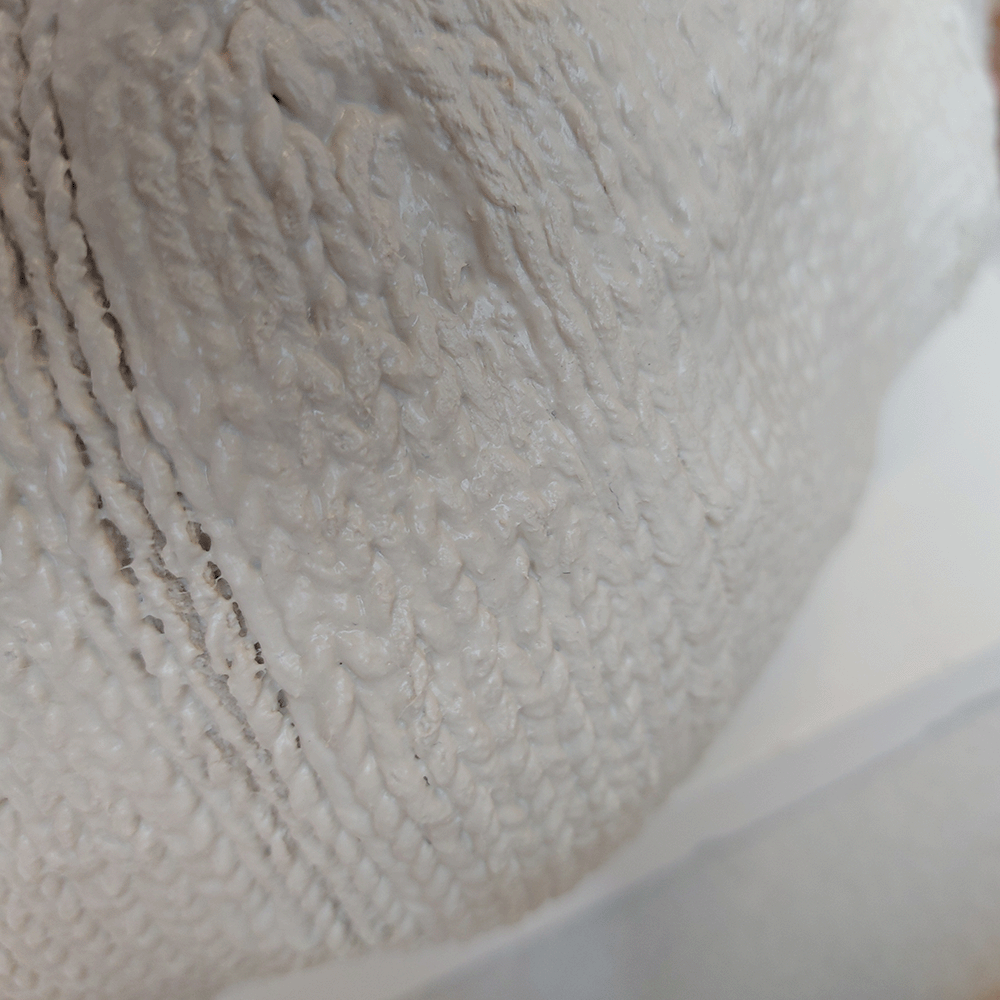
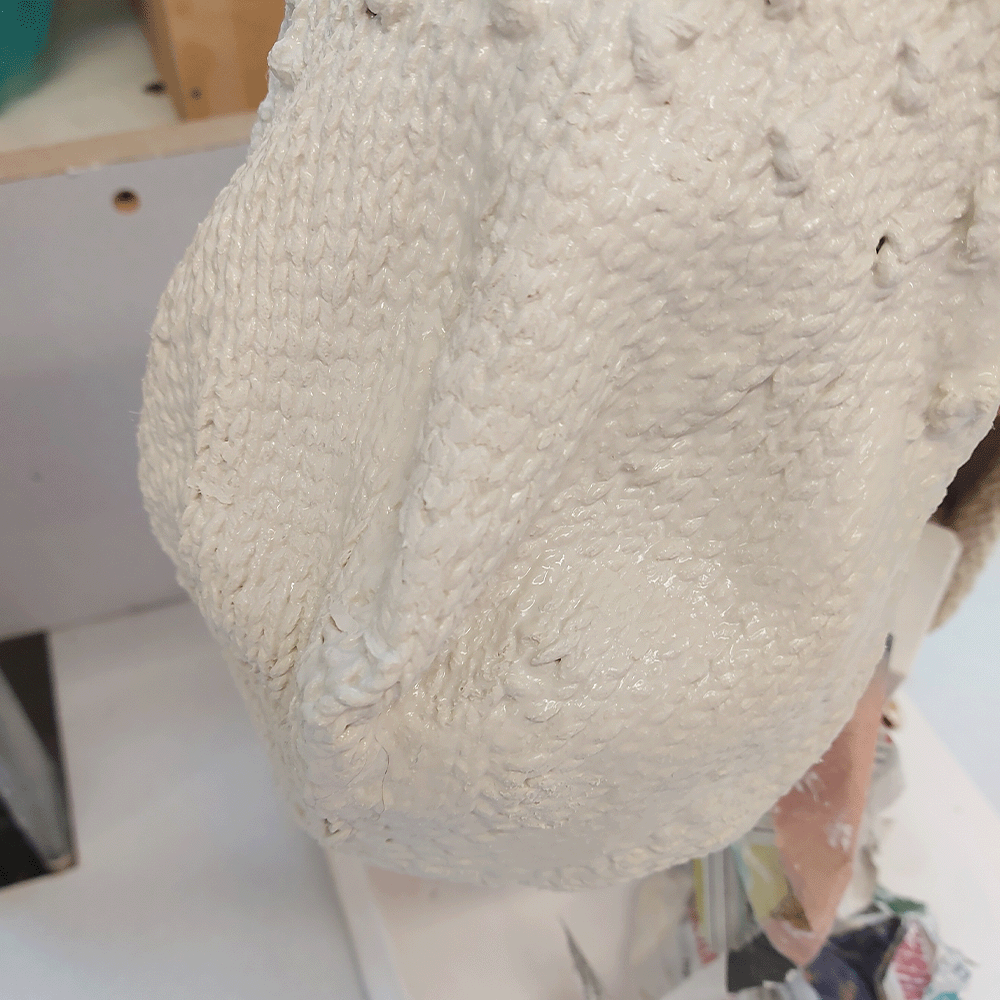
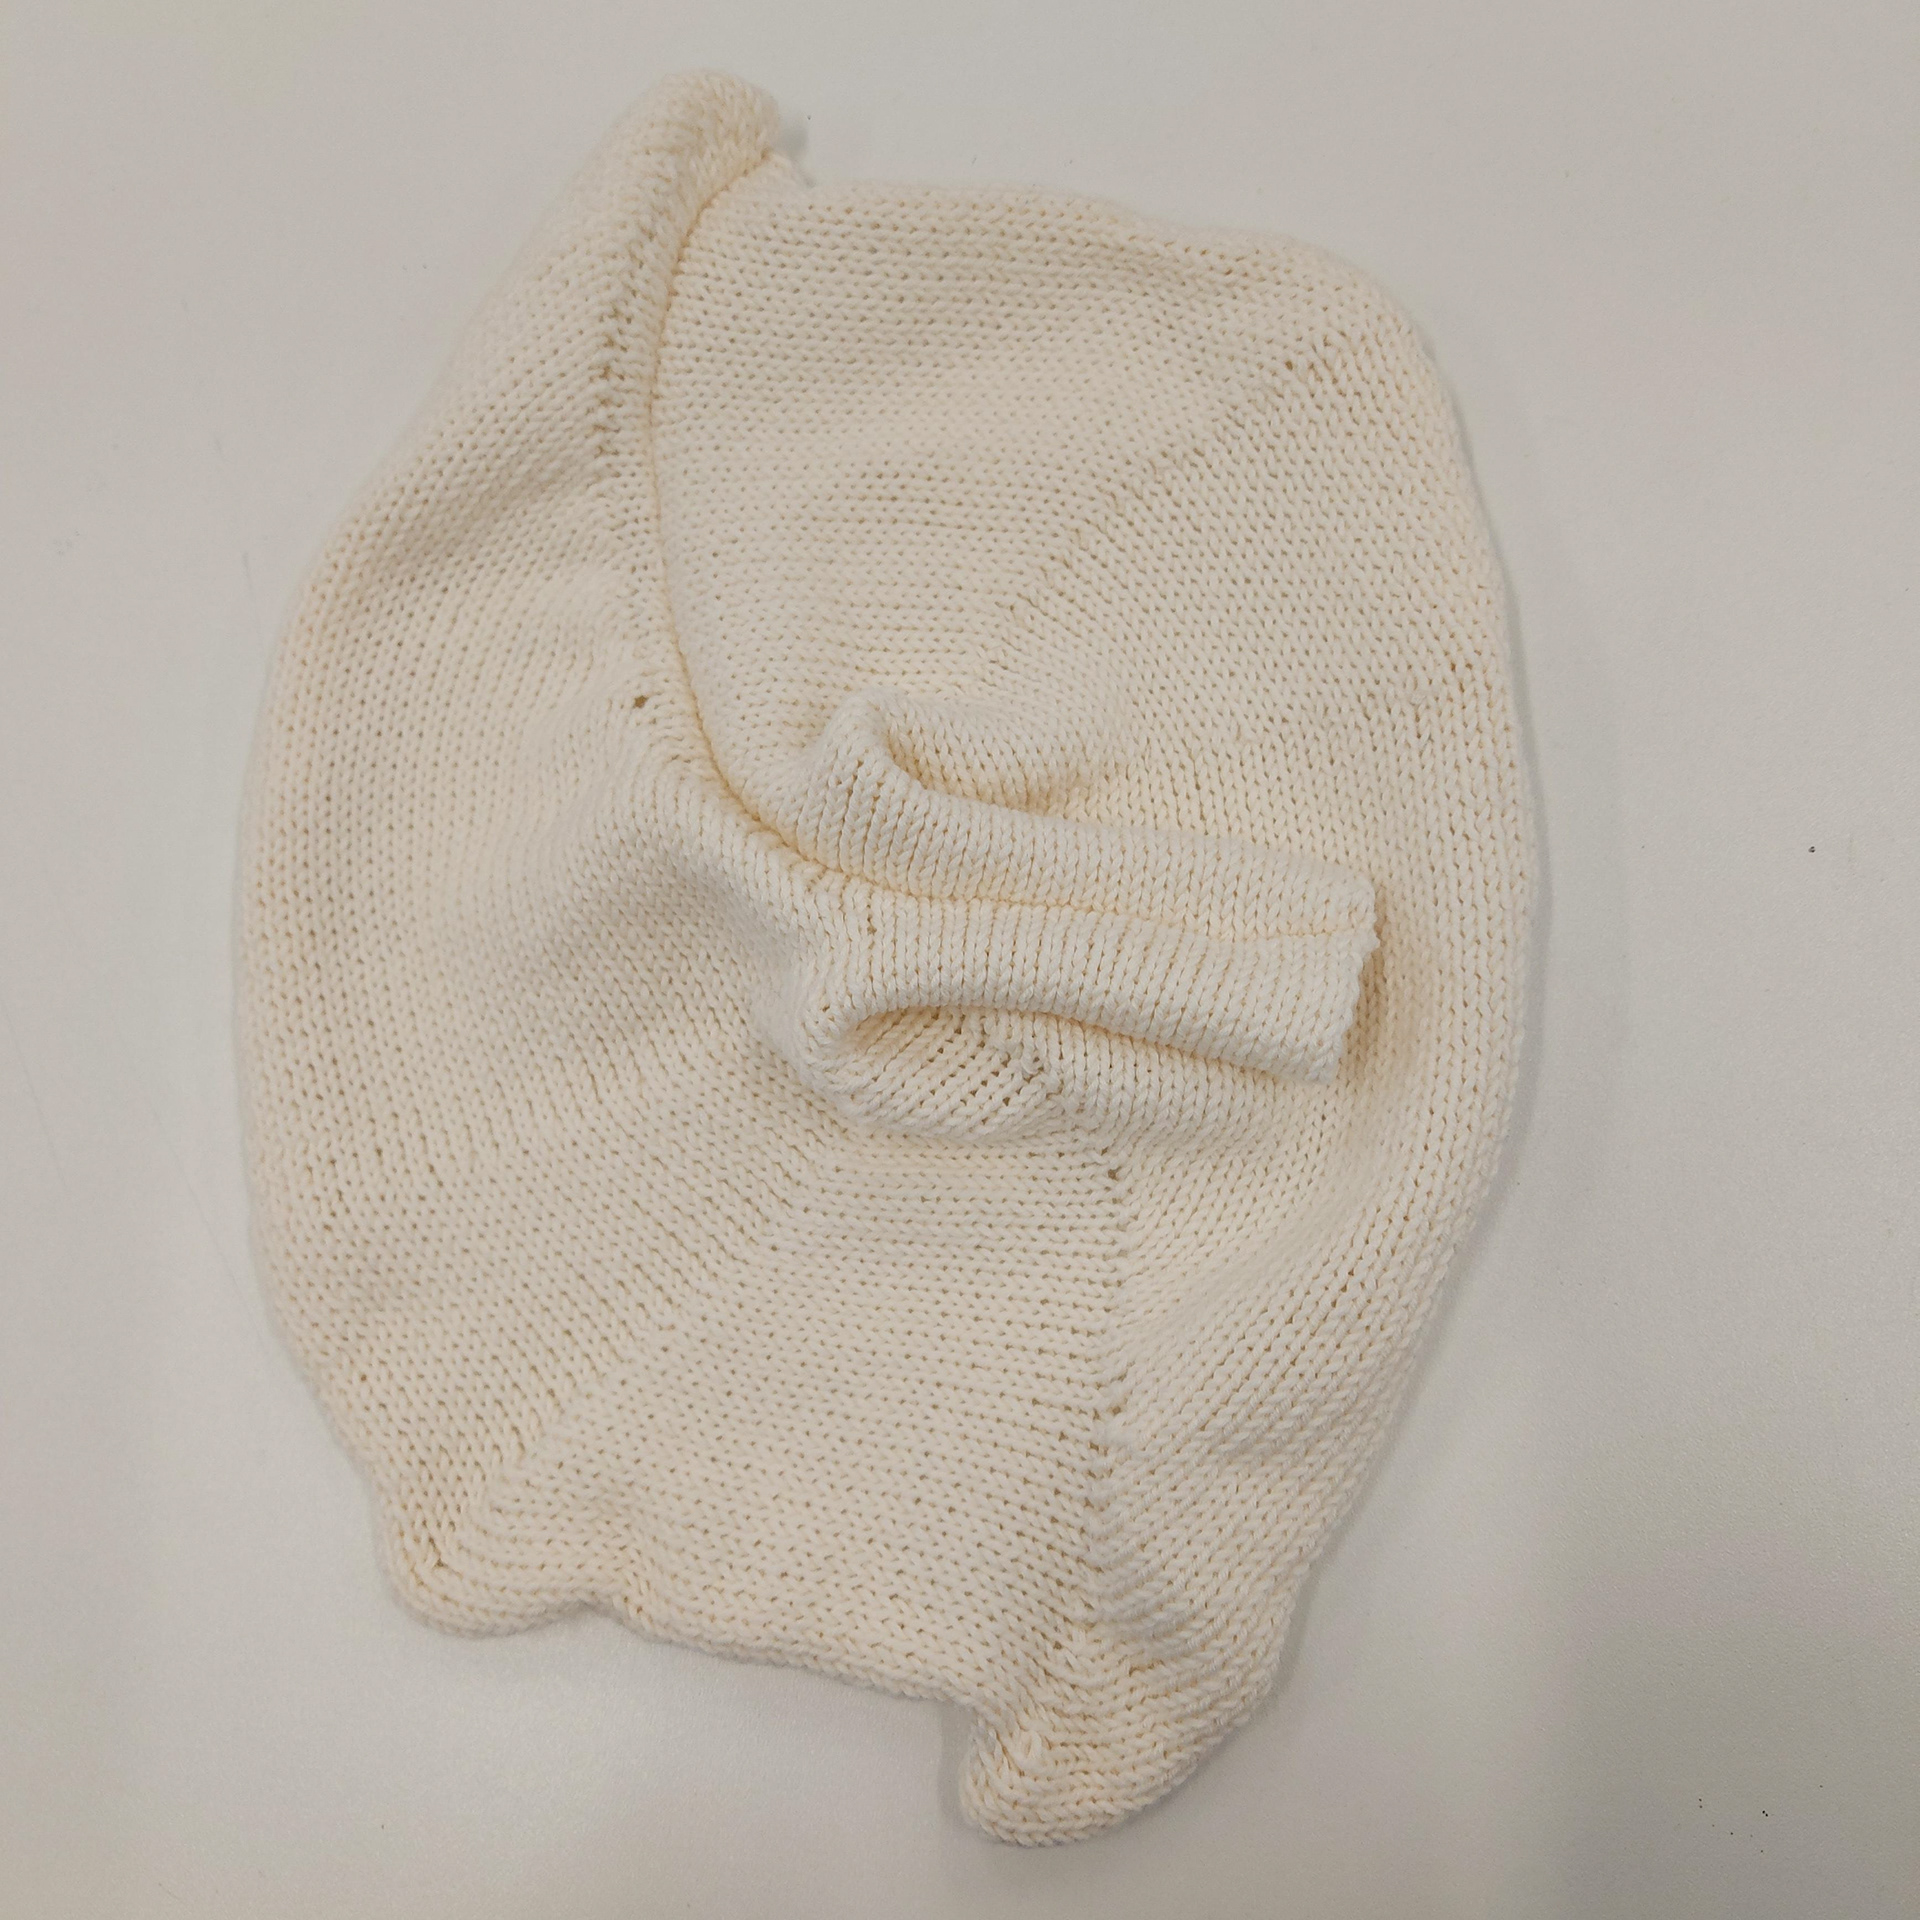
When thinking about how I could form the object for drying, I realised quickly that this couldn't sit on a slab of plaster. In order for the slip covered knit to dry without touching the plaster and manipulating the surface of the slip, I decided to use a rectangular plaster block to hold the middle of the piece up. I was noticing that both ends weren't symmetrical although I had tried to knit it symmetrically, trying to knit the opposite of what I had done on the other side didn't work. The use of the small notches/bobbles could potentially be used to attach to mohair or a fibrous texture and I think creates a nice texture. Thinking back to the last time I knitted bobbles, the slip completely covered them and didn't show off the intricacy of the yarn.
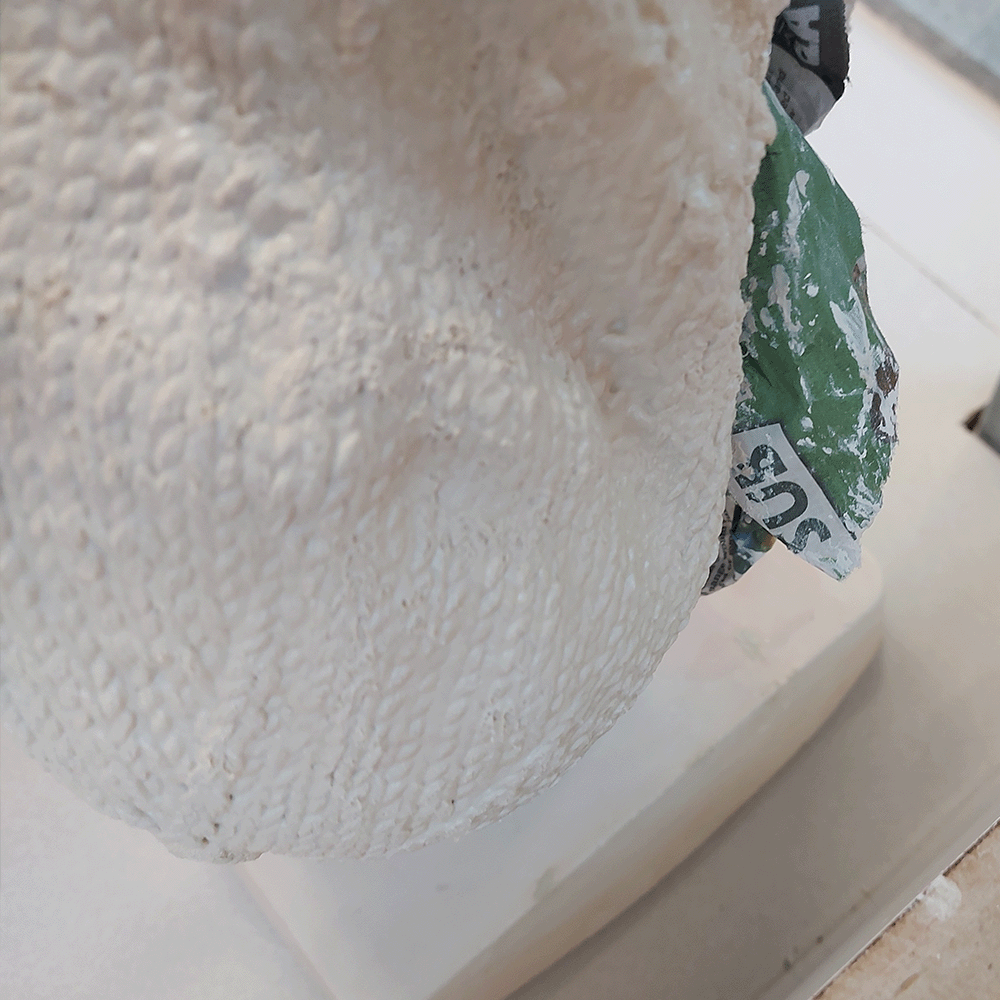
When I dampened the cotton and dipped the knitting in the porcelain slip, I found that the piece expanded a lot more than I was expecting. This meant that I quickly had to balance the plaster block onto another block and wrap it around with newspaper so that the piece could be formed but also not stick to the plaster. One end sinks down more than the other, however, I think that letting the material sit the way it wants to will make it flow better. When slip dipping, I realised that I might be making pieces that are too big. I don't have as much control when having to squeeze out as much slip as possible from the bigger pieces that I am used to. Thinking about how I could scale this up, I am thinking that I can't scale up the porcelain fired knitting, especially because we don't have a kiln big enough anyway.
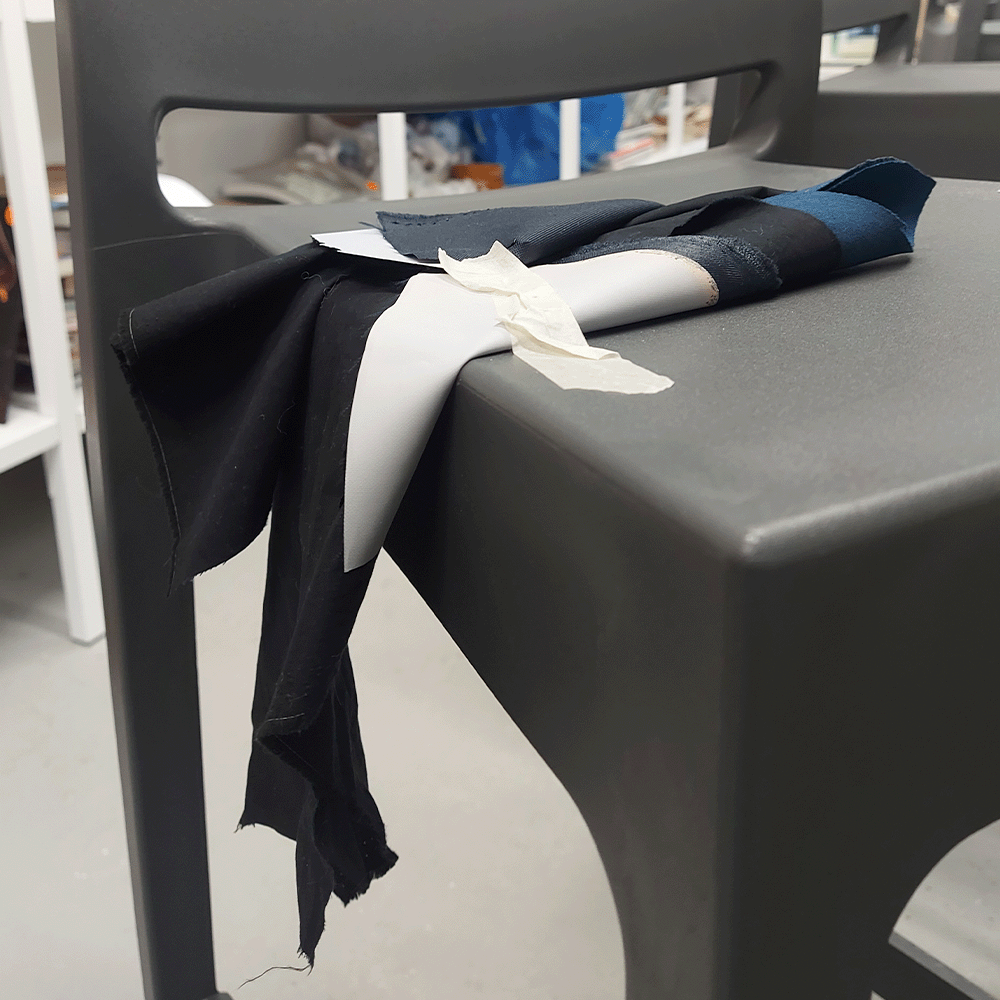
Trying to generate ideas for forms, I did some experimentation using fabric and other objects I have.
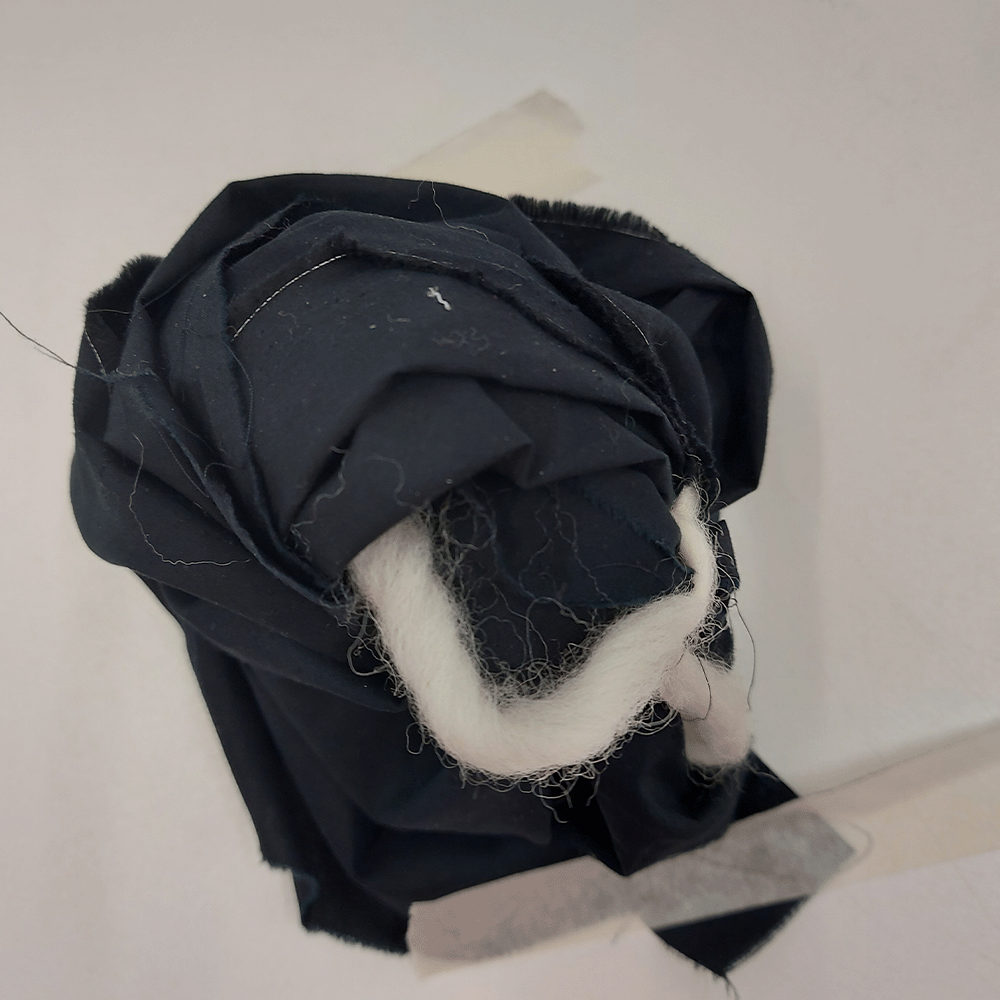
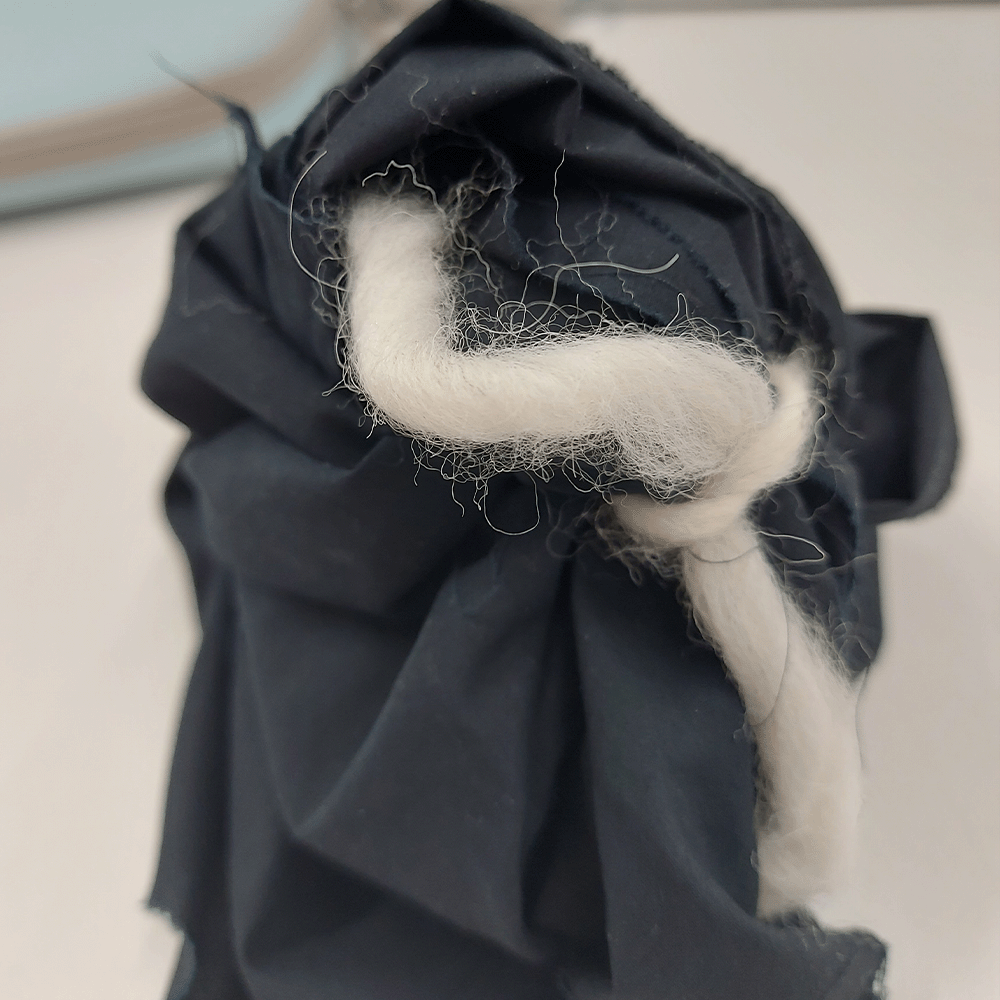
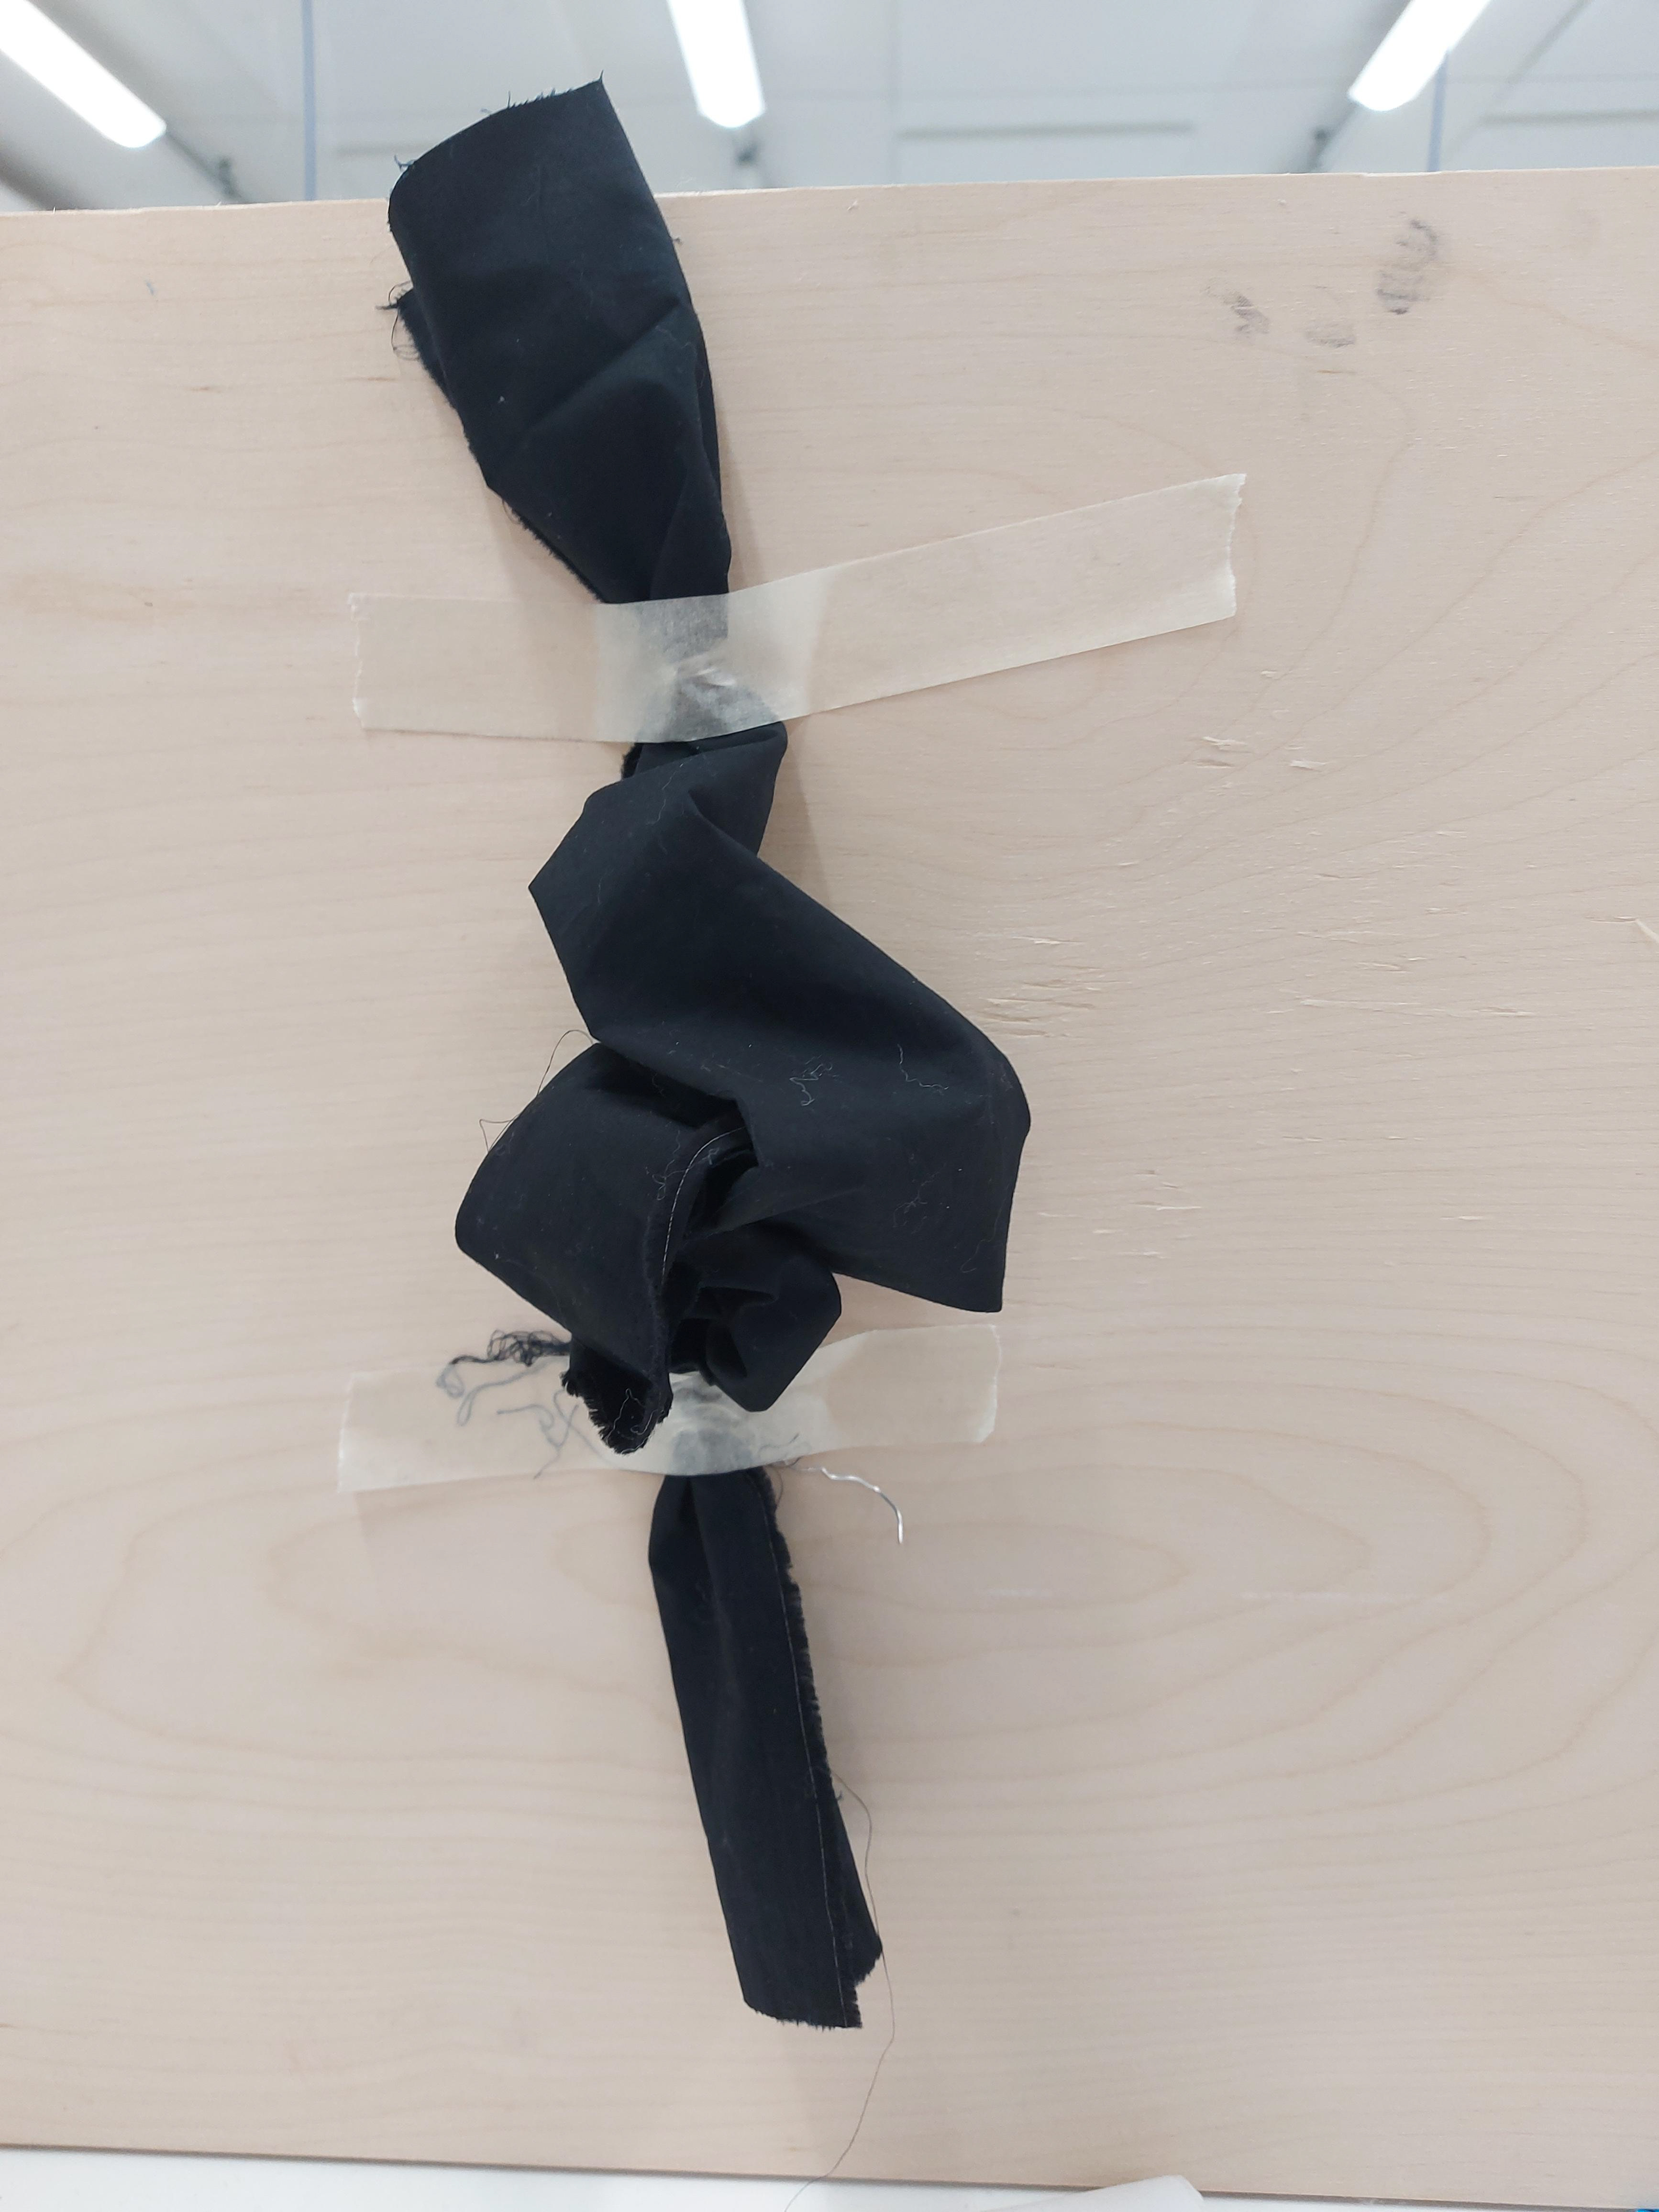
Starting off by using a chunky yarn to create a knot and overlapped shape. This made me think about potentially using knots or pieces of yarn to wind around my knitting as a former.
Having the material drape down instead of led a certain way does remind me of the theme of embrace. Draping the fabric over the metal wire creates a flowy shape while also 'embracing' the air. Using metal wire to guide my work when casting could be tricky because the slip would stick to the wire and might not come off without the damaging the work, however, any knitted material that wouldn't be casted could be easily manipulated with quite thin metal wire.
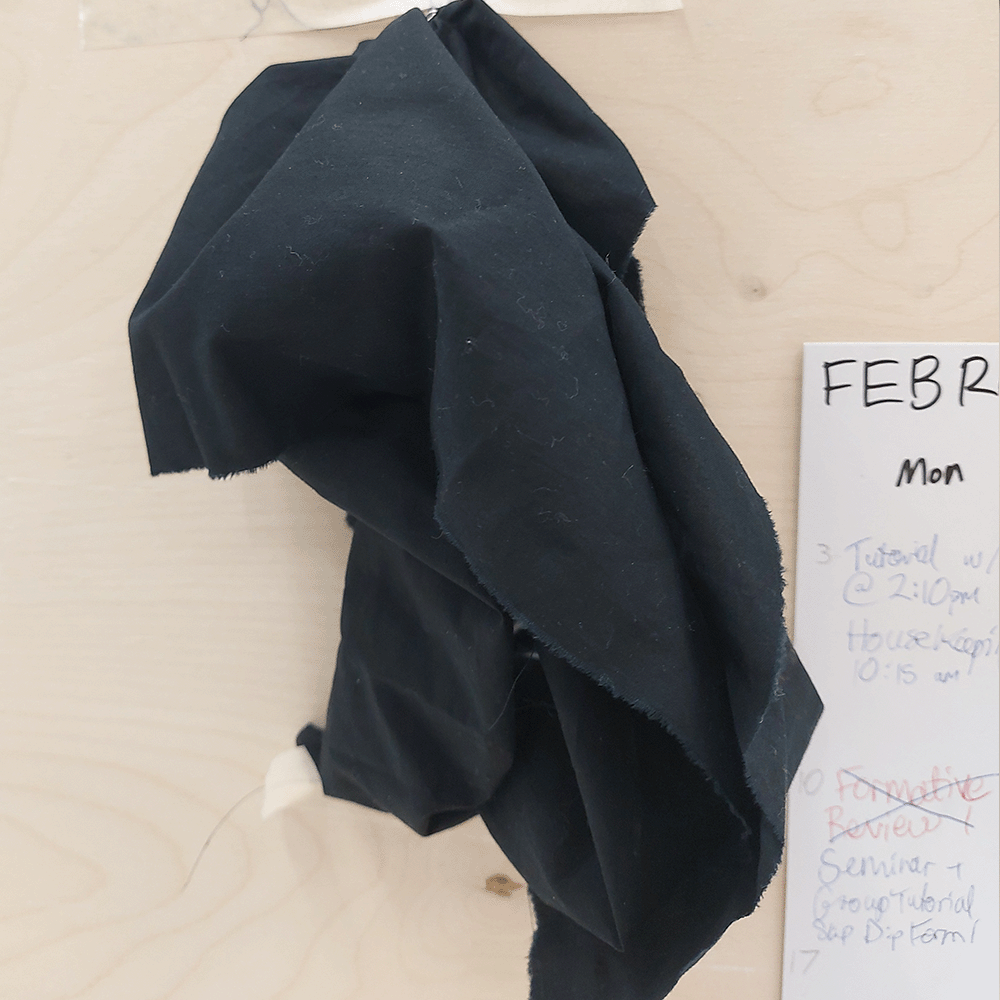
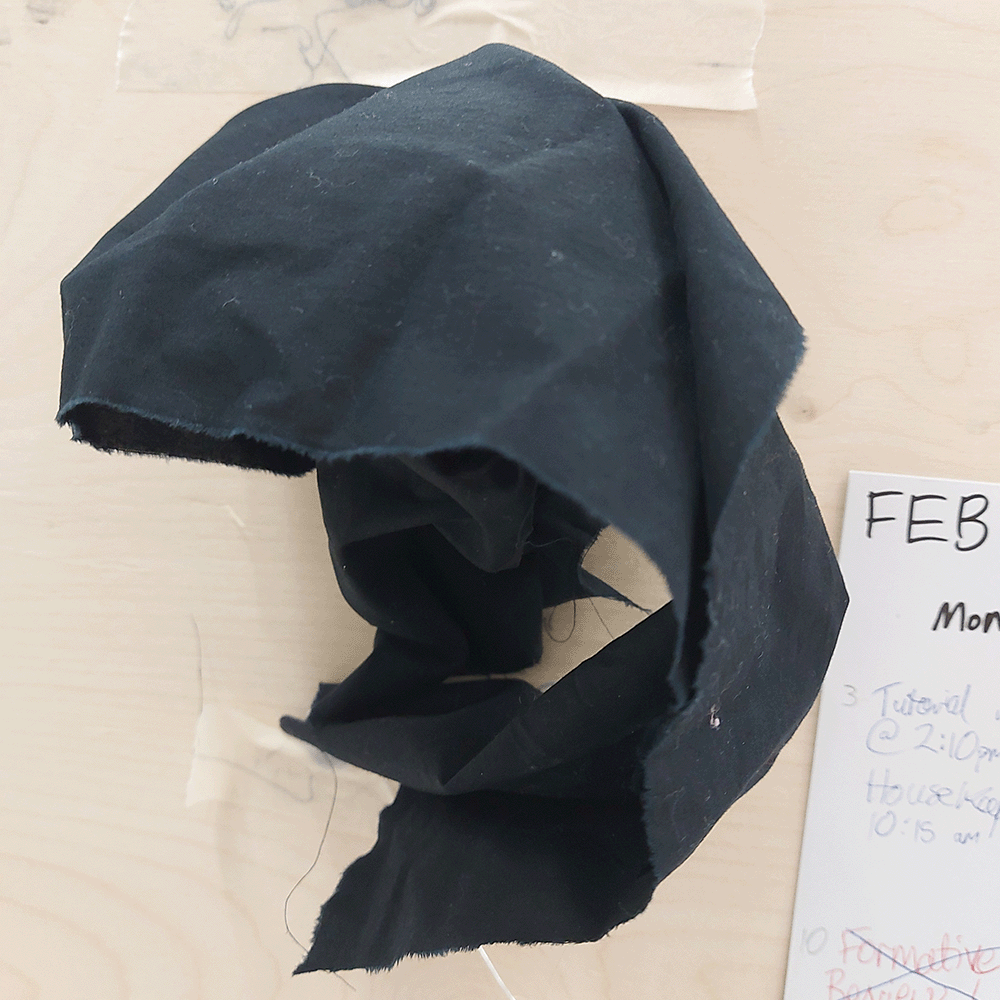
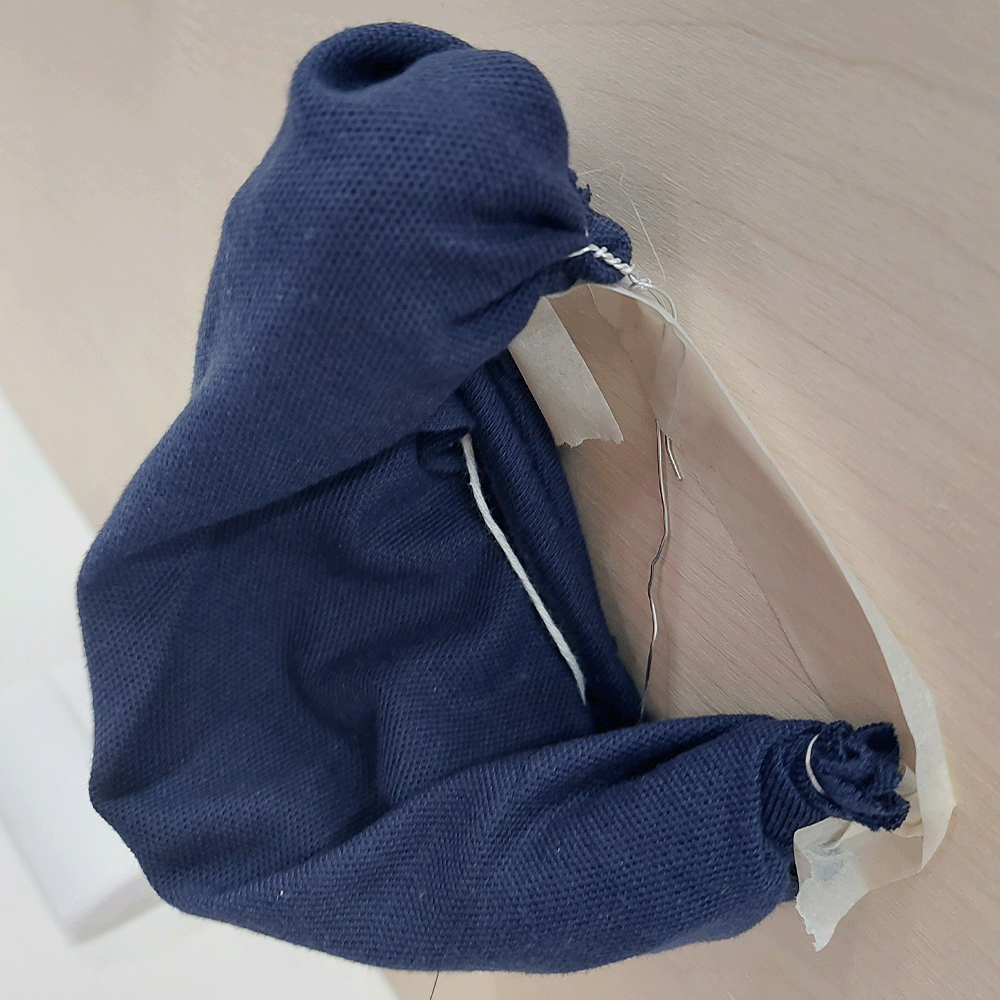
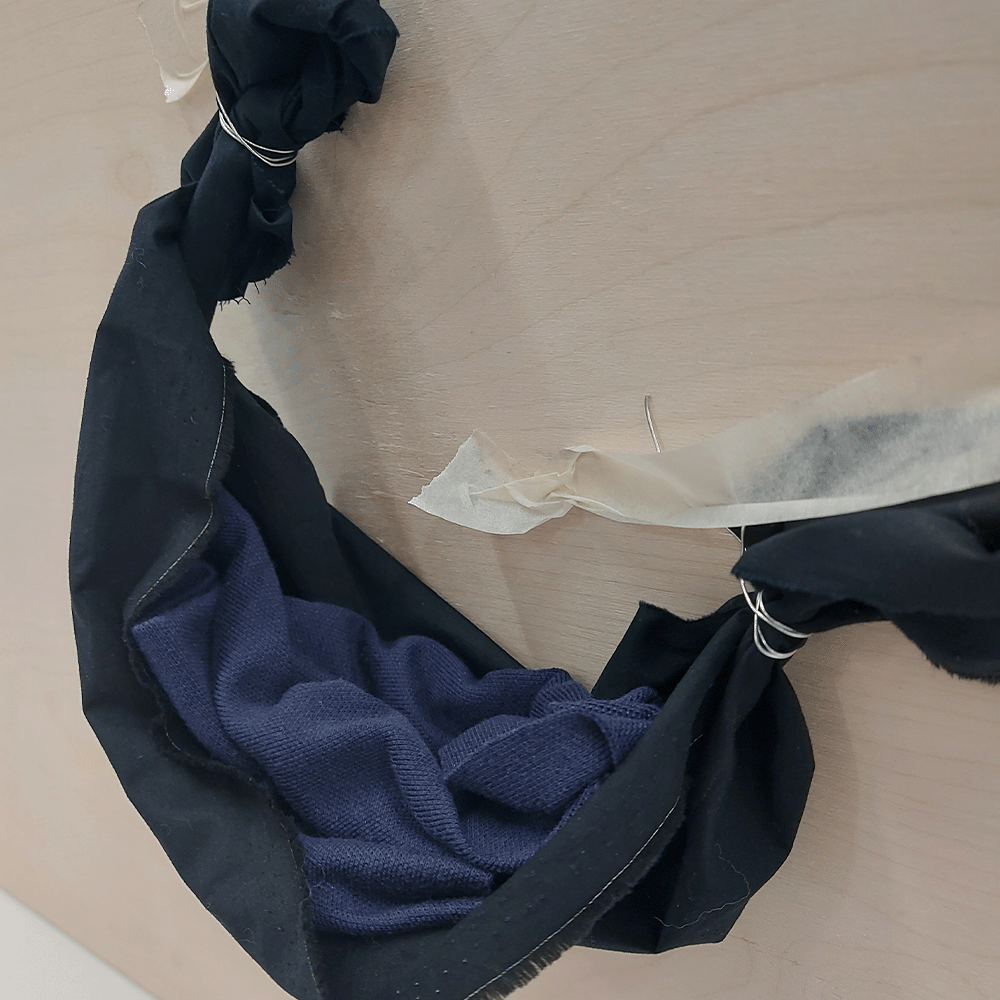
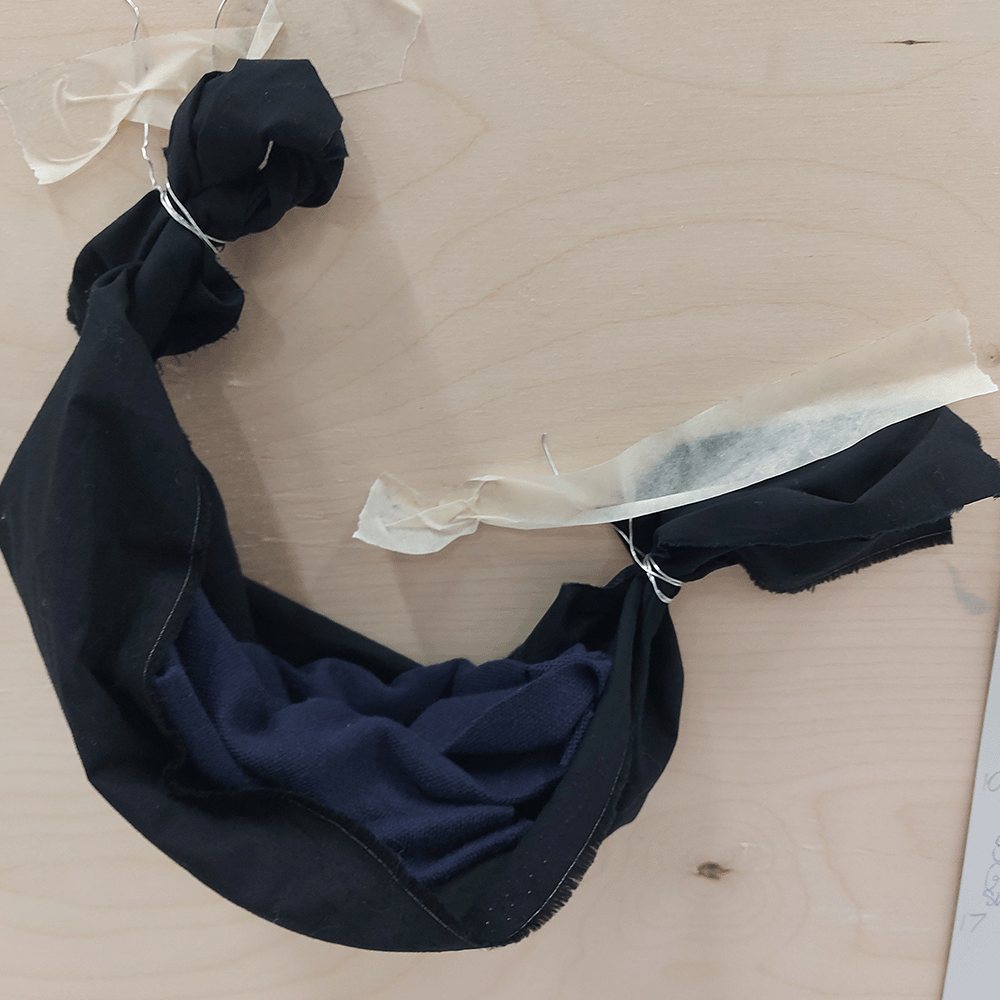
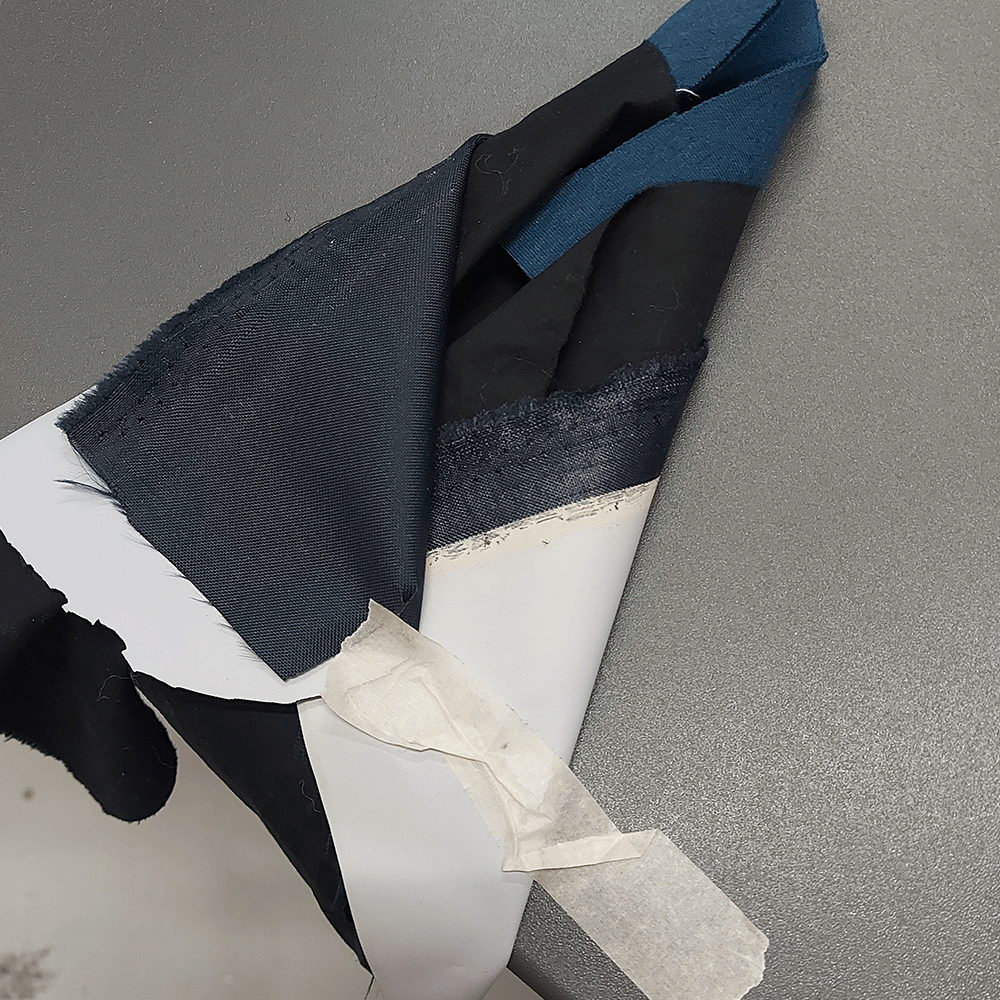
The crescent shapes that I have been making with the fabric is an interesting shape when pinned to the board, but how would this look sitting down or hung up? Using different materials to make the same shape in different ways could be an interesting experiment. For example, if there was a sculpture of knitting cradling ceramic and then there was another sculpture where the ceramic is cradling the knitting, how would this change the work?
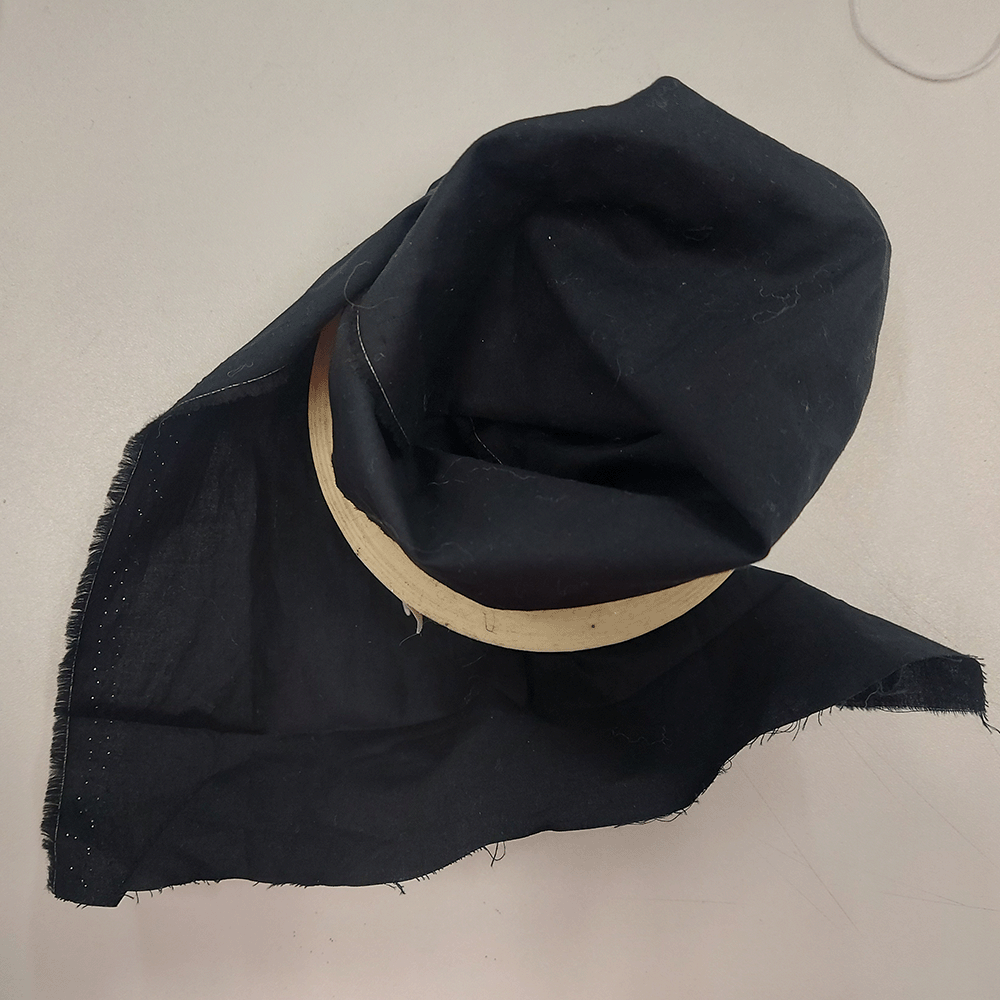
These experiments here showed how a simple form like a circular roll of masking tape could change the shape of the fabric so quickly. This made me think about how knitted ceramic forms that are solid and that are able to hold textile can change forms very quickly and effortlessly. Is there a way that I can consciously put ceramic pieces in different spaces to create a textiles 3D form?
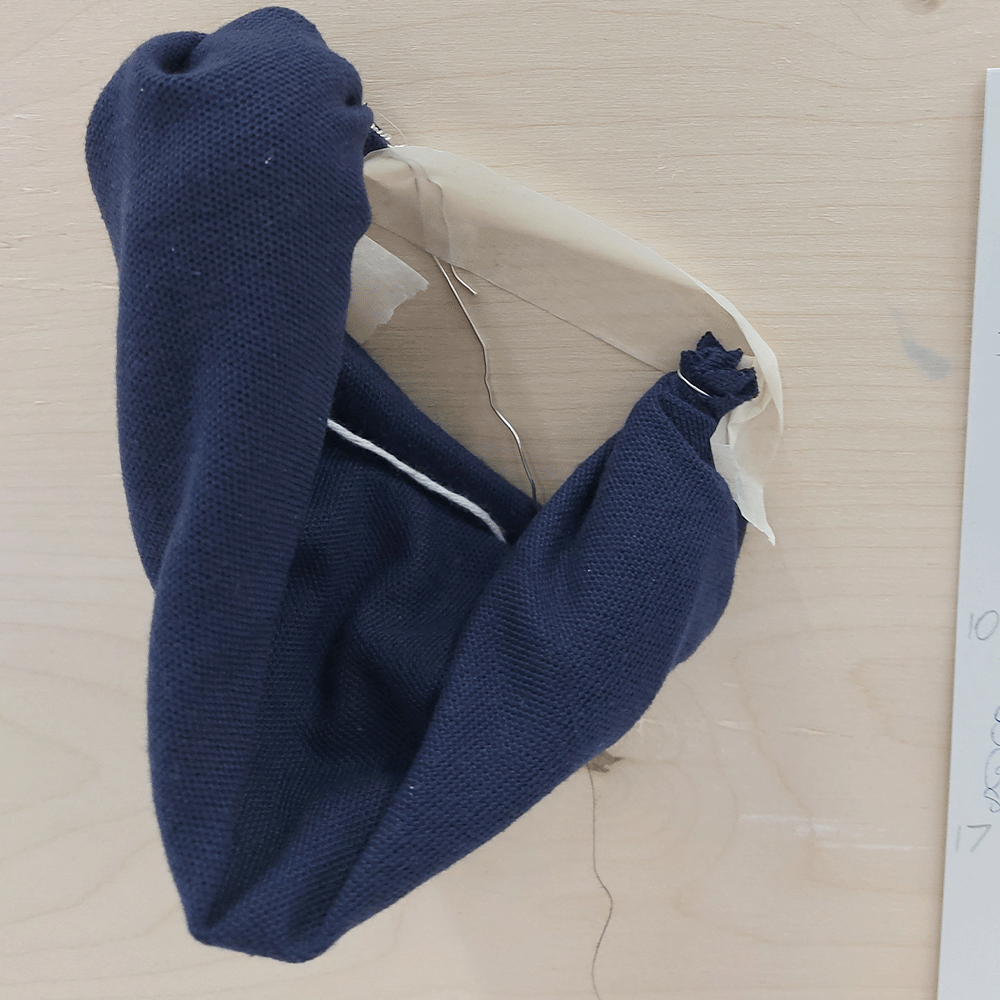
Showing different textiles overlapped on a solid space made me think about how I could utilise an installation space to show the drape of a material. I would also like to think about how I could make different knitted textiles interact with each other by overlapping or knotting.
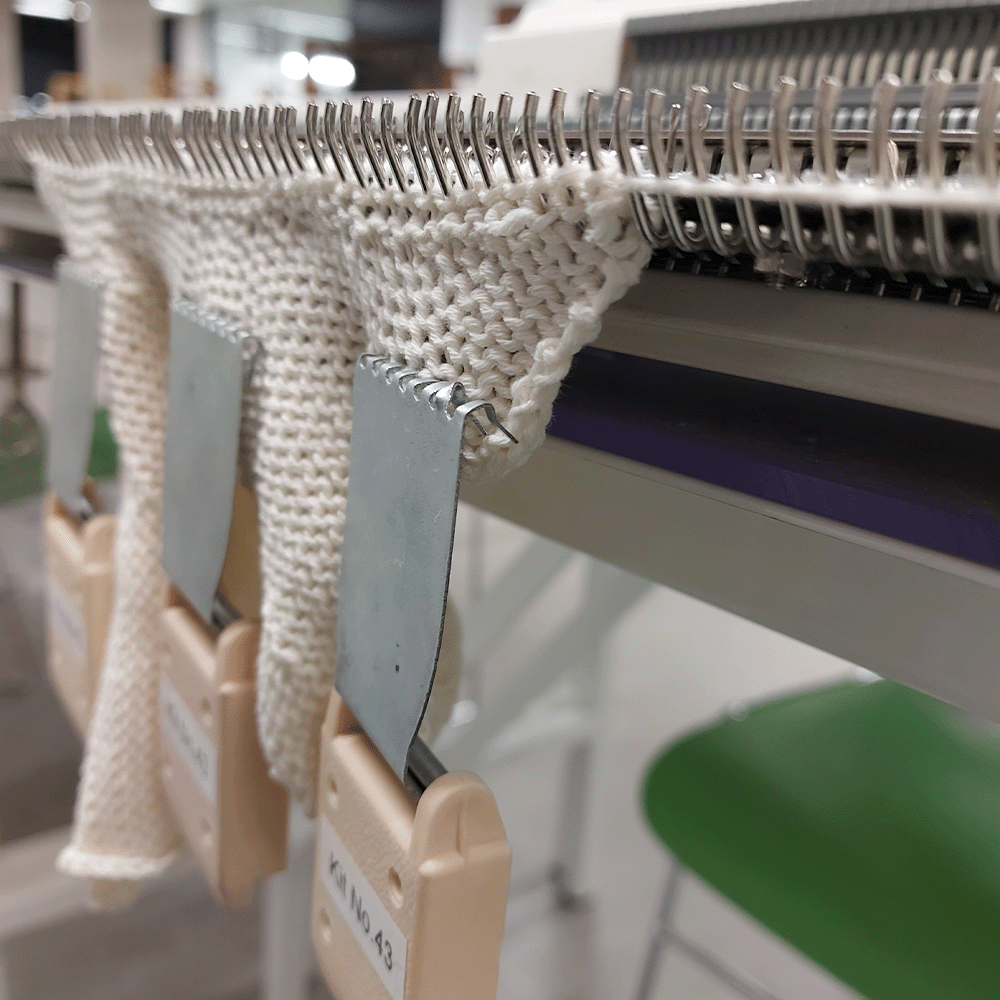
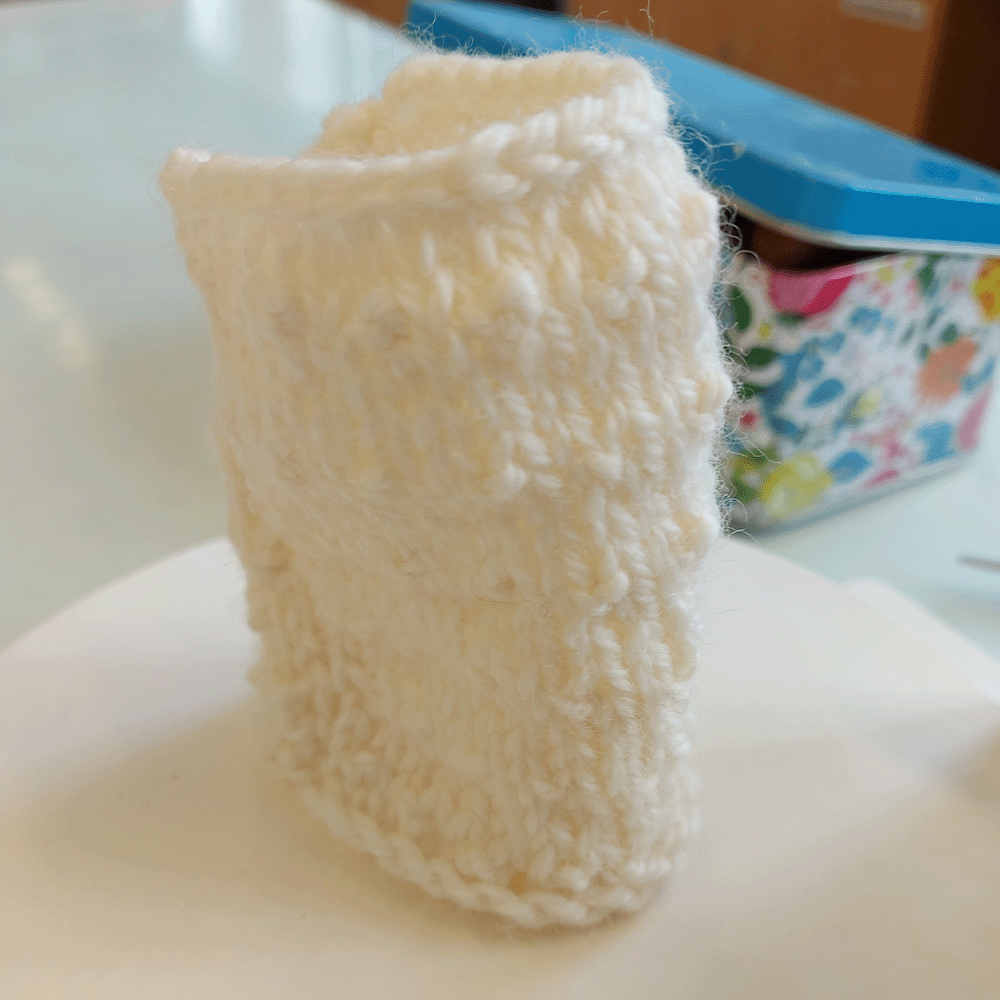
I did my knitting machine induction and learnt how to use multiple machines during this time. The domestic knitting machine is a meditative and repetitive process, creating stitches while moving the carriage back and forth. Interrupting these carriage slides by putting stitches onto different needles or bringing needles forward or backward depending on what I want to knit or not knit when partial knitting (using the knitting machine to create shape by not knitting some stitches and knitting others). Really useful skills I learnt was how to make lace holes, ladders and how to create the conical shape below using partial knitting. I attached the knitted shape below using a linker, a machine that attaches knitting together. This is a useful tool that I could use in the future if creating more bulbous or cylindrical forms. Using partial knitting to create the below shape was inspired by the large bulbous form I had hand knitted, using increases to create shapes.
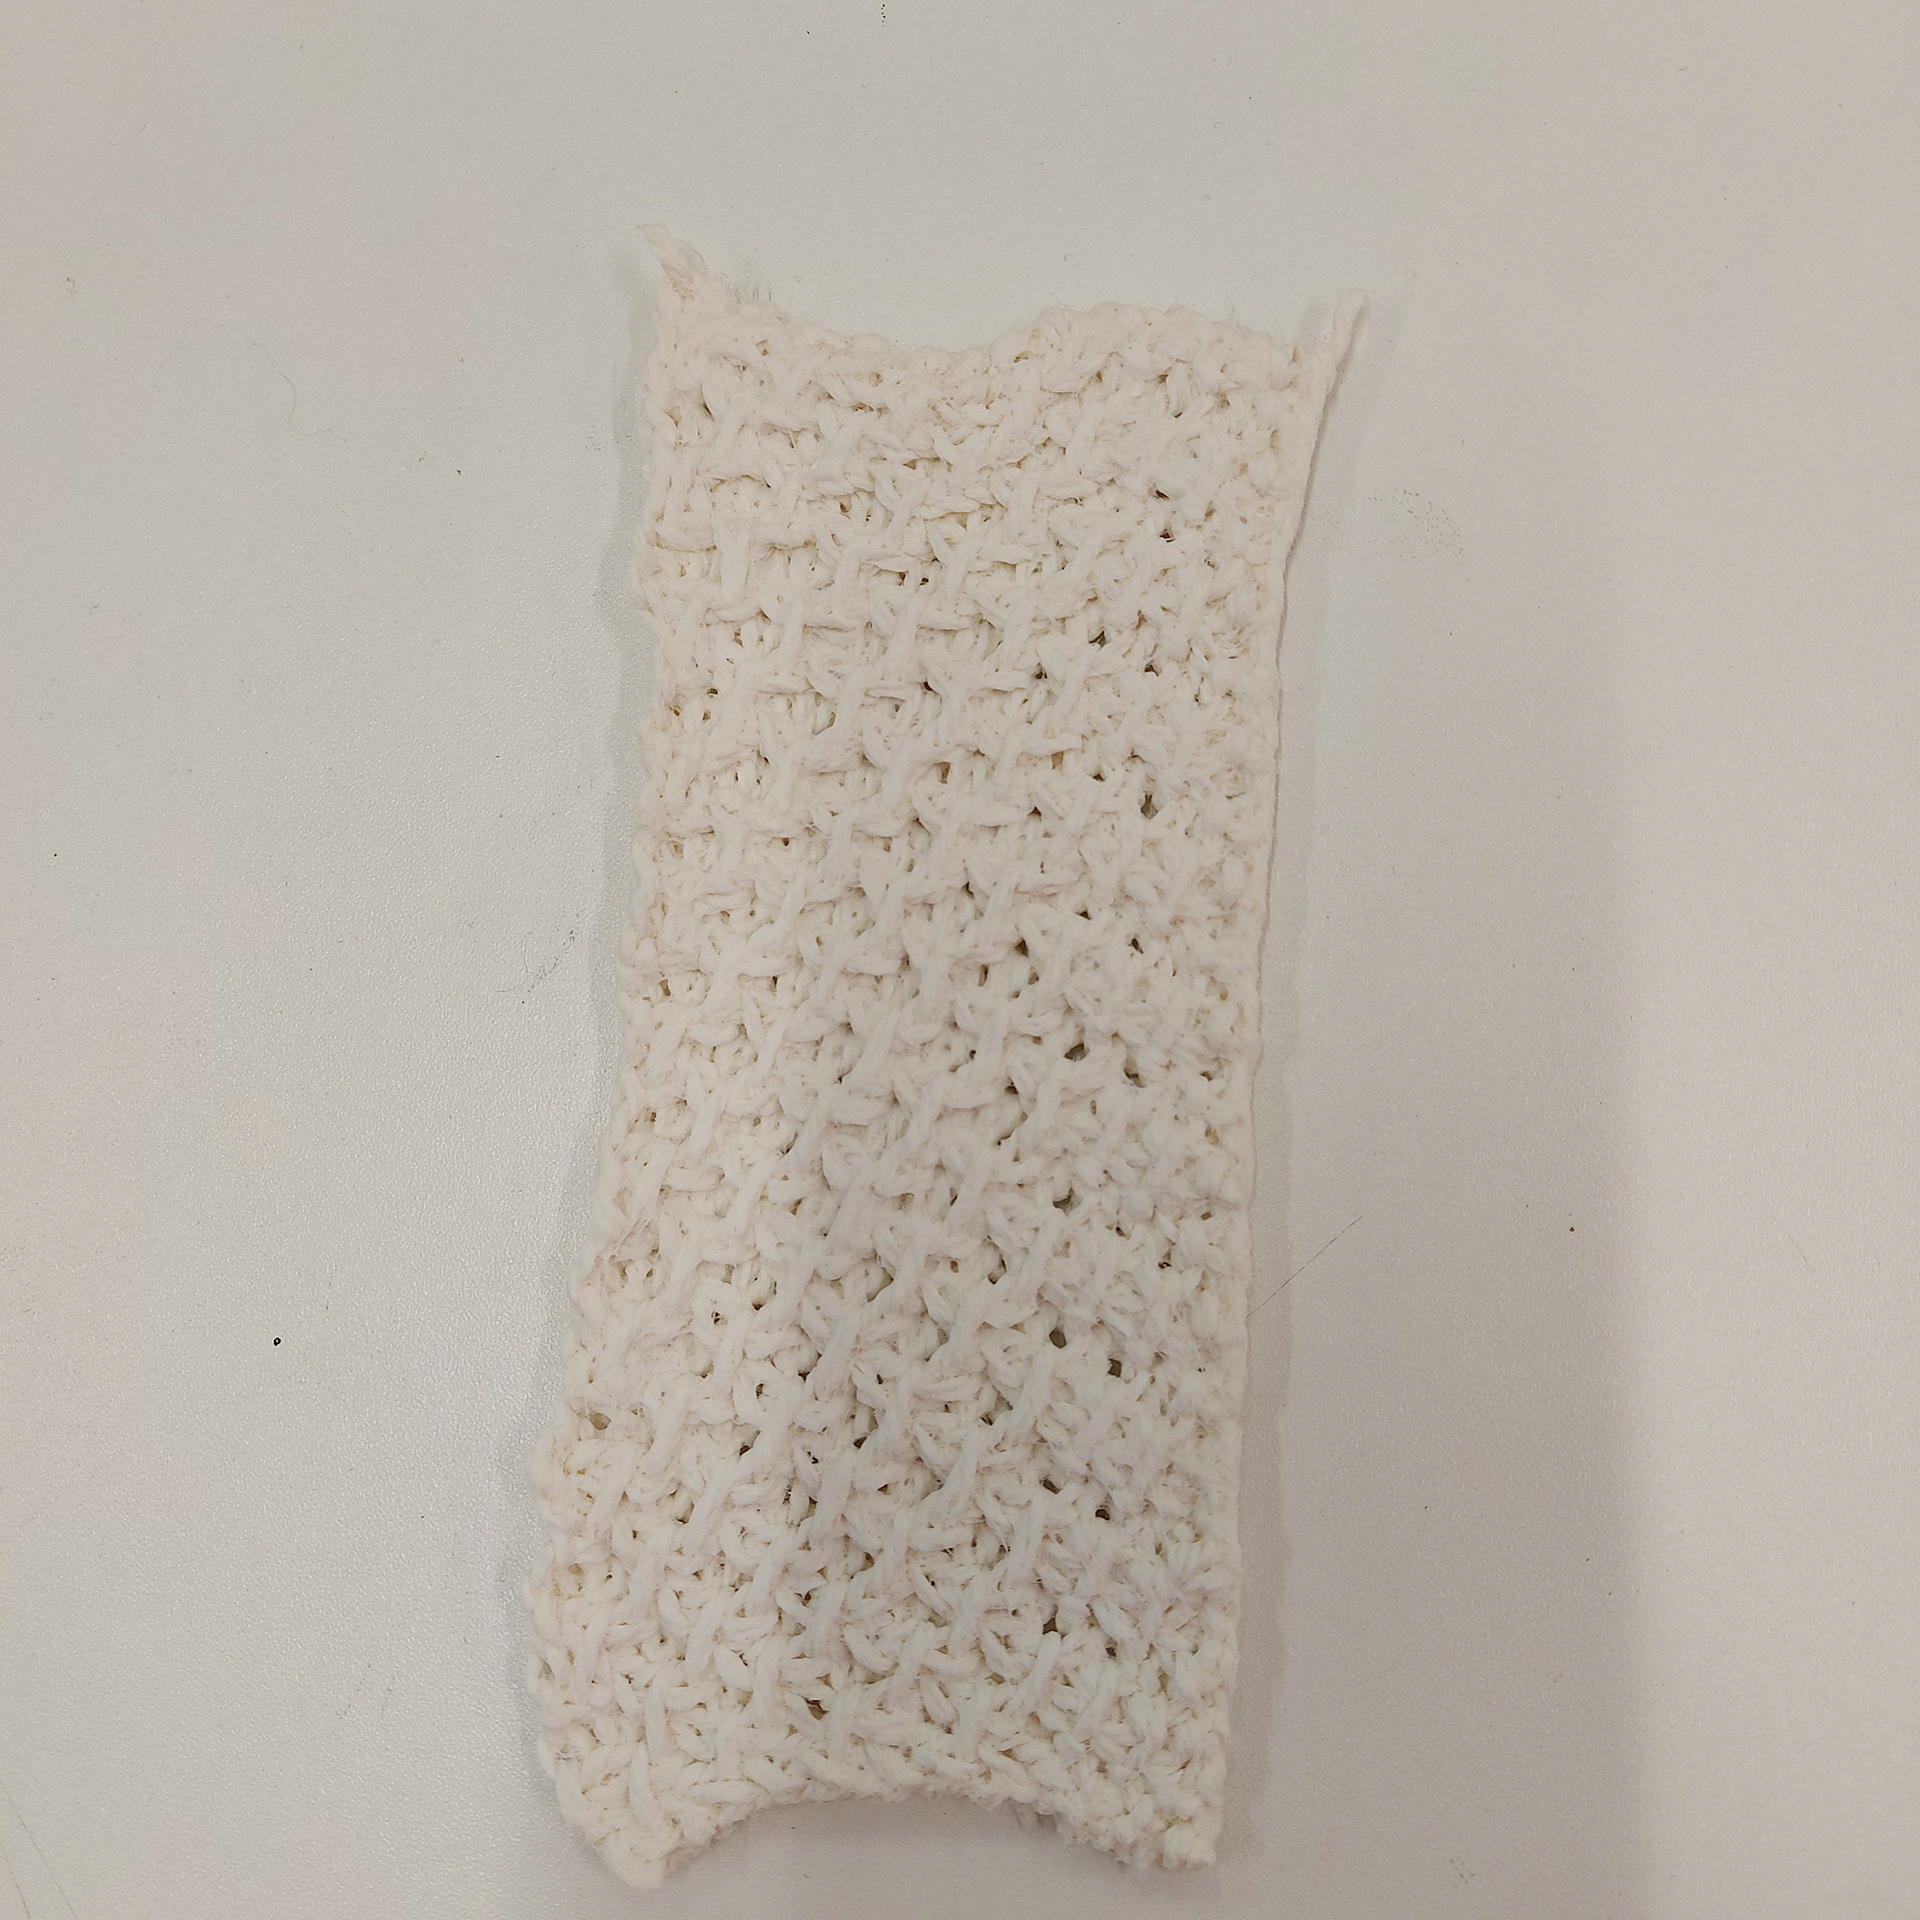
I then started knitting different stitches and experimented with knitting, creating small samples that I could cast or that I could see how it looks with a different fibre or how the texture looks.
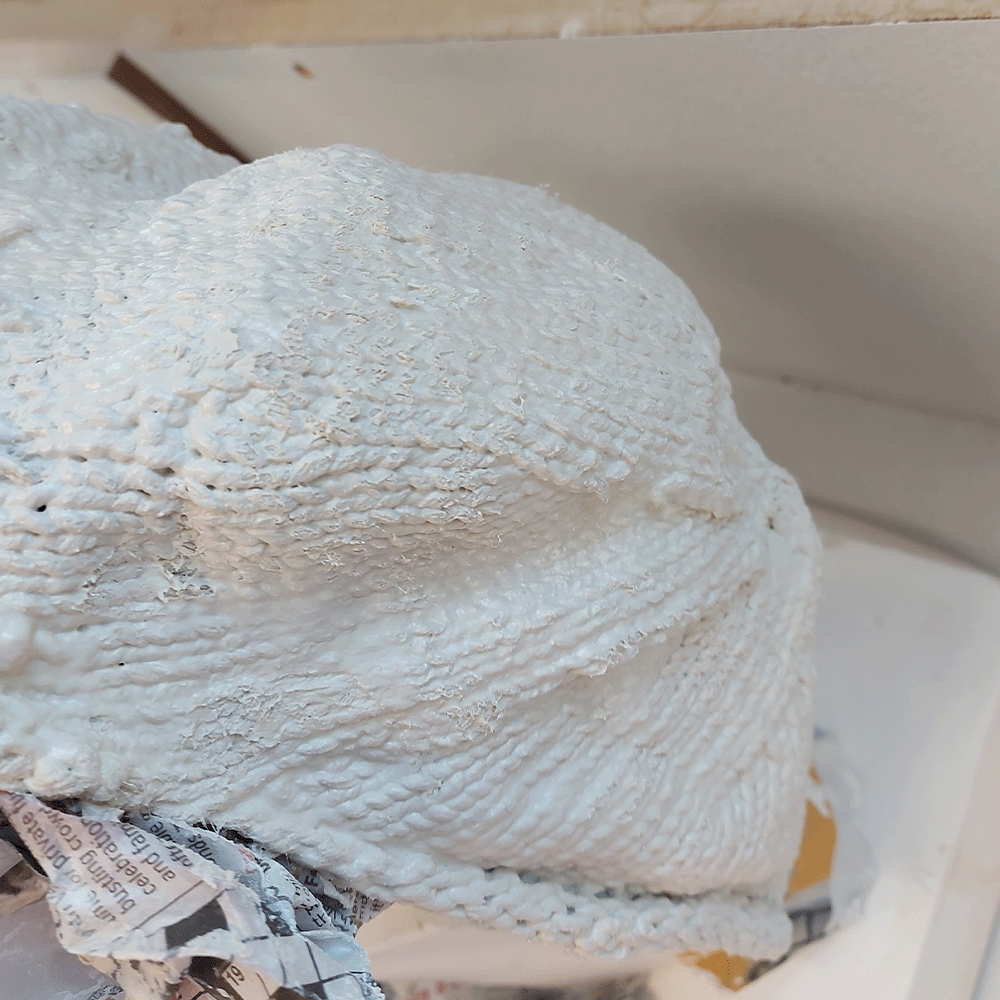
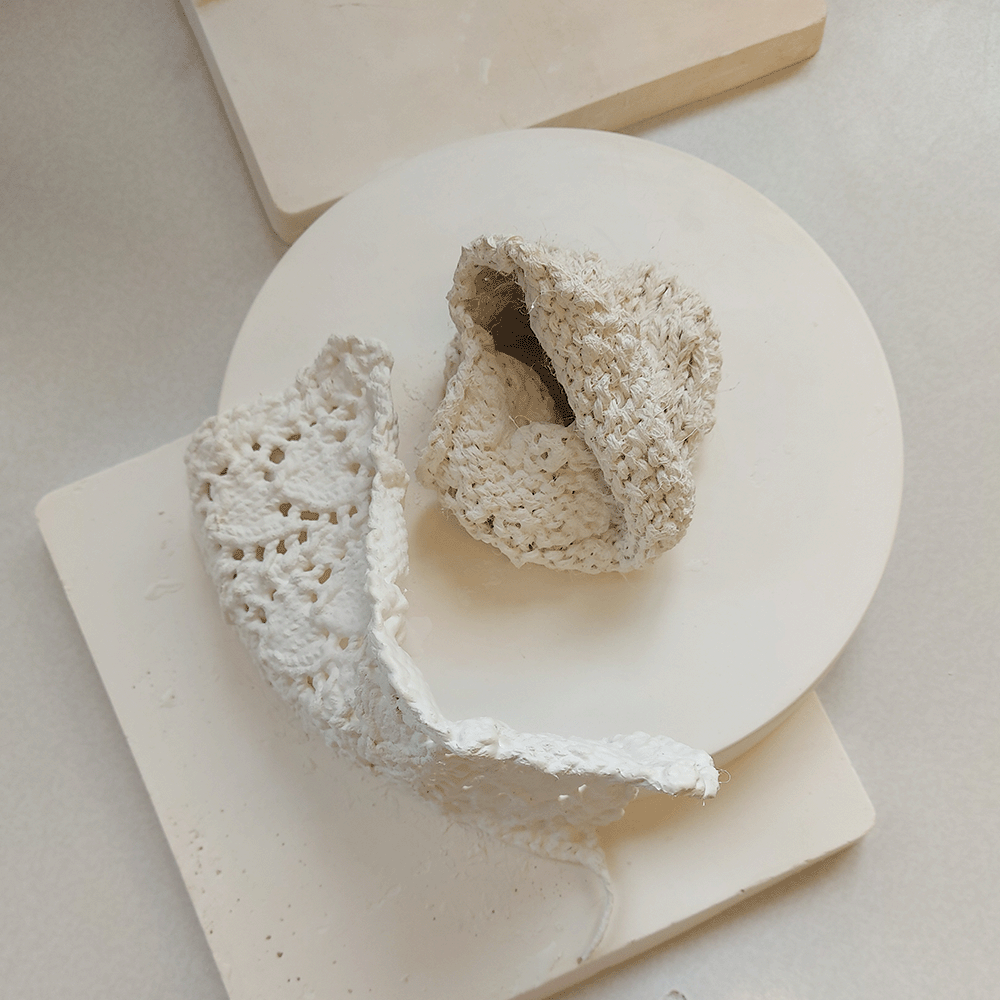
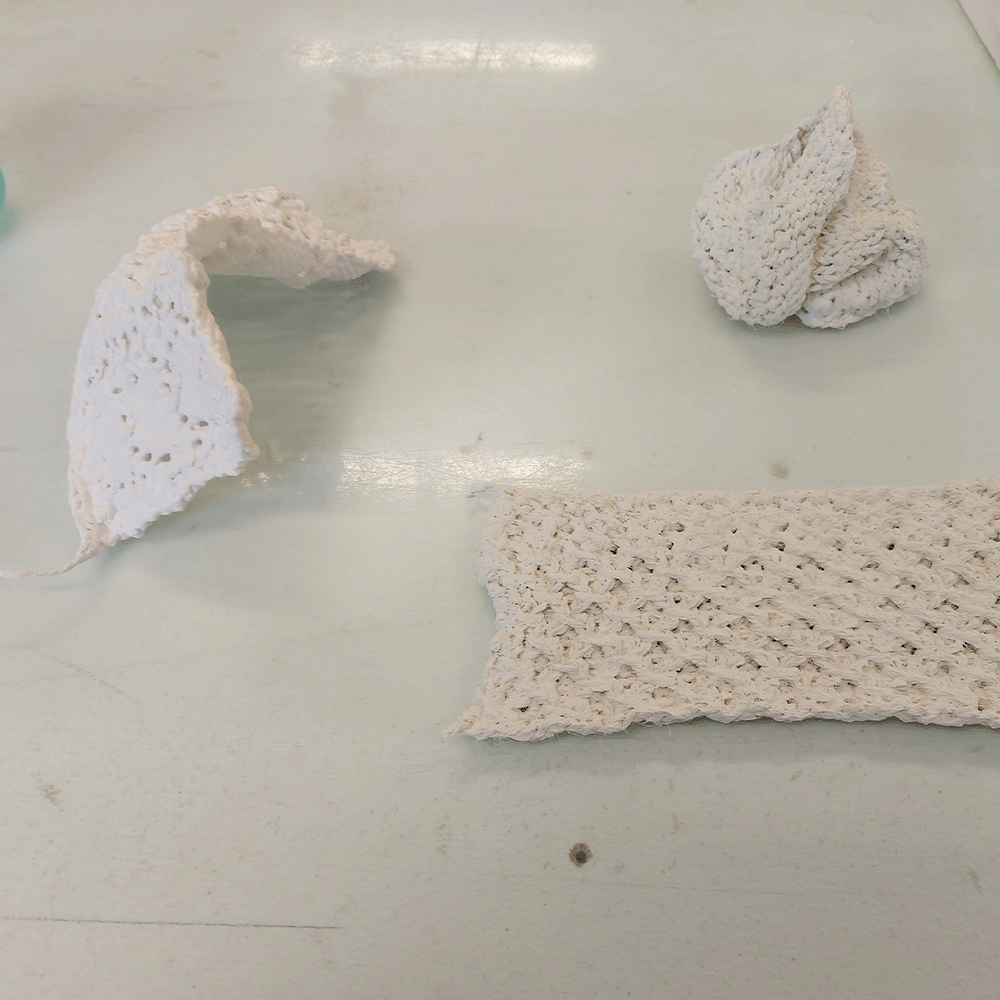
Below are the samples before being fired in stoneware. The first two photos show the knitted wool pieces before being dipped in porcelain slip, and the second are after, forming the pieces around the plaster blocks. These were easier to dip in the slip and gently squeeze the excess slip out quickly, making them look more detailed before going into the kiln,
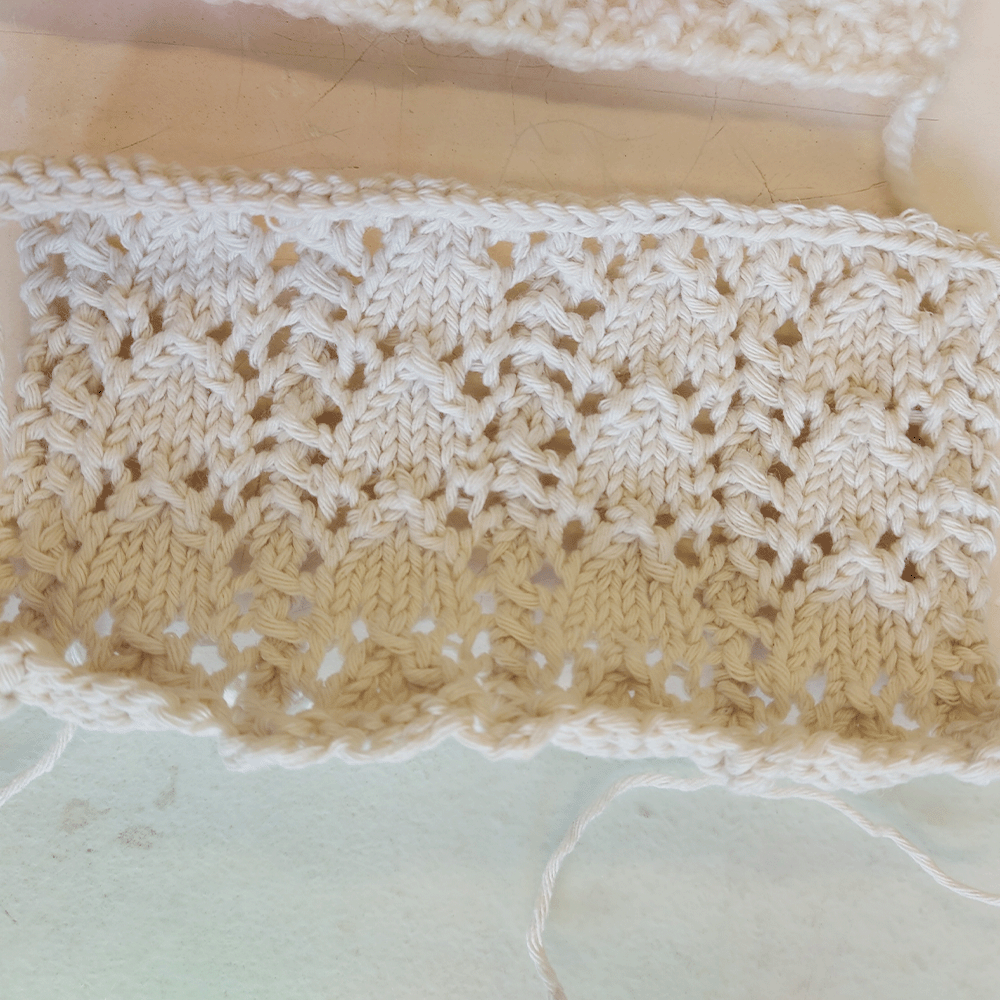
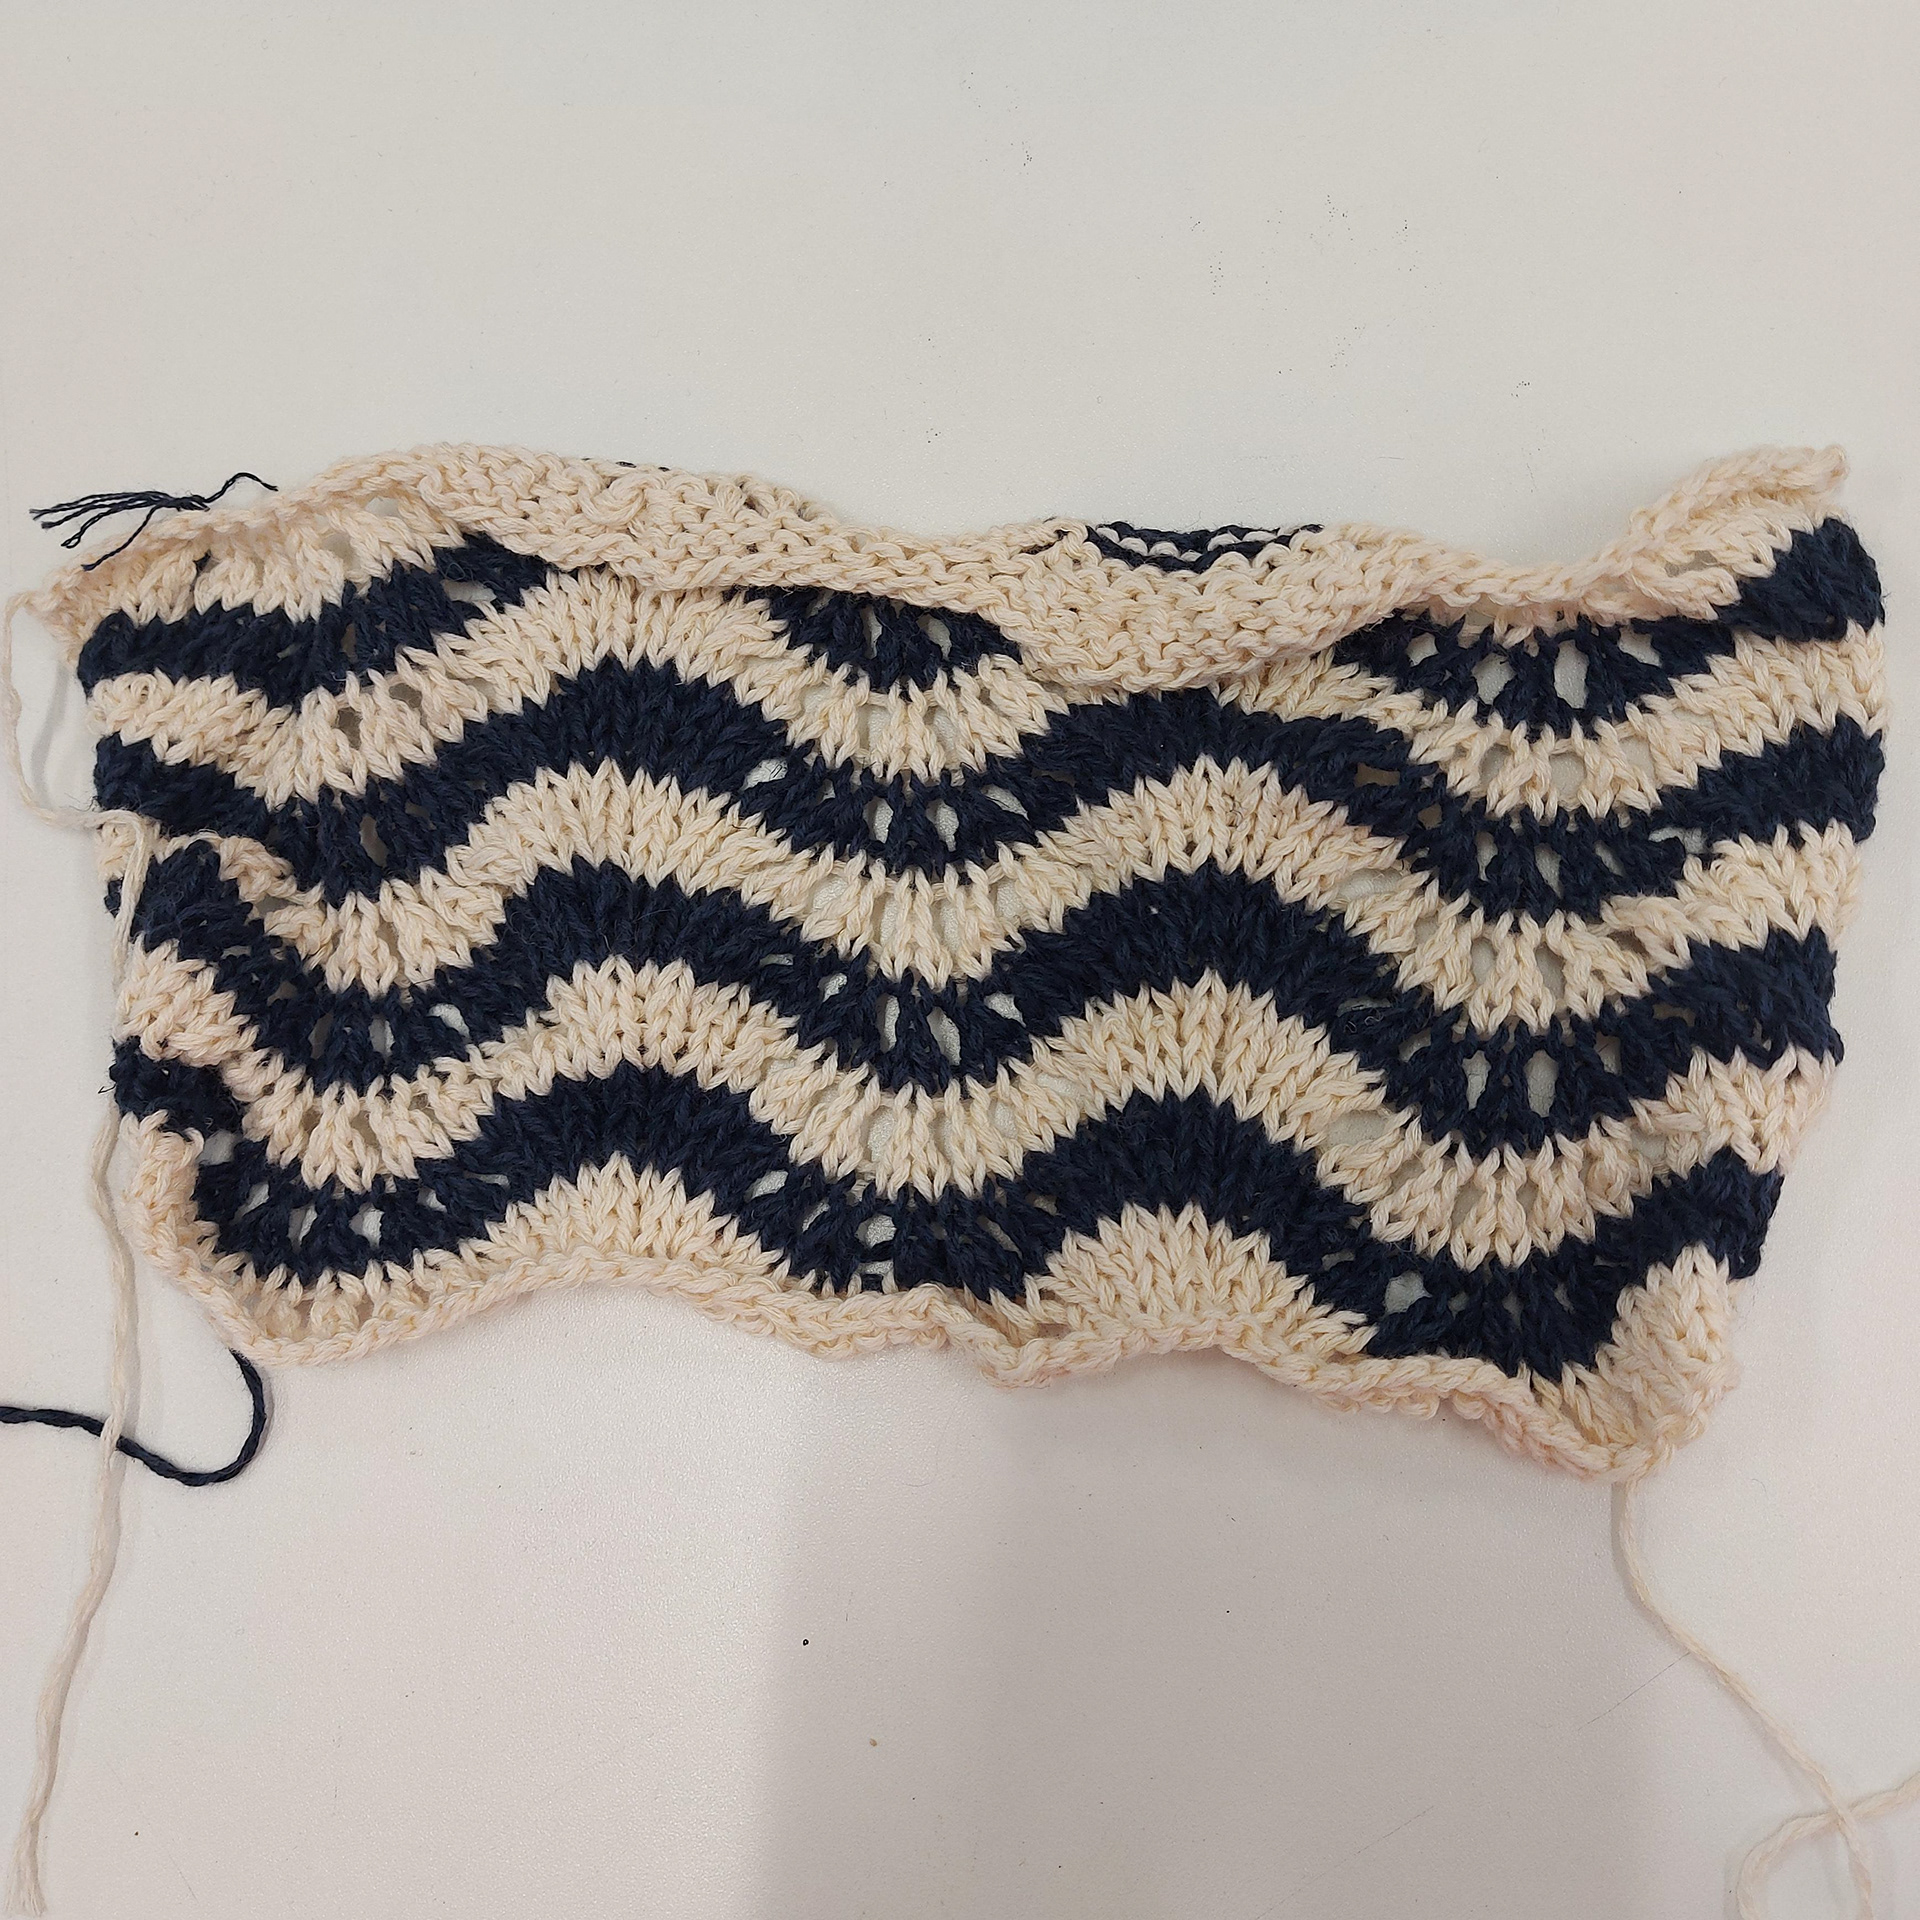
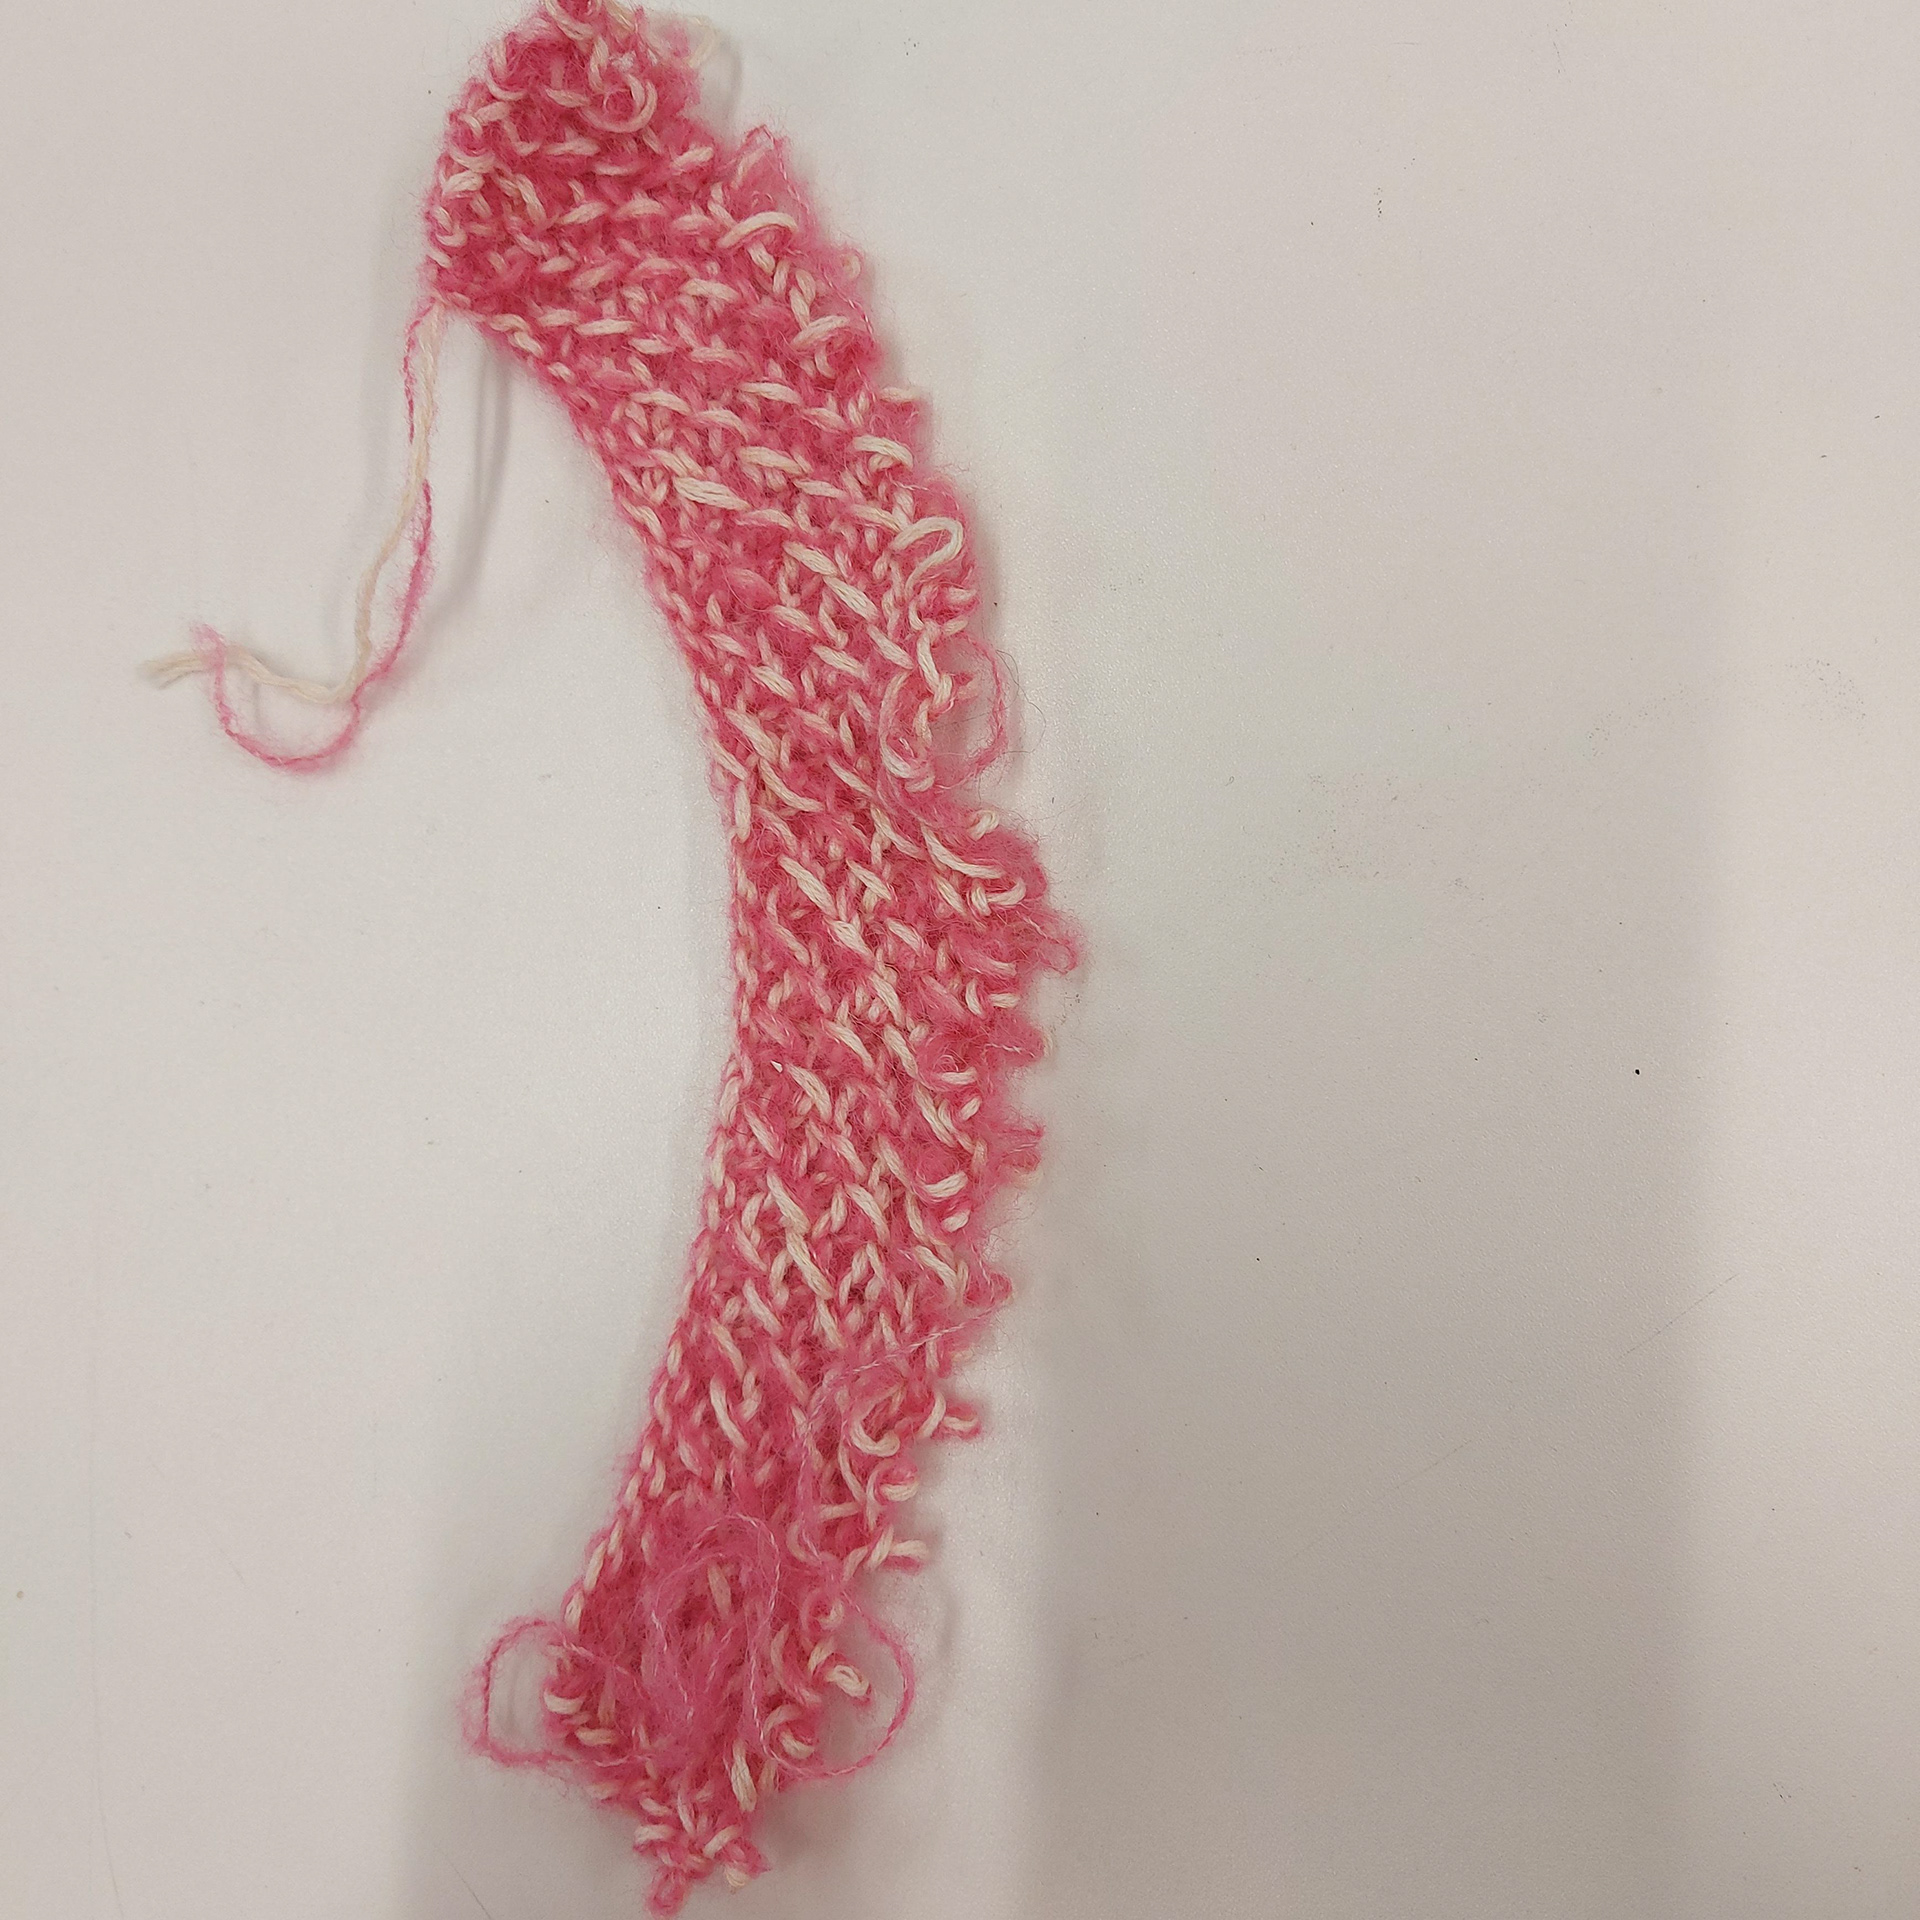
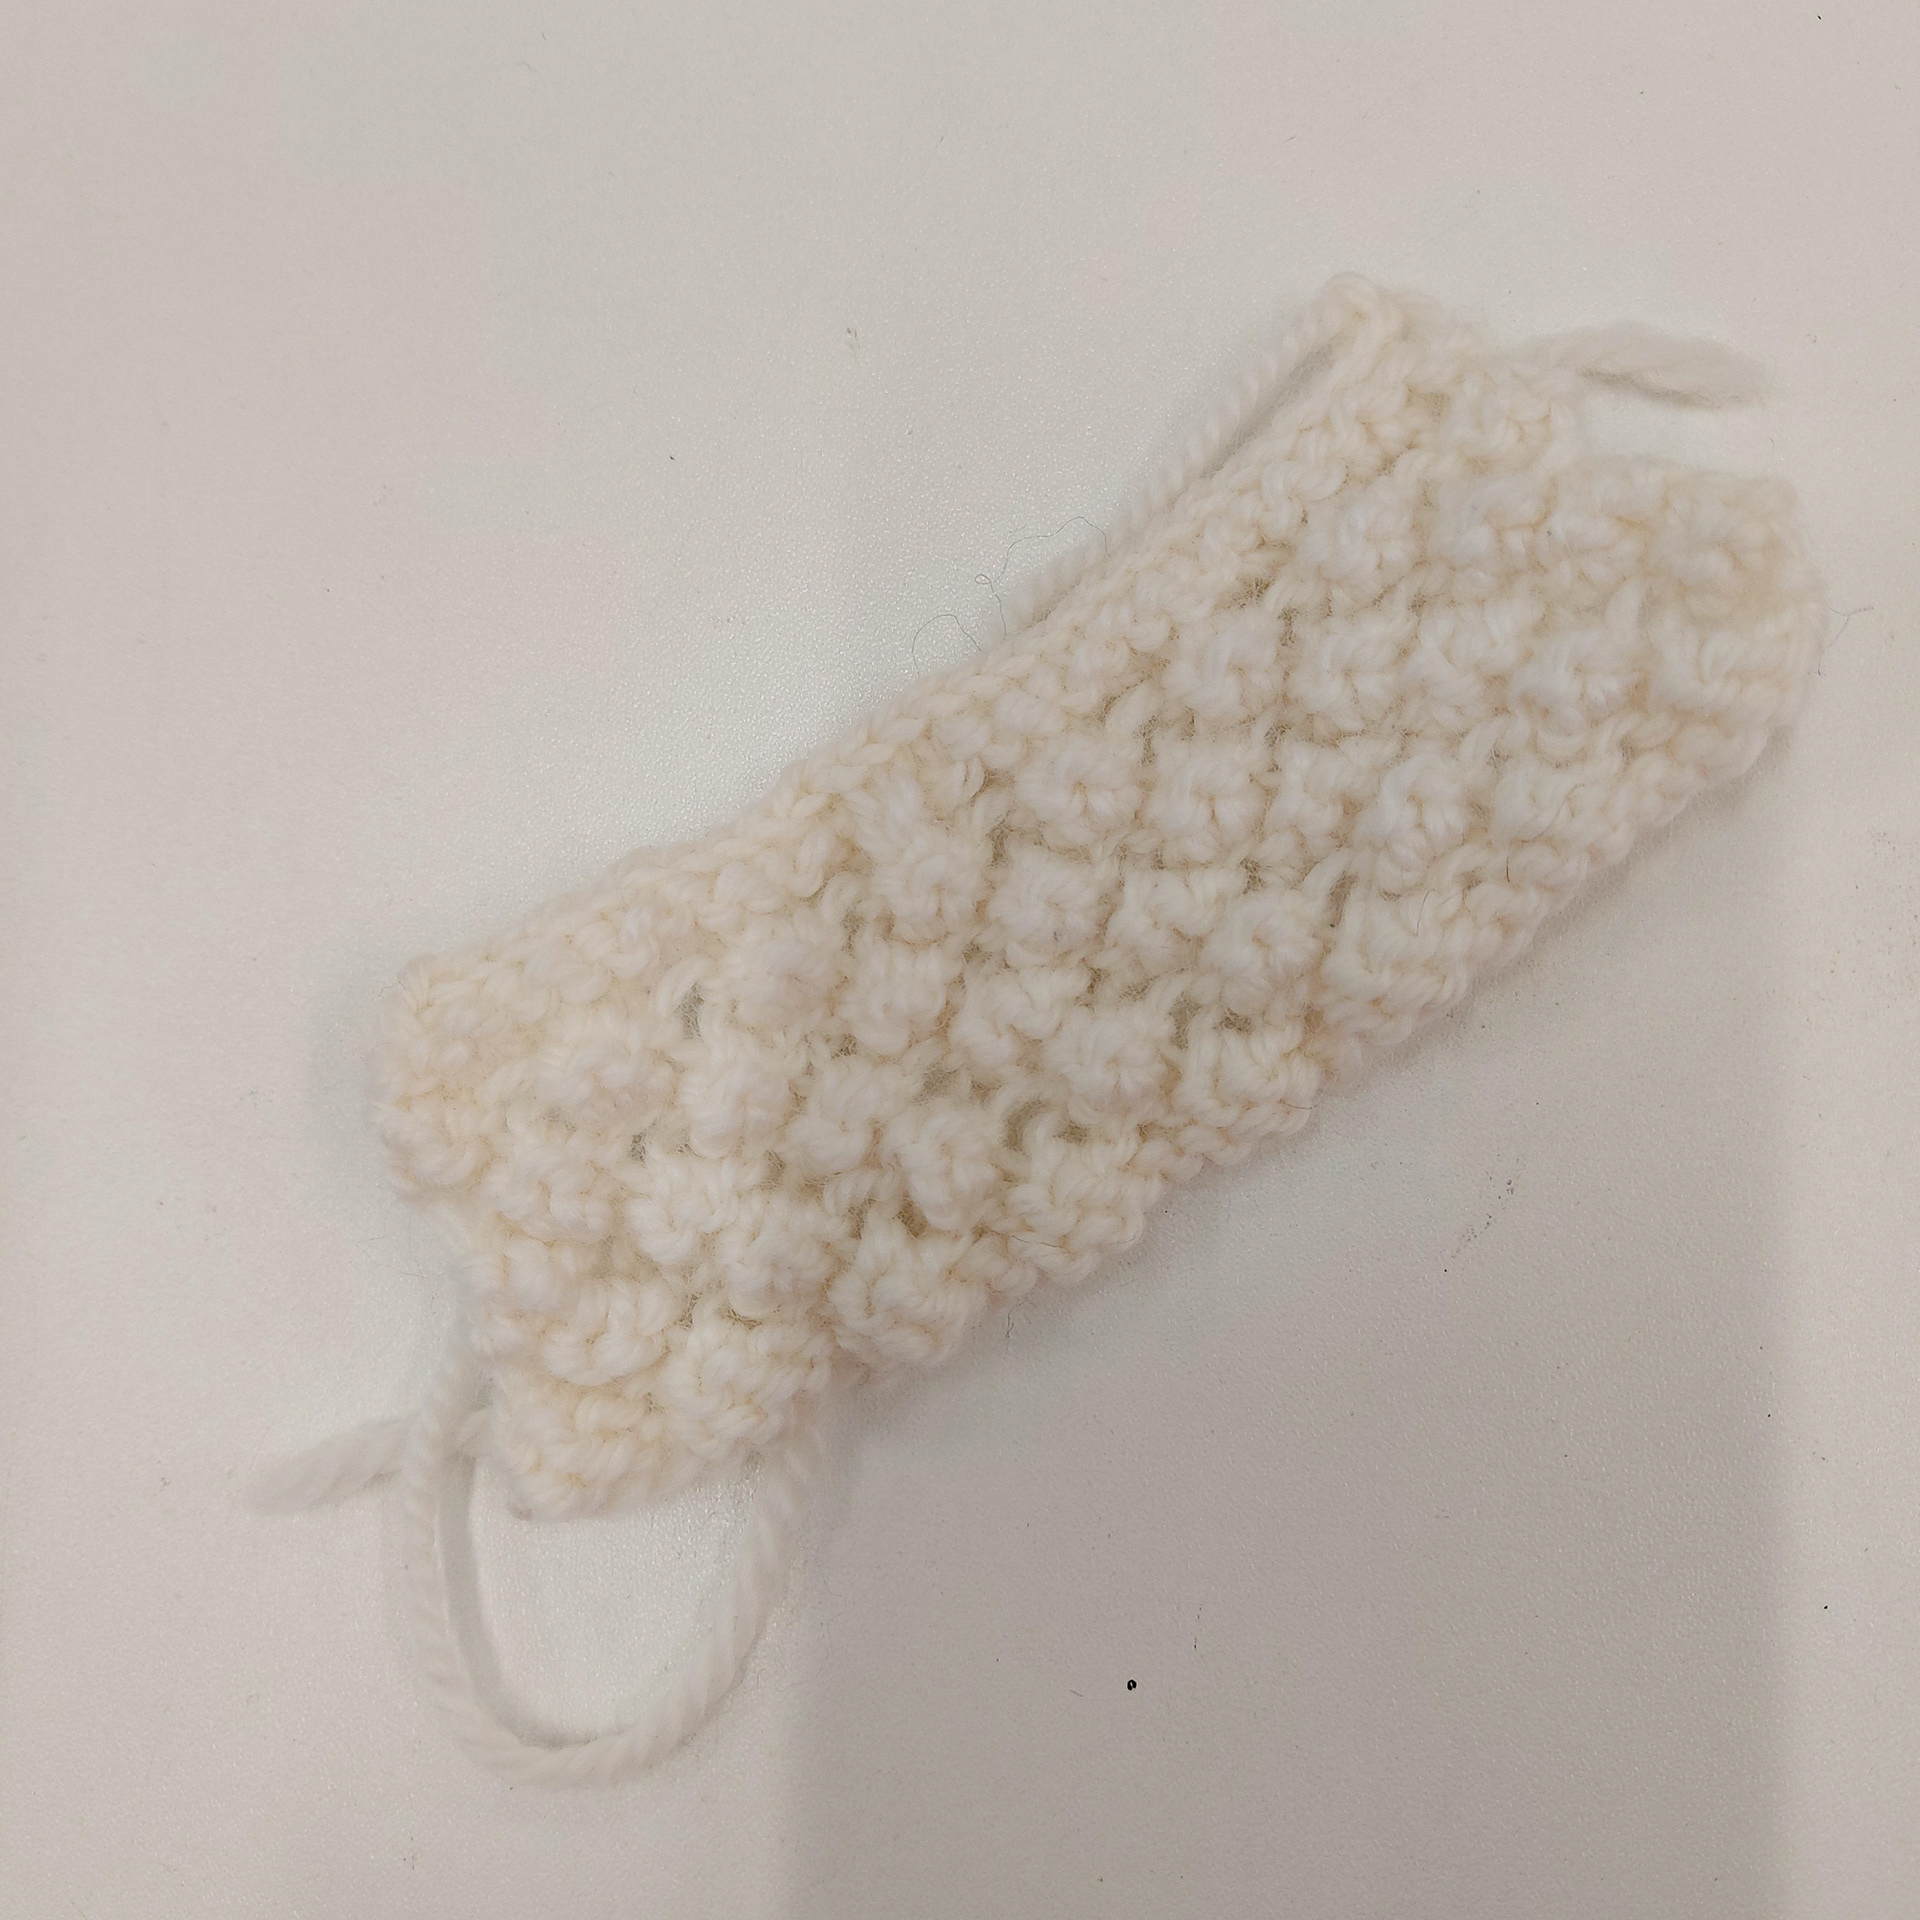
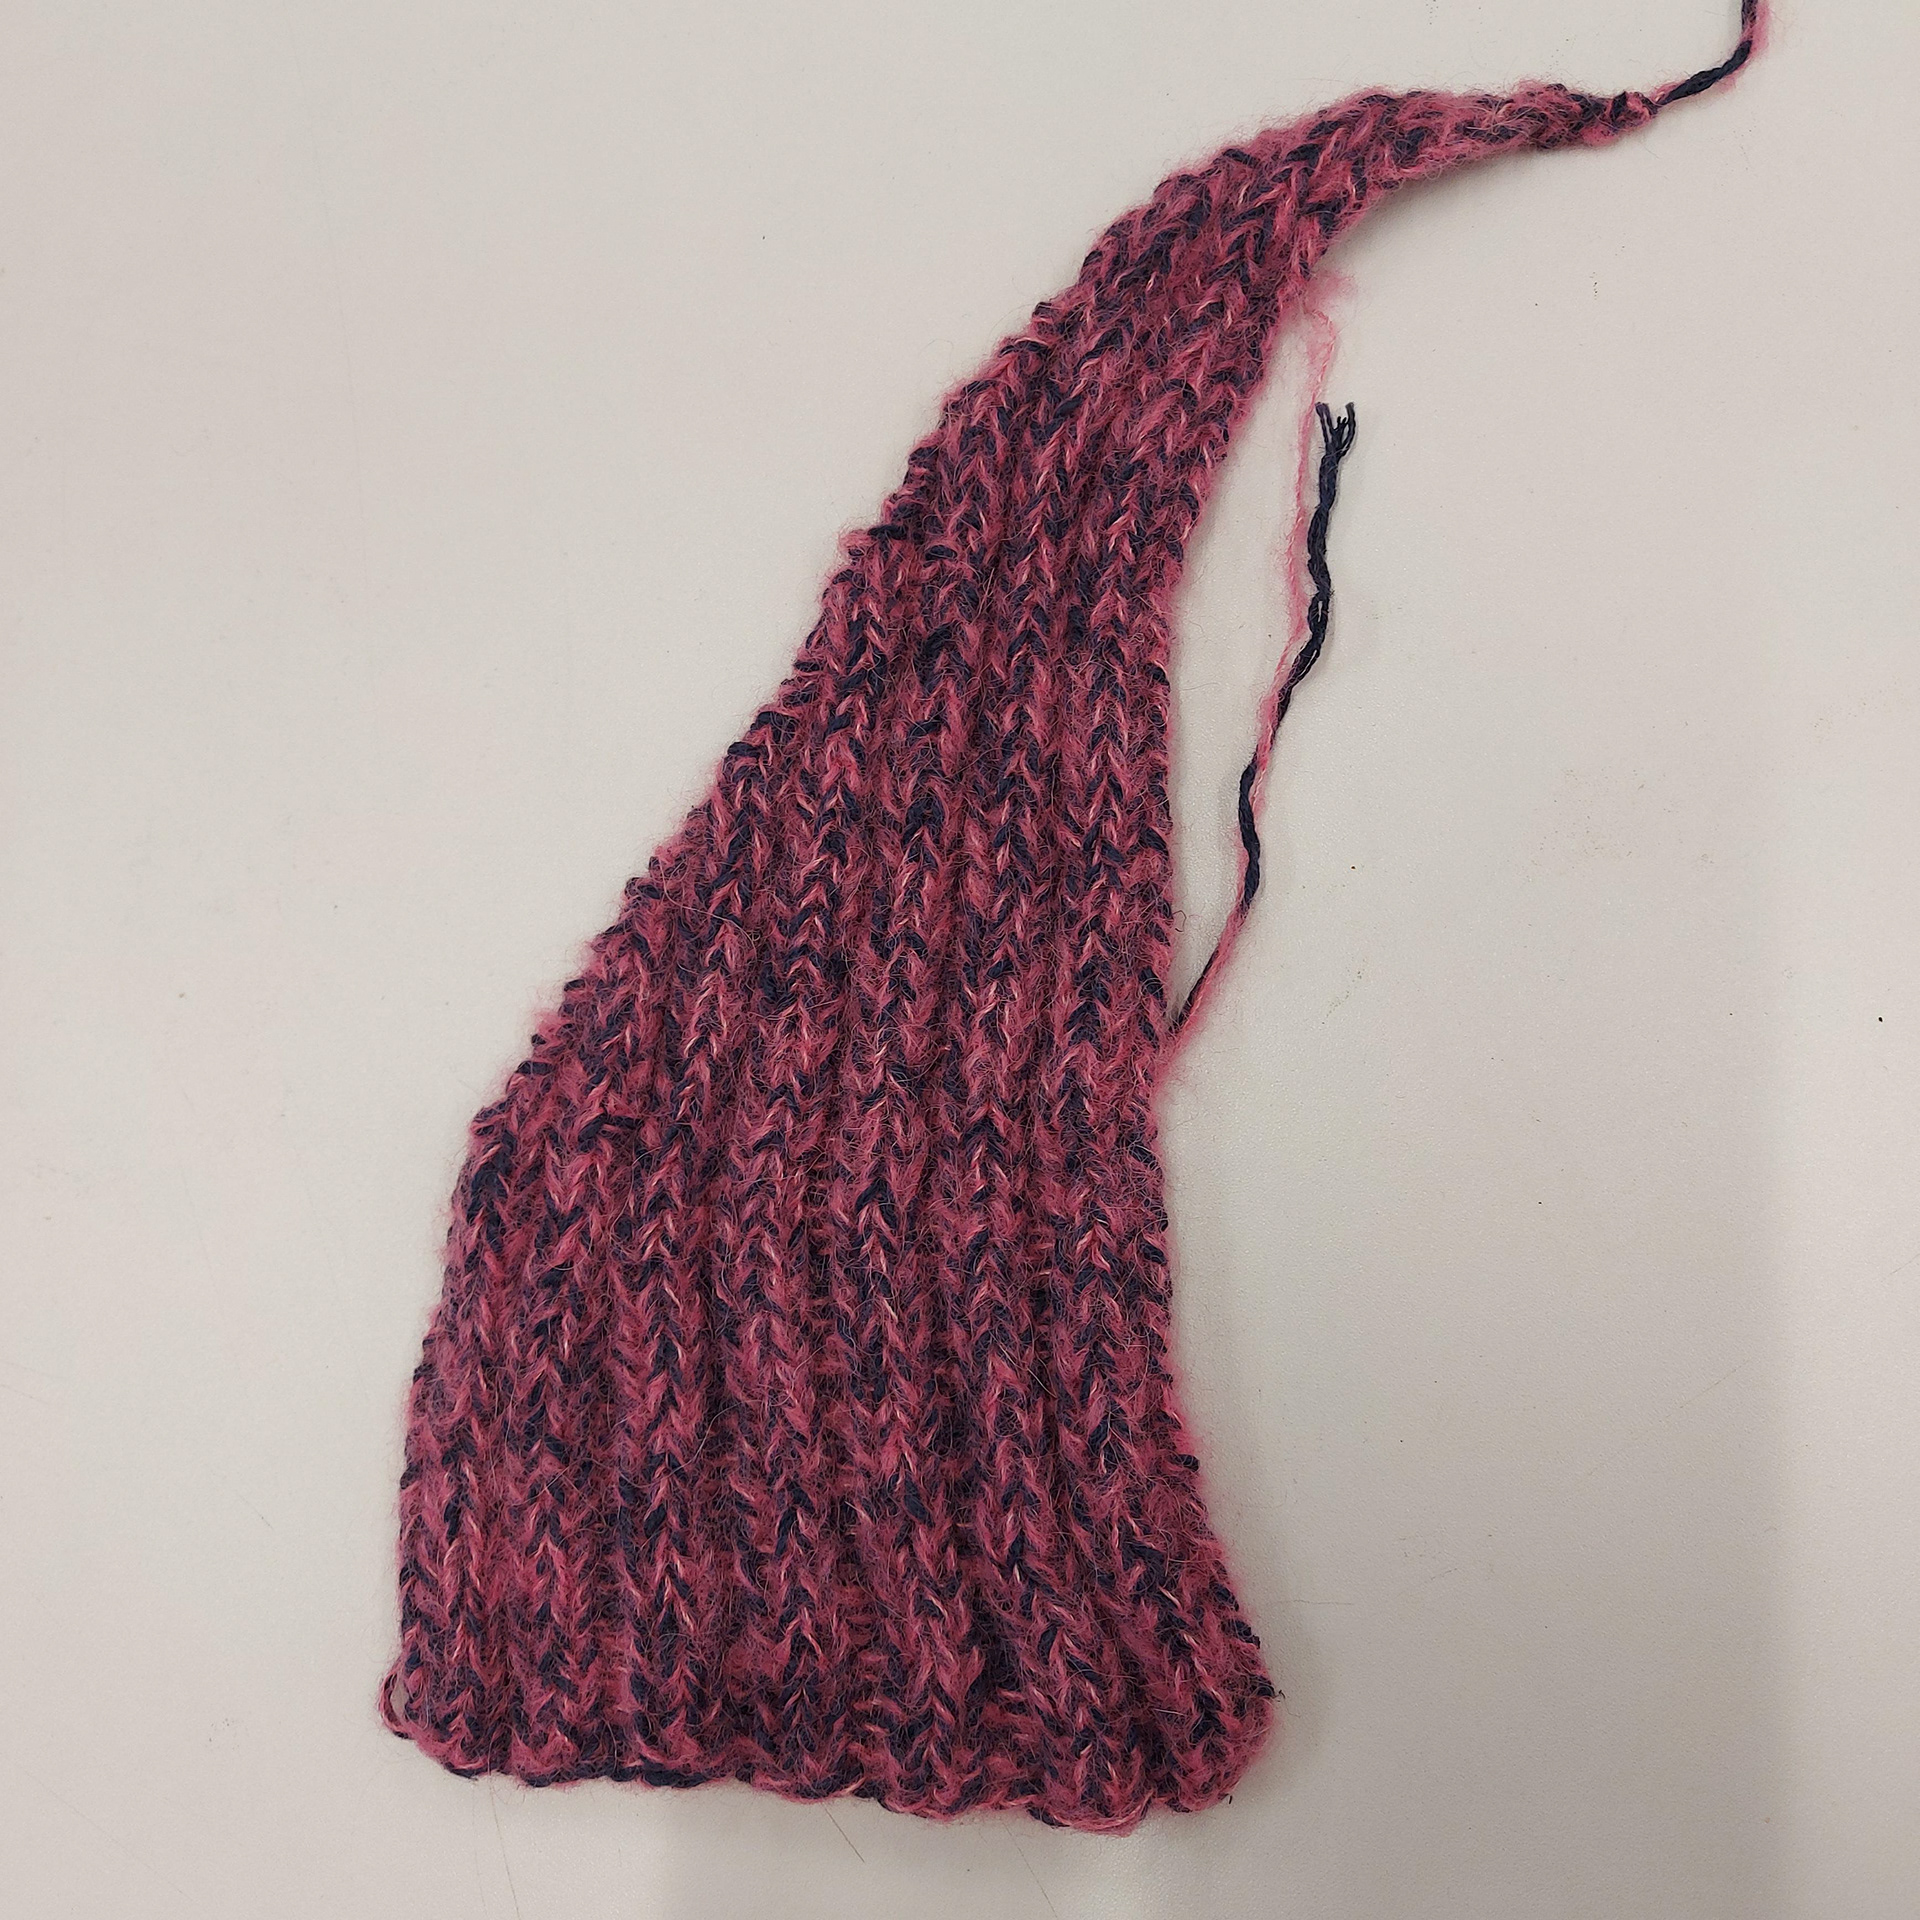
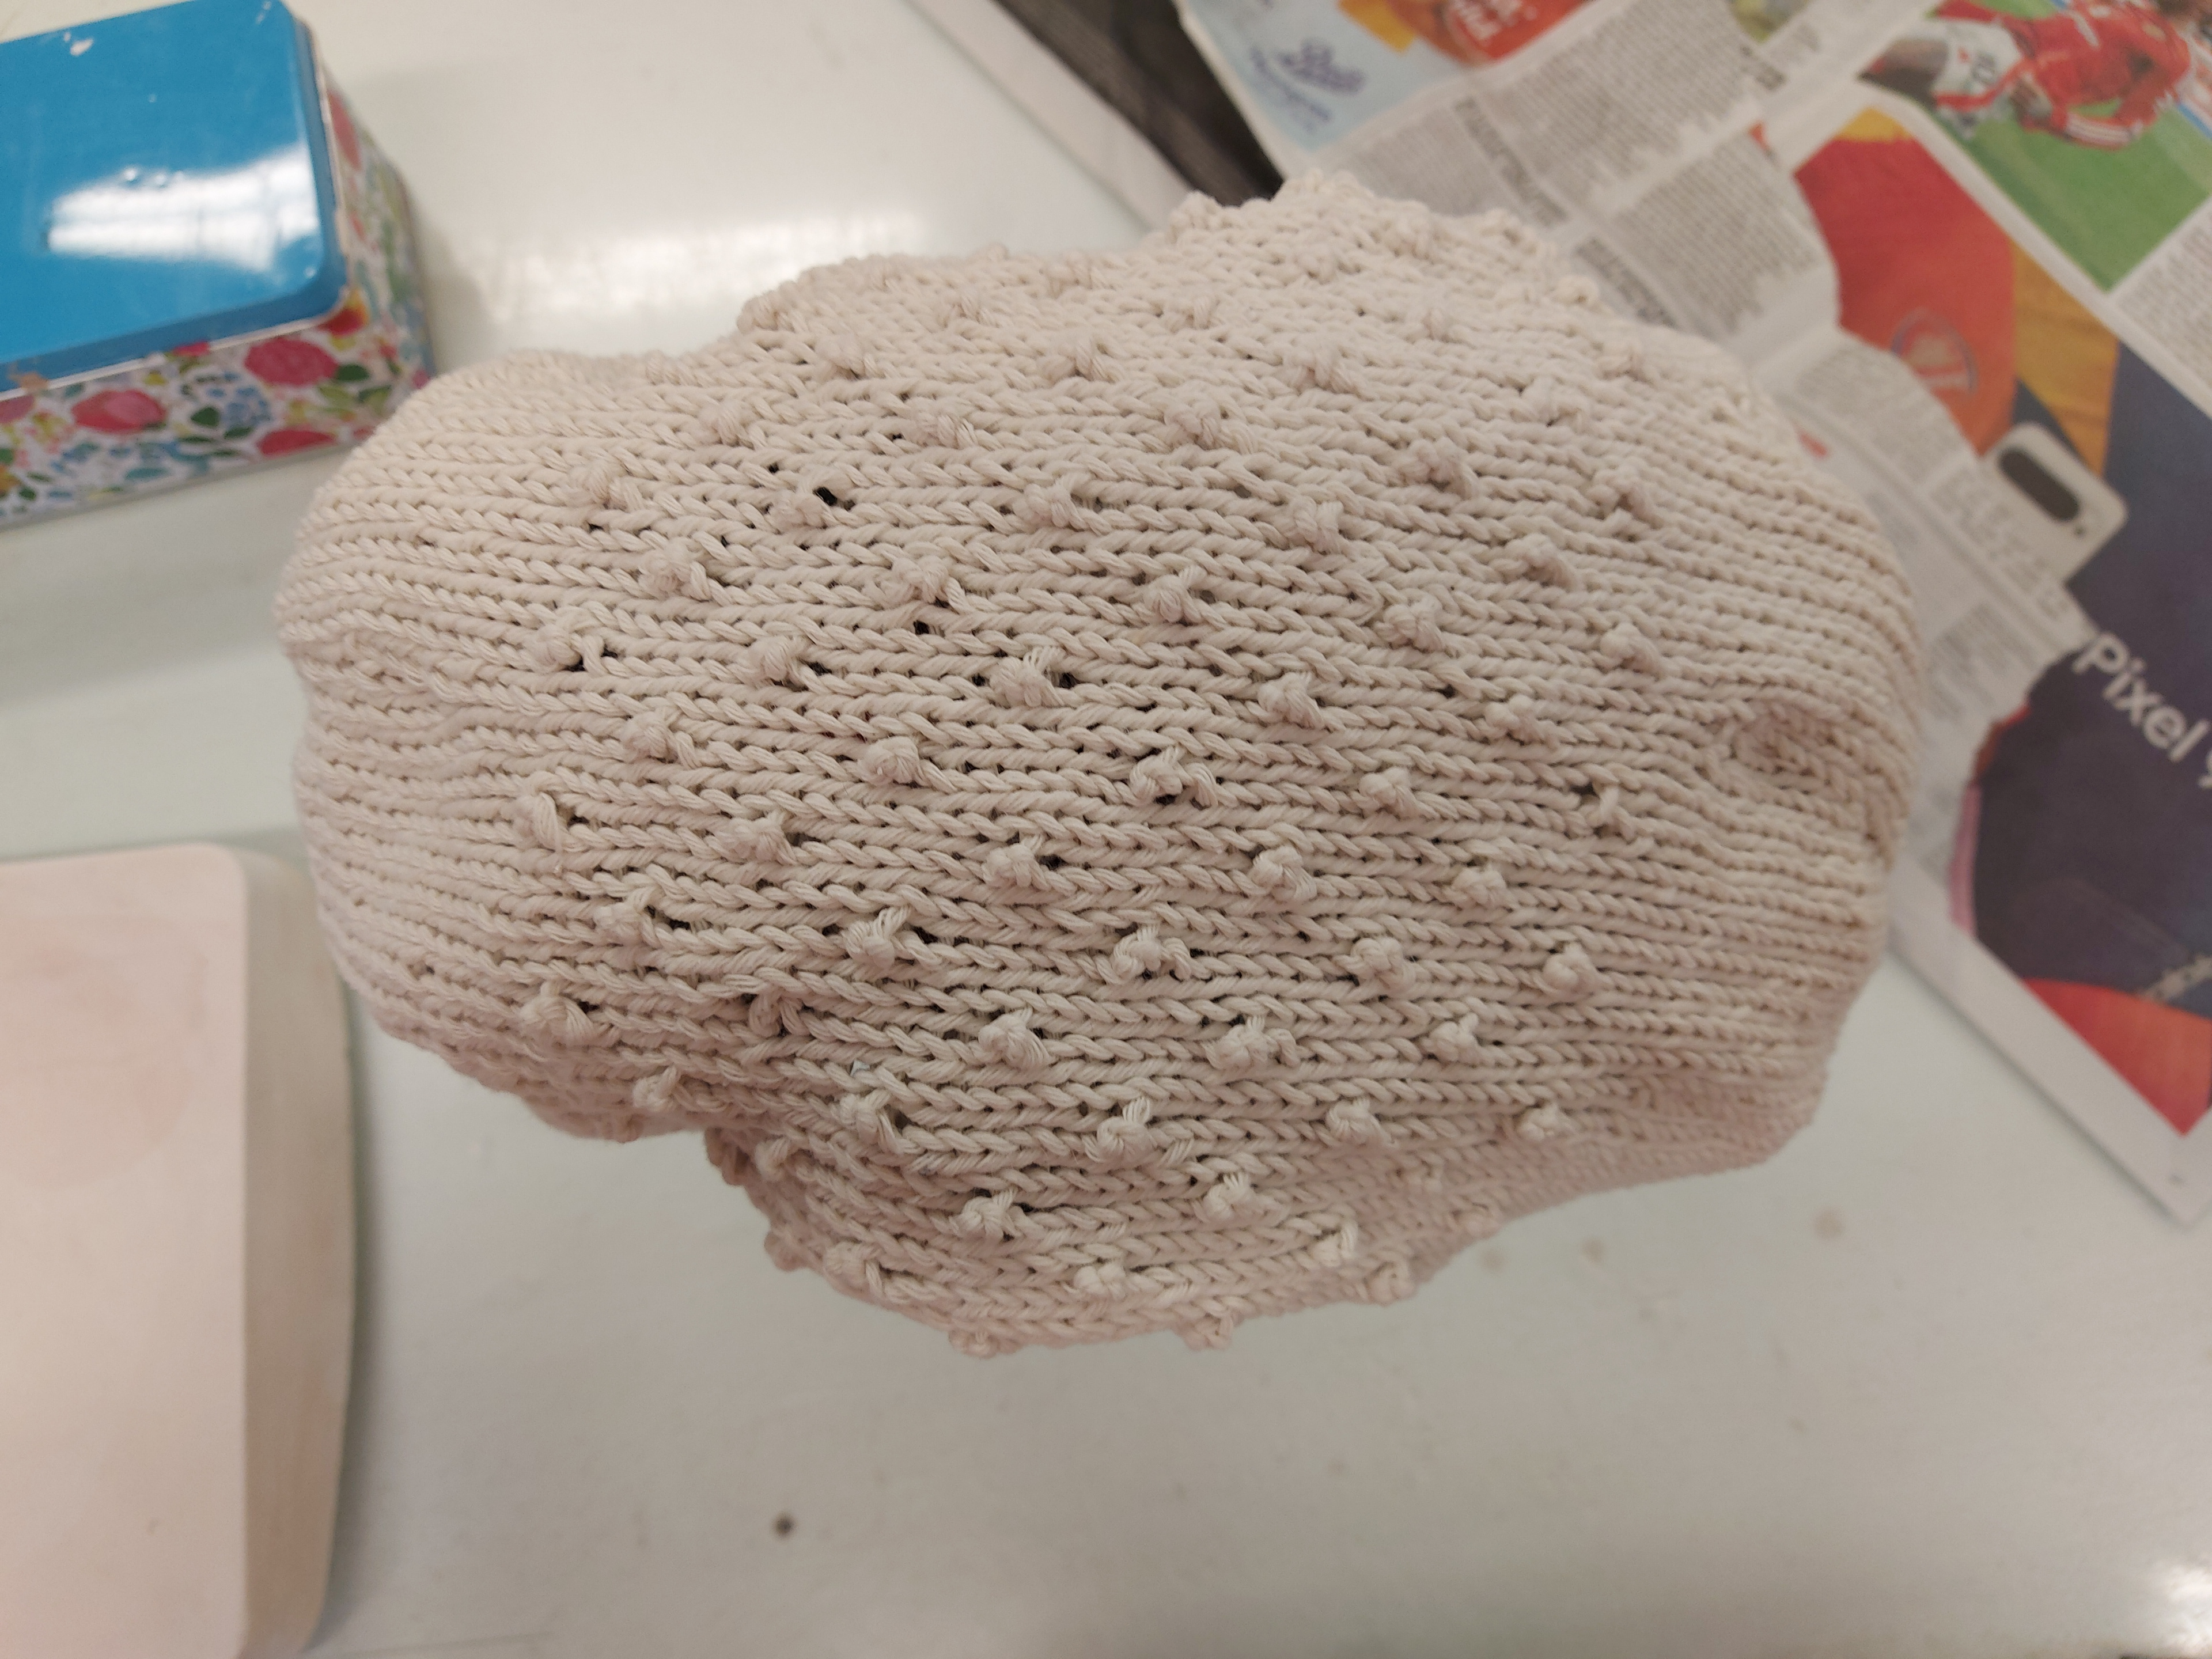
Above are some samples using different fibres that I knitted to interact with some of my porcelain samples. I really liked how 1 and 4 turned out, with the 1st sample changing colour and creating a curved shape by itself, the 4th sample is ribbed and very stretched and uses two different fibres, binding off one stitch at a time creates a long strip which can be contorted easily. The second sample started off really fun to knit, but then I struggled with the stitch count and it didn't show the stitches as neatly as I wanted them to. The bobbled stitch above was a nice texture, however, I didn't think it would be useful when interacting with the porcelain samples. I will try these out with the porcelain and see how each fibre and stitch works with them.
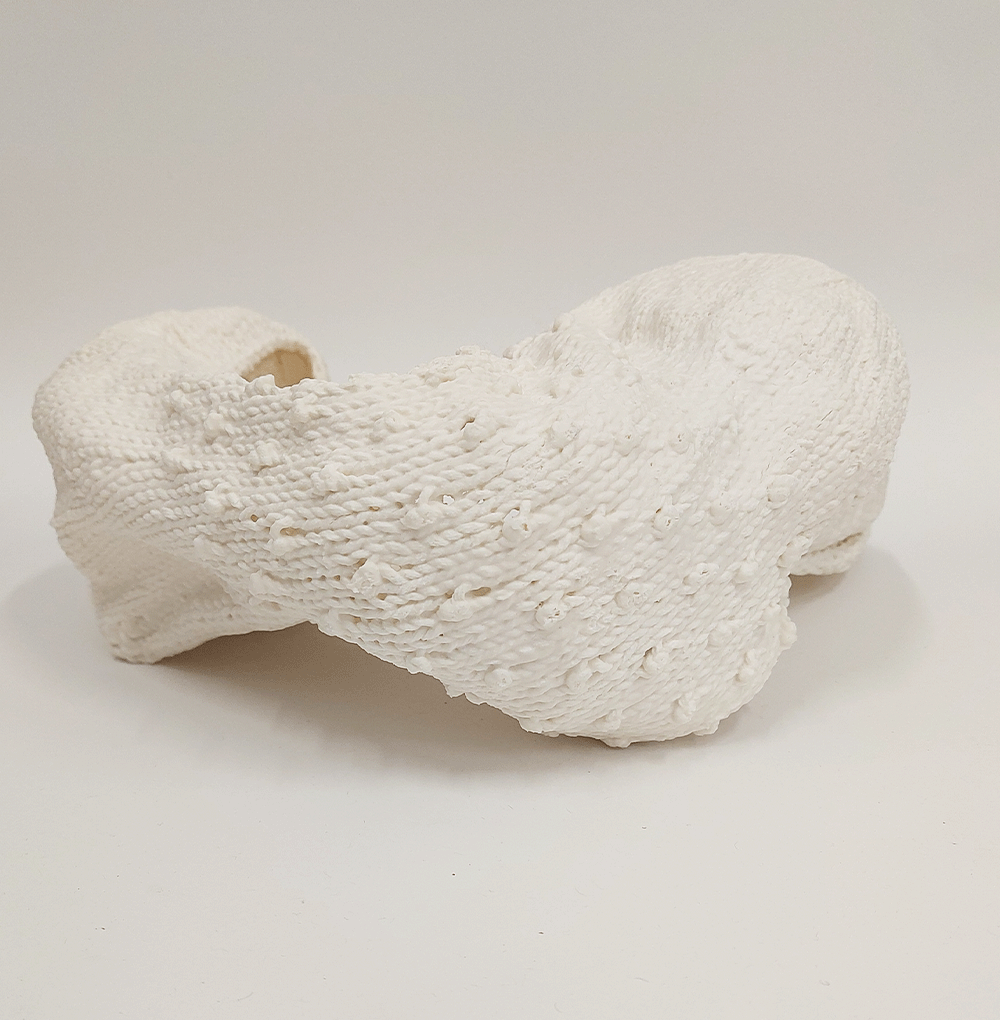
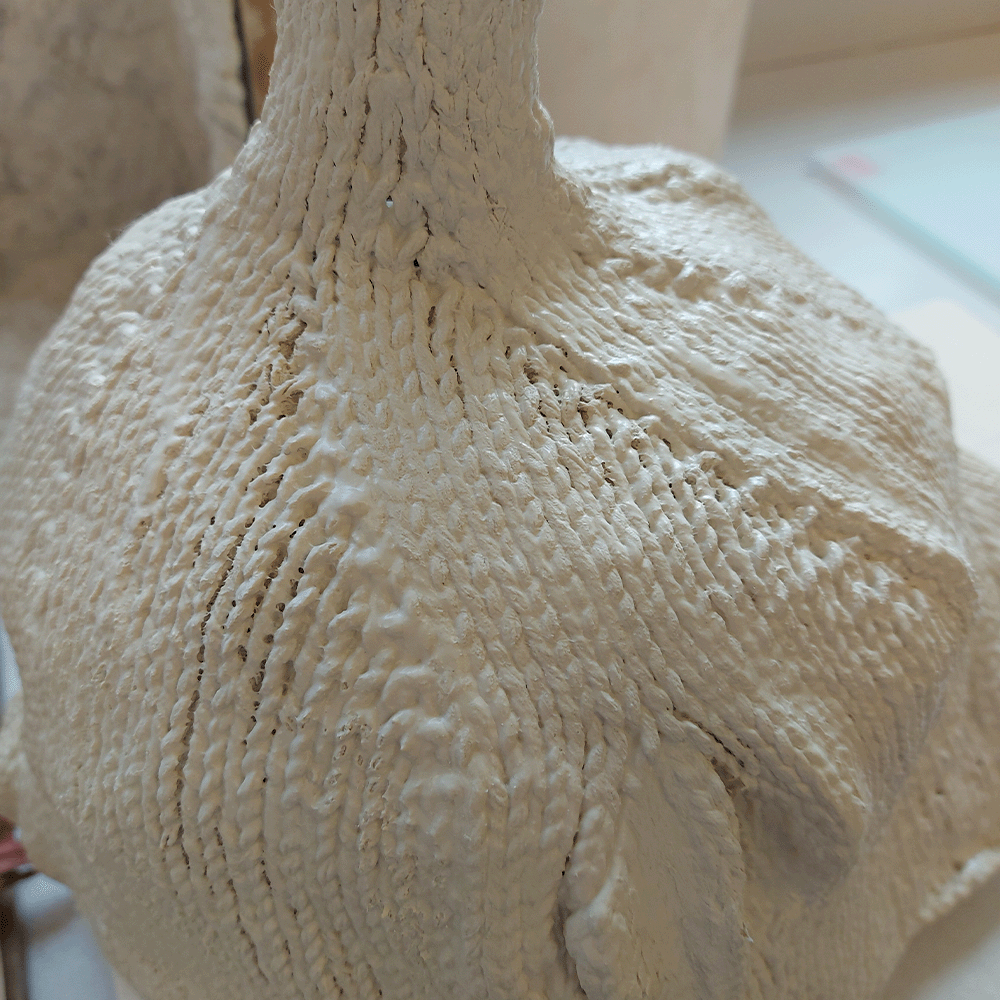
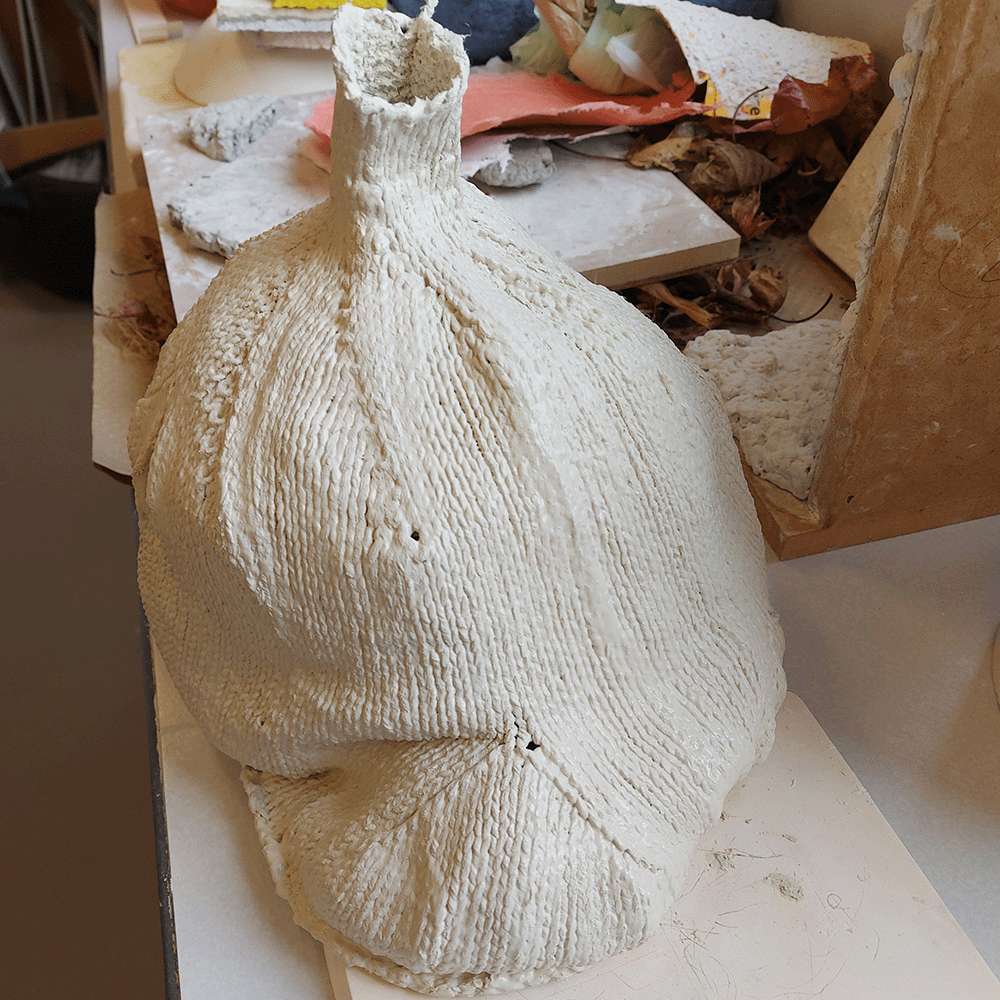
These bigger forms came out of the kiln more deformed than I was expecting, this could be due to the newspaper being taken out already so the ceramic sinked a bit more when fired to stoneware in the kiln. The slumping of the ceramic makes it look a little more material like, but I do like how they have turned out. I could think about making smaller pieces that can slump in the middle.
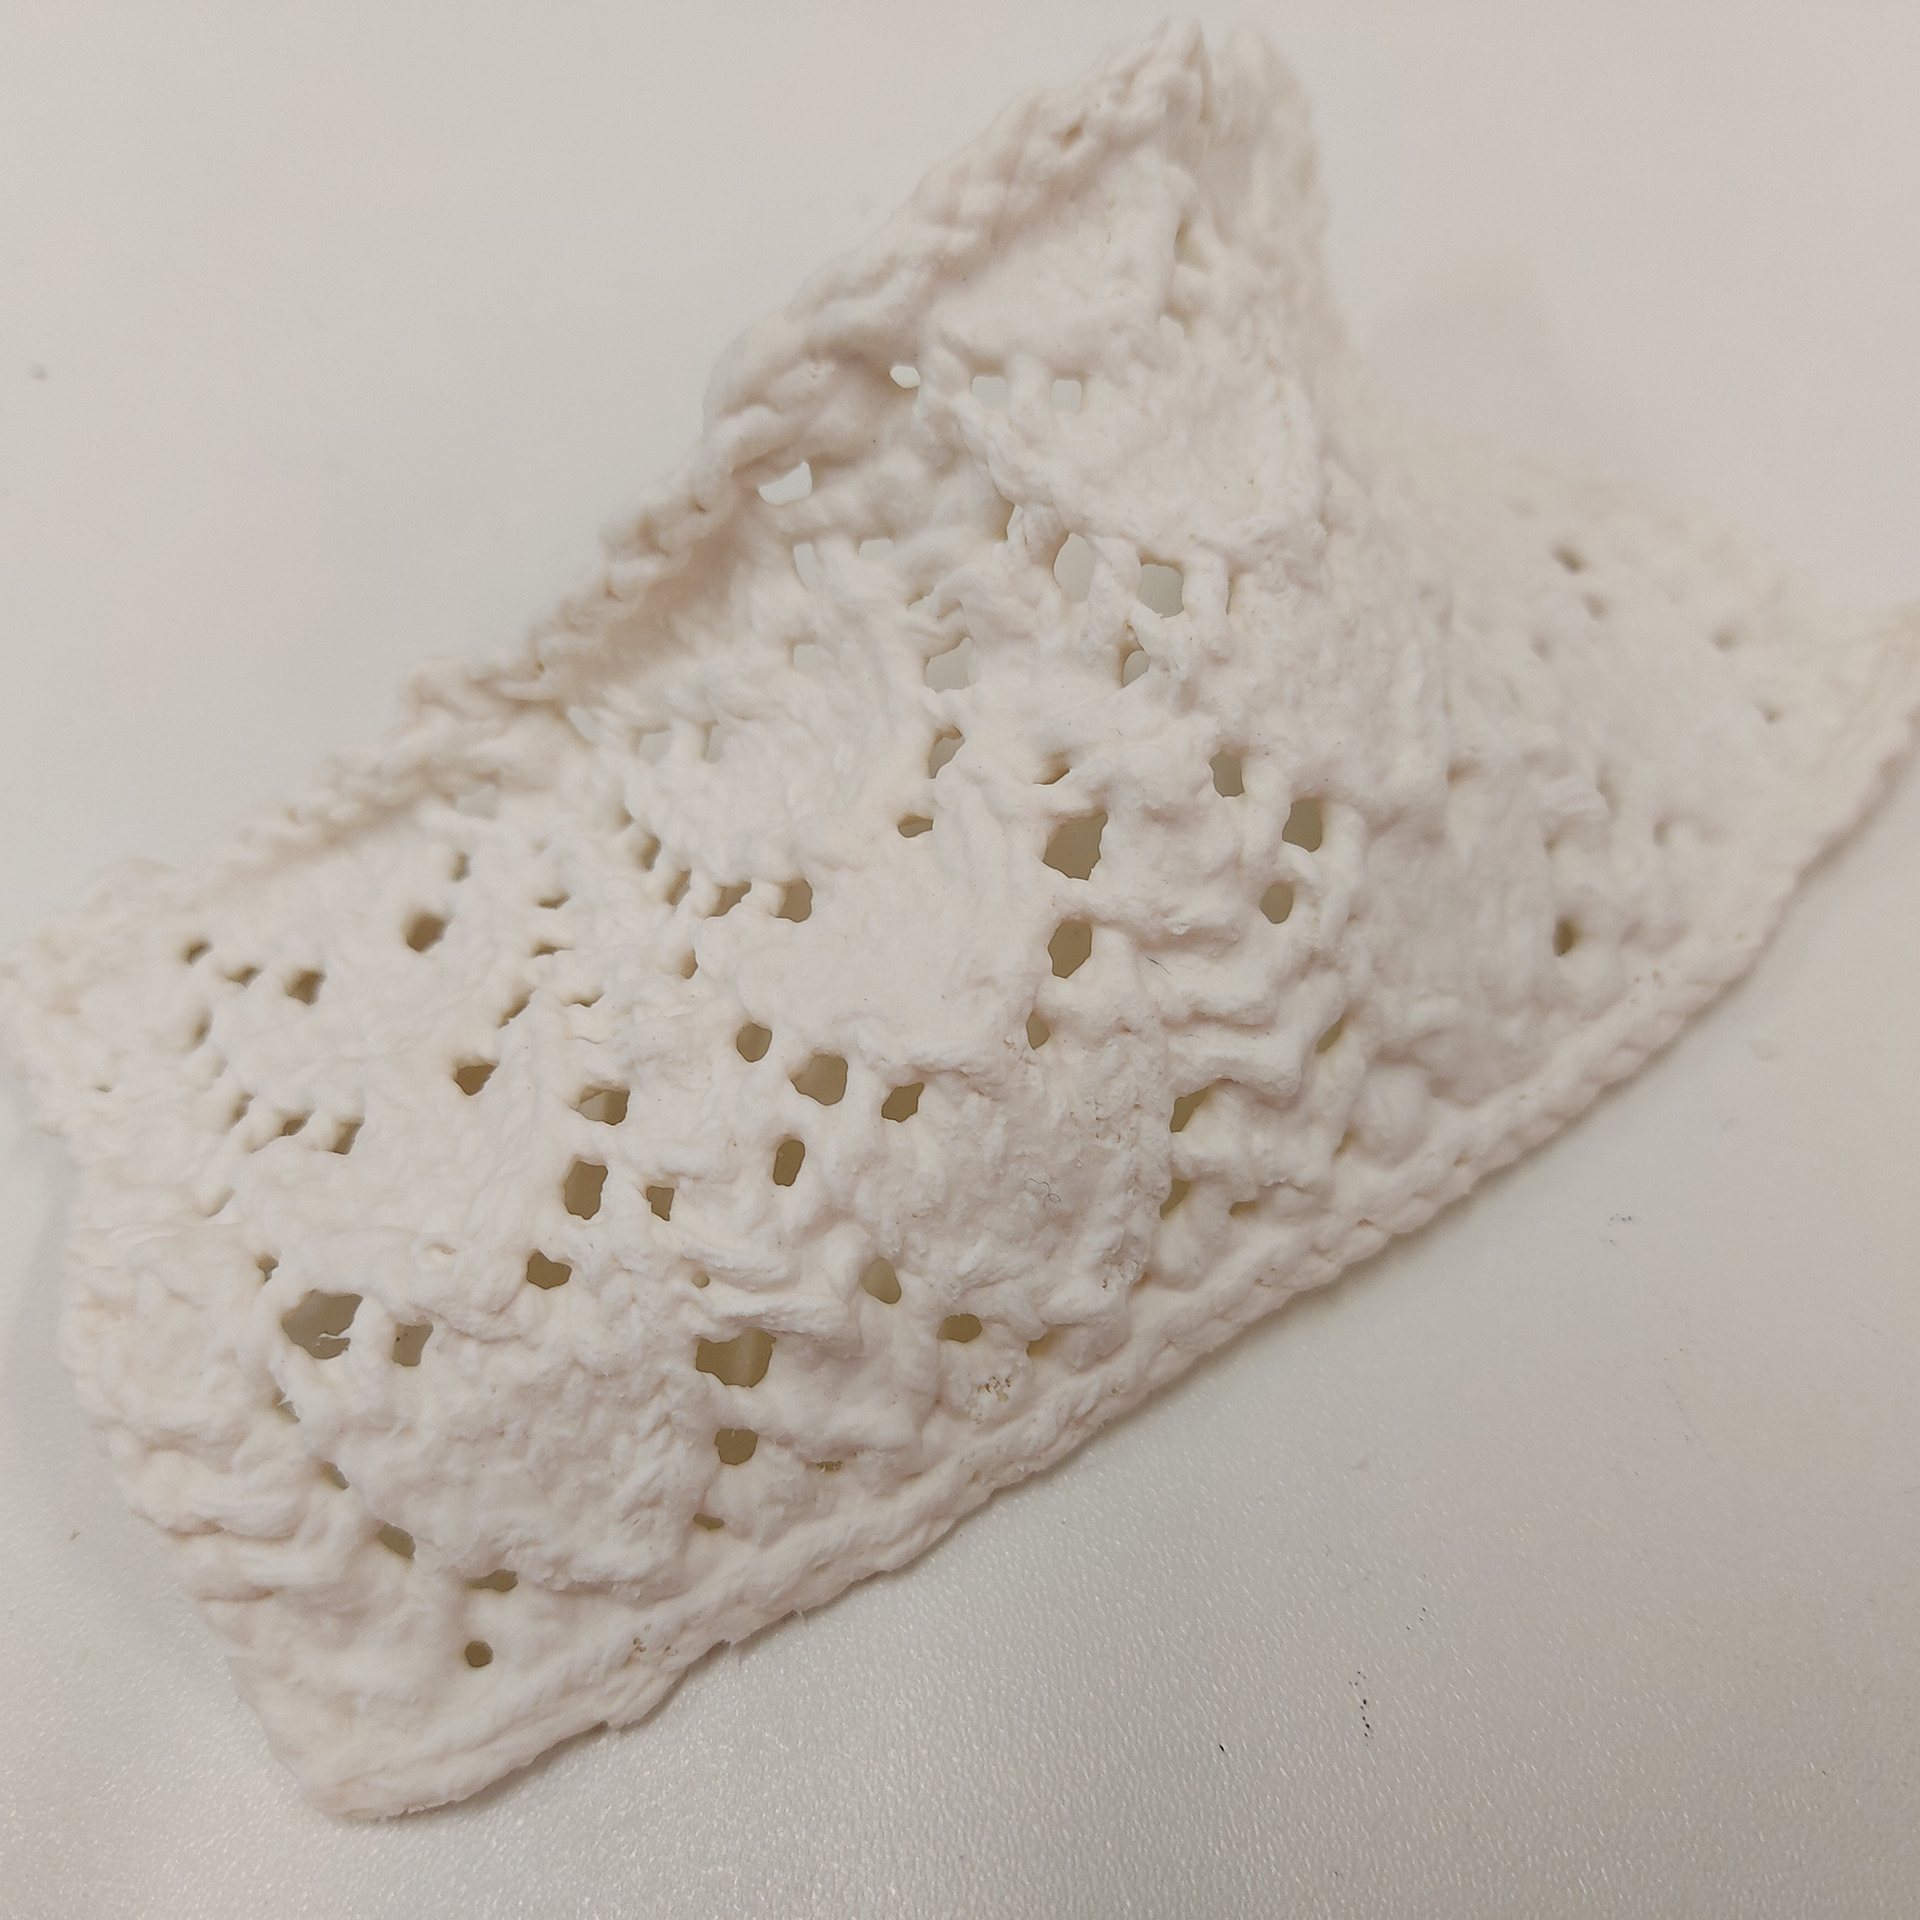
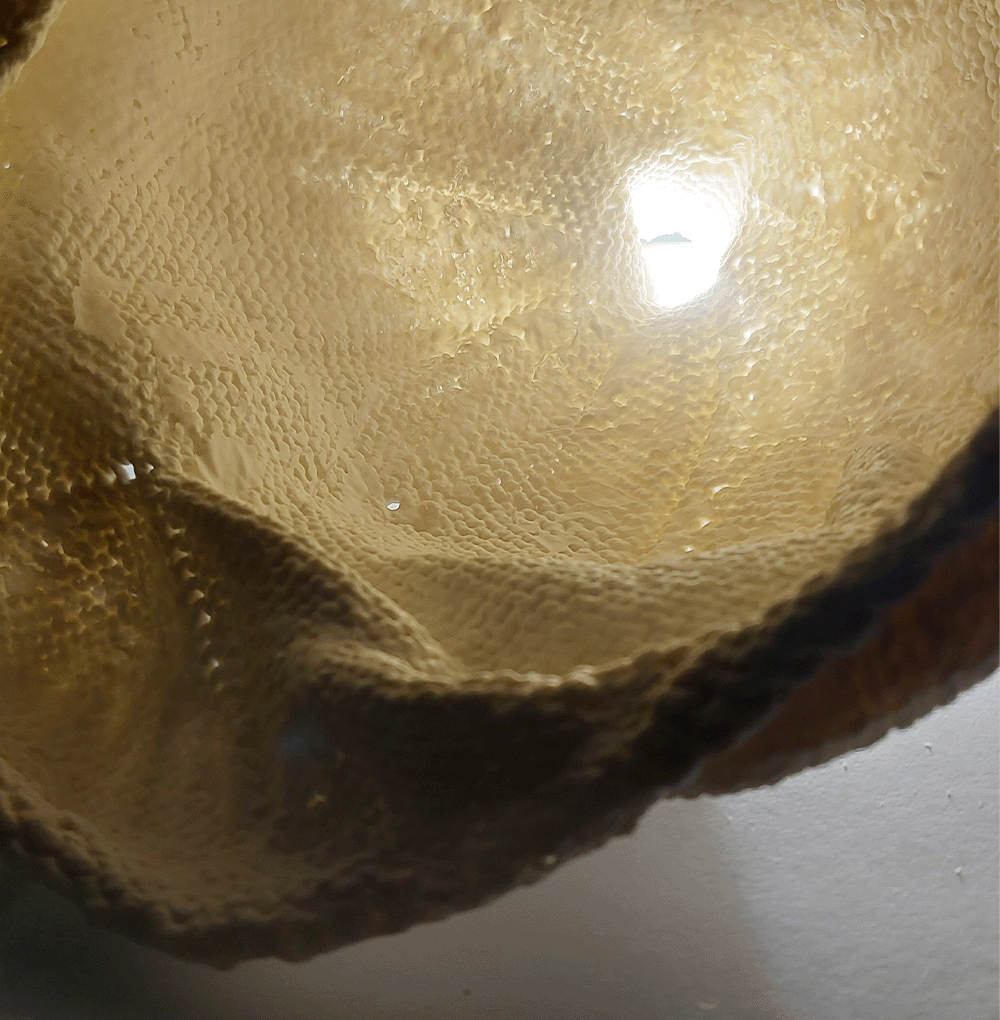
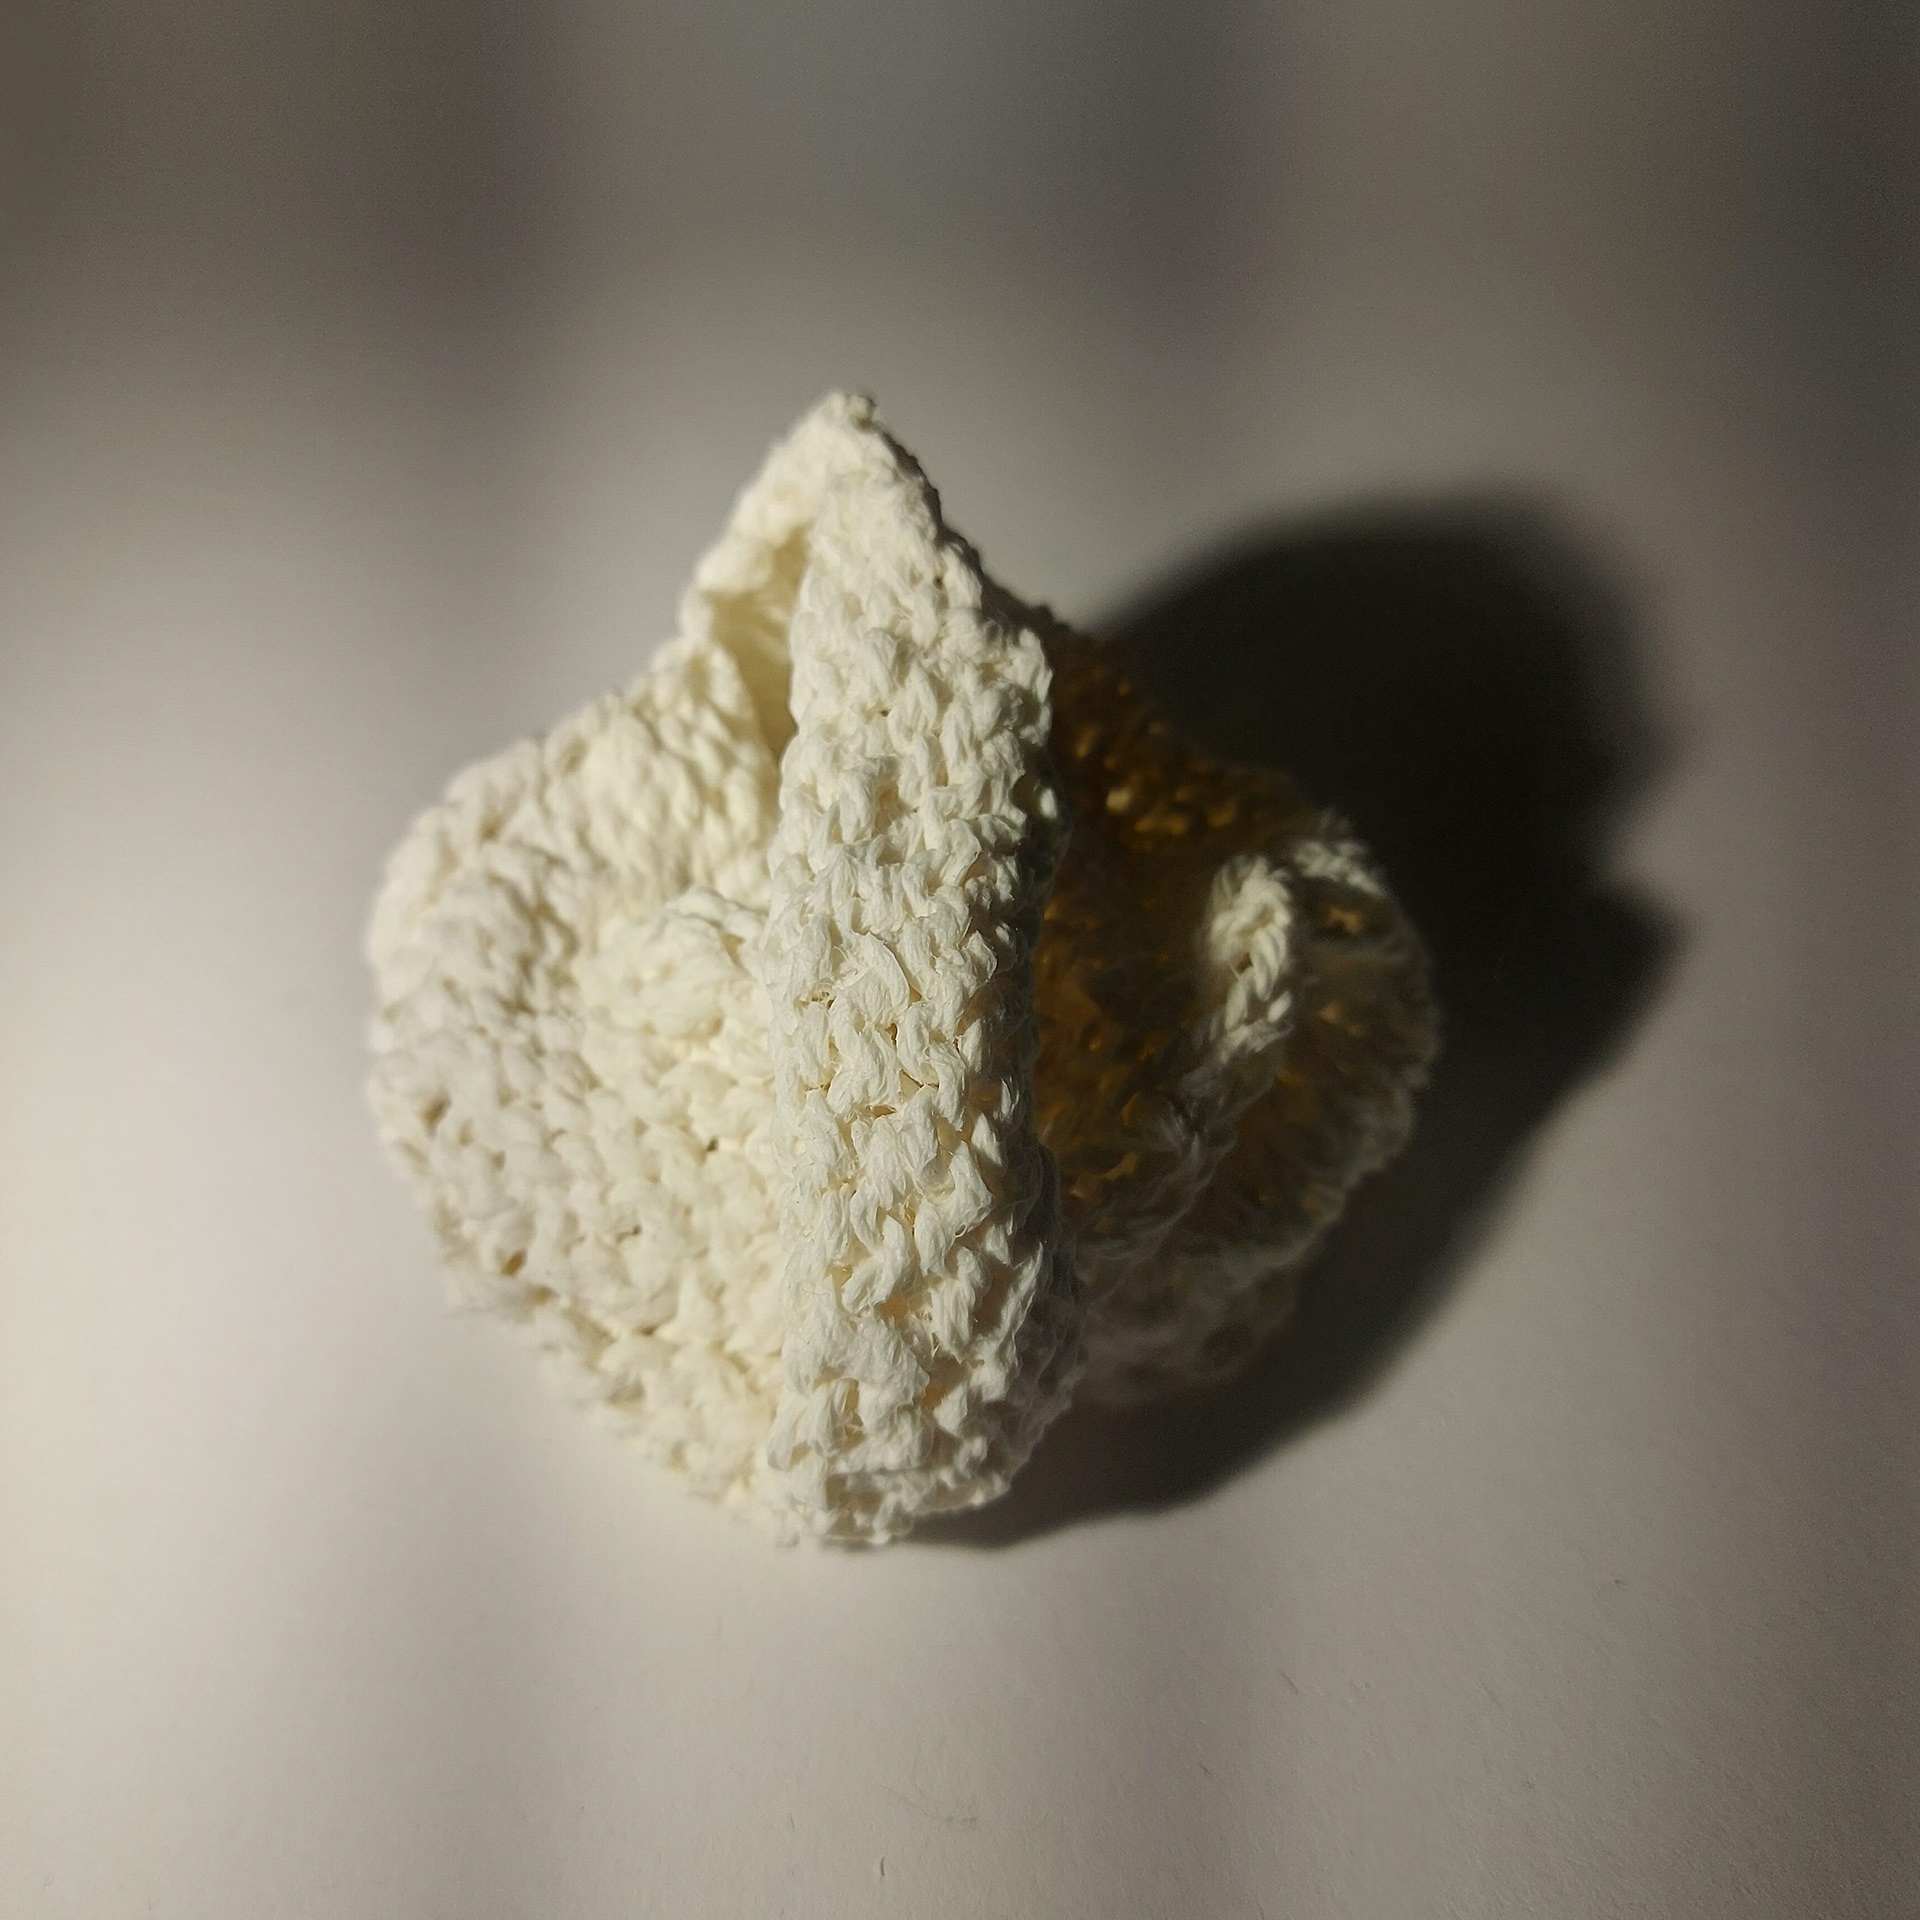
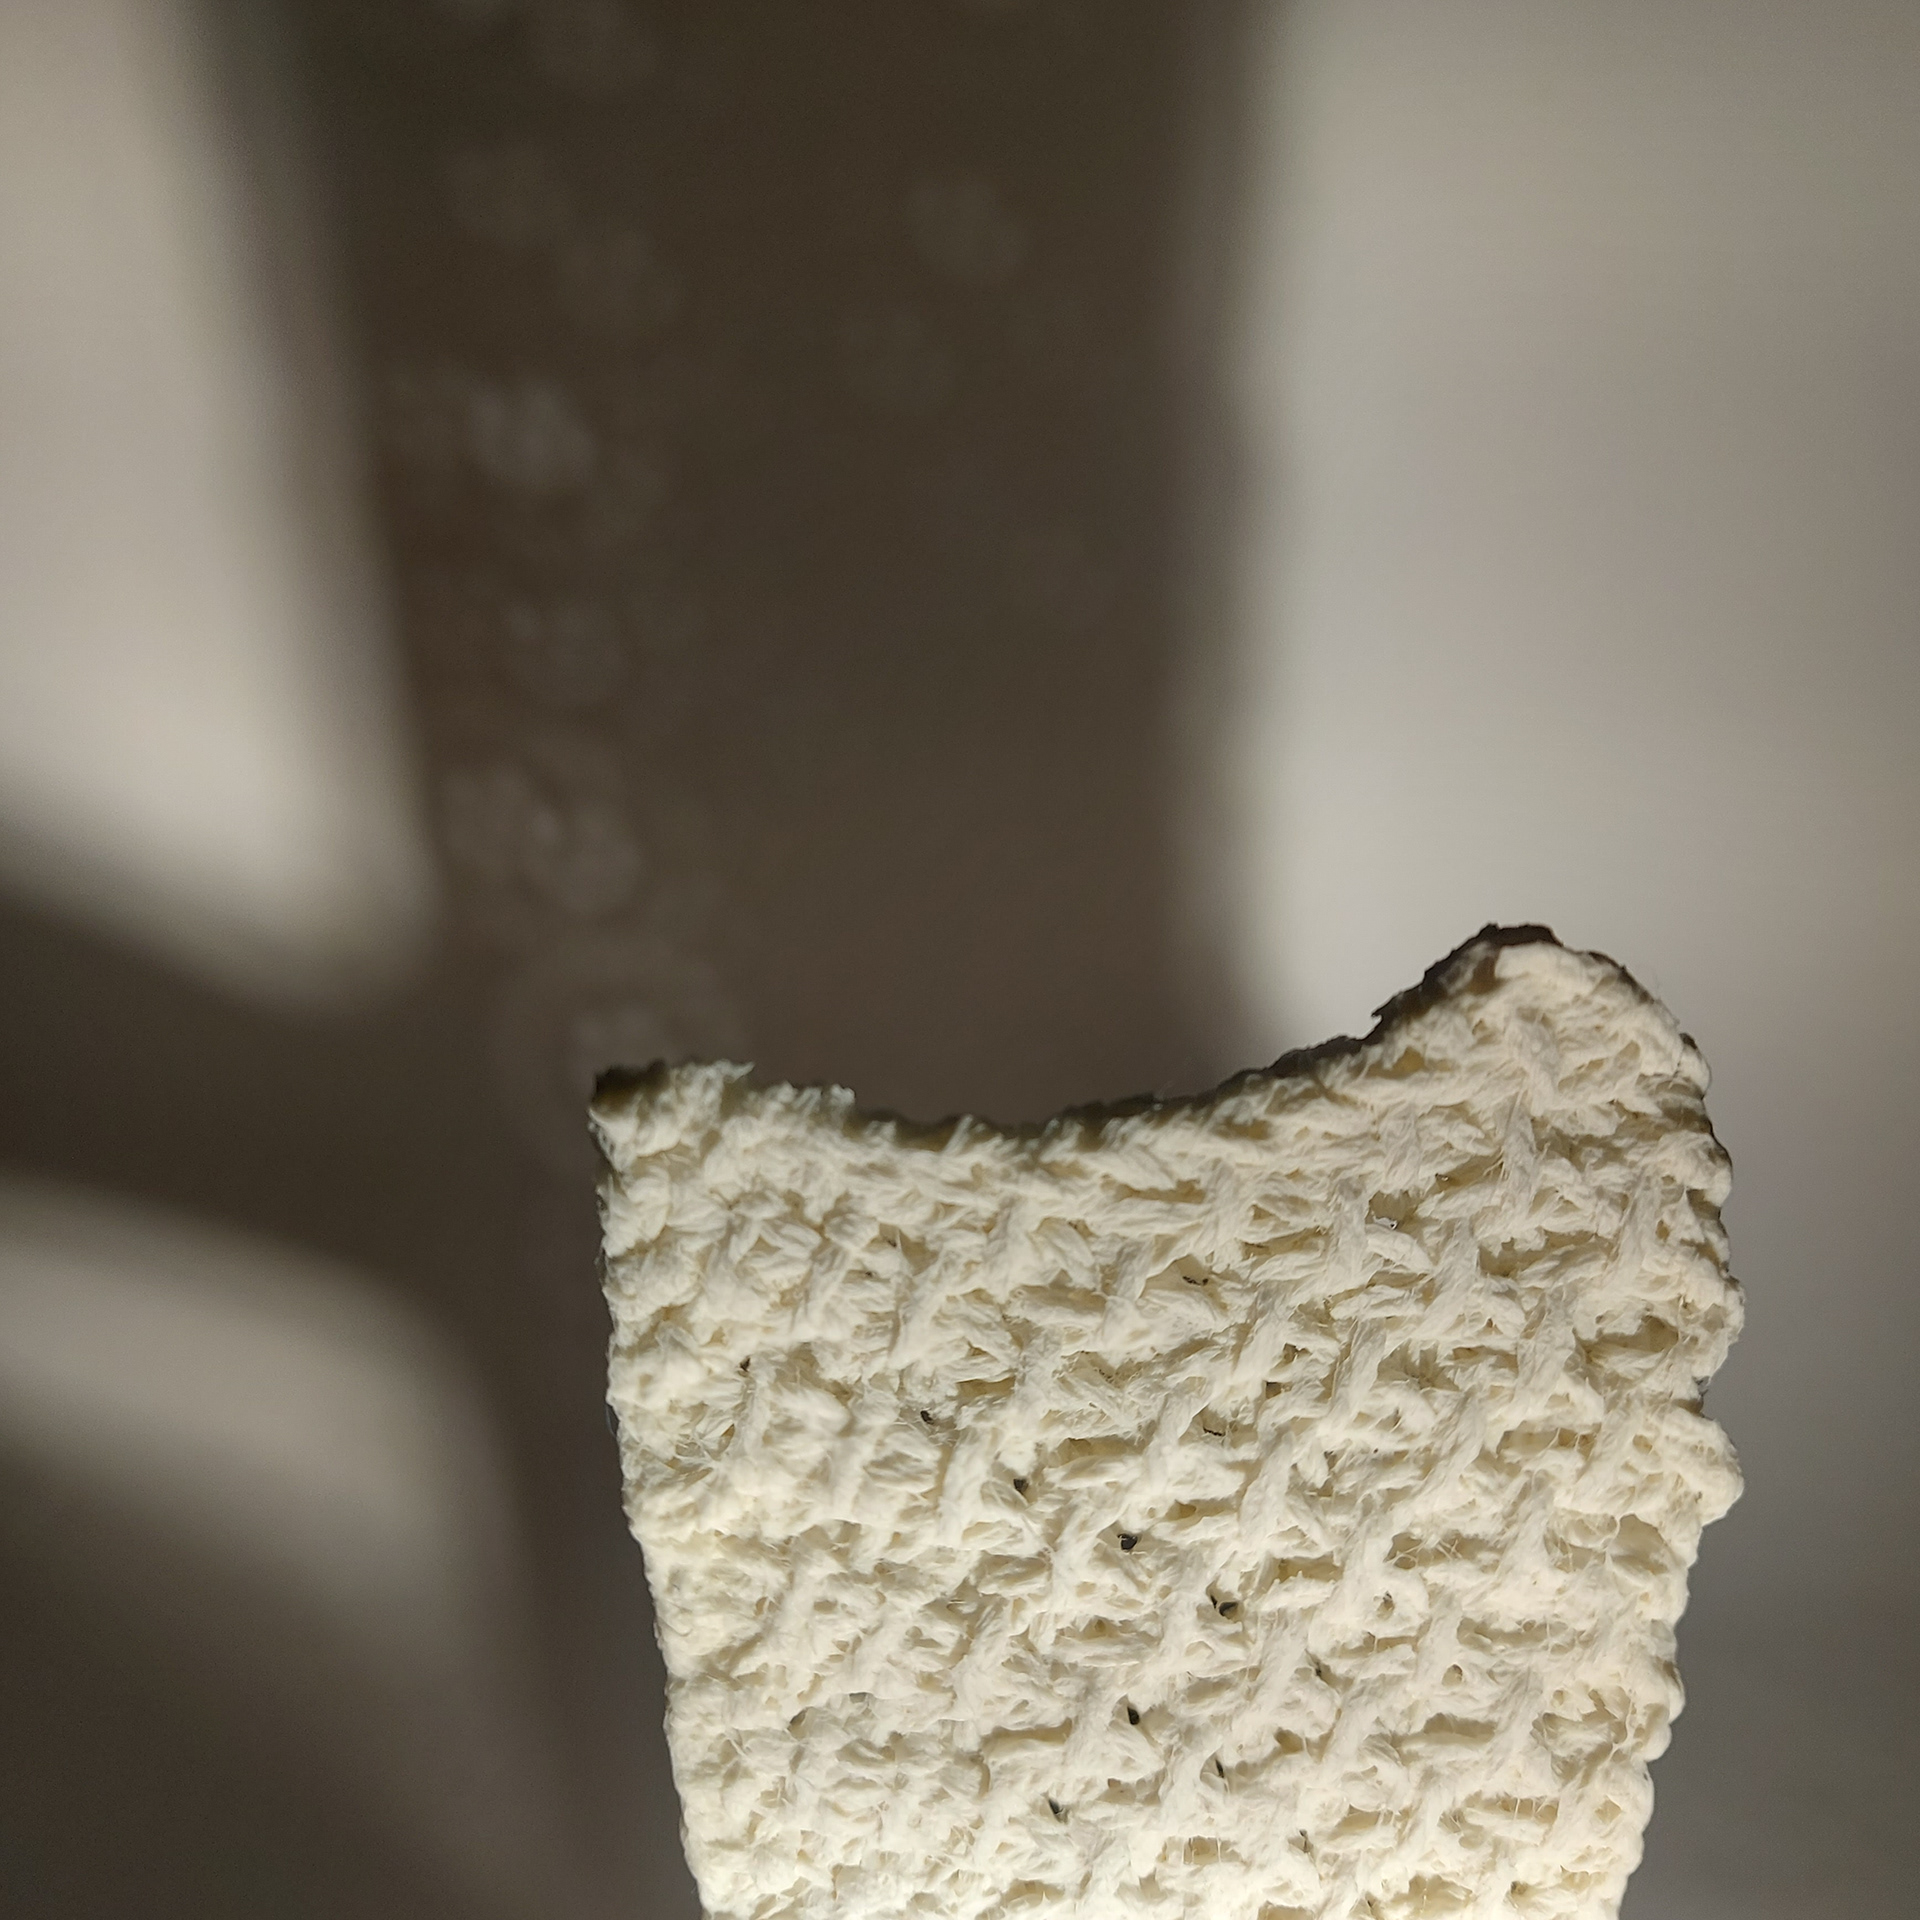
The 1st porcelain sample above, although just a slab and not formed in any way, is able to clearly show the quilted stitch that I knitted and also shows the detail of the wool fibres of the yarn which I really like. The third sample also showed the detail of the cotton yarn but with a smoothness that doesn't show up with the fibres that can be seen coming off the yarn. The second piece looks quite gloopy as it was quite difficult to get all the slip off of the knitted sample due to the lace holes.
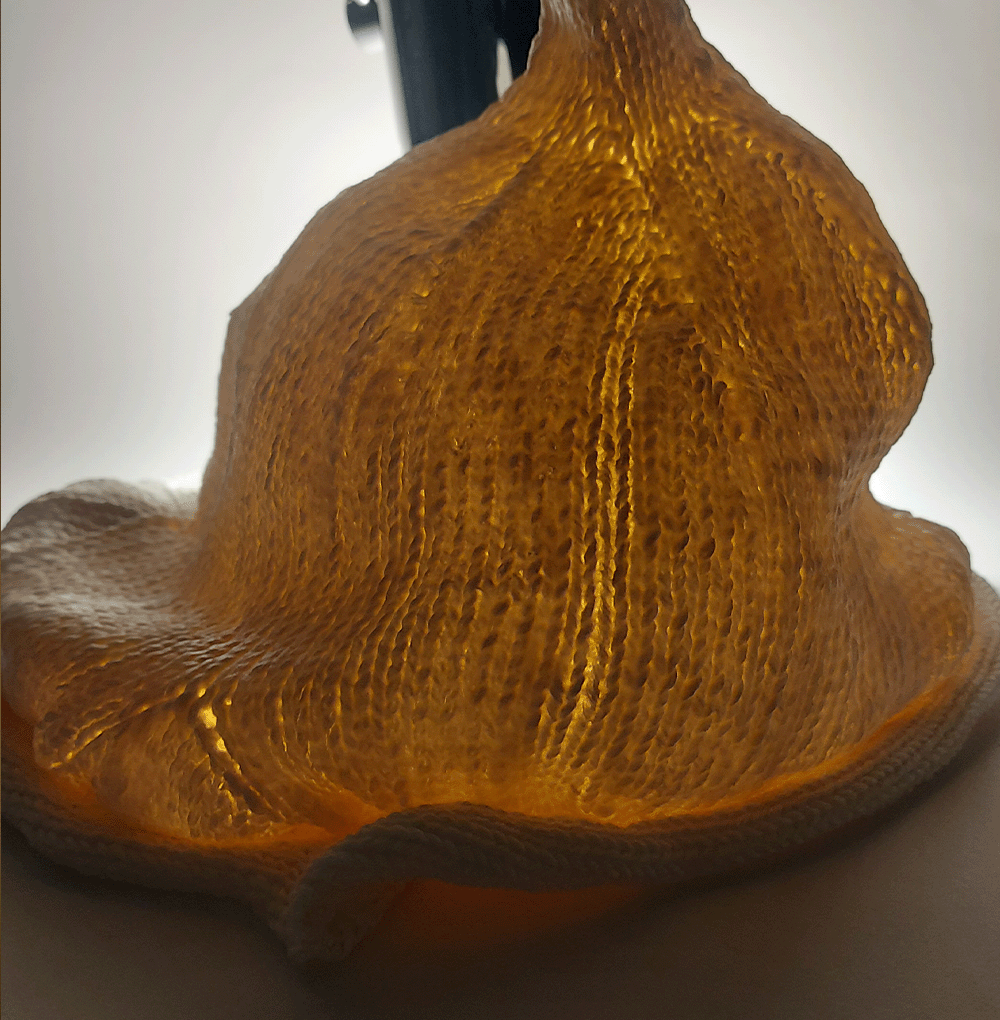
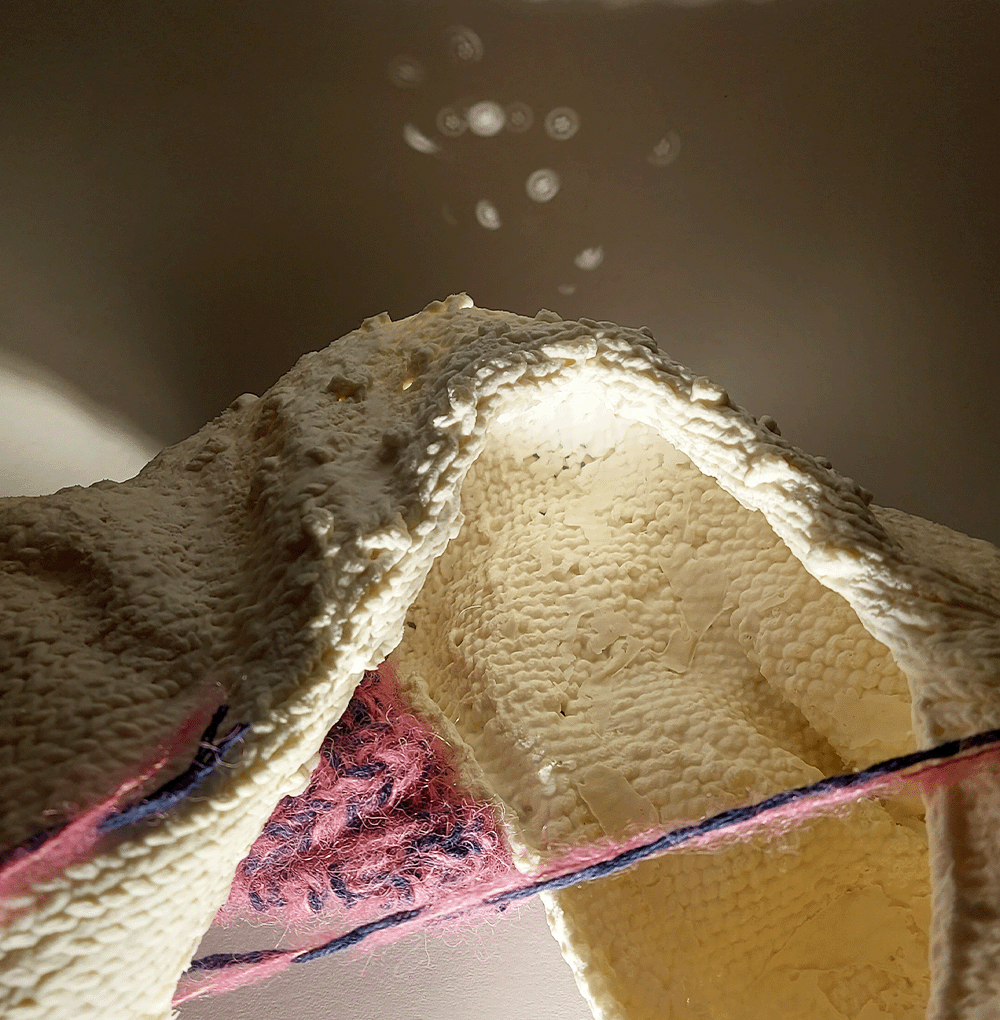
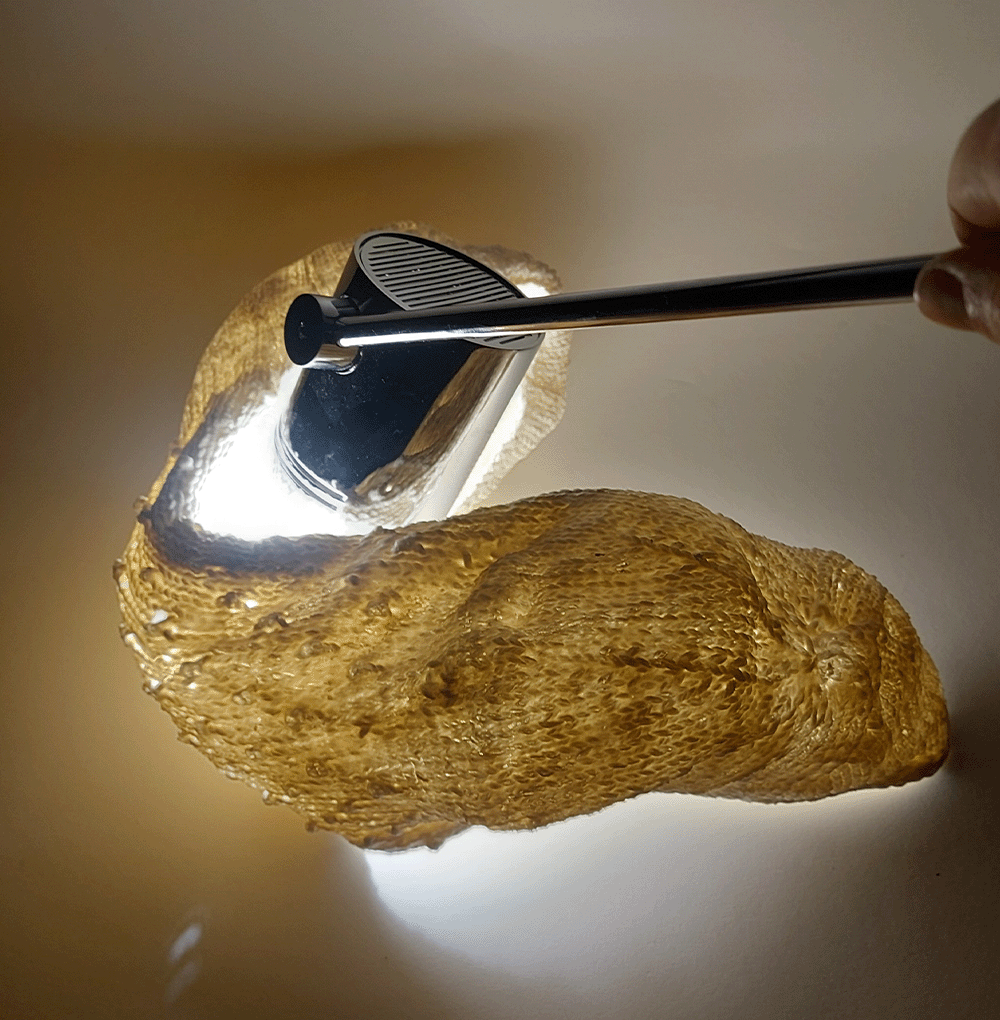
I started photographing my ceramic forms against light to see the effect light has on them and how this could be utilised within curation. I found that light within the ceramic created an orange/yellow glow within the ceramic and showed off the stitches more. There was also a reflection from the bobbles because they have a small hole underneath where the light seems to shine through. Knowing that the bobbles can also reflect light as well as holes is an interesting discovery that I may be able to use within curation.
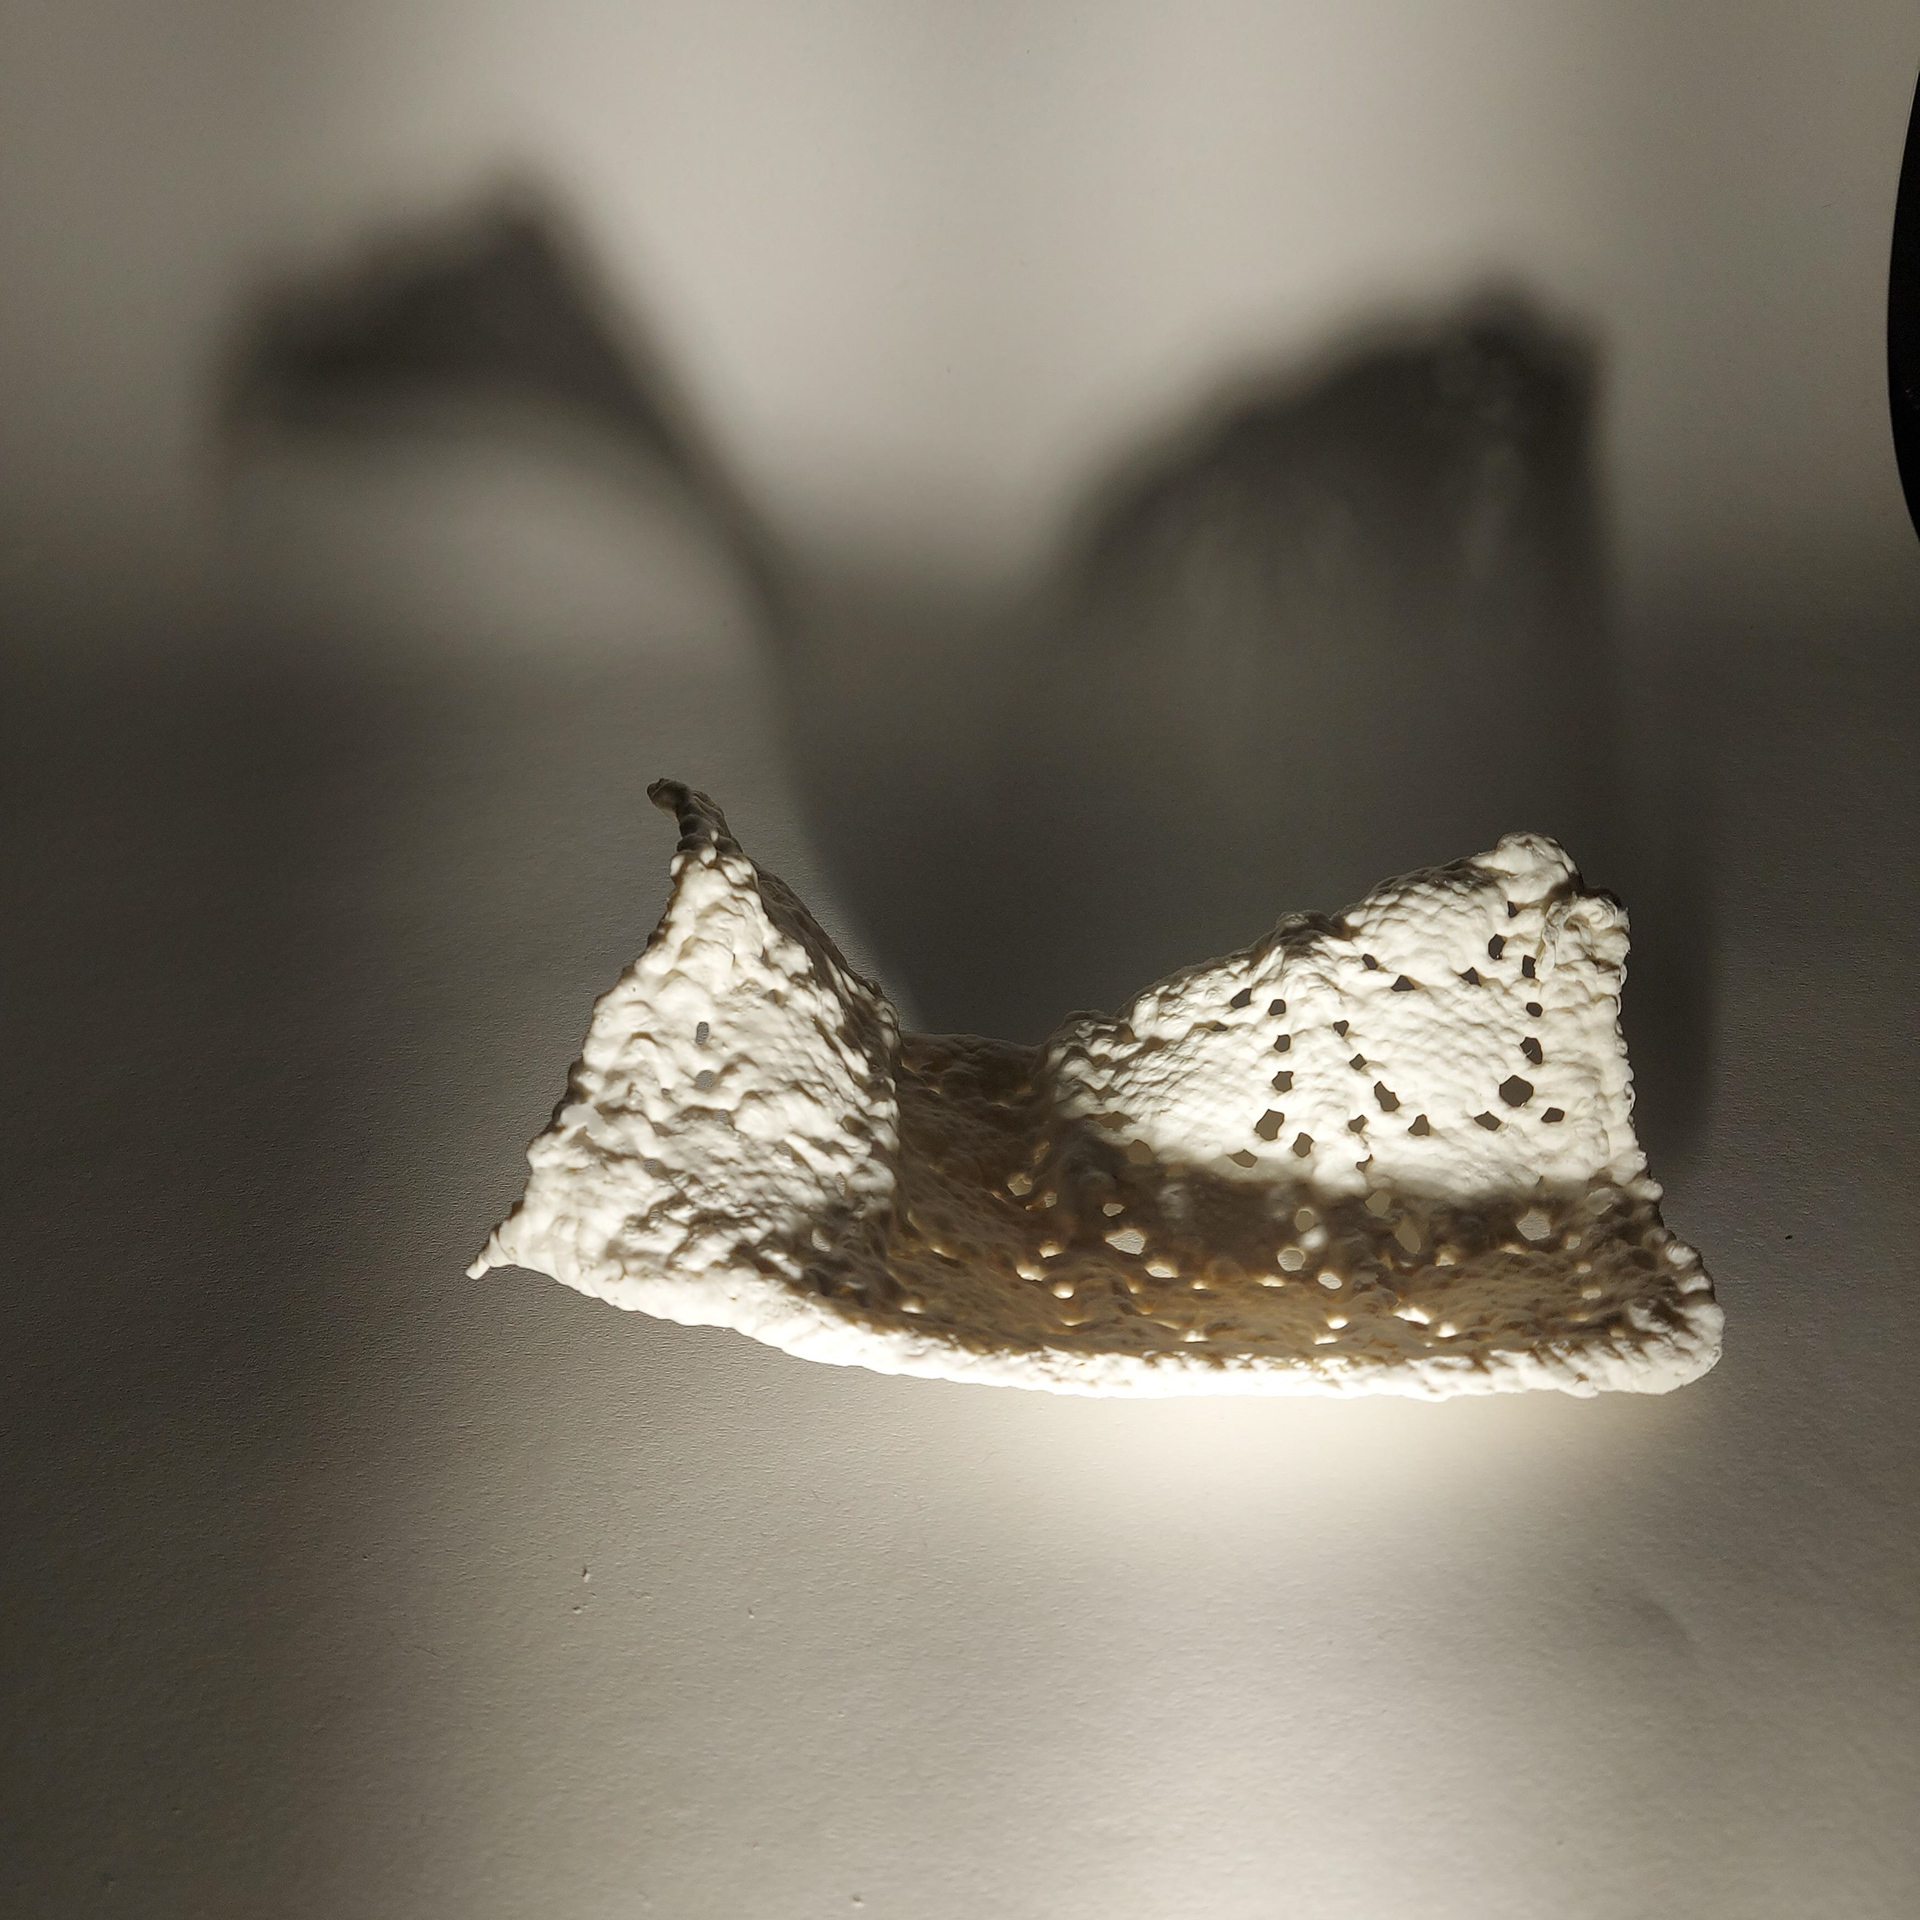
Below is the effect of light on some smaller textured samples. Seeing how the shaped ceramic shows through the shadows of the light could be used within curation or the use of holes can be shown for light.
This experimentation into different textures and shapes with knitting allowed me to see how bigger pieces could be made into ceramic. I was focusing more on the detail of each piece and how I could change different things e.g. making smaller ceramic pieces, in order to have better detail. I started learning how to use the knitting machine and making forms that drew on my knitting knowledge to create shapes that I wasn't used to making.