Within the first couple of weeks of this unit, I would like to observe how the technique of firing yarn in porcelain slip will react to different firing temperatures. This will be a good test to see how the same object looks and feels different and to also observe the firing of porcelain slip over chunky wool yarn compared to thinner and cotton yarn, which is what I had been using.
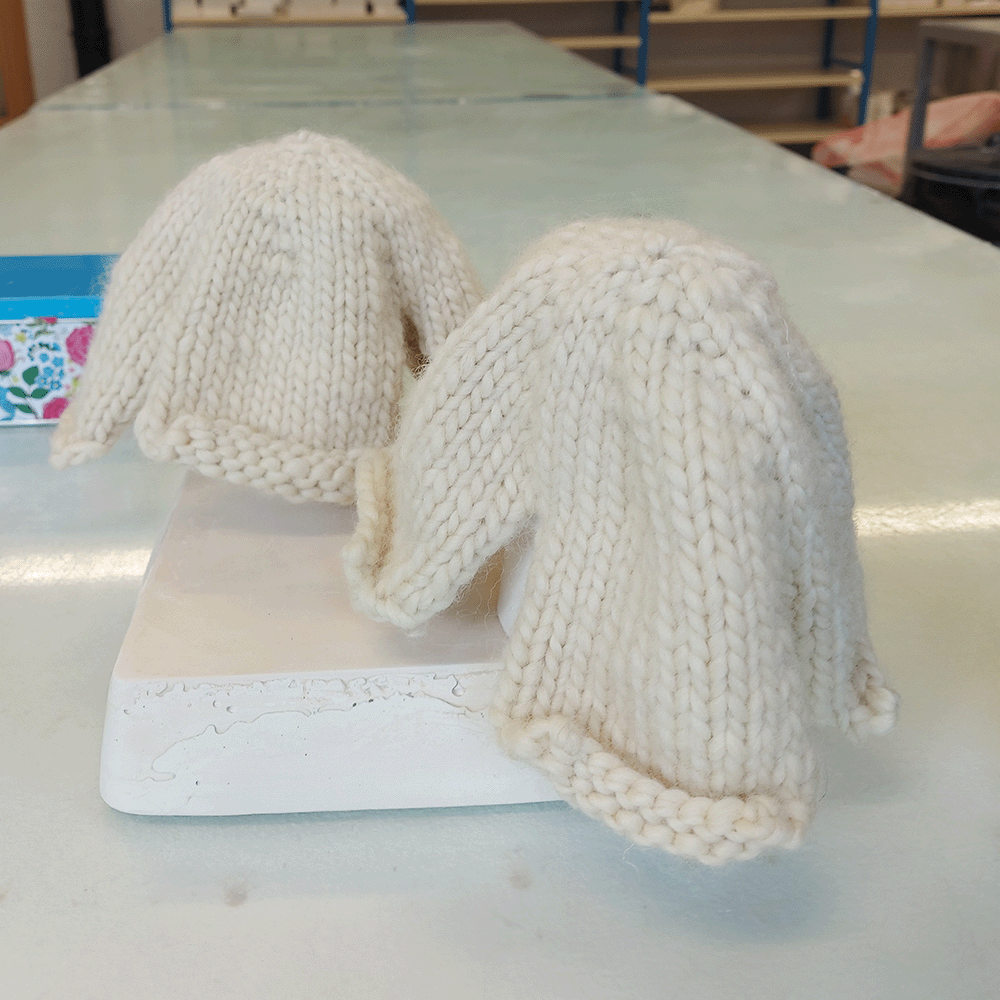
I dipped both these pieces into porcelain slip. Resting them on some small plaster blocks so that they could dry in mid air. I was aware that because the yarn is chunkier, I would have to ensure that the slip doesn't gather on the yarn and that the excess slip comes off as quickly as possible. I found that the process was easier than I thought as the yarn was big enough for me to get a grip of the yarn when pressing into it so that I can get the slip off.

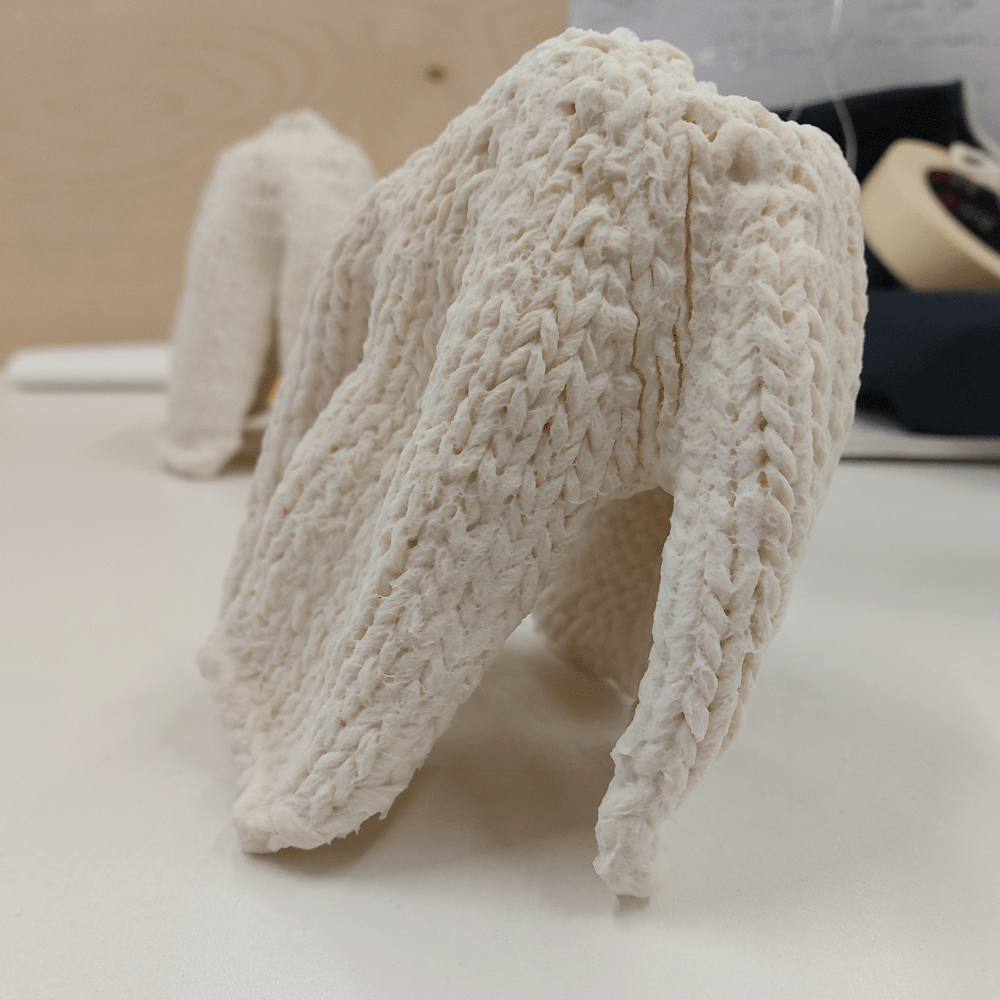
As seen above, the effect of the slip drags down the yarn. I tried not to influence where the yarn went, letting it drop itself. Although the four corners of the yarn were knitted separately, some of the corners stuck themselves together.
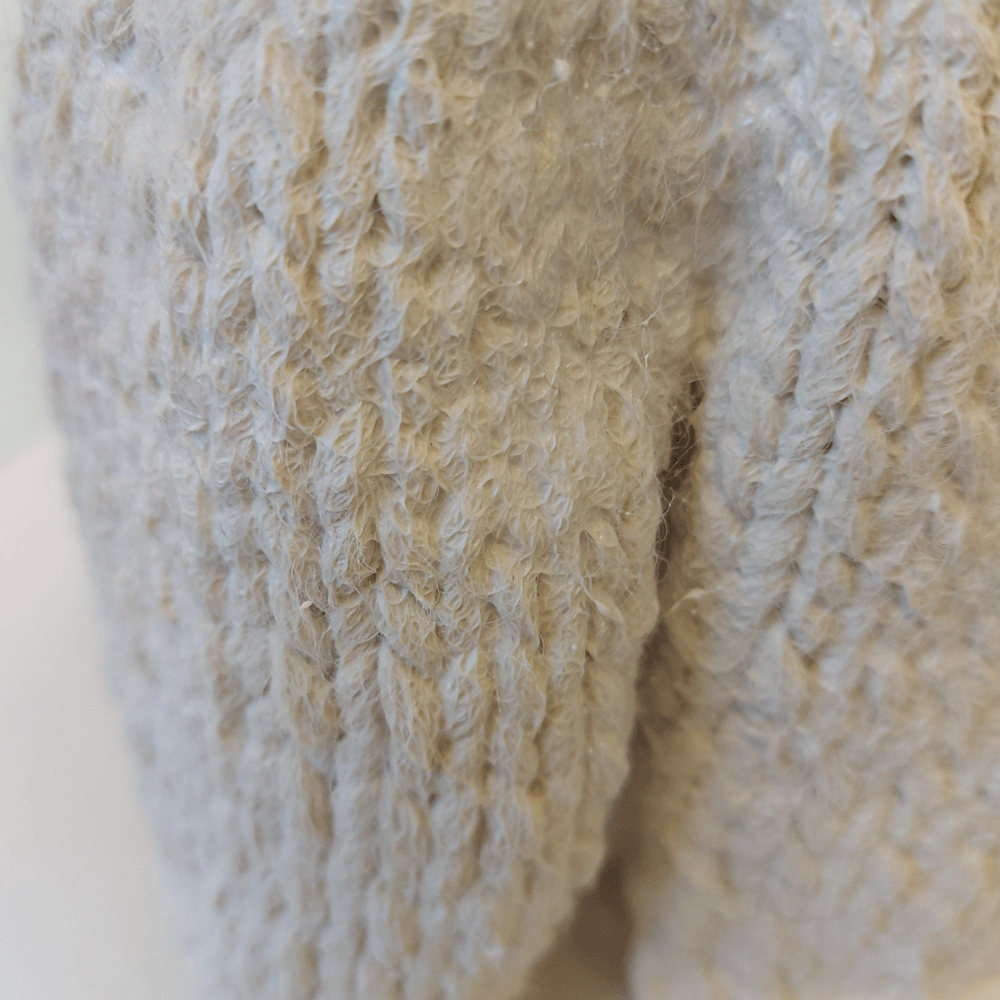
Im happy so far with the result of the dried porcelain slip. The imprint of the wool yarn is still clear and I am interested to see how the fibres that I can still see coming off of the work will affect the firing. Will there be holes in the slip because of how chunky the yarn is and how thin the layer of porcelain slip is?
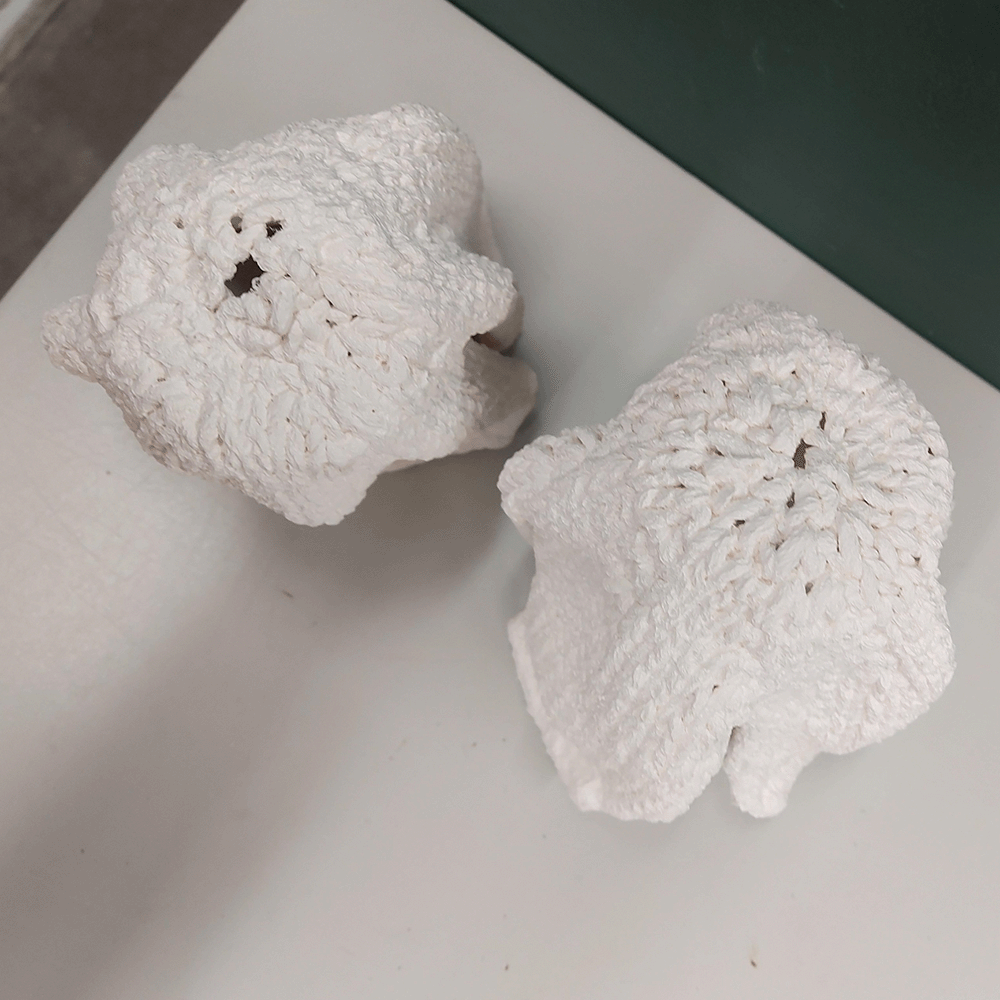
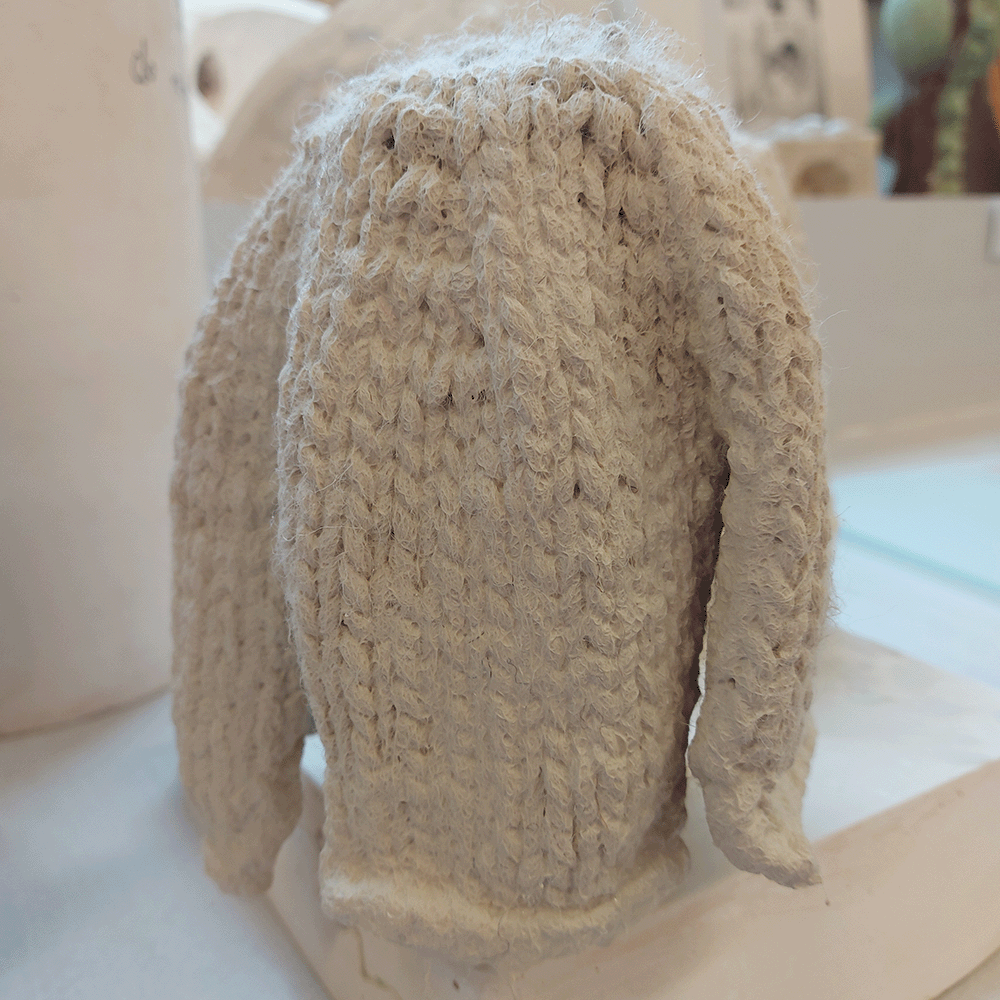
Bisque Fired vs Earthenware
The immediate physical difference between these two pieces is the height, with the bisque fired object being taller than the earthenware one. The detail on the bisque fired object is a little clearer, with the earthenware fired piece being a little less clearer in the stitches. Both pieces show the detail of the small wool hairs that run across the pieces, with the porcelain slip raising at each point where a wool hair has attached itself to the stitch when being submerged in the porcelain. When holding both, the bisque fired piece is slightly lighter, with the earthenware one feeling a little more heavy and more robust. A stitch crumbled off the top of the bisque fired object when trying to sit it on the opposite side. The bind offs at the bottom of both pieces are very chunky and therefore seem to clump a little at the bottom, due to the porcelain drying, the slip has pooled at the bottom and the detail of the bind off stitches is missing. Overall, the bisque fired piece looks better, however, it is not robust enough compared to the earthenware piece.
After looking at the pieces that had been fired and seeing that they had both come out intact, I decided to dip the third piece in slip for stoneware firing. I will then be able to compare all three knitted objects. I did the same process as the two objects above, however, this time I took notice a little more of the stitches seeing if trying to stretch them out with my fingers would make them more noticeable. I will look out for this when comparing them when the stoneware object comes out of the kiln.
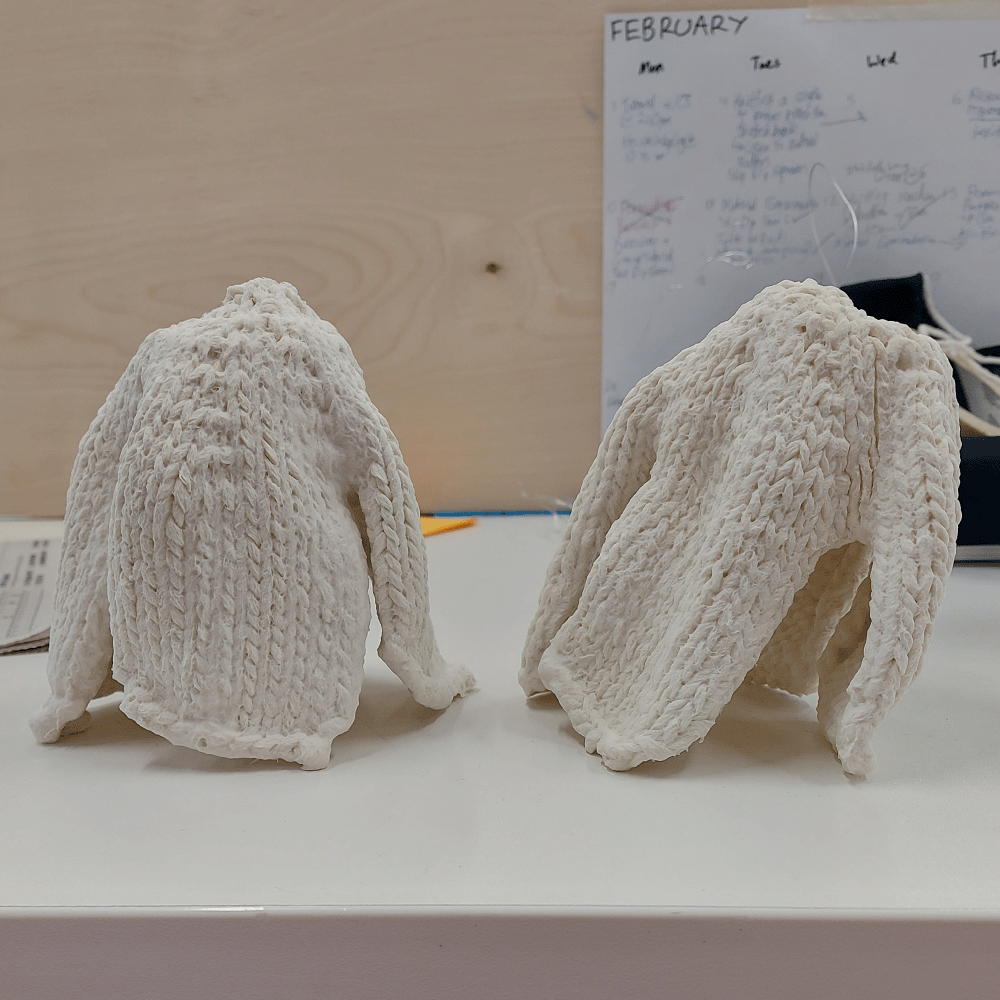
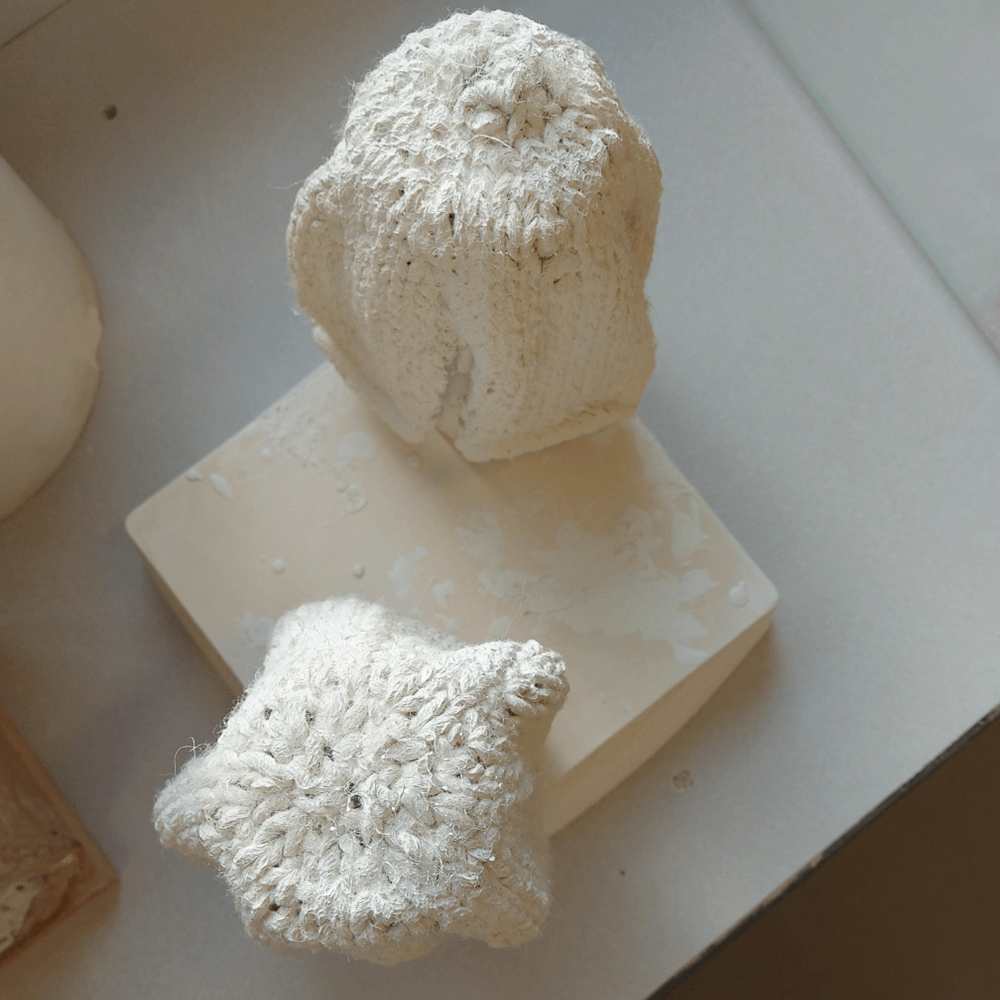
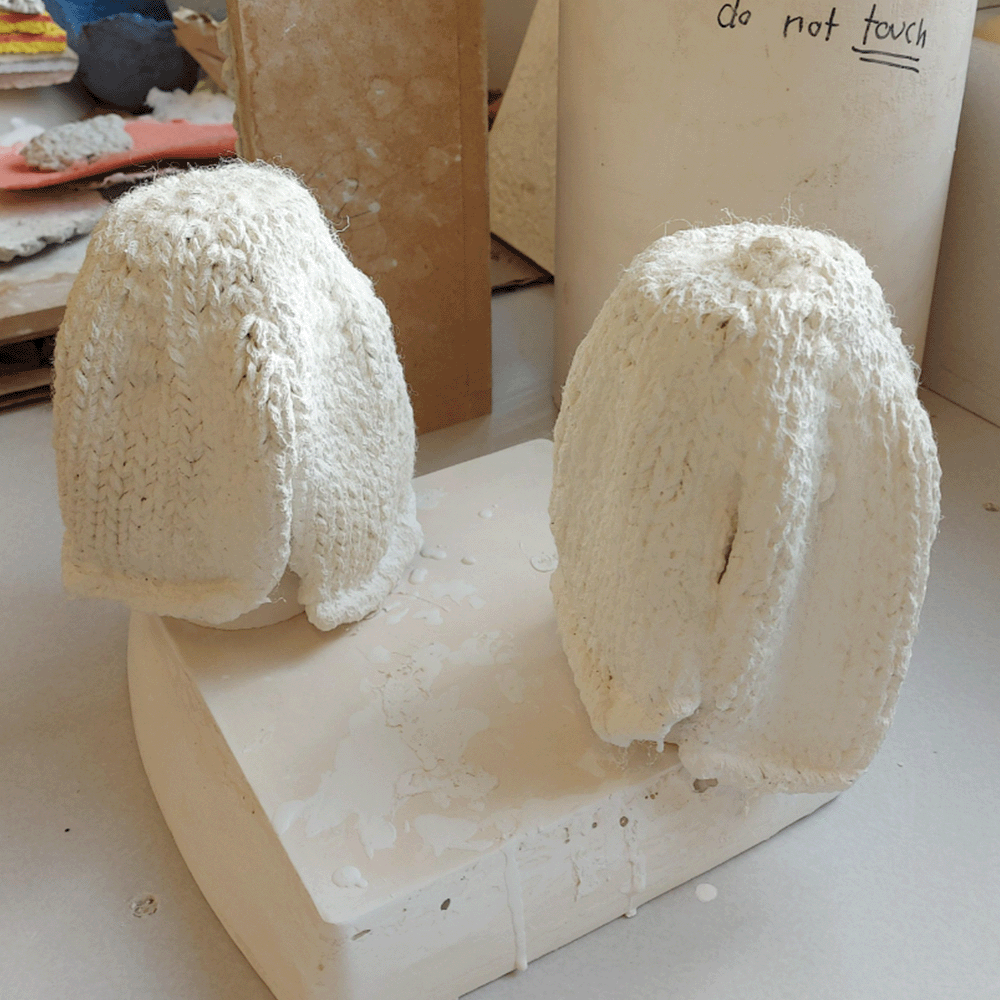
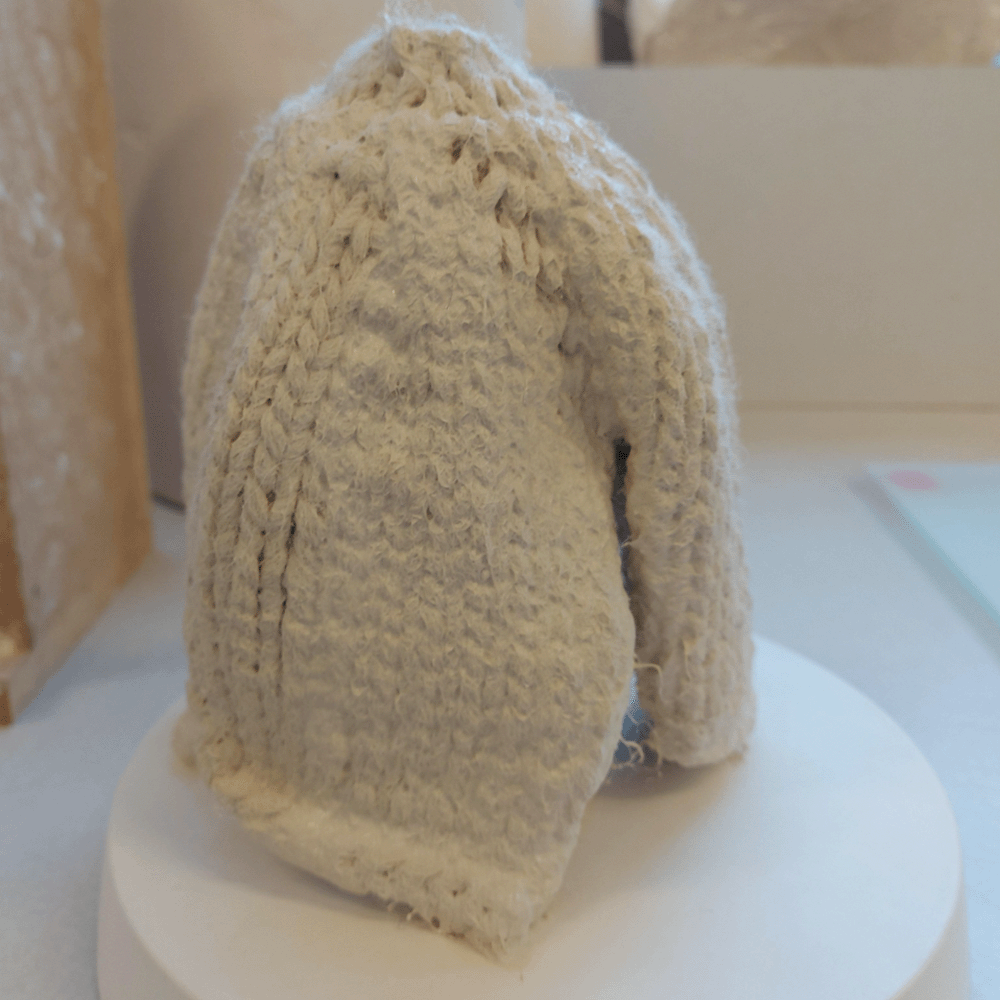
Stoneware vs Overfiring
Although I was expecting the piece that was overfired to break or crumble in the kiln, it held its own and it leant to the side a bit, as seen above on the left. Doing this experiment showed me that the work wouldn't create anything new compared to if I formed the work over a former or manipulated the material to go that way myself. The stoneware fired object stayed the same shape as the earthenware and the bisque fired object but the feel of it and the colour feels so much nicer to touch than the others. It also feels thicker and stronger and I believe is the best temperature to fire my future ceramic pieces.
This experimentation led me to think more about the detail that comes with firing ceramic, the pooling of teh ceramic, especially with a thicker yarn and the texture that came with using wool. I found the texture more difficult to work with but I did like this shape that I was making. This had an effect on my next ceramic pieces as I went back to a thinner yarn, trying to focus on the detail of each piece and analysing how I go about my 'slip dip' process.