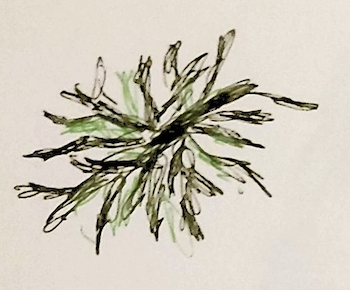
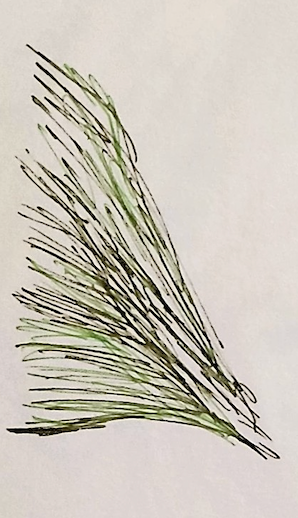
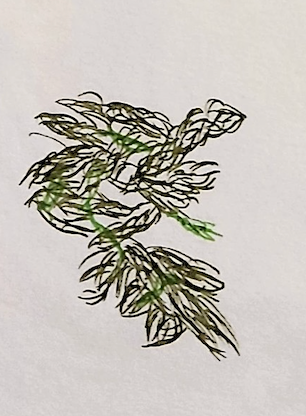
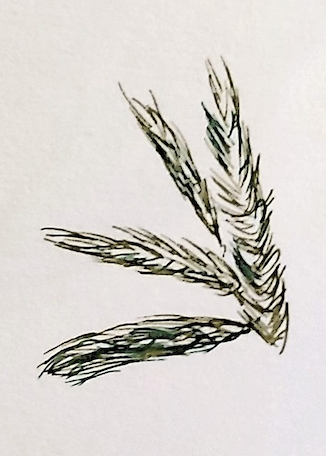
These quick sketches from Bridgewater was me looking at the different textures and shapes within the leaves around the site.
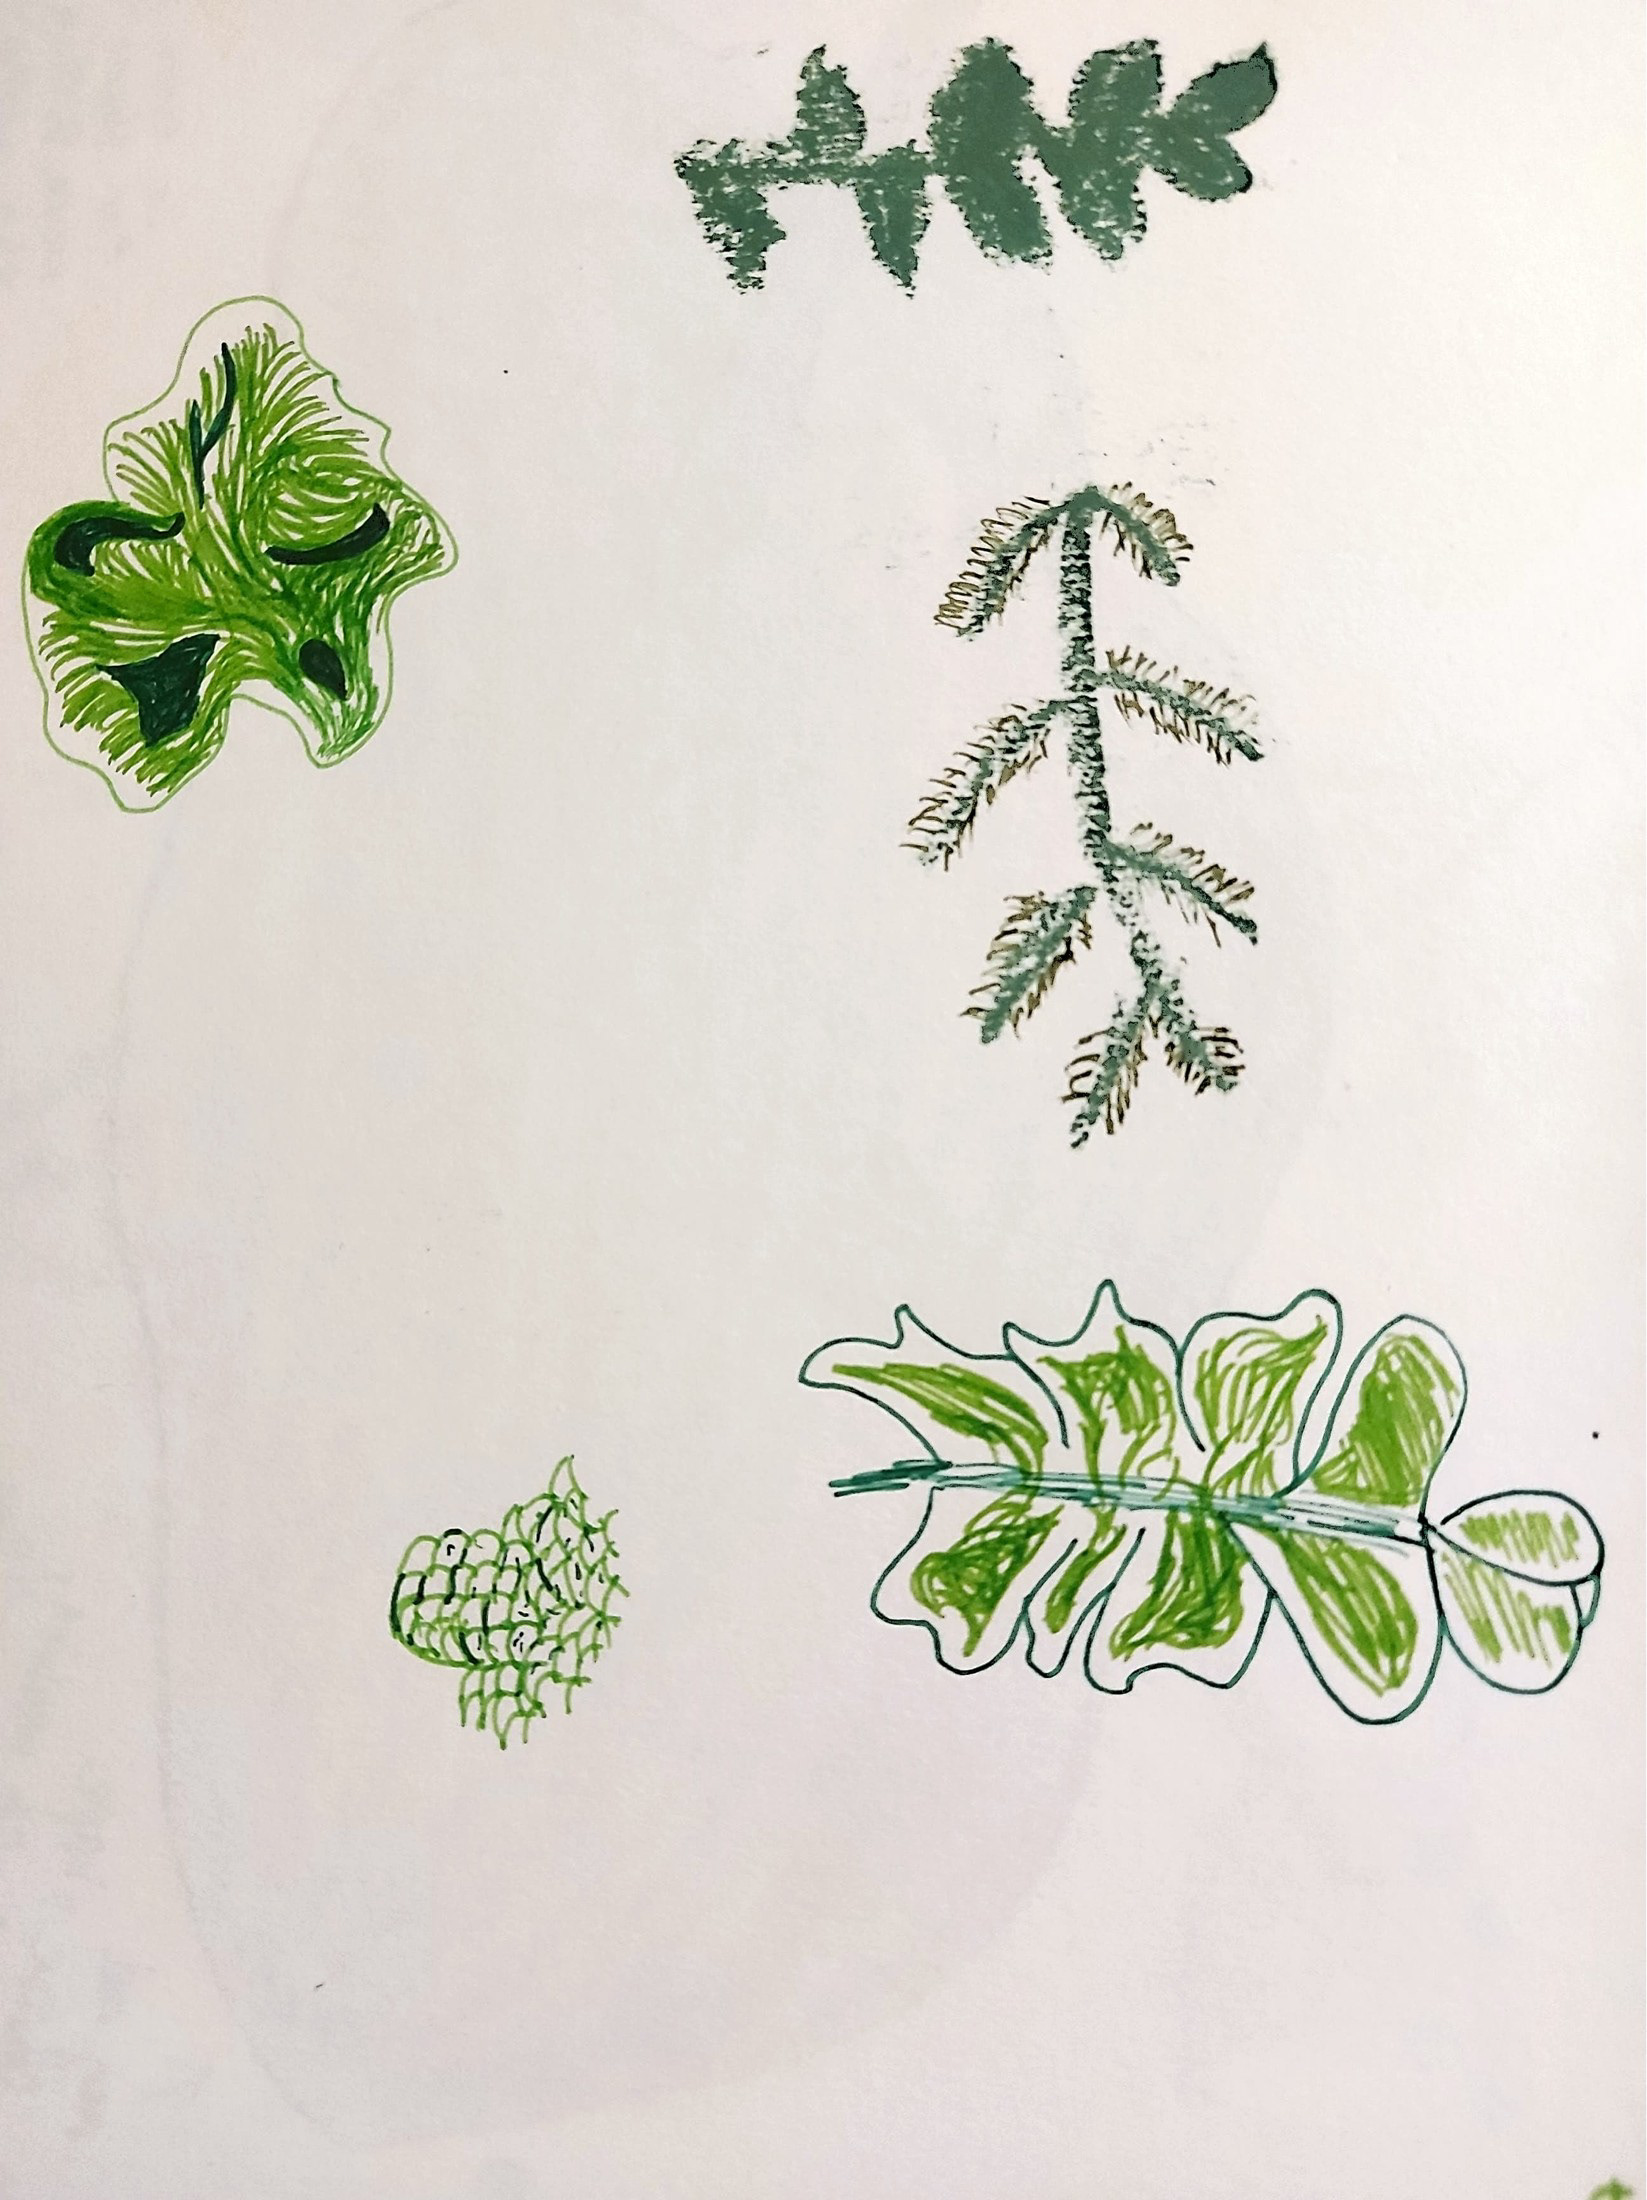
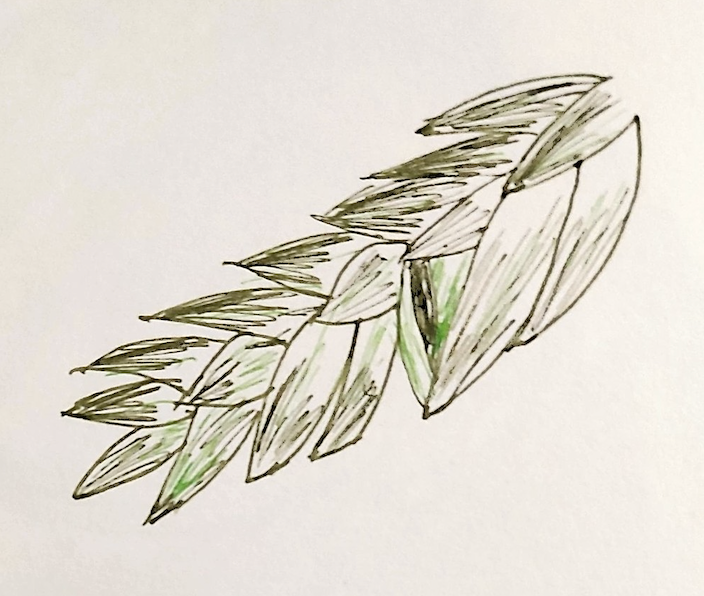
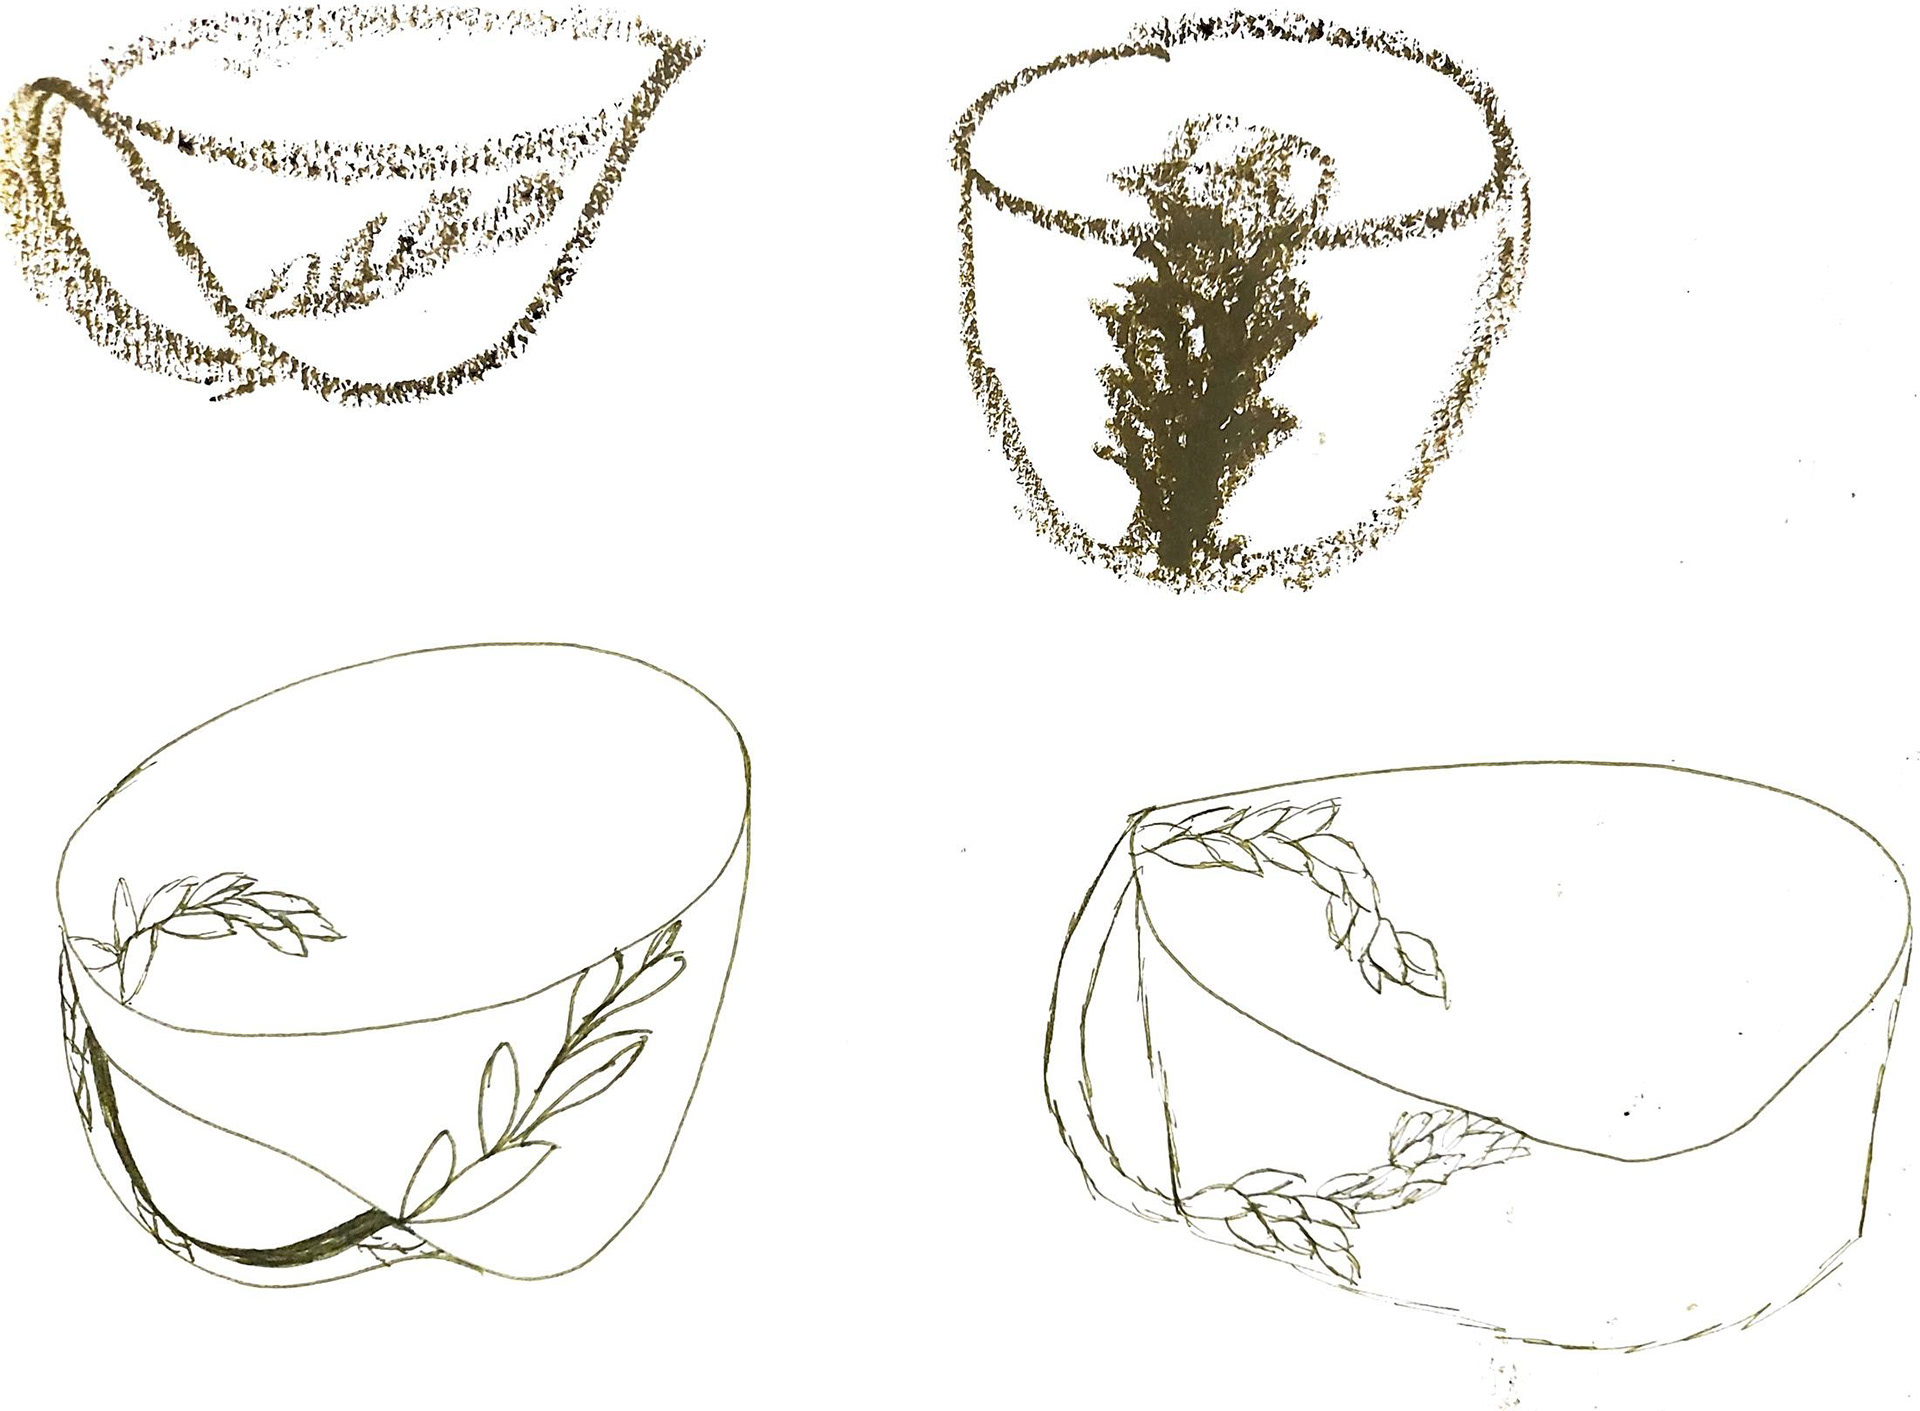
These samples are me exploring different shapes representing petals. The top two samples are me looking at texture and shape of flowers I saw at Bridgewater and that are in the drawings above. The sample below was me thinking about how this shape could potentially be used as a pourer or a water vessel and is based off of the drawing above on the right.
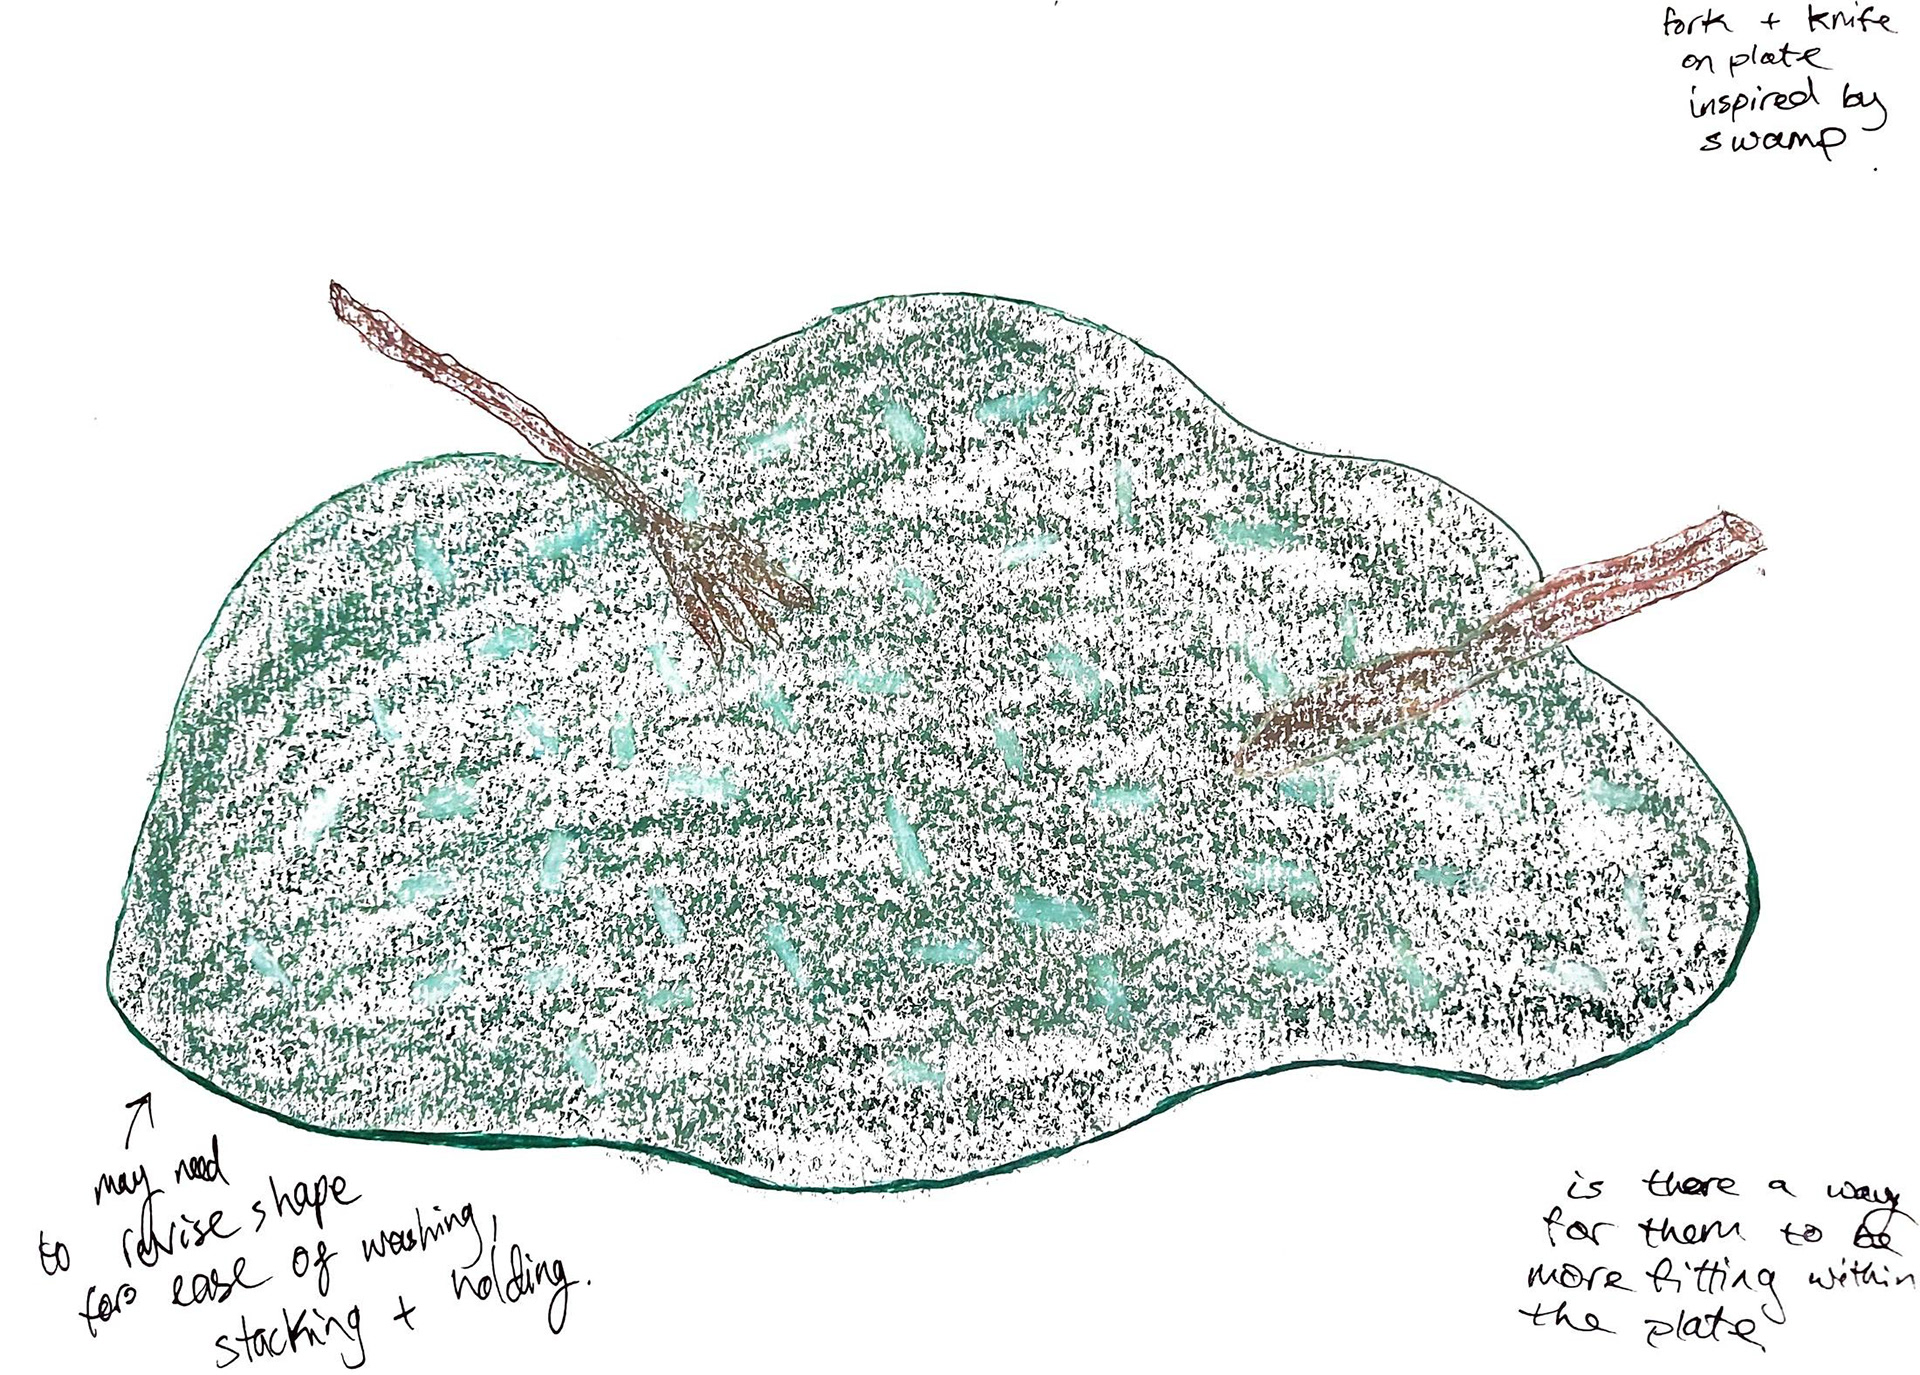
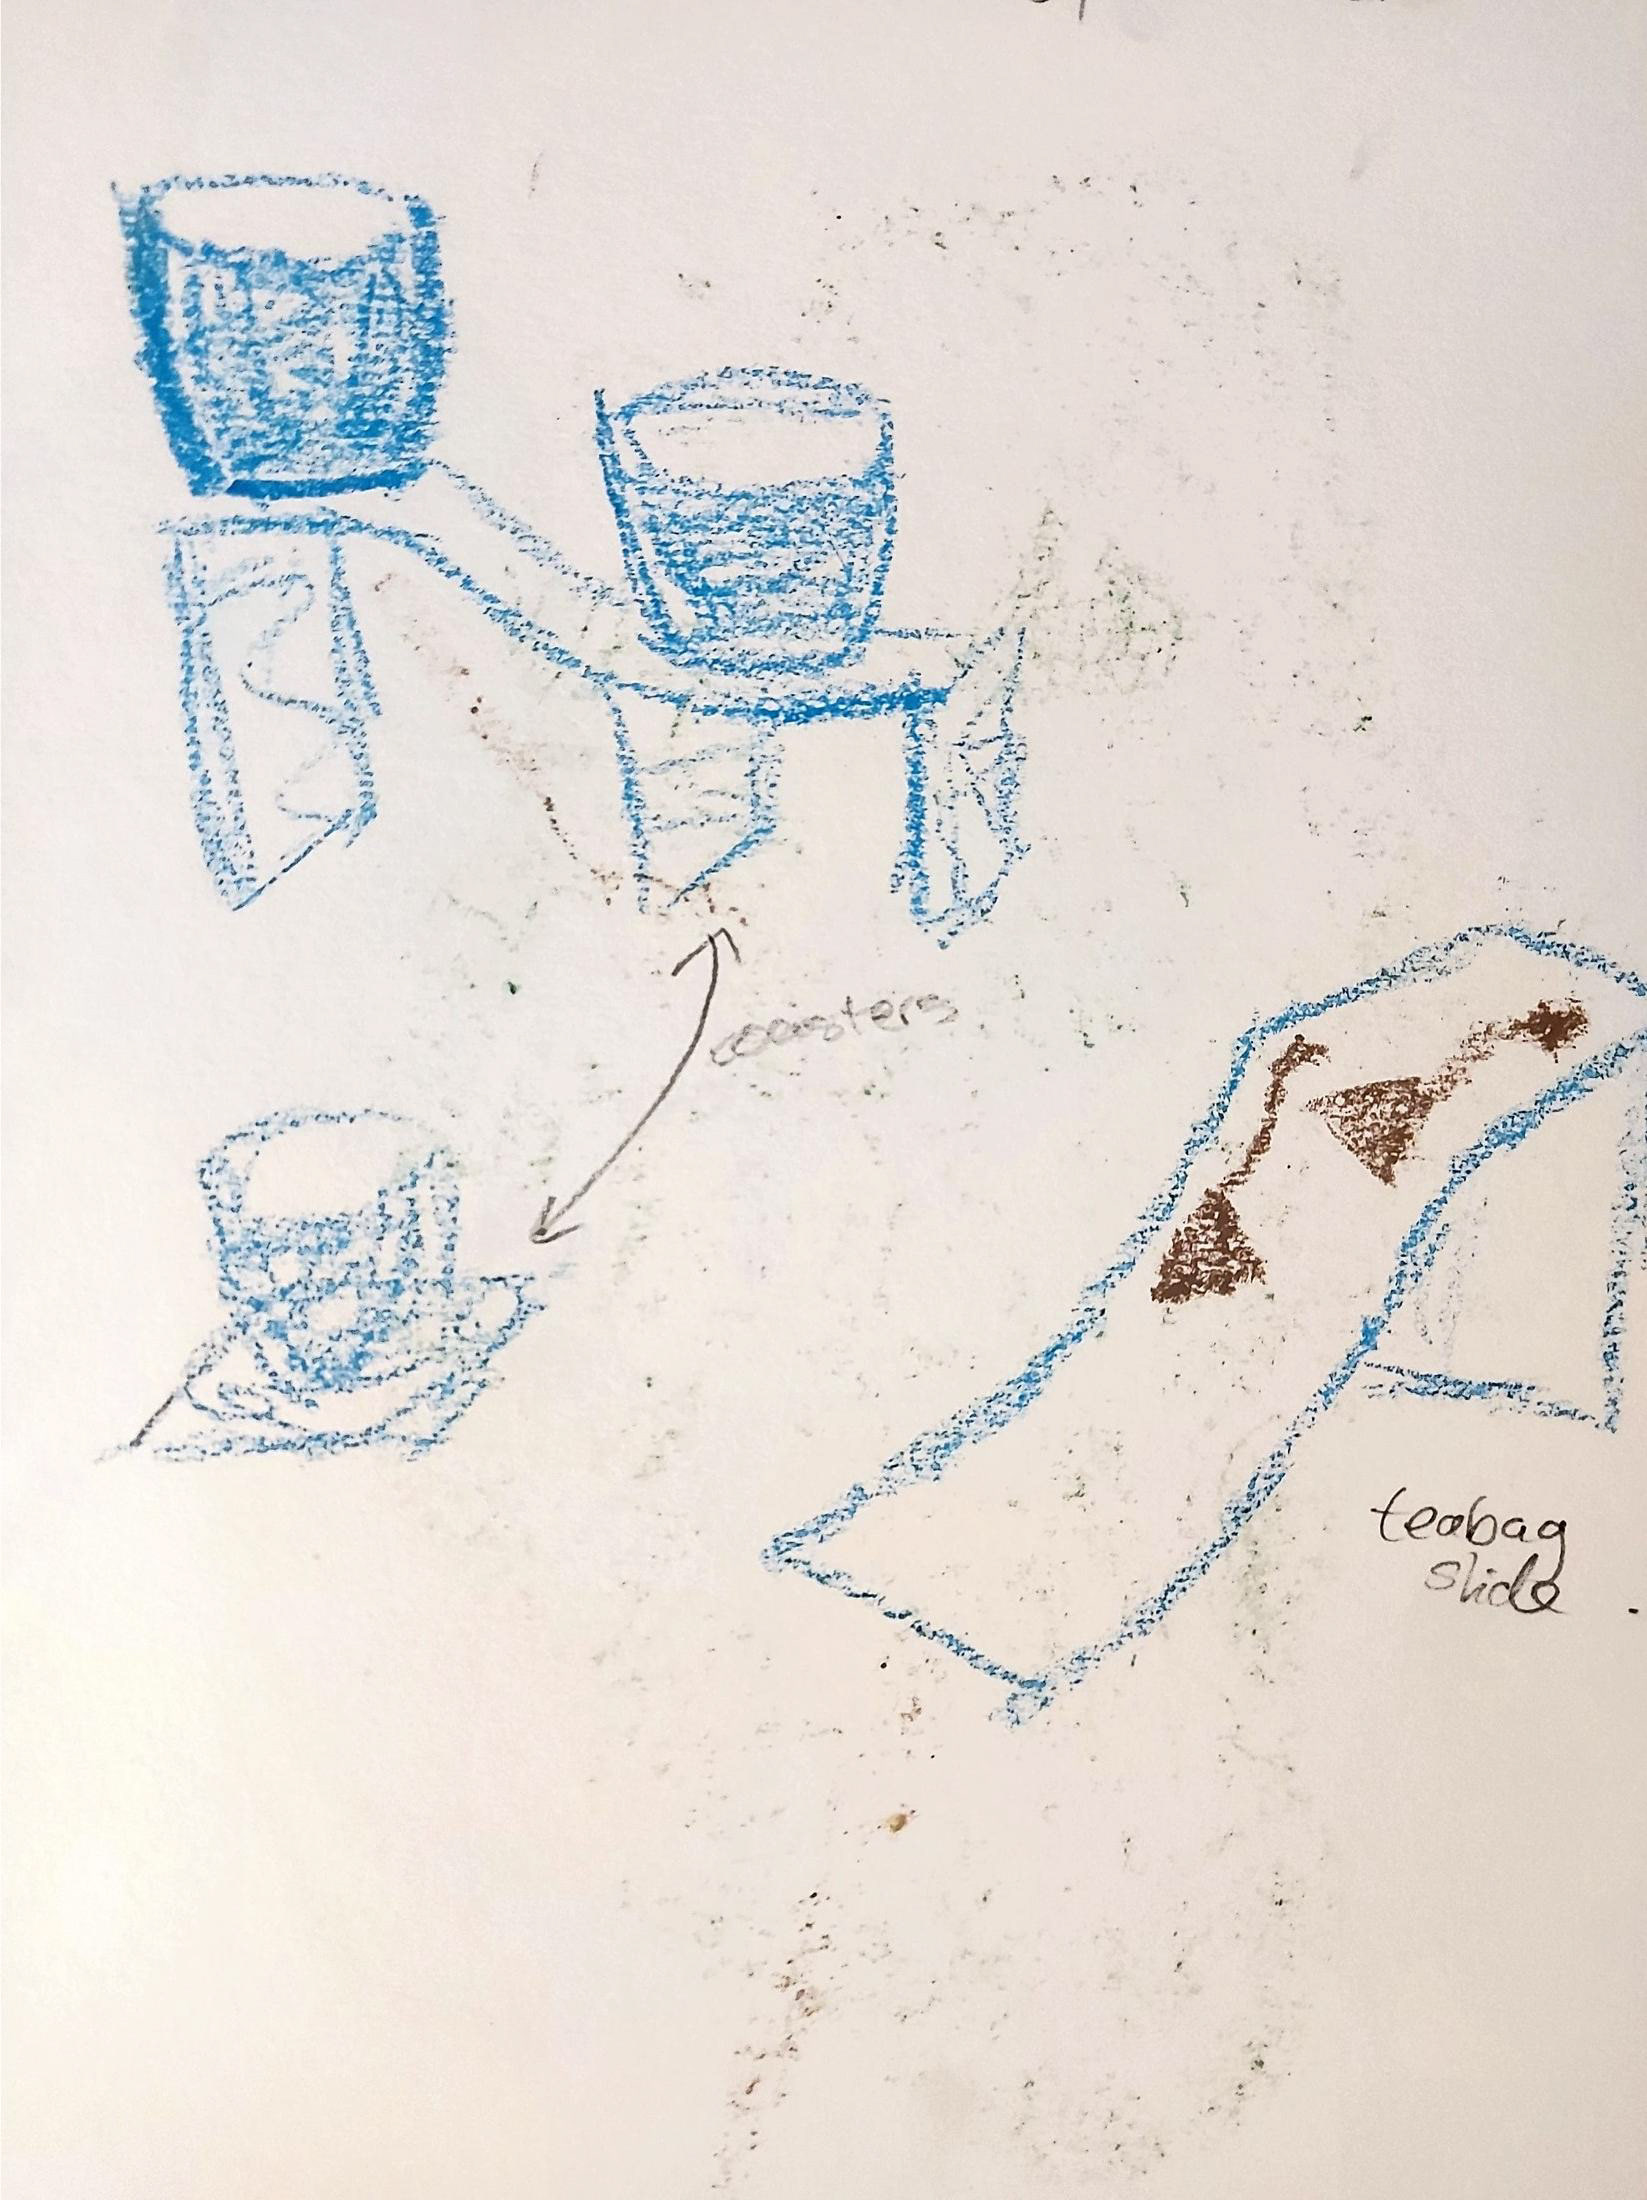
These were initial ideas that I had come up with as soon as I knew that I wanted to make a product for the cafe to use. The first piece was a swamp inspired plate that used forks and knives that were 'logs' that were in the swamps within the site. The second was teacups on a slide and the teabags could slide down the slide as part of a game.
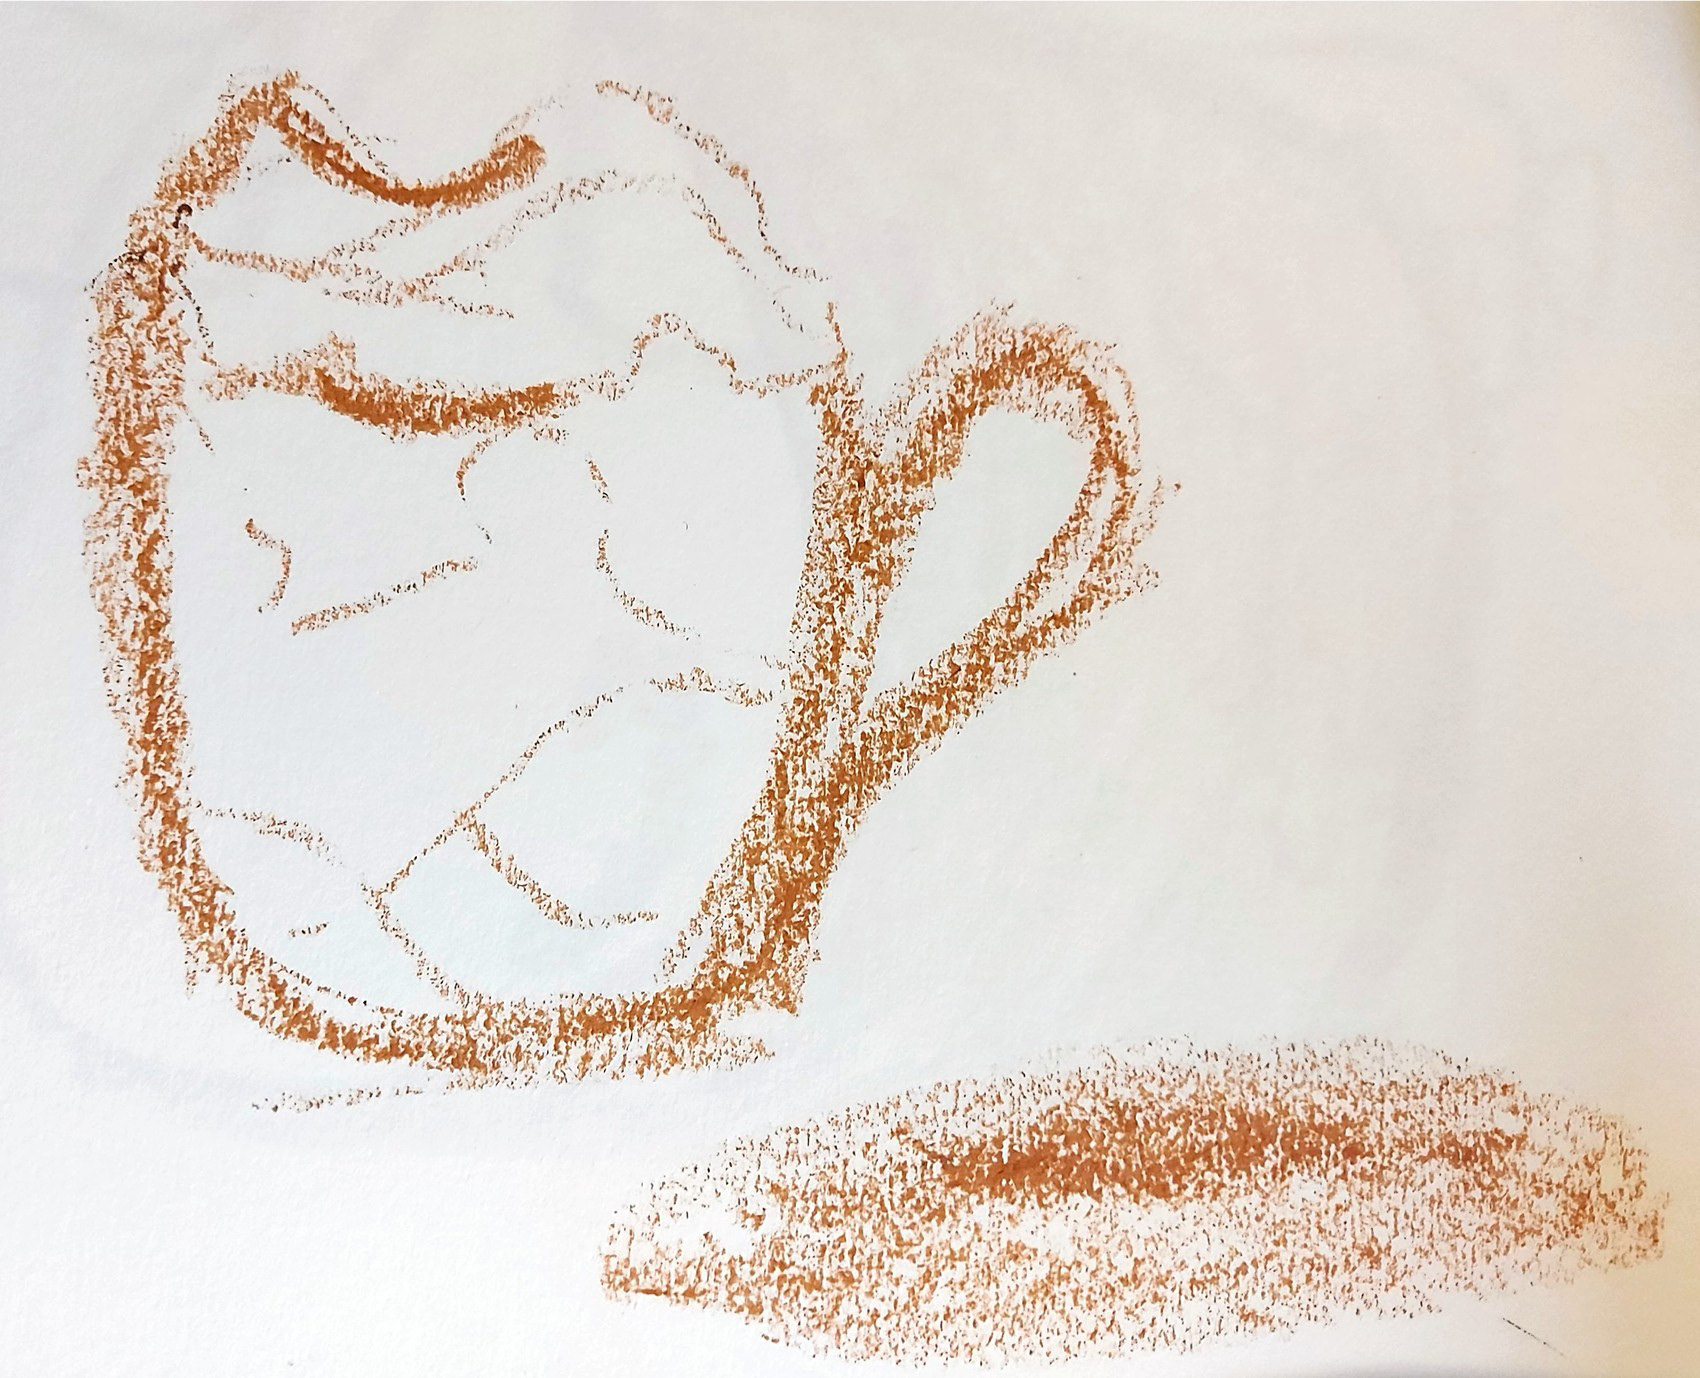
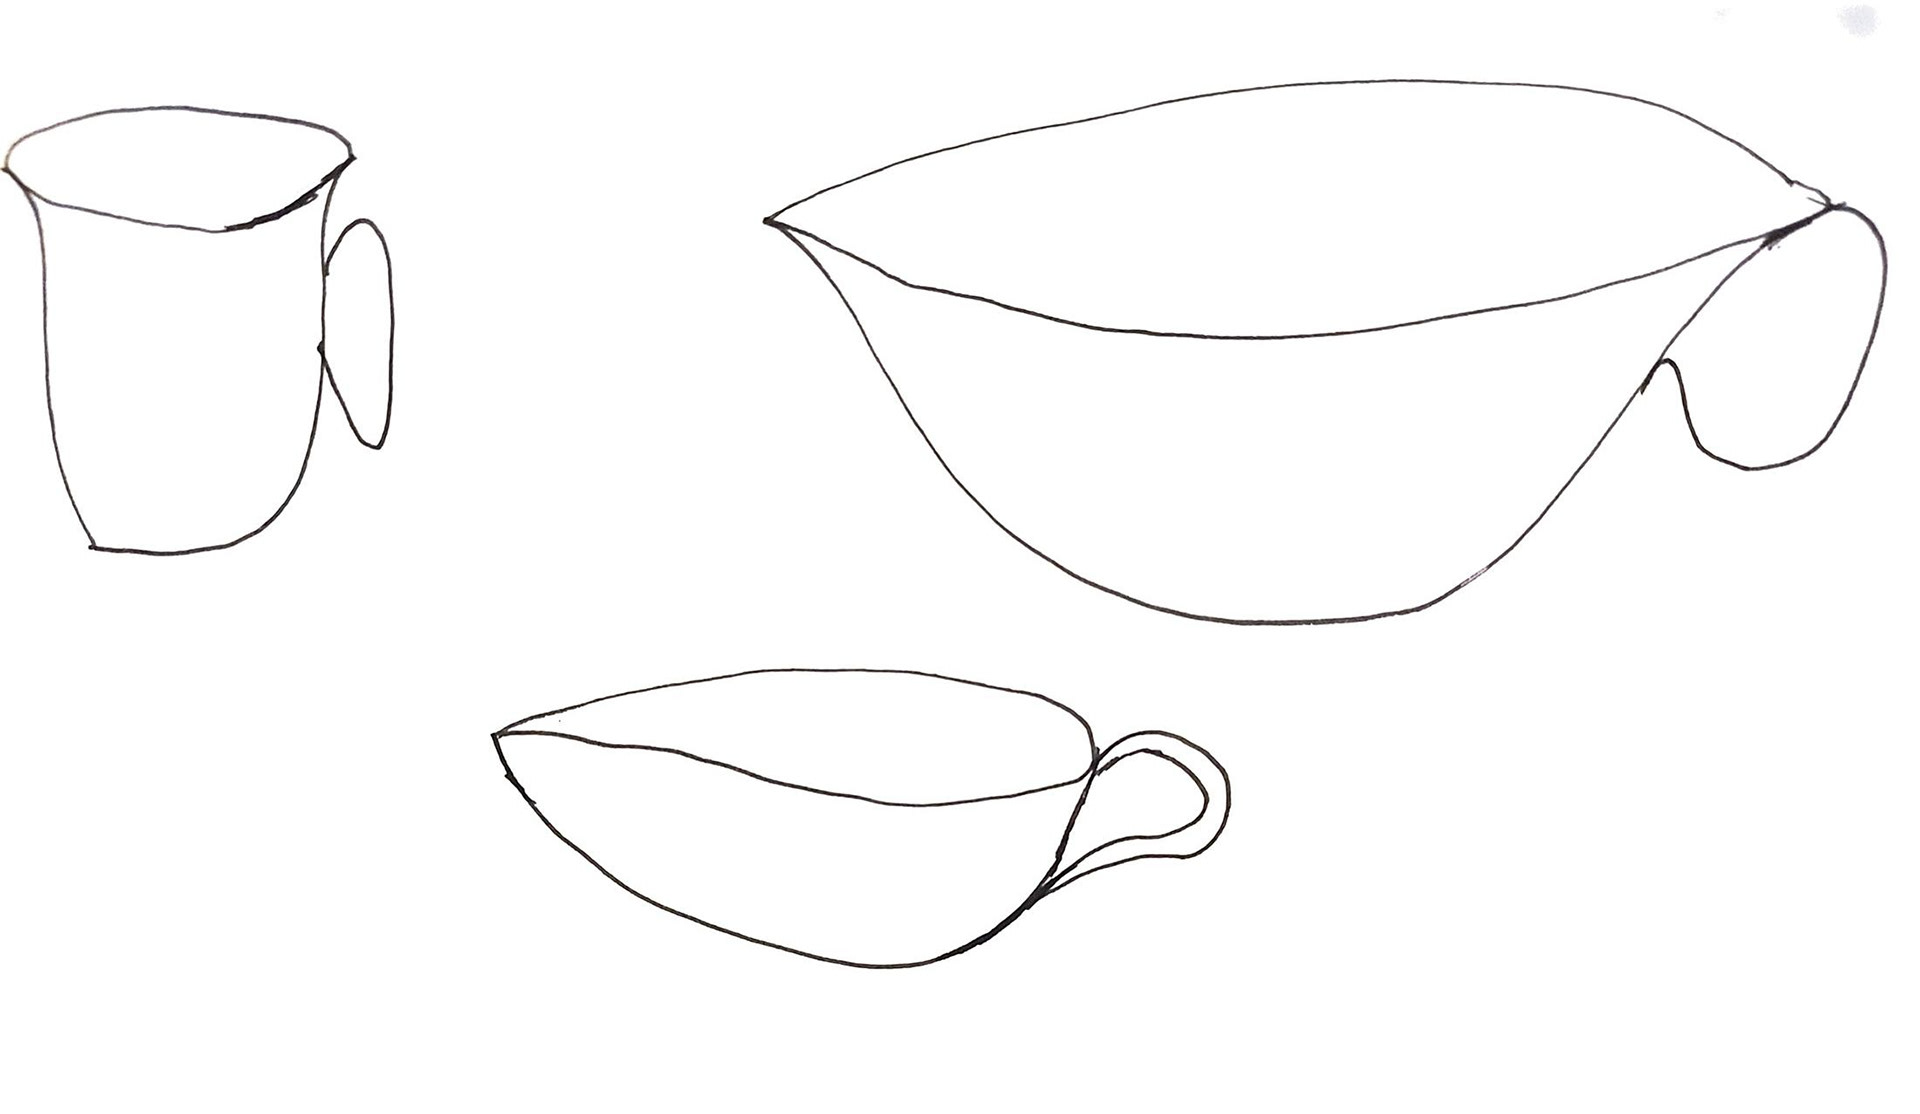
After my research led me to looking into teacups and teapots I decided I wanted to make a teacup and used coiling to experiment with the different shapes and thicknesses I could make using this method. I first of all sketched some potential teacup shapes and handles to inspire my making.
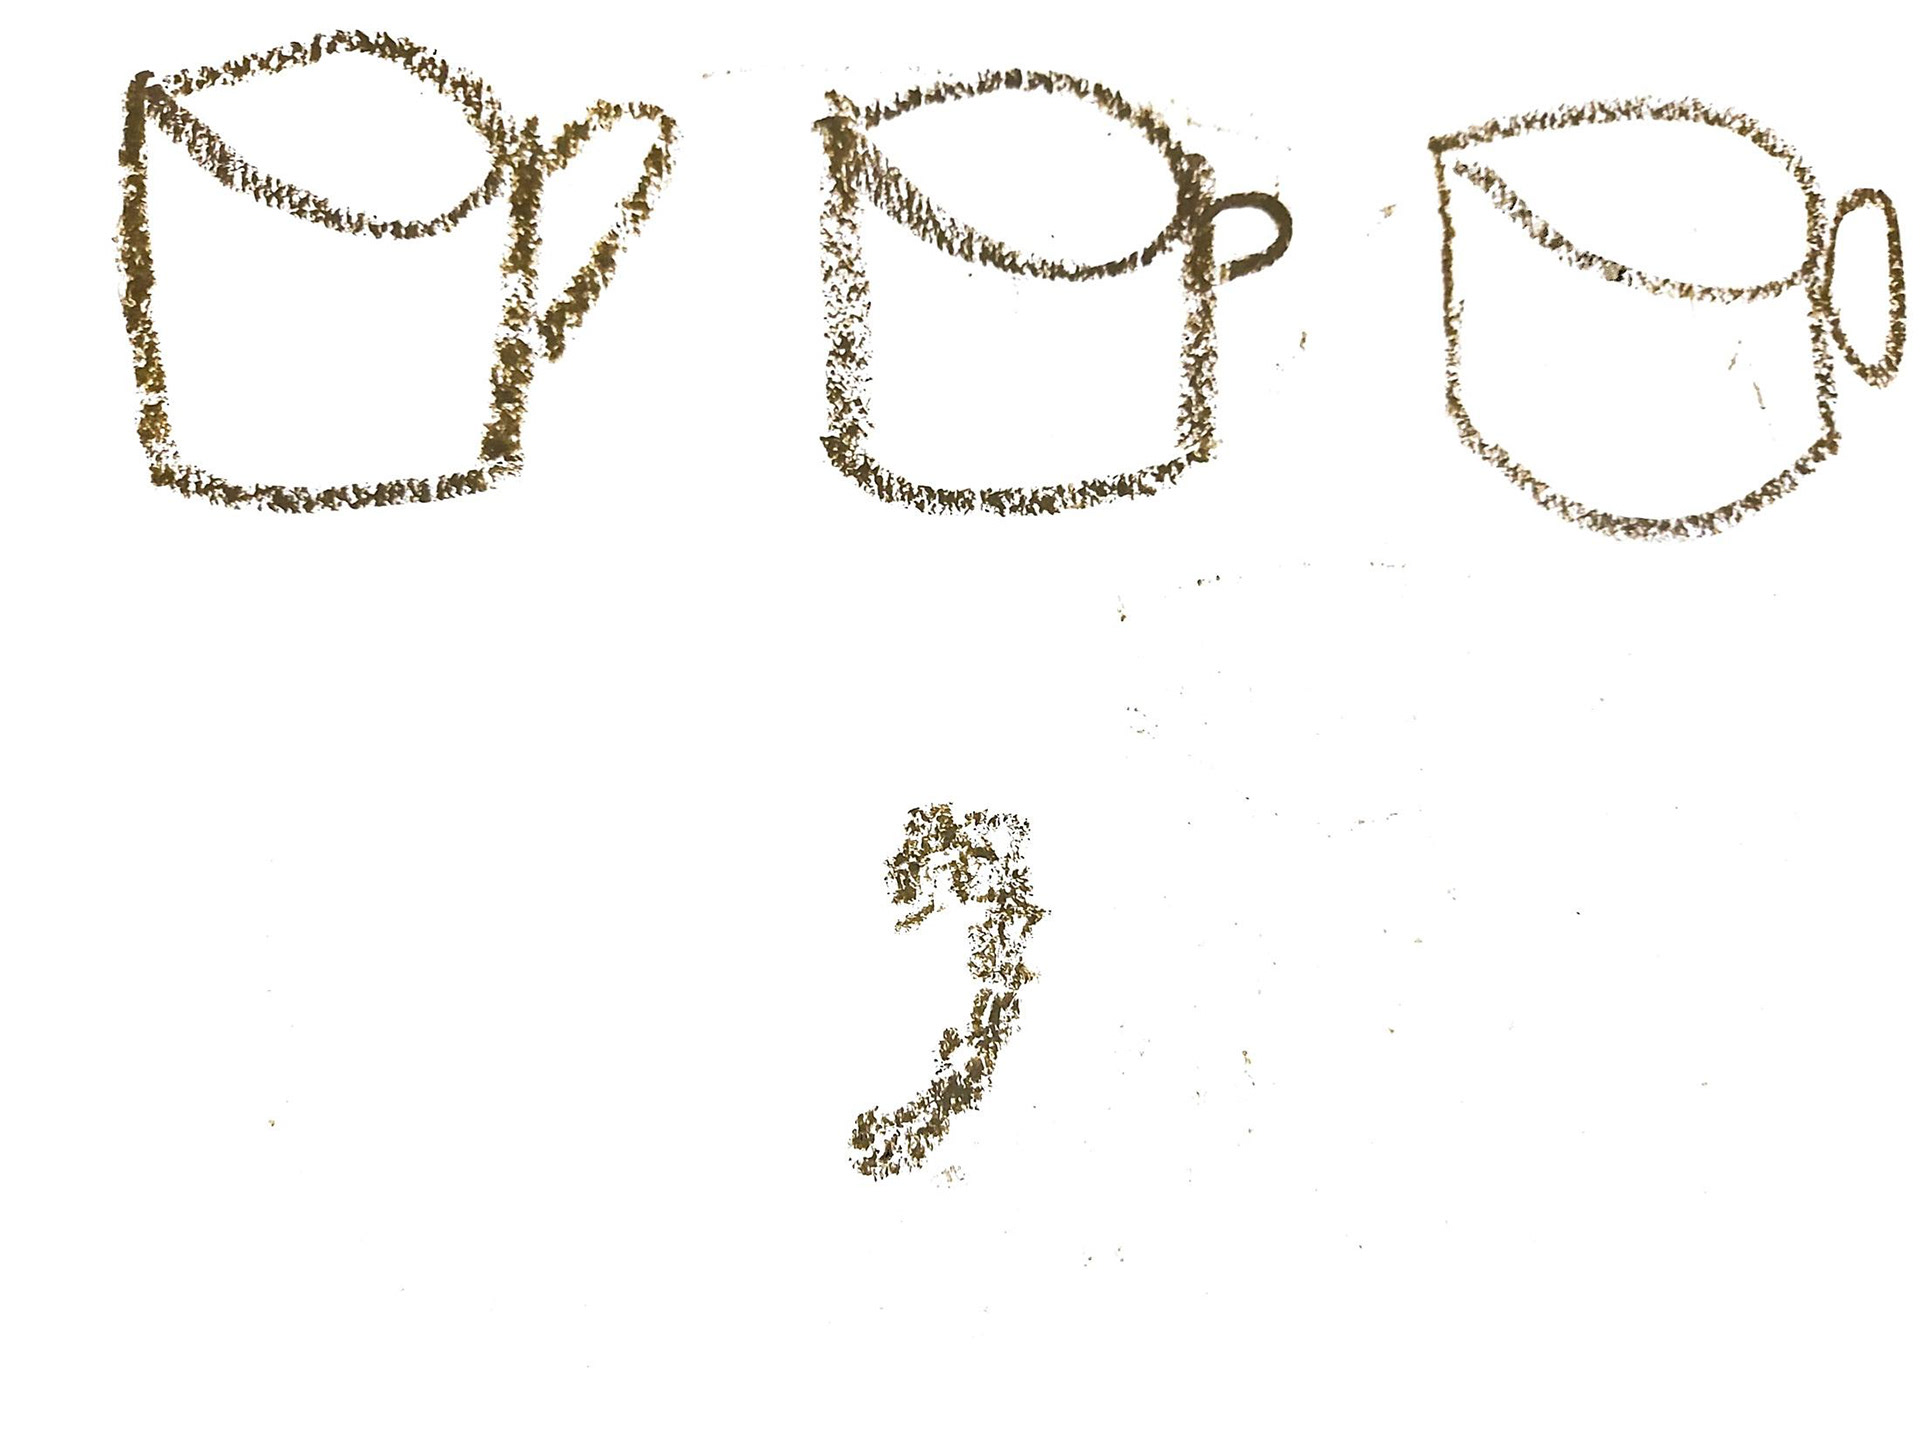
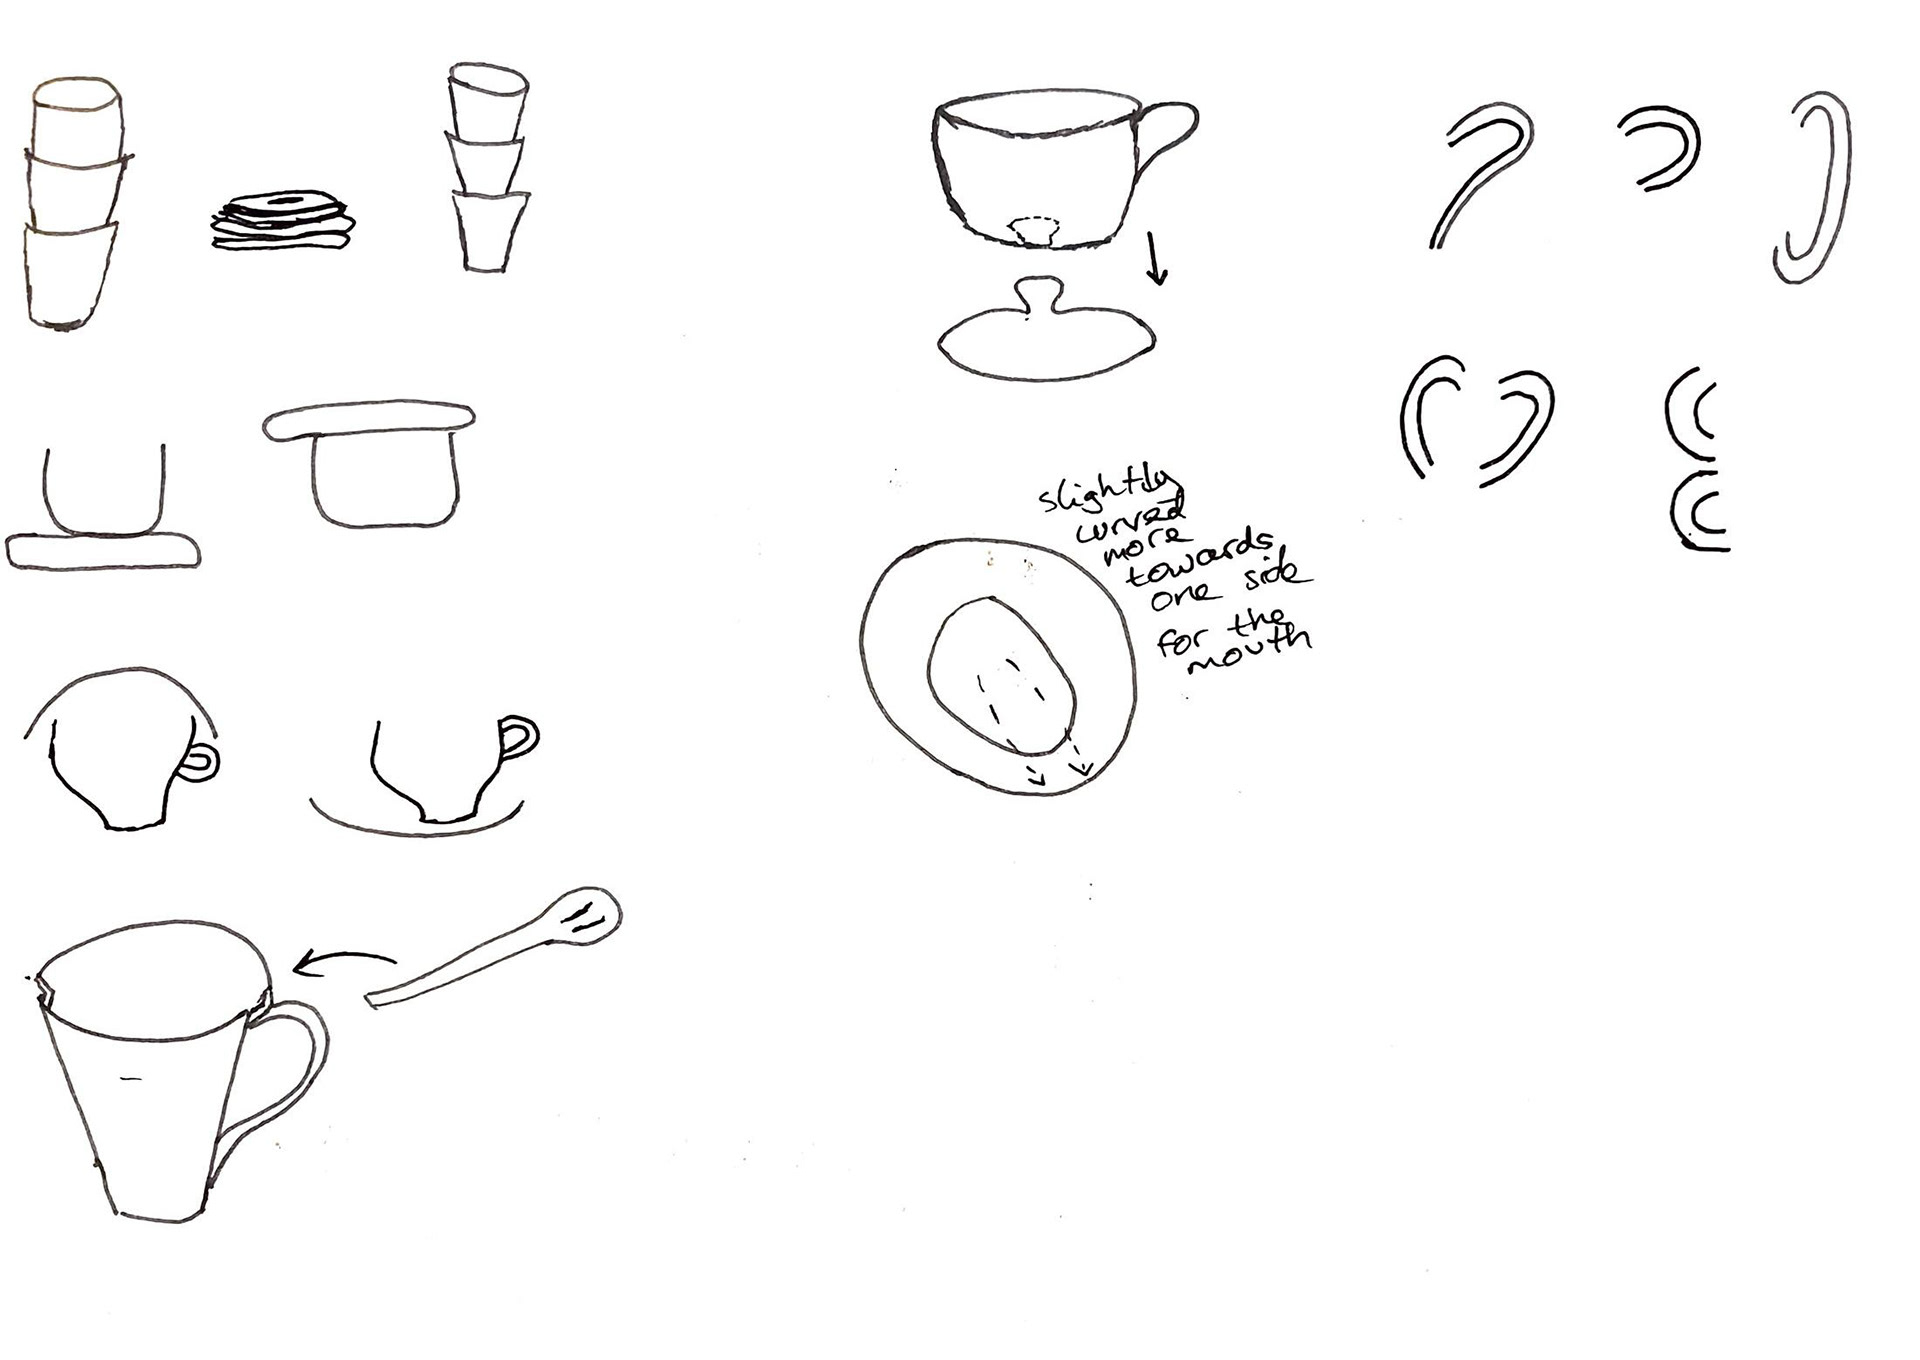
The reason for these range of sketches was to look at the different ways I could make teacups functional by sketching a range of cup shapes, handles, stacking formations and coasters.
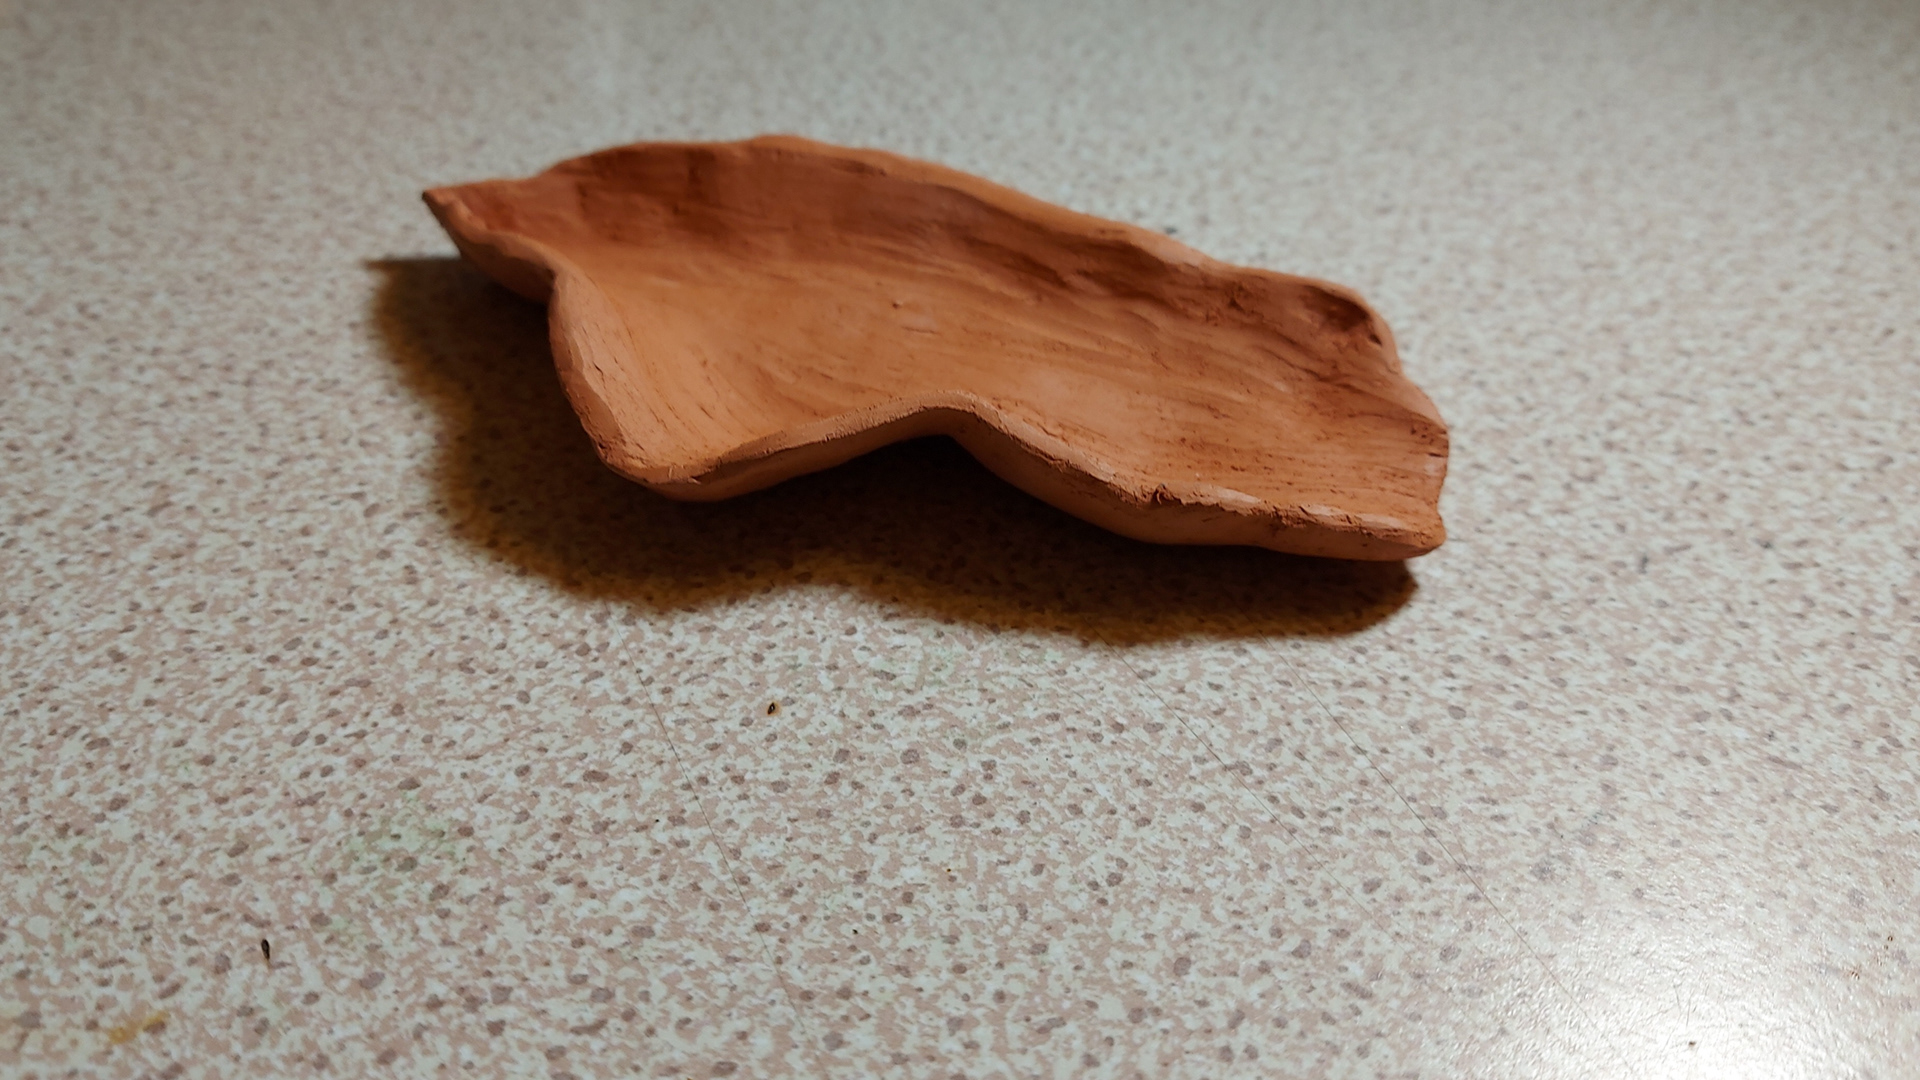
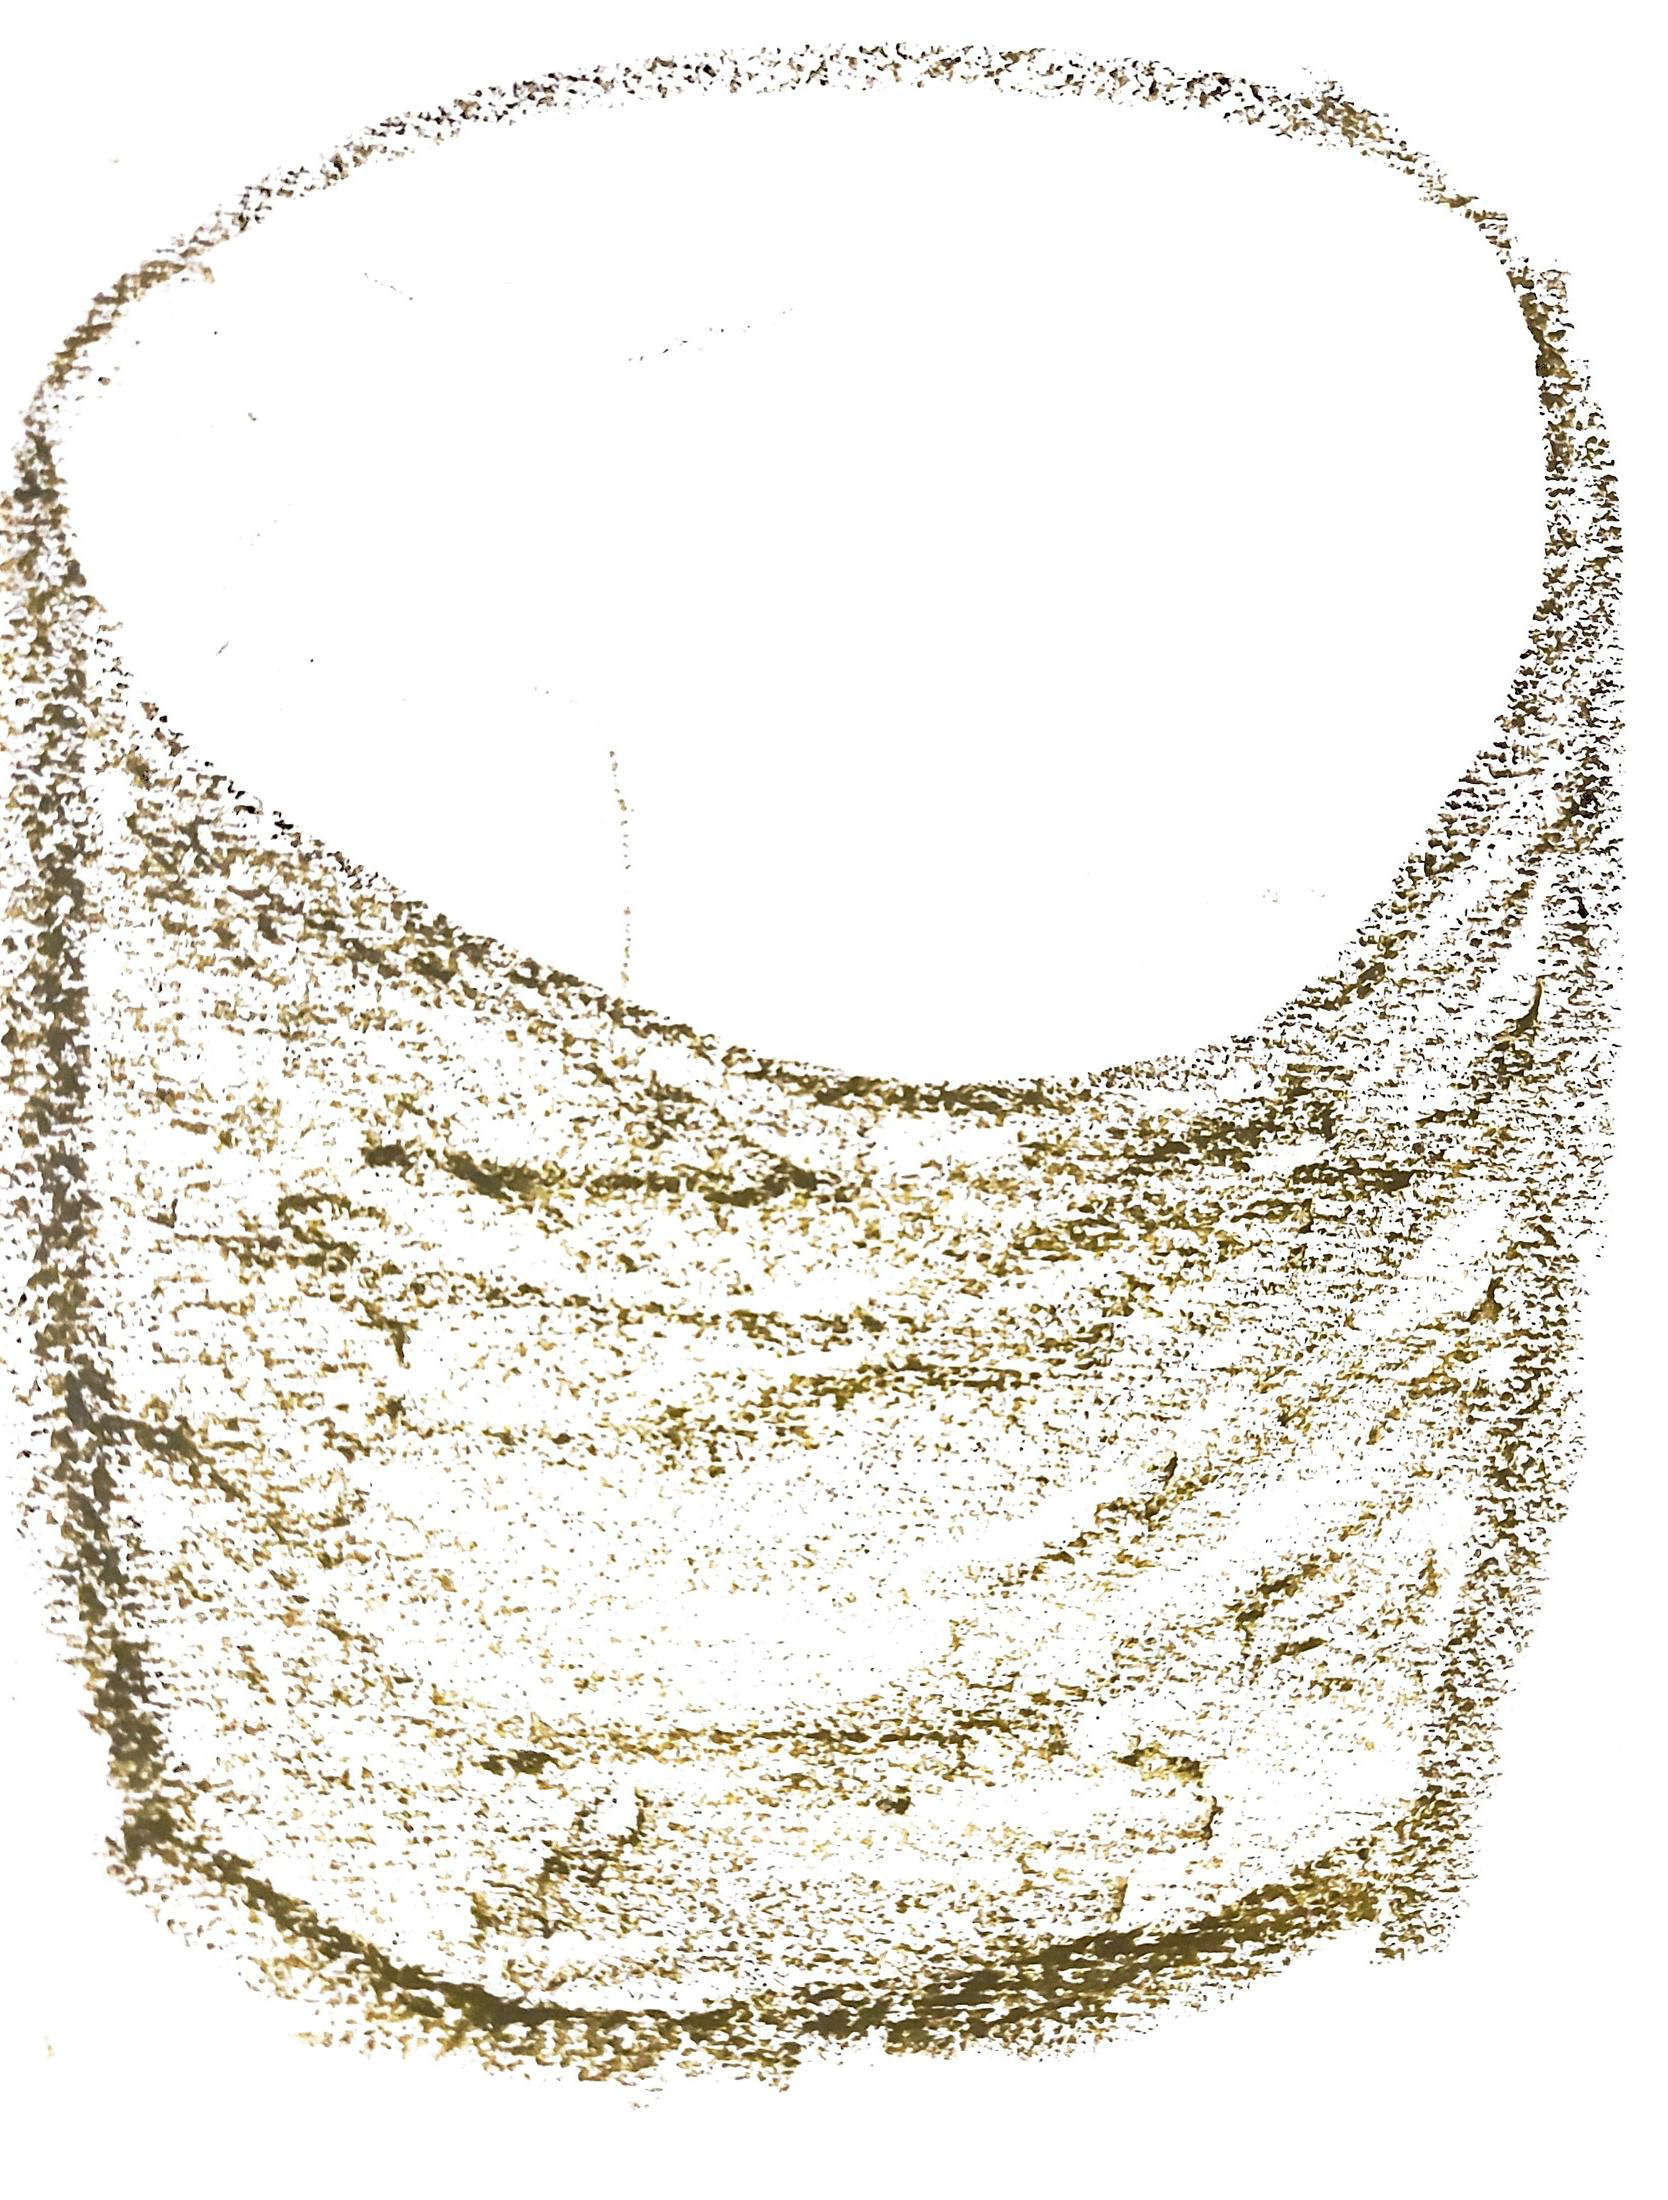
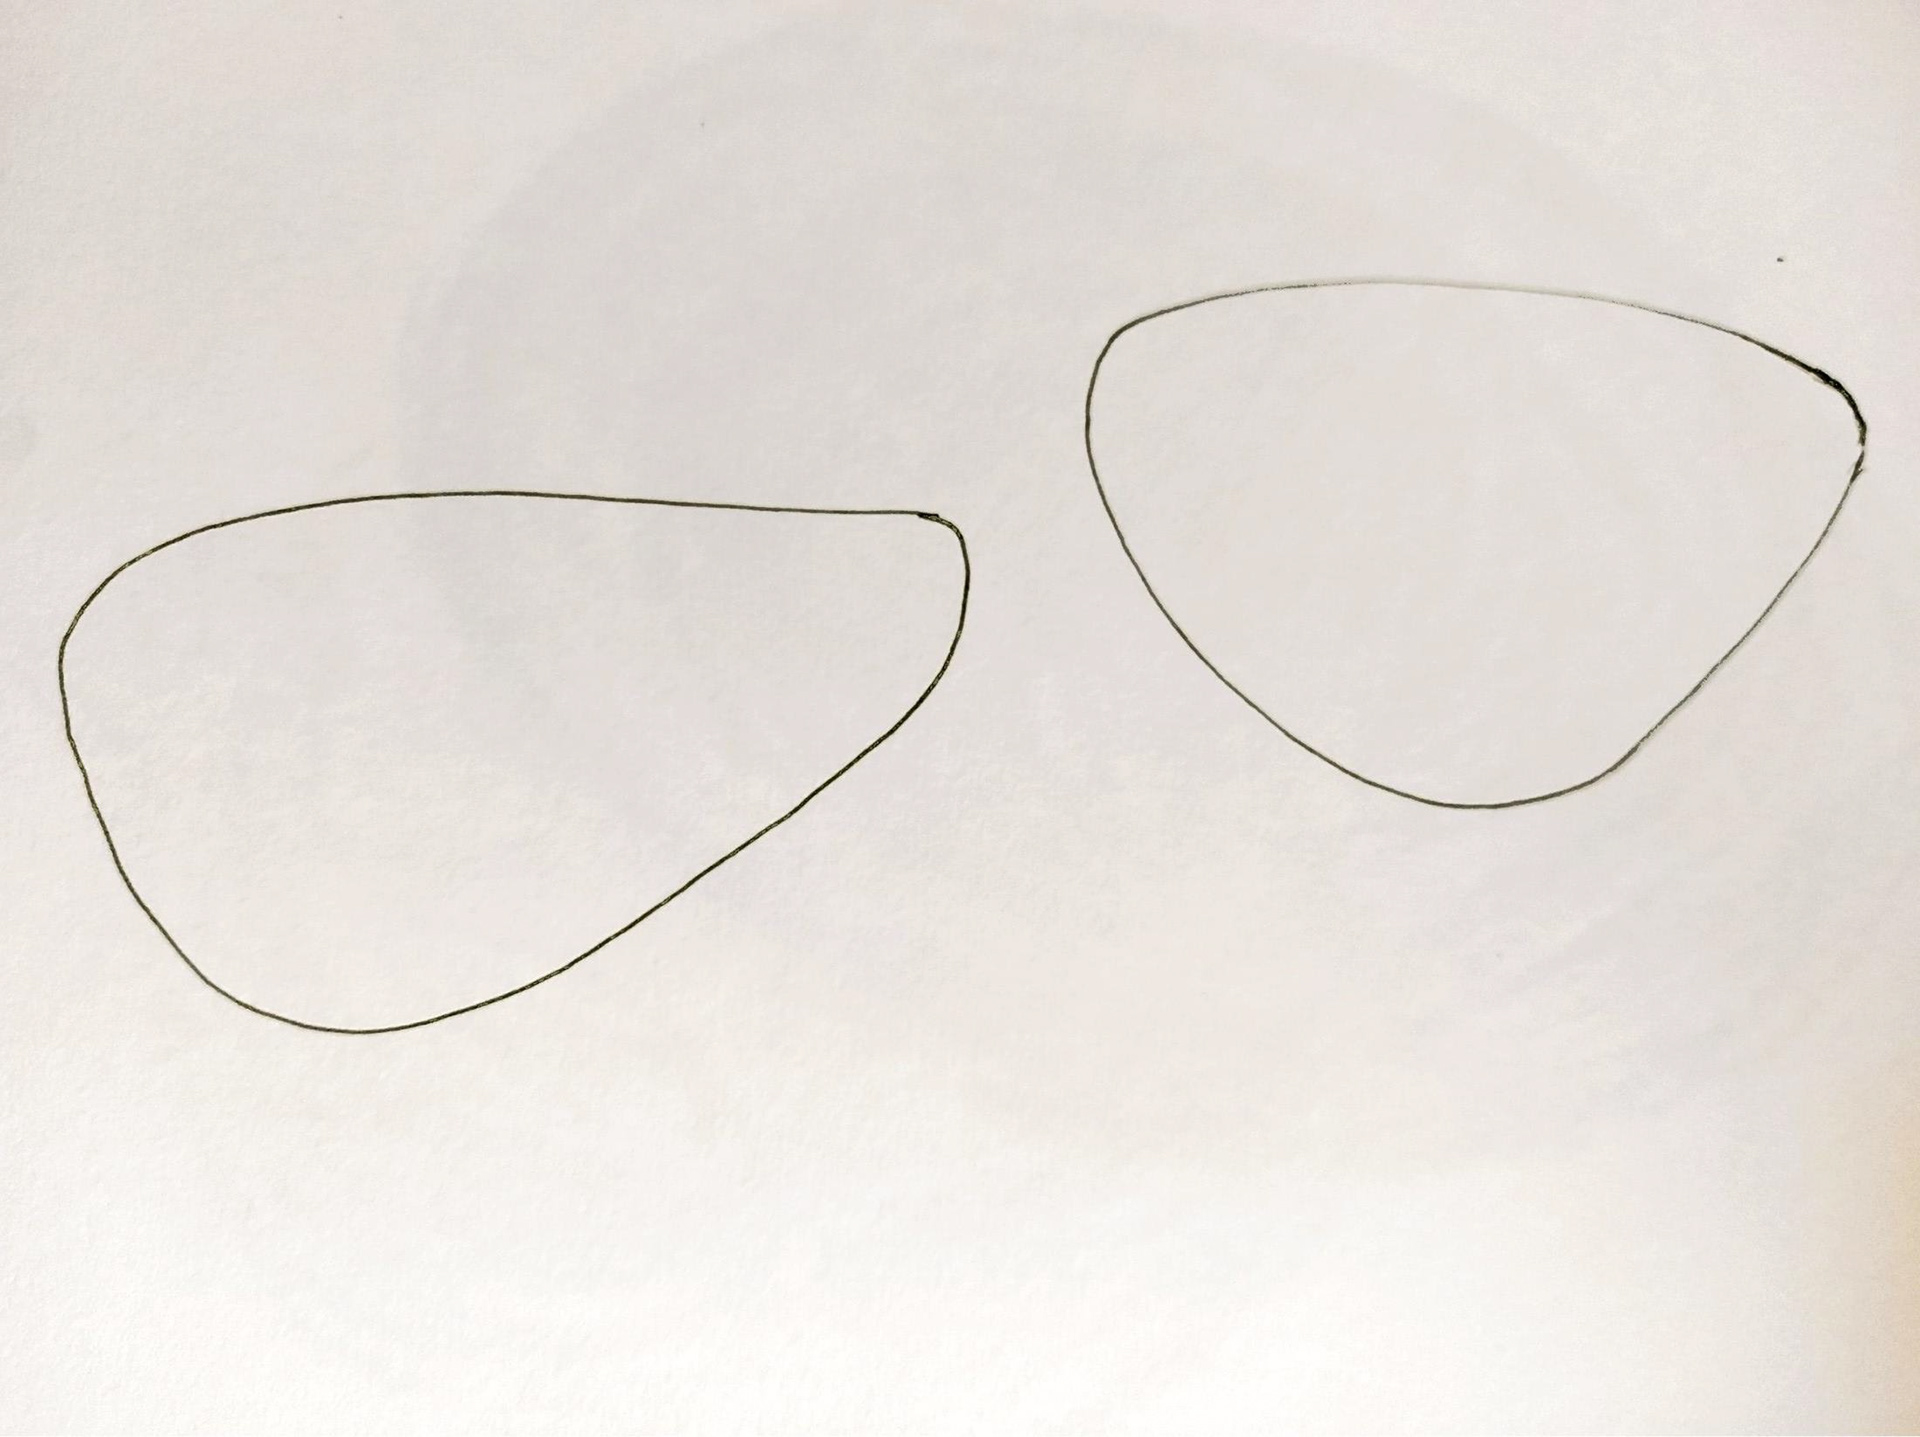
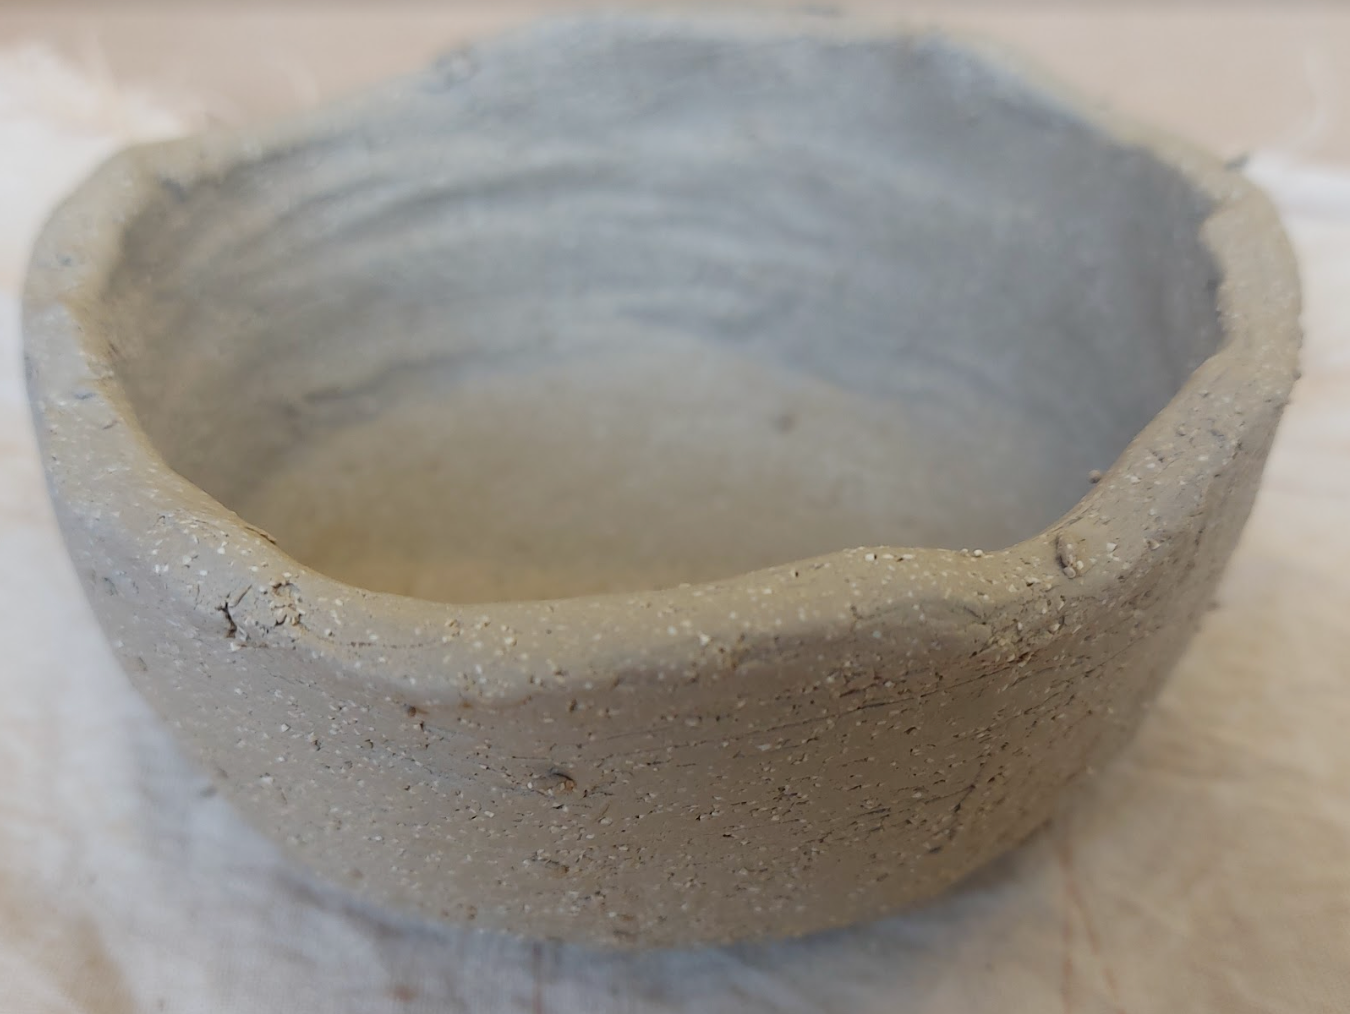
This was me looking at the shape of the pond above and seeing if I could replicate the shape. After firing it I realised this wouldn’t be a suitable shape to drink out of.
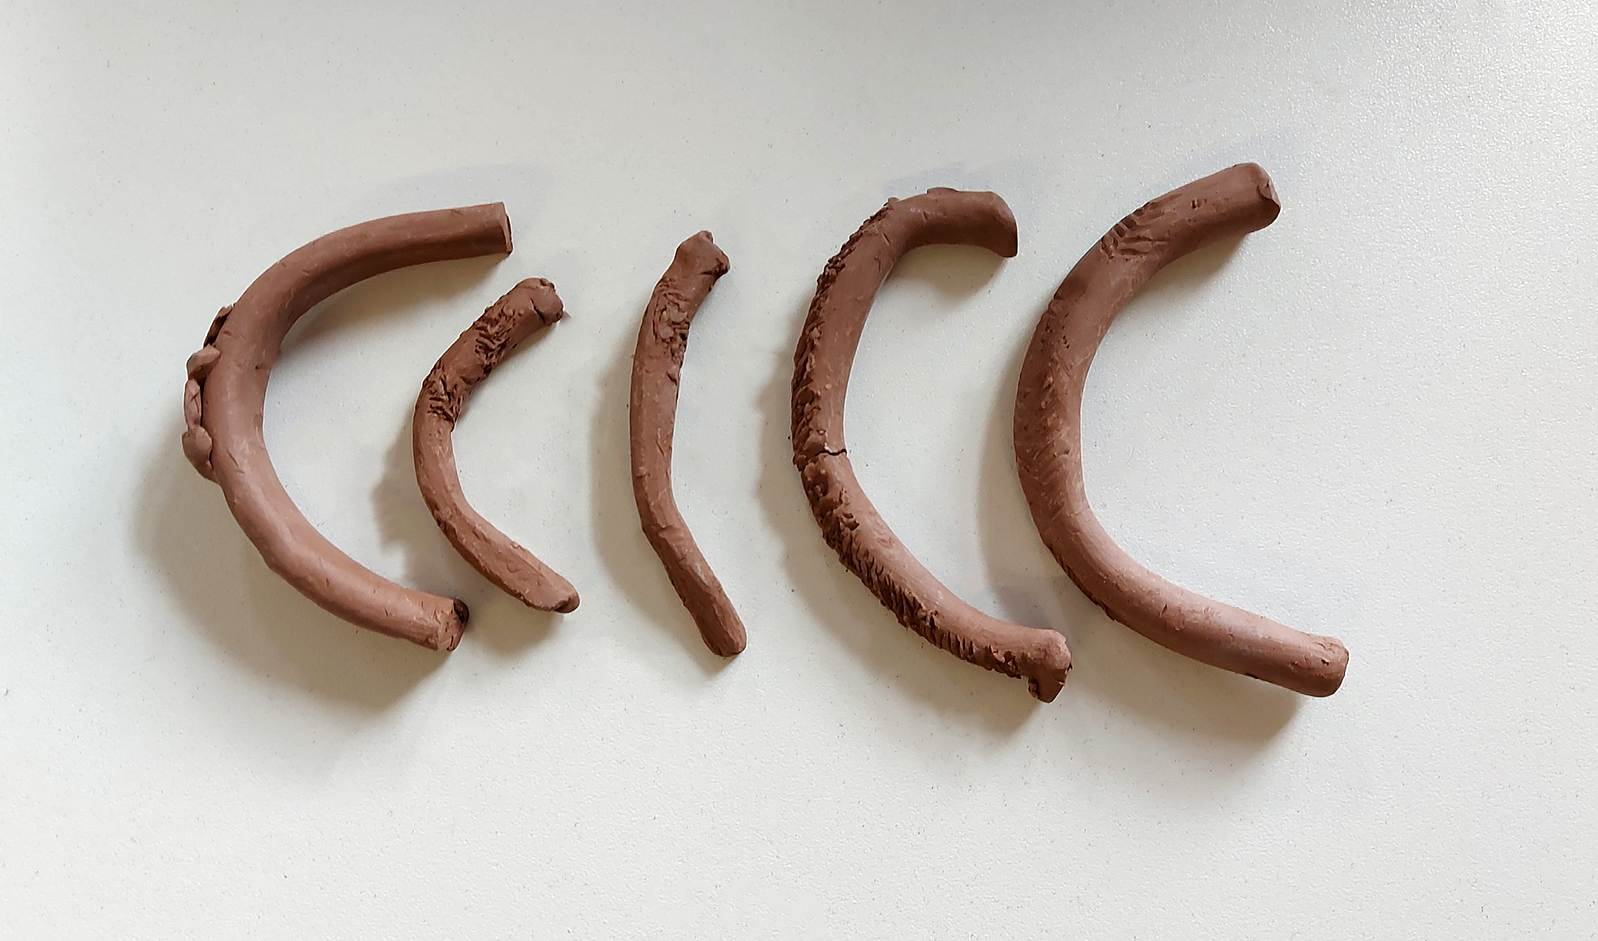
I made different types of handles using terracotta clay. I wanted to see what kind of textures I could create on the handle and how curved I could make them. This was also a good opportunity to experiment with different textures I could make and getting used to using this needle to make patterns.
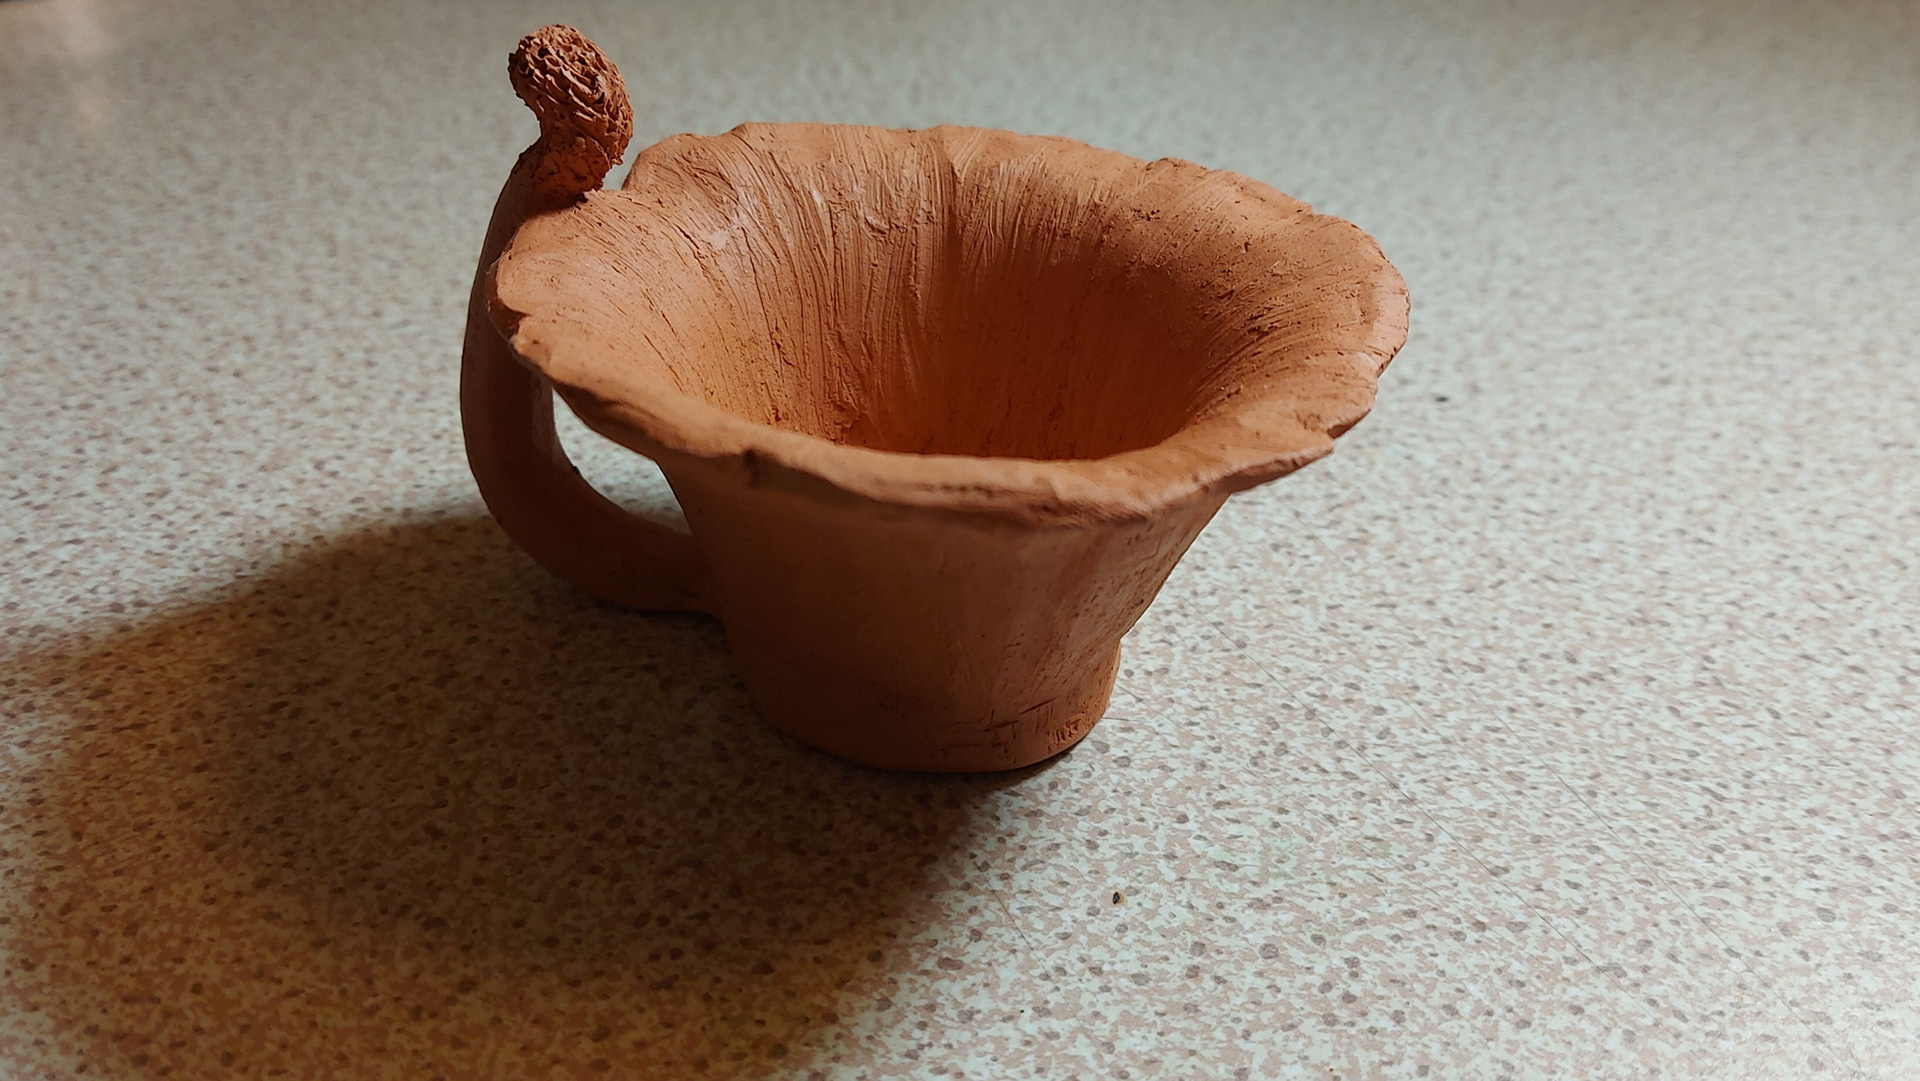
I made this teacup using the coiling technique and I was really happy with the way it turned out as it was thin and fanned out which resembled more of a teacup. I was able to see that the metal kidney could make this brushed look which made it look more like a flower and I was able to make the handle connect to the thin rim of the cup. I liked the top of the handle as it resembled the centre of a flower. For my final piece I definitely want to create a piece that uses texture.

Sketch of flower teacup
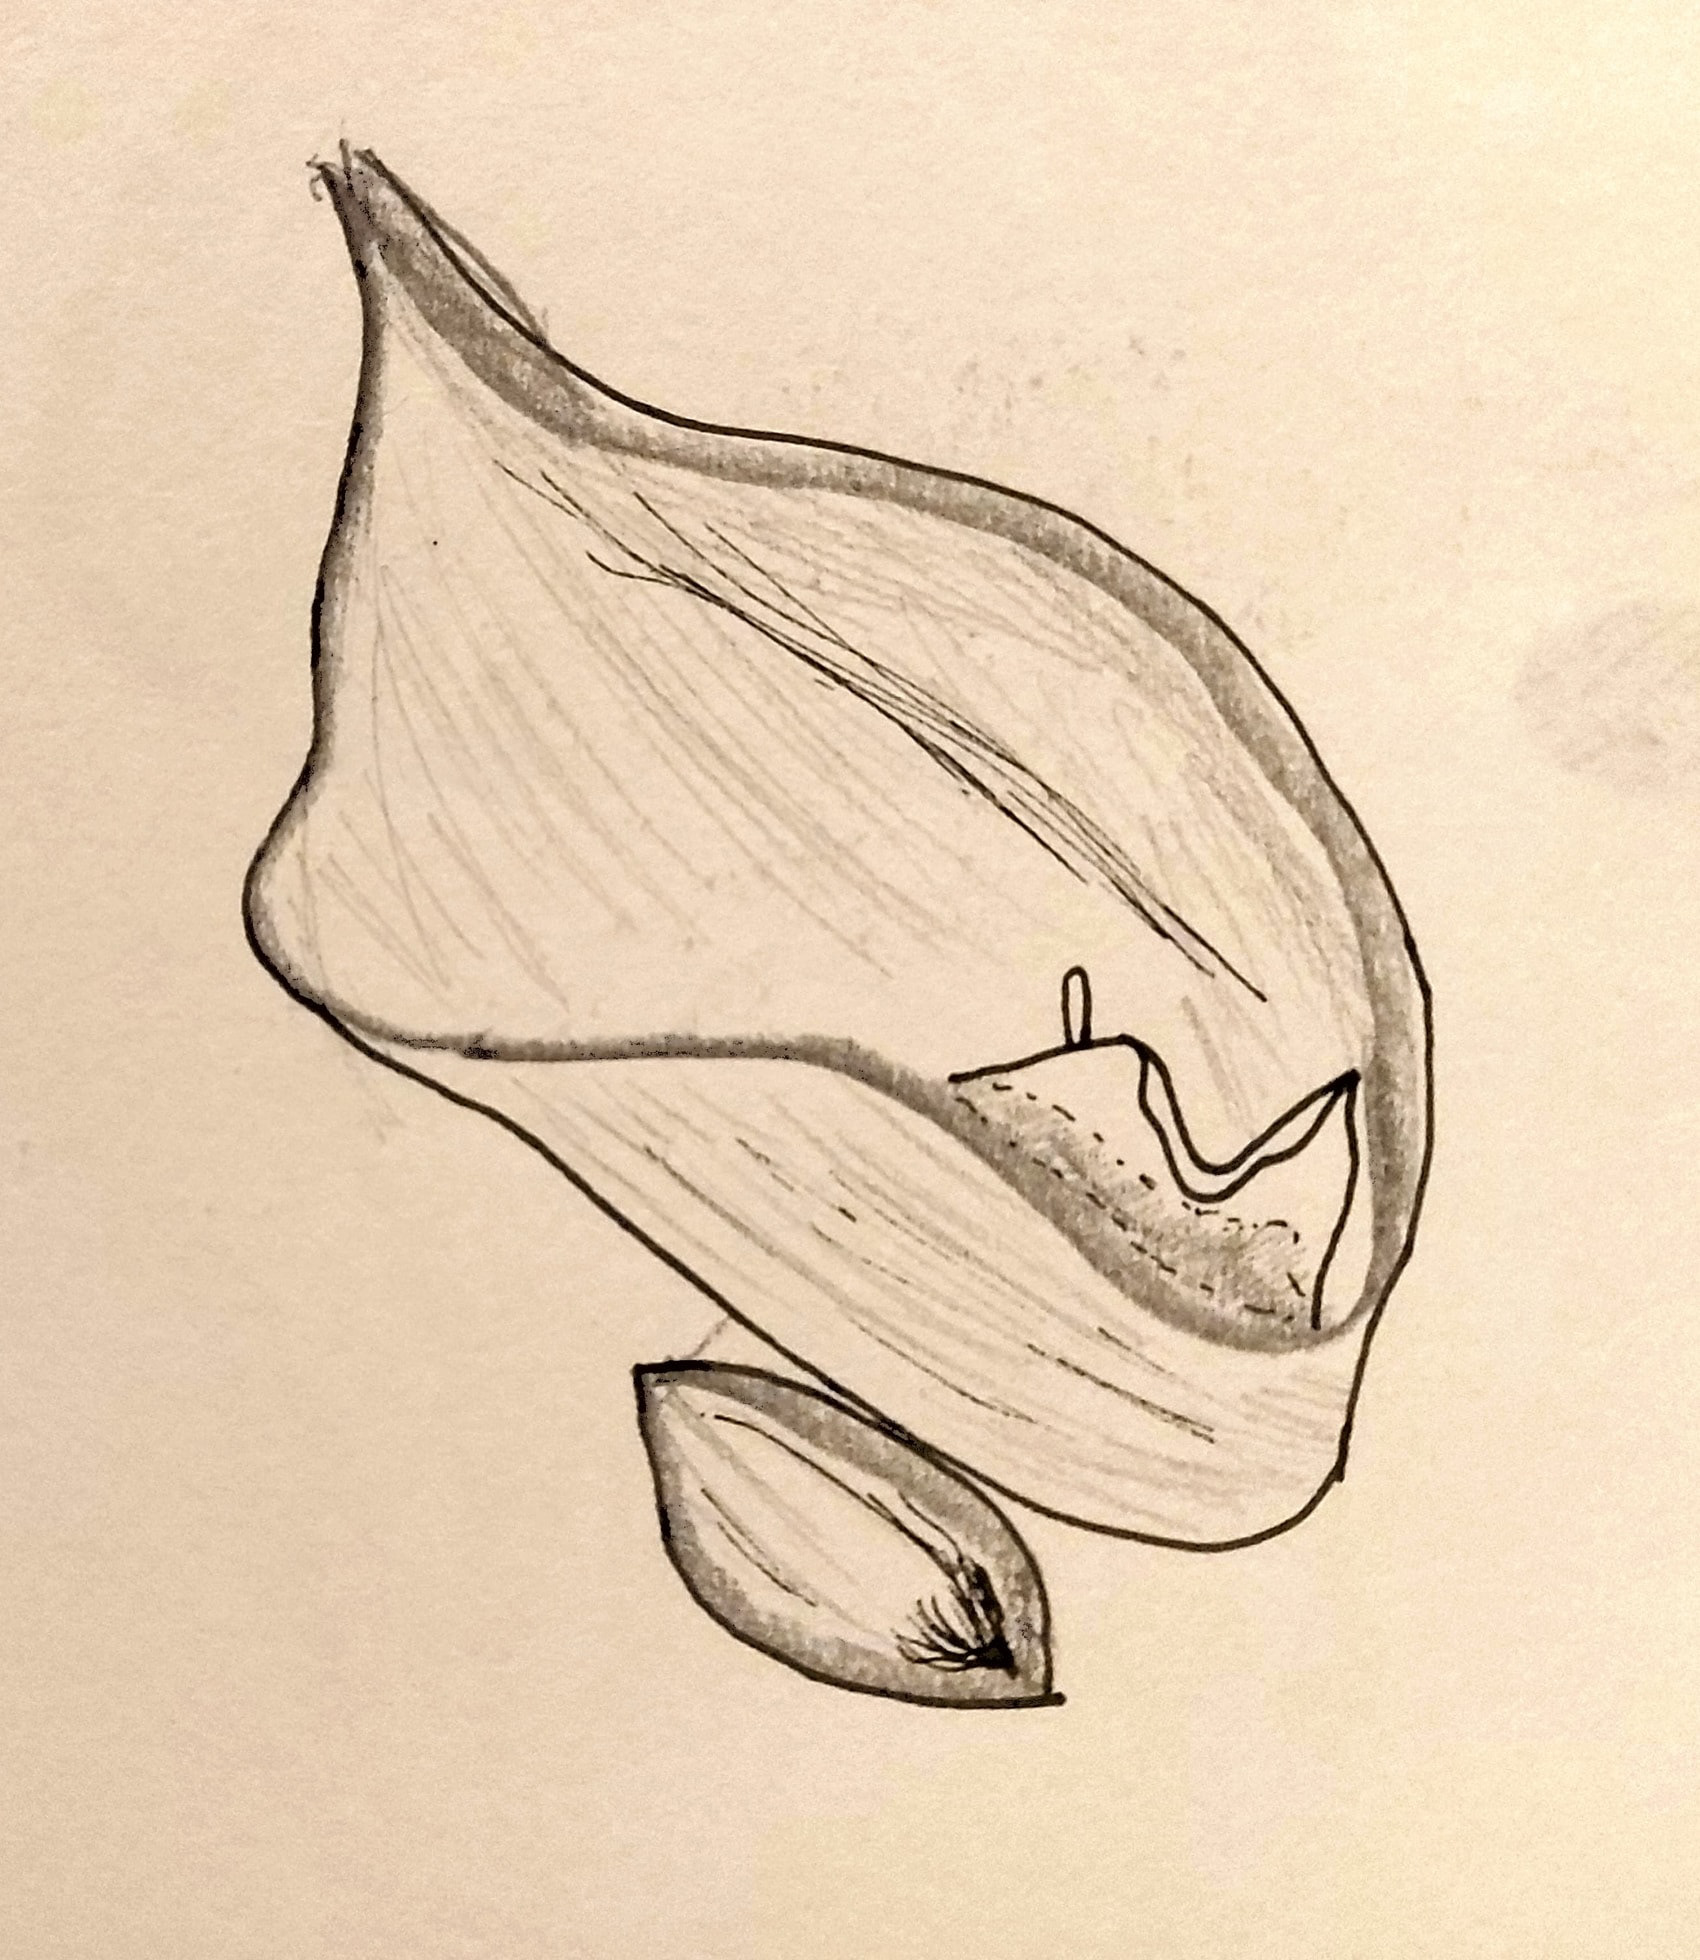
Sketch of inside of water teacup
This teacup is inspired by the water flow that goes through the Bridgewater site. The water connected to the handle of the teacup and curved a bit but after feedback I realised that it wasn't very functional, especially due to the variety of people who would need to have a firm grip on the teacup.
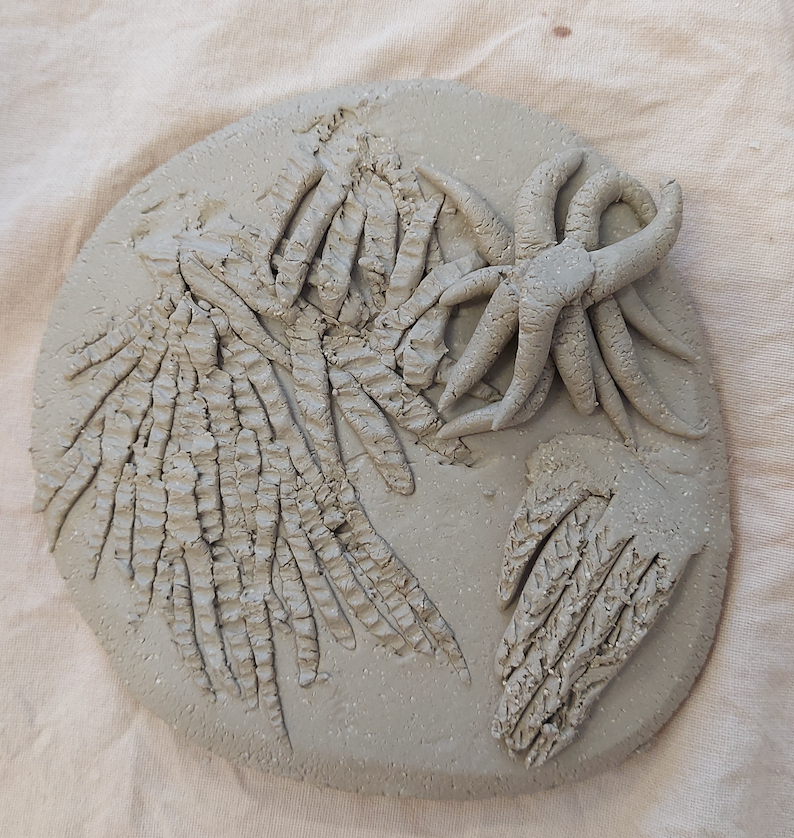
I sketched some different moss patterns that I found in a moss guide called Mosses and Liverworts of Britain and Ireland - a field guide. This got me used to the different shapes of moss I could potentially find when I go to the RHS Bridgewater site next.
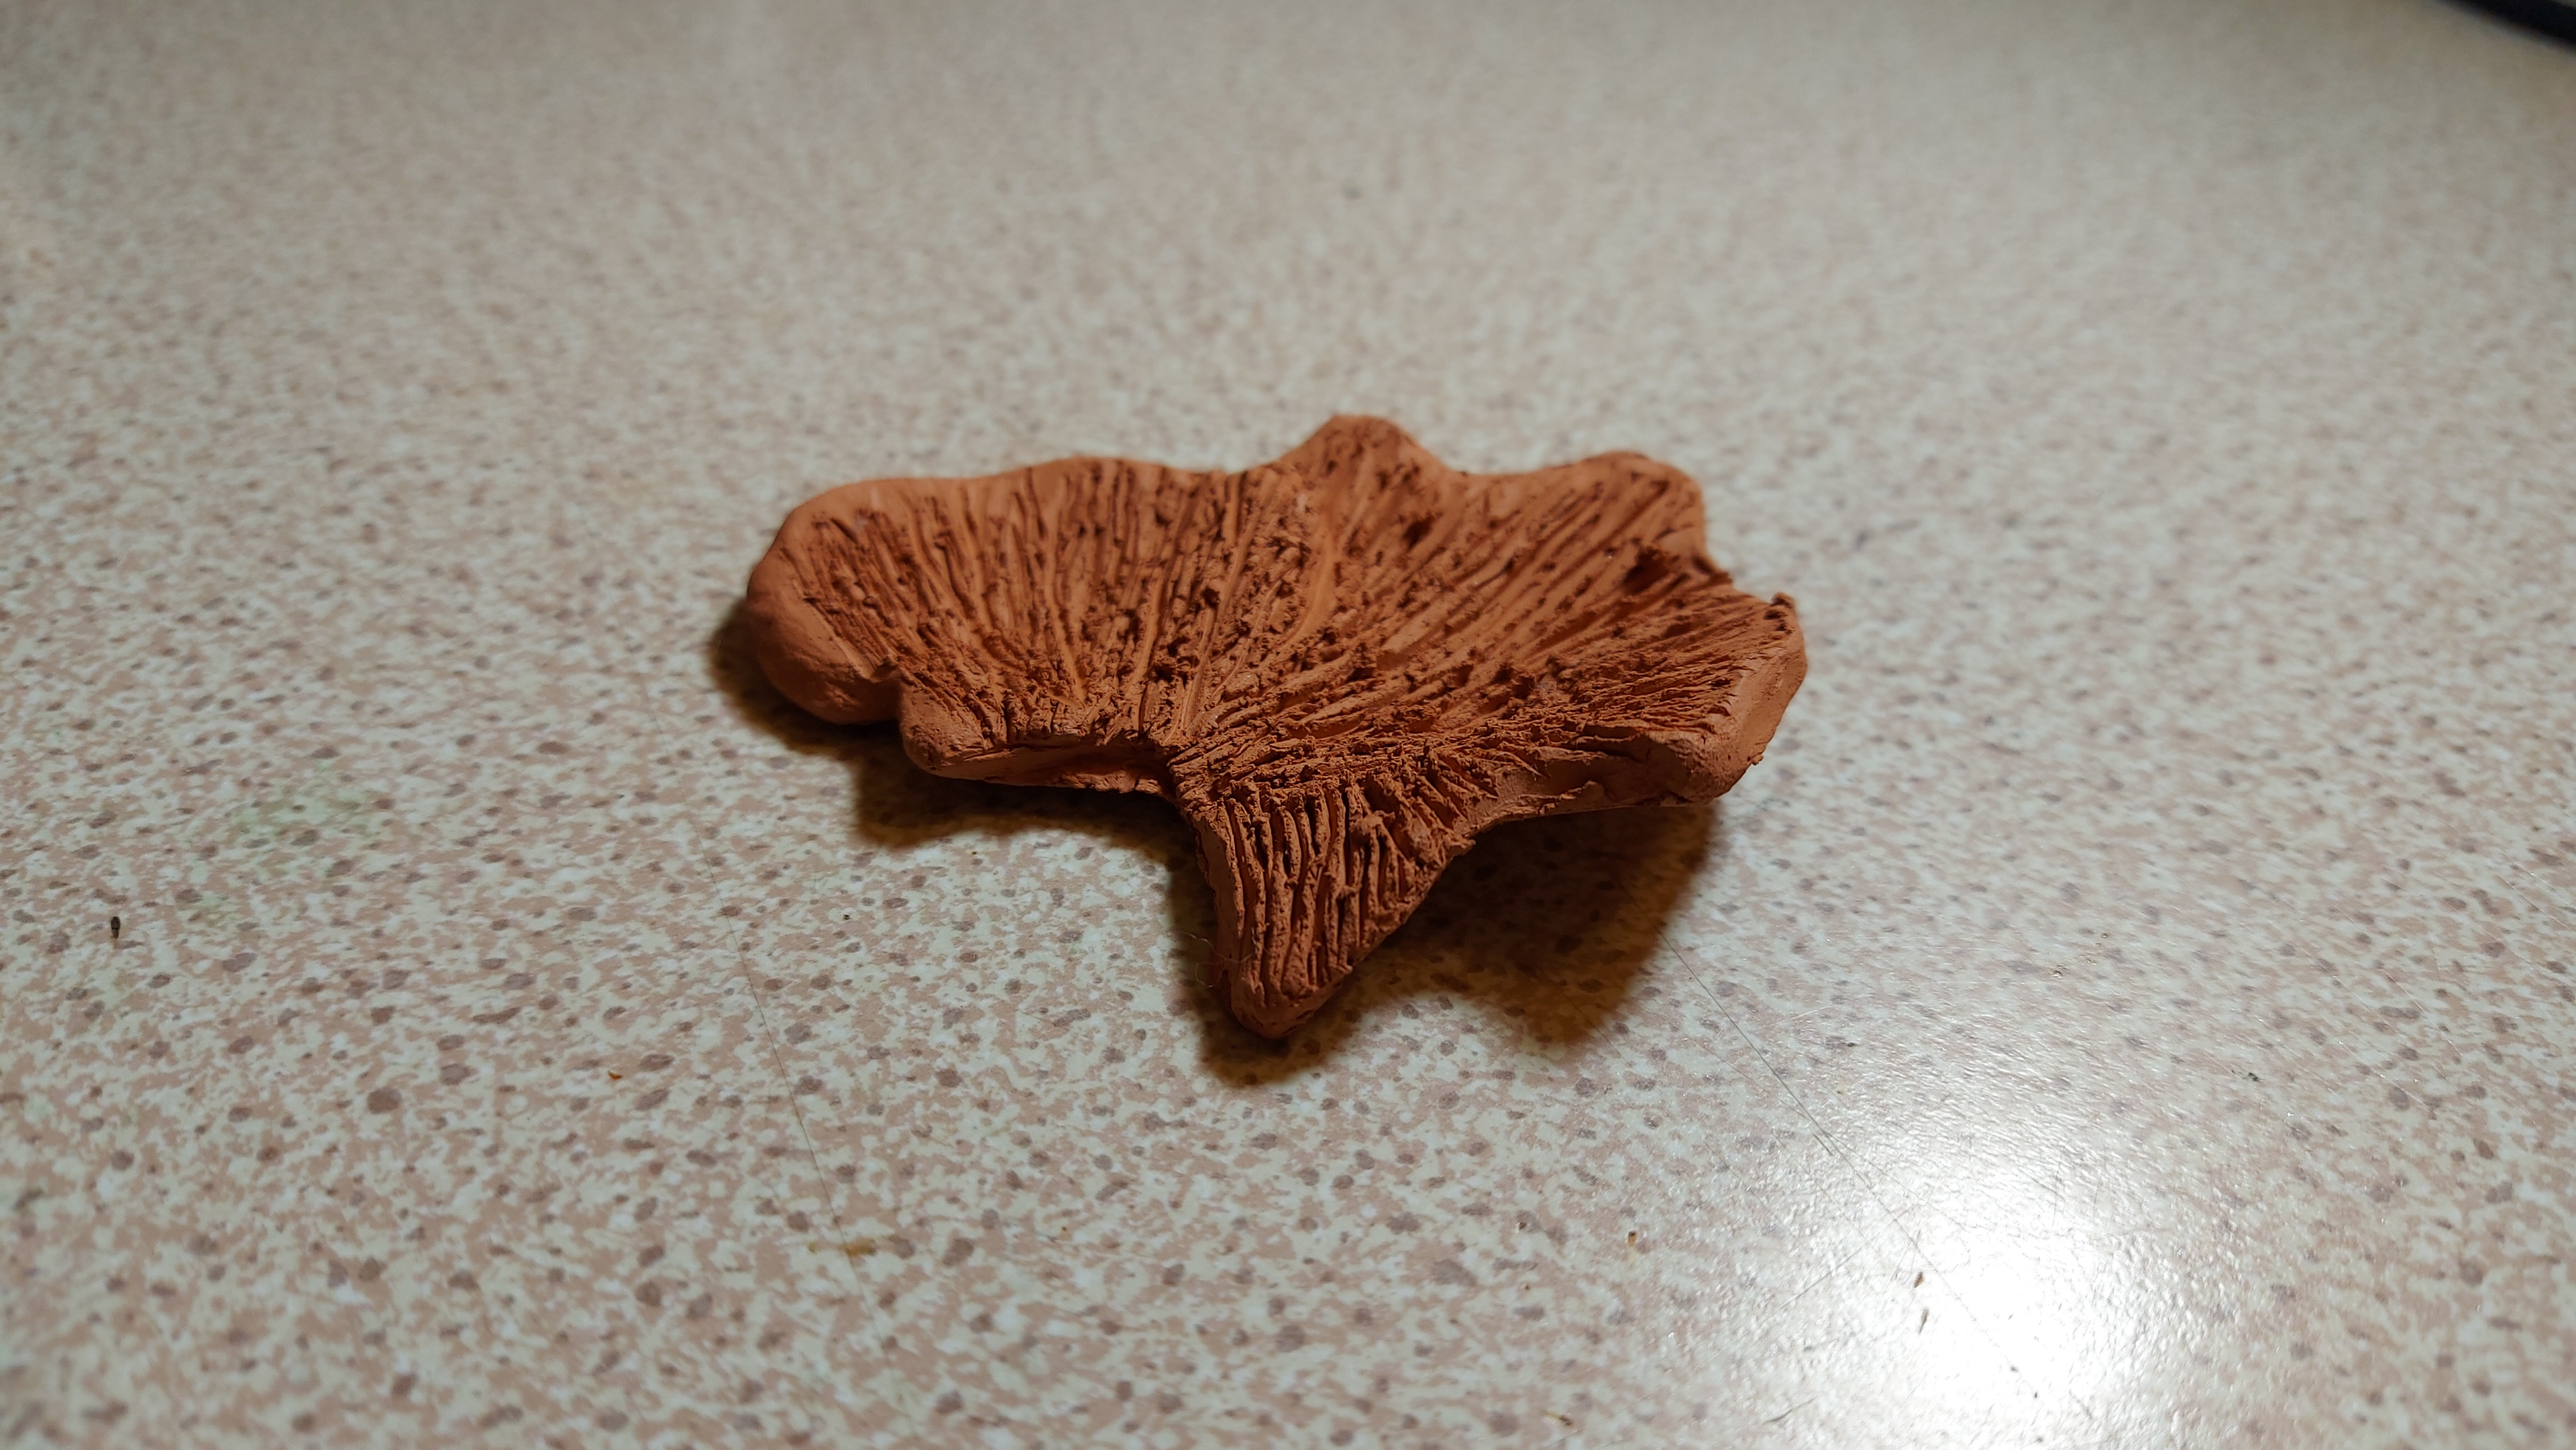
I then started using crank as I wanted to use a different material to terracotta to see the differences in working with it and if it was easier to use. I found when moulding the crank that it dried much more quickly and I had to keep on using water to try and mould it if it had dried too quickly. However, the drier clay created a nice texture for 'engraving' using a thin hole making tool.
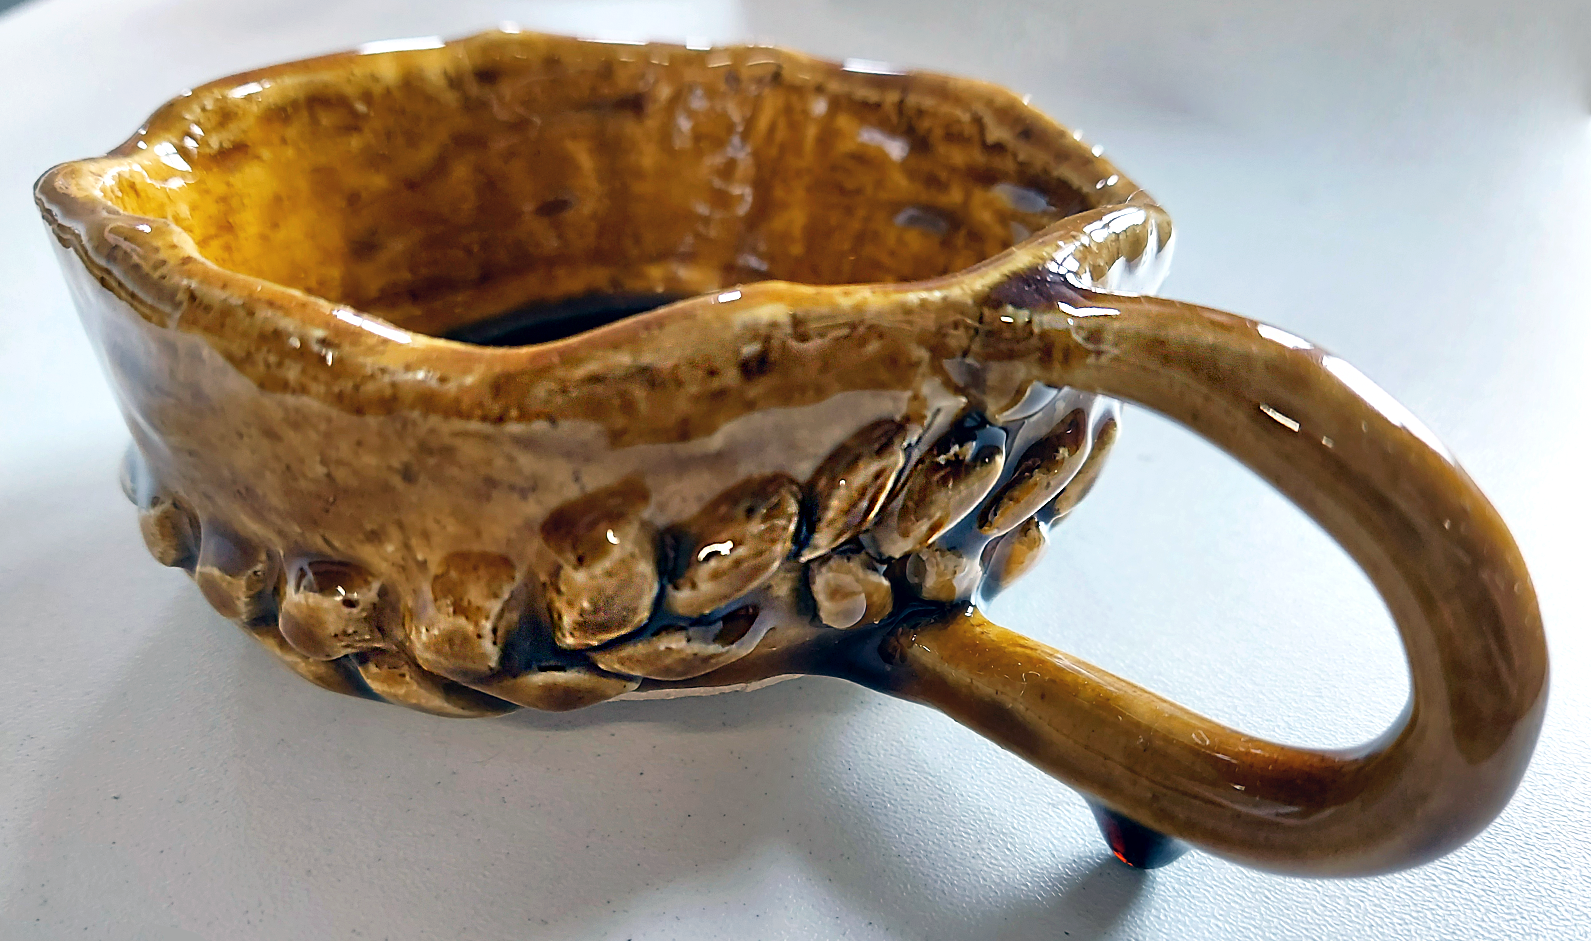
For my final piece I have used my research from visiting RHS Bridgewater a second time to inform my design choices in terms of size and pattern. I have made sure that the measurements are correct in order to achieve the right amount of tea in the cup and the pattern is inspired by the zoomed in photos I have taken of moss I found when visiting the site.
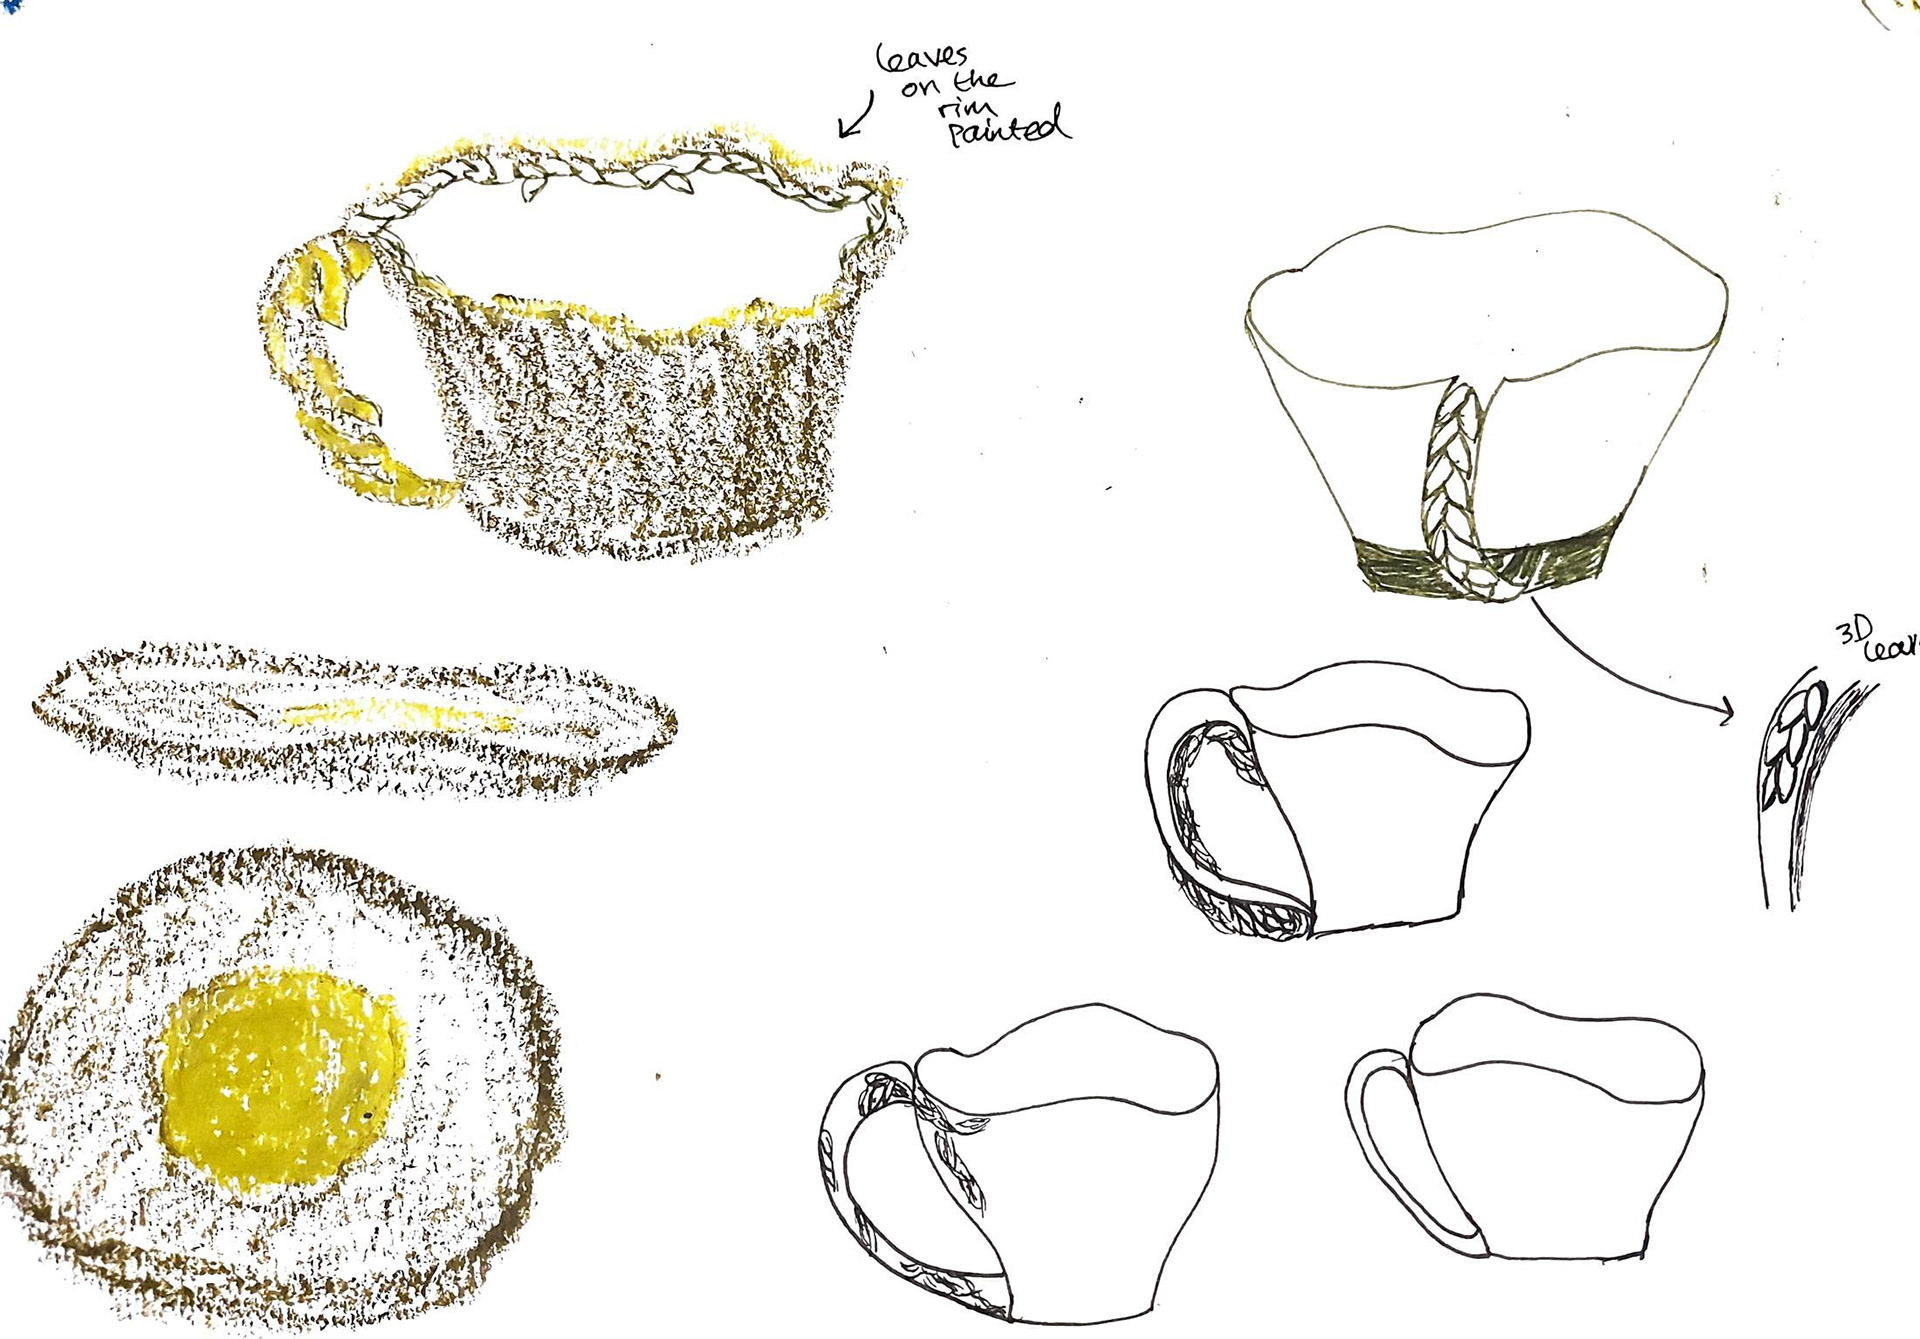
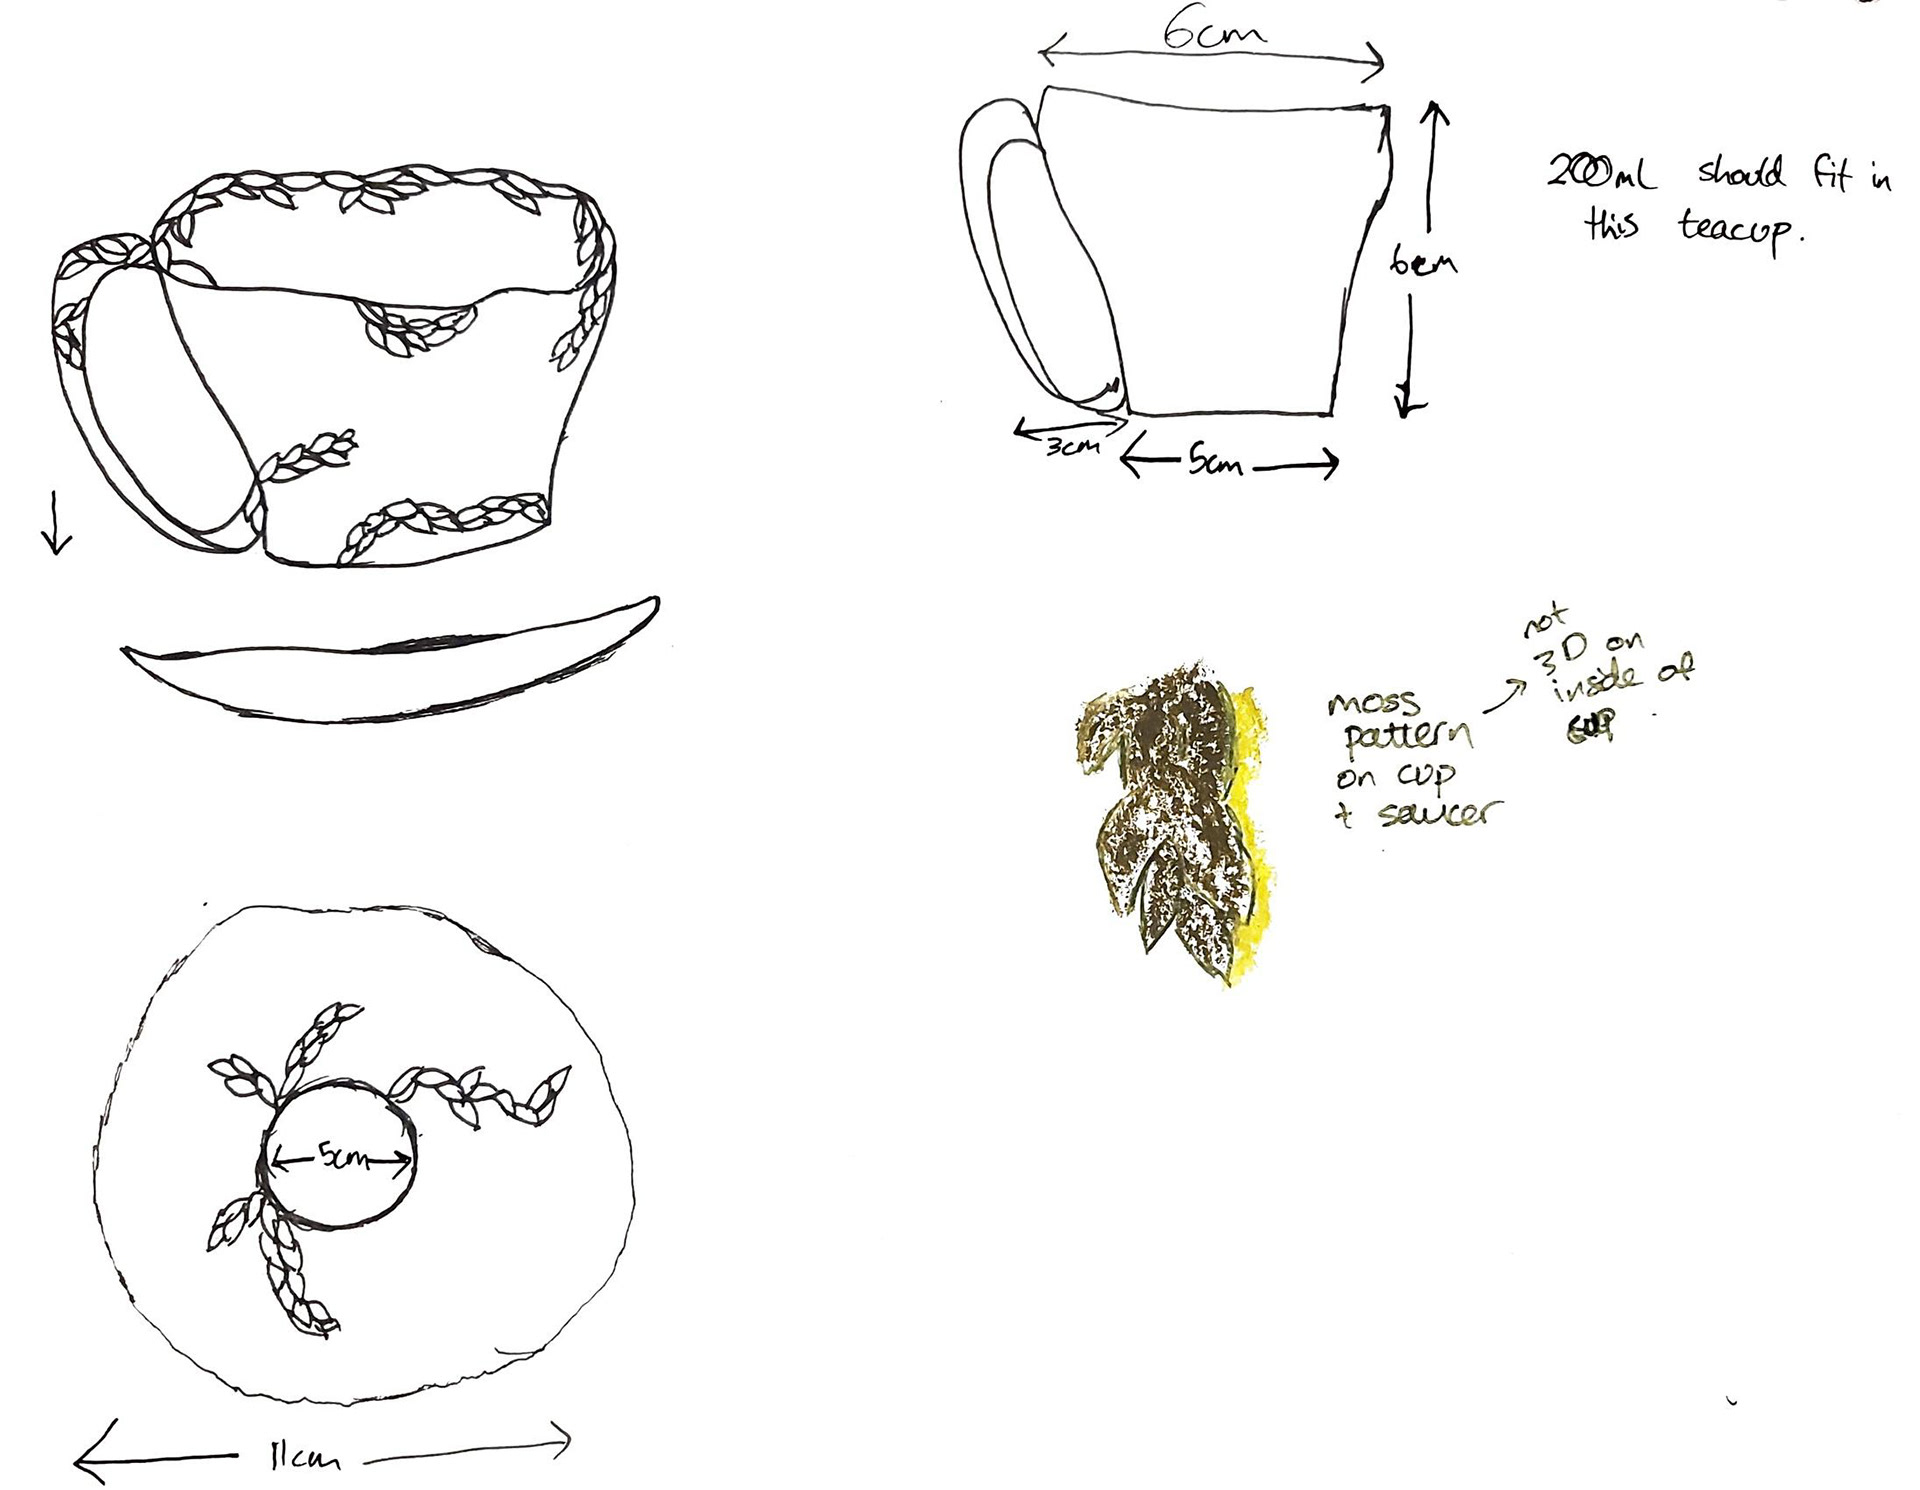
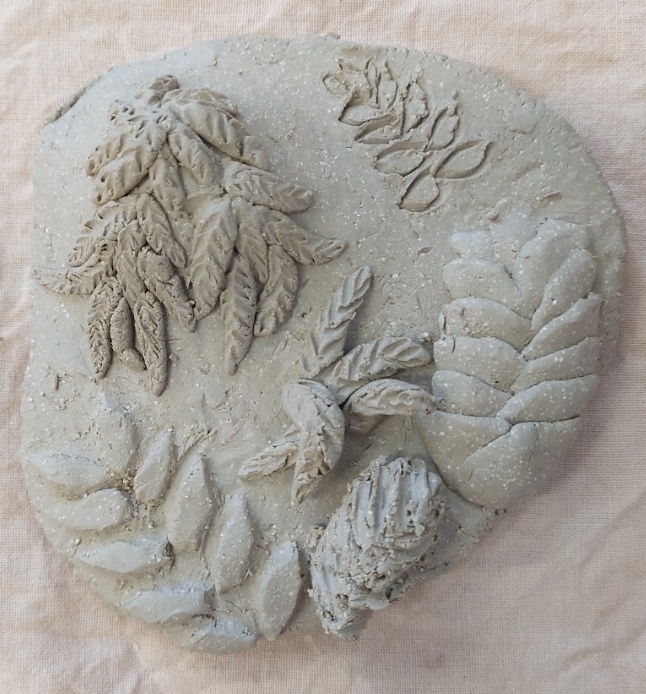
These were some of my designs where I looked at different ways of showing moss on a teacup. I was originally going to put these patterns on handles and the rim of the teacup but this wouldn't of been practical in order to hold the teacup properly or sip the tea out of the cup without the 'moss' in the way.

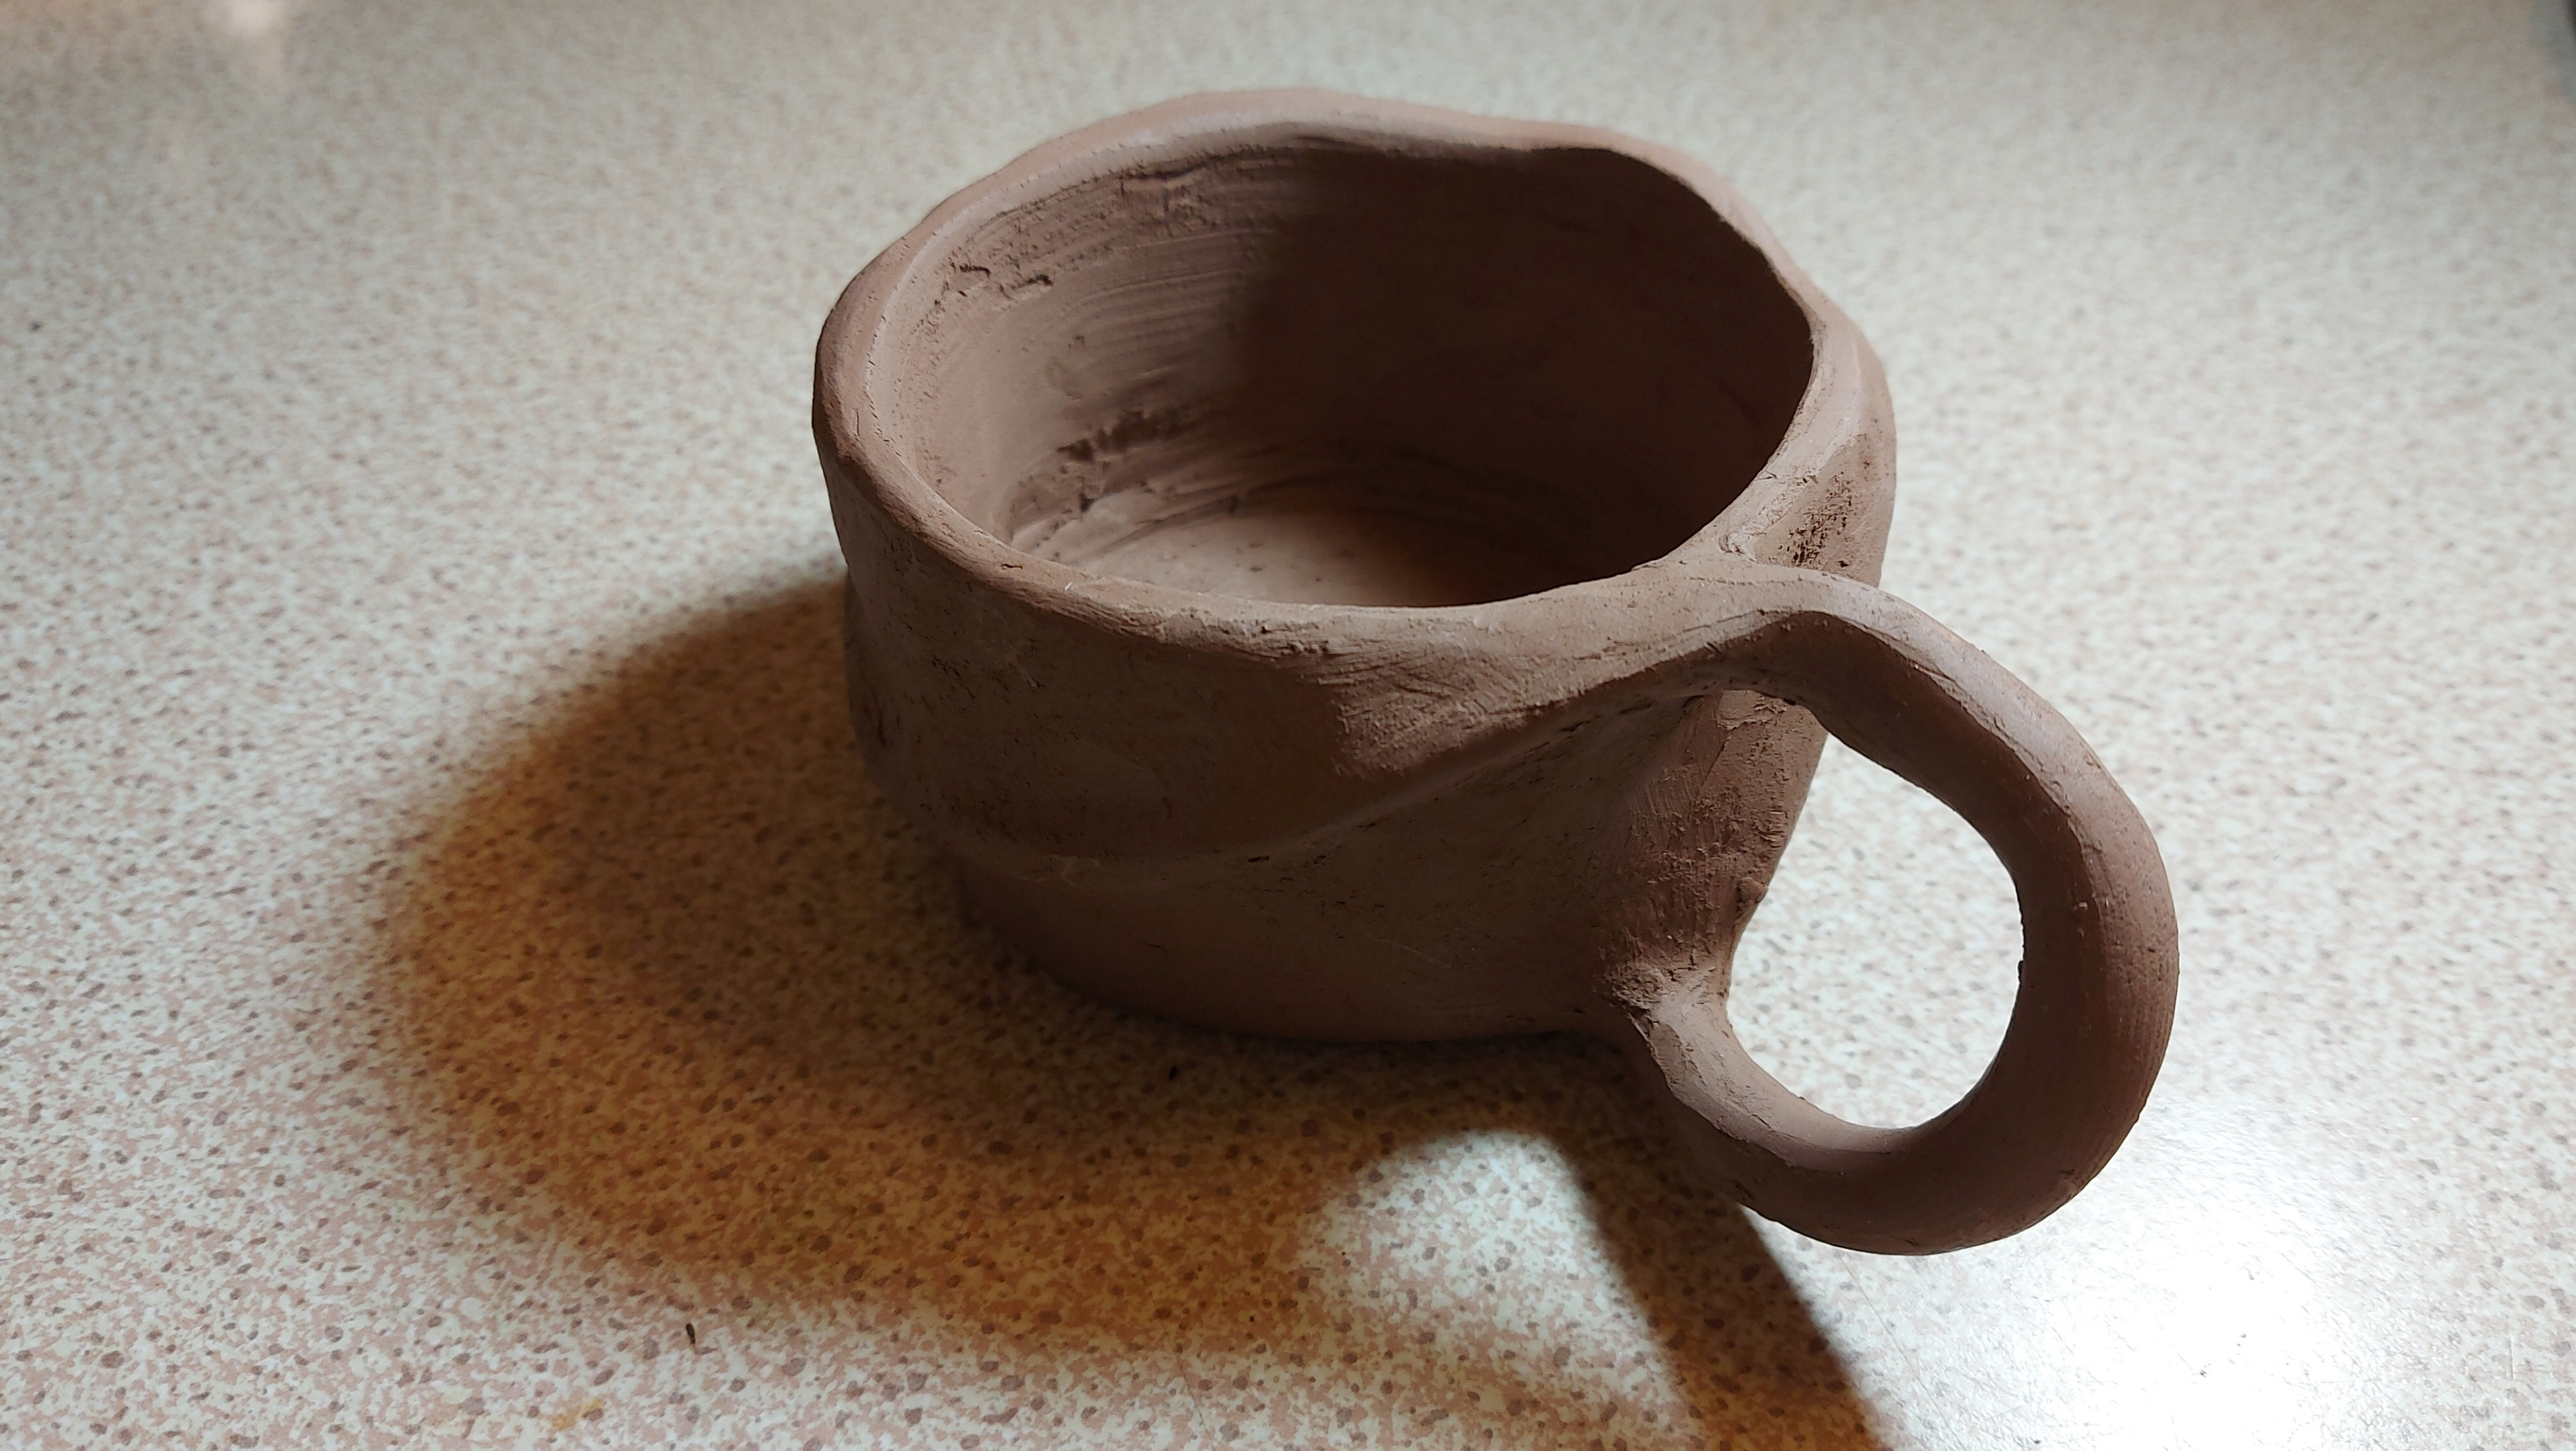
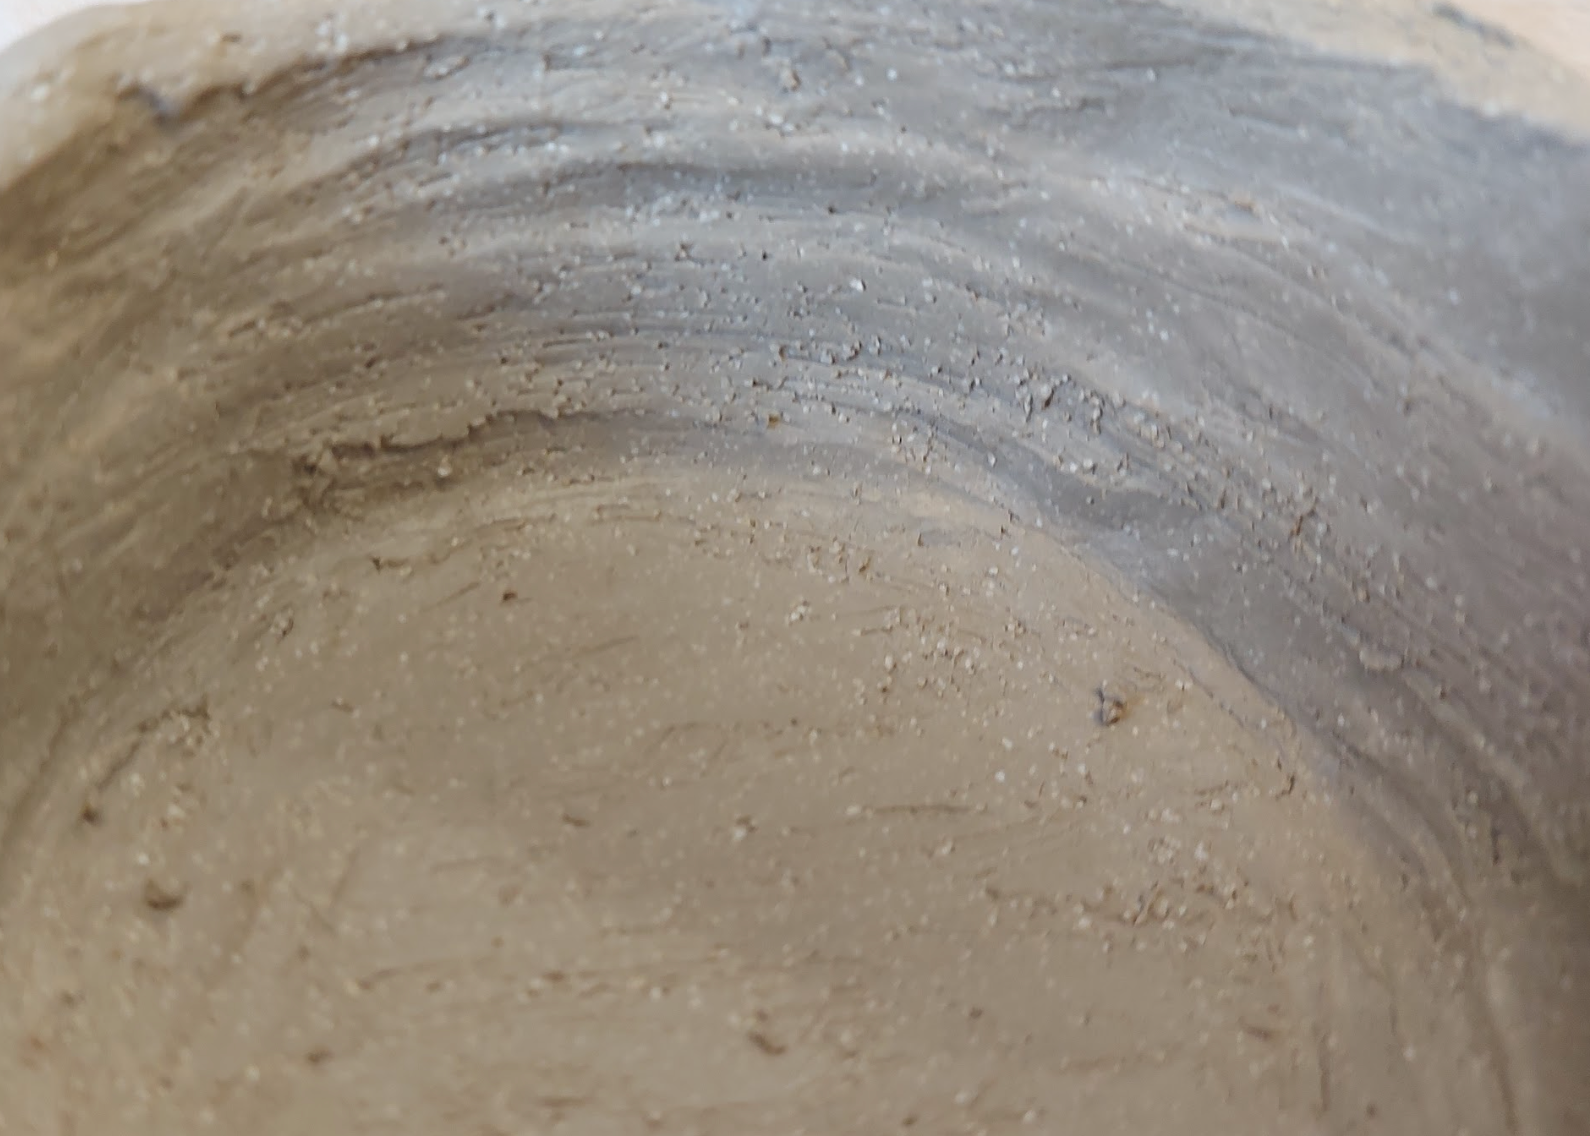
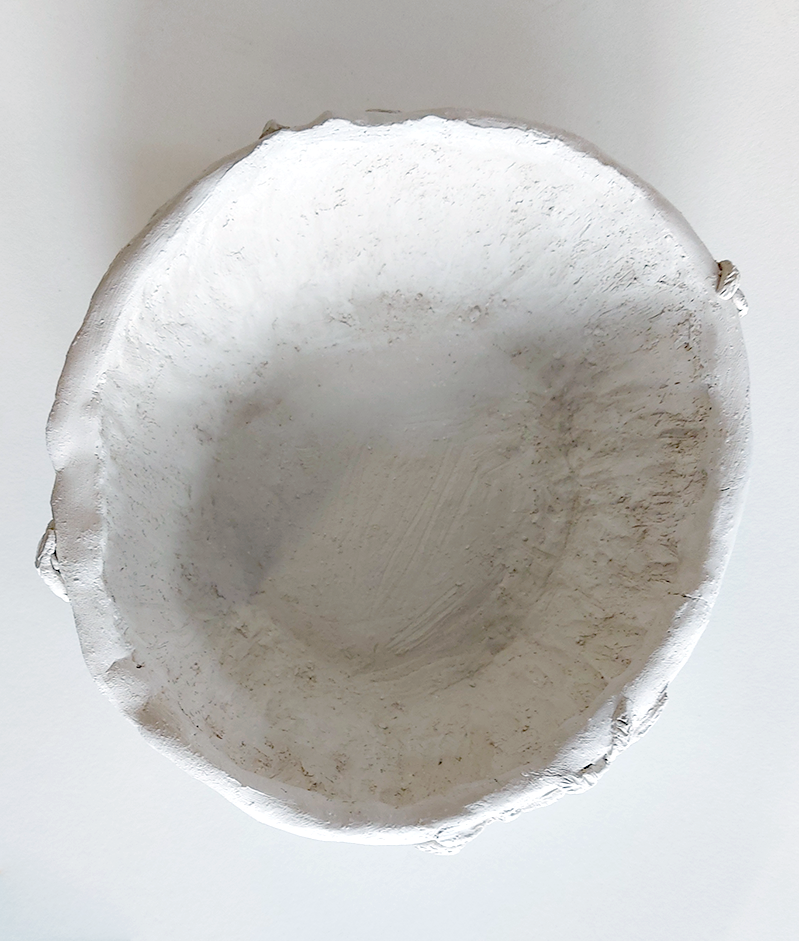
I started to make a teacup using the coiling method to create a cup shape. I used a circular base, however, due to the coiling, the cup naturally made a more natural formed shape that I wouldn't of gotten with slabs. The inside of the cup wasn't completely flat due to the metal kidney giving it a brushed texture. The glazing will probably make this less recognisable and this won't affect the functionality of the teacup.
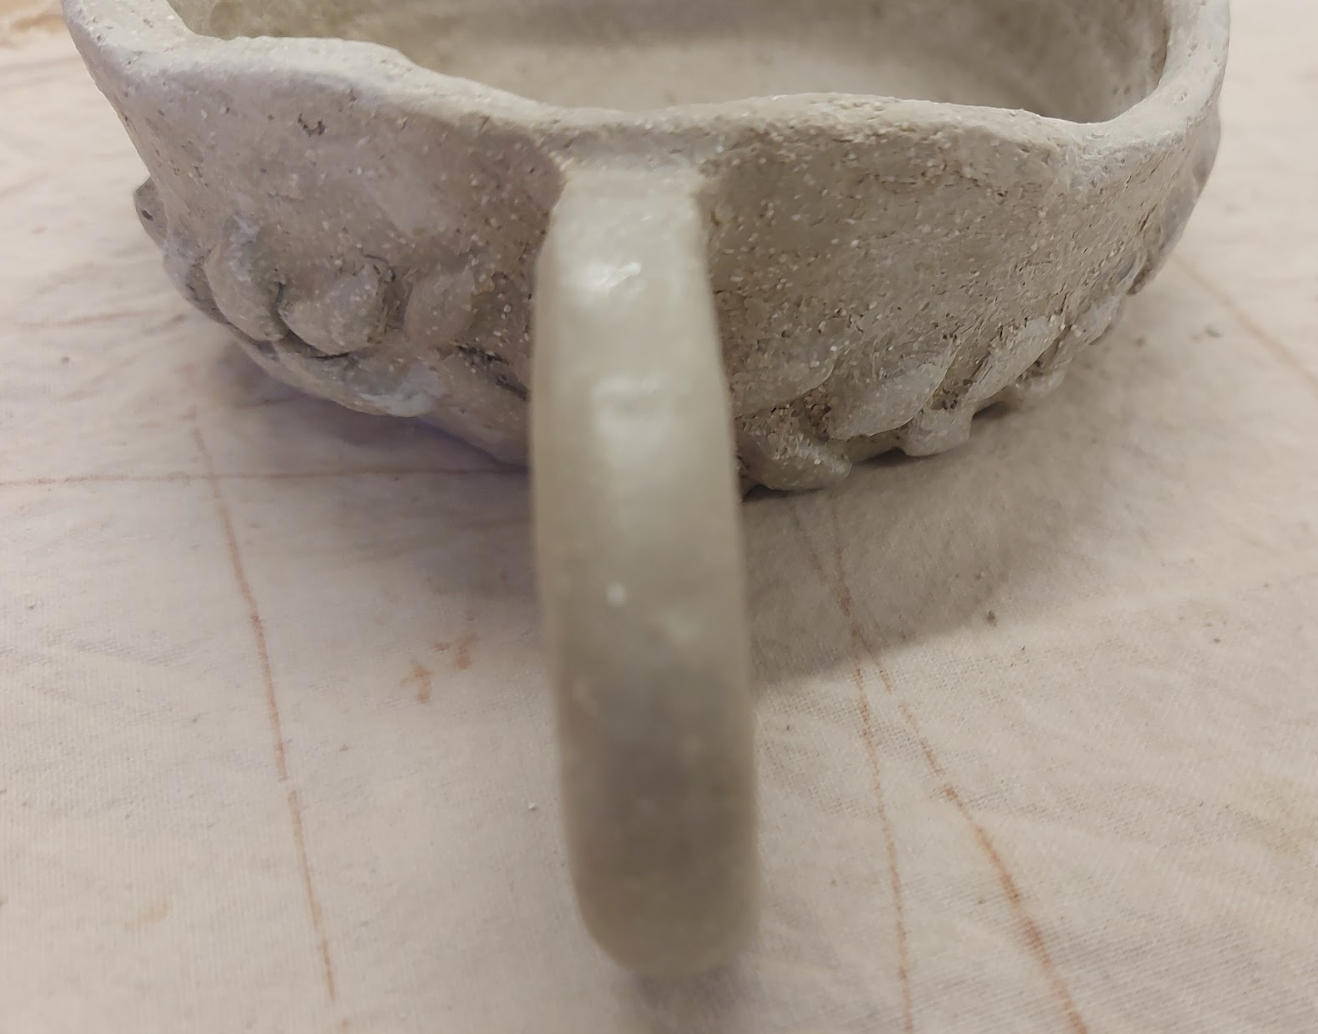
Although the teacup handle is larger than usual, it means that the handle is easier to fit fingers into and that the user of the teacup has more control. During the making process making sure that the handle was sturdily attached to the teacup was quite difficult and I did have to remake a handle as it fell off towards the end of making the teacup. I think that one problem that could potentially occur is the storage of the teacup as a big handle isn't as space efficient which means less teacups could be stored in a singular place, however I think that if the teacups were strategically placed together as shown then they wouldn't take up too much space. I didn't put a pattern on the handle because I was aware it could feel quite strange for the user to feel or small holes could pressure on the fingers.
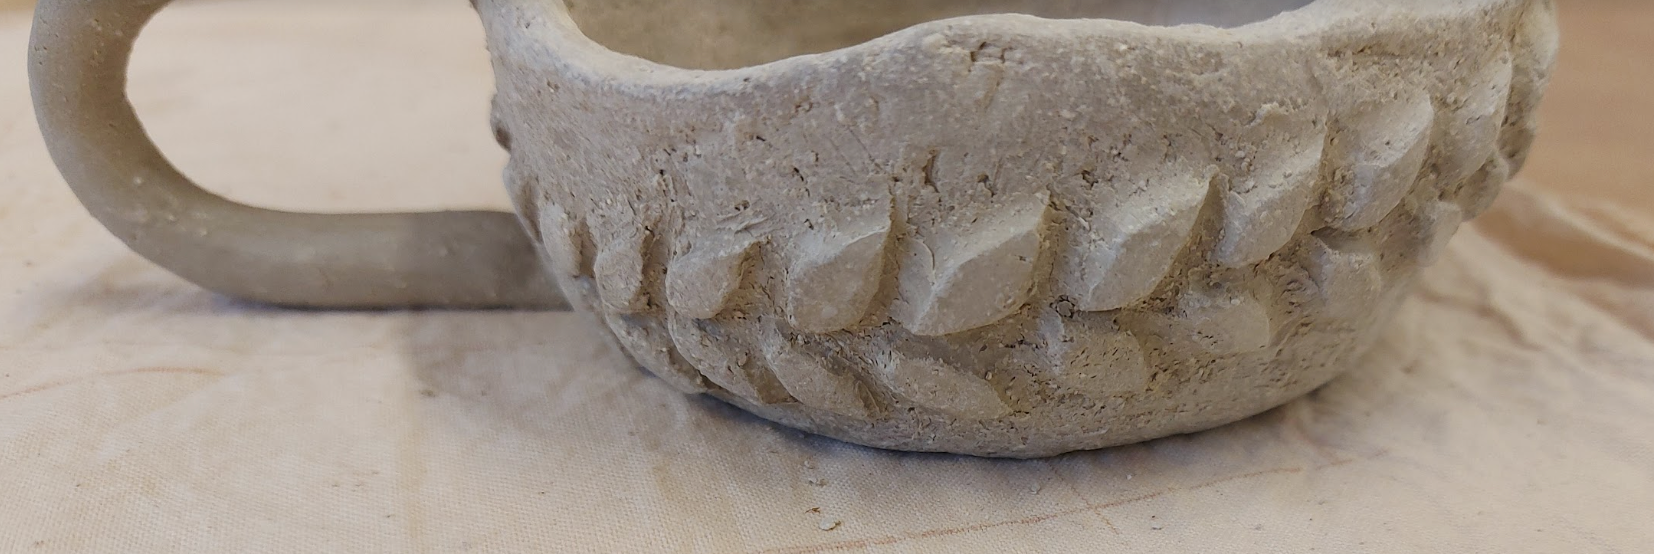

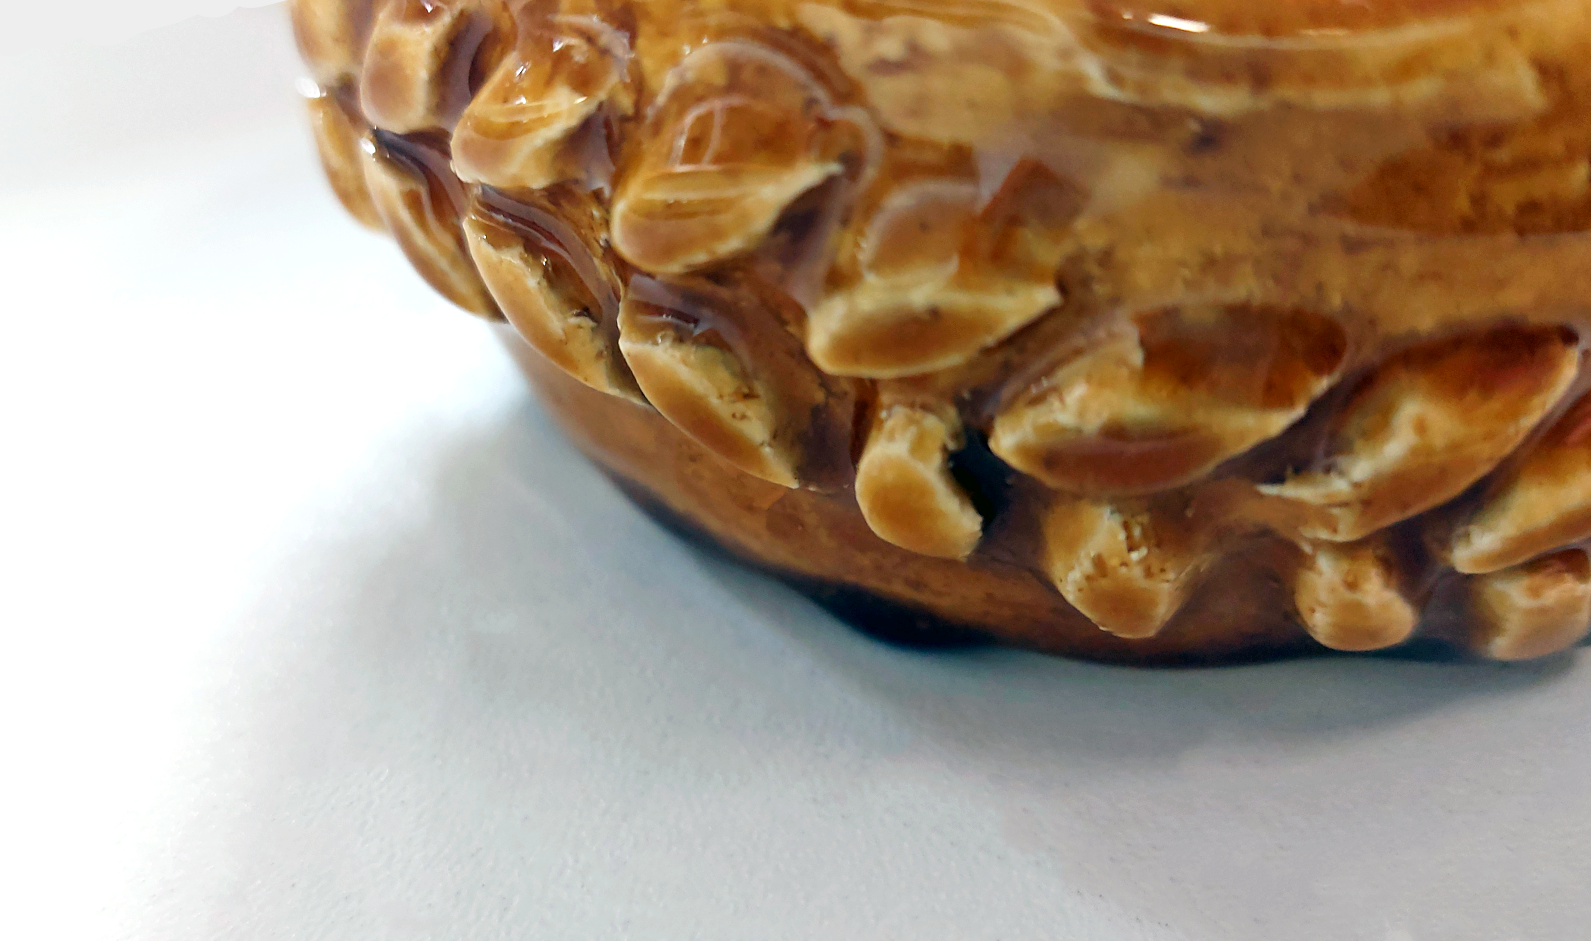
This pattern was made using a sharp needle like tool to cut out these small leaf-like forms that made up the individual pieces of moss. This particular pattern was influenced by a specific photo that I took when at RHS Bridgewater and I wanted the teacup to convey what moss looks like close up instead of the fluffy texture that you can see when further away from moss. What I liked about this particular design is that I blended the individual leaves into the teacup so that it was more integrated into the cup rather than them looking like they were just stuck on. What I would improve if I was to remake this teacup is I would maybe look into making the rim of teacup more equal on all sides and looking at making the moss 'leaves' a more equal distant from each other.
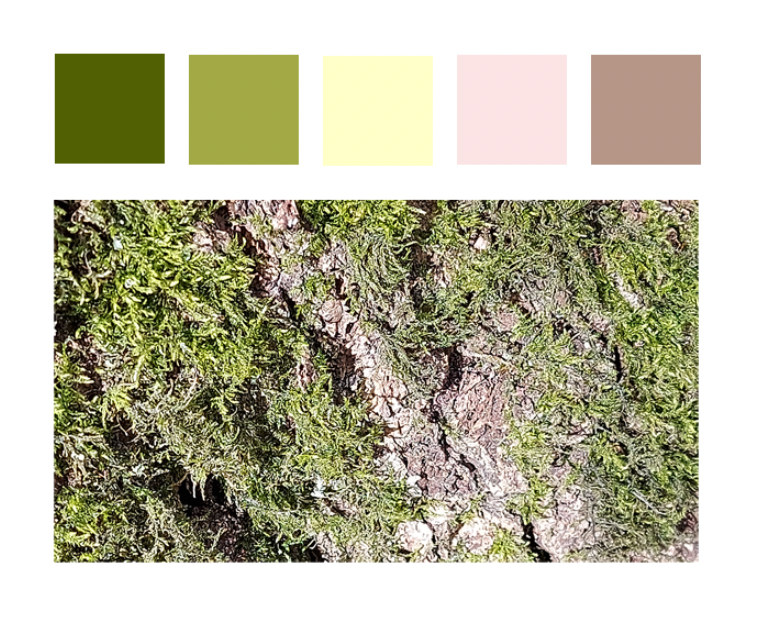
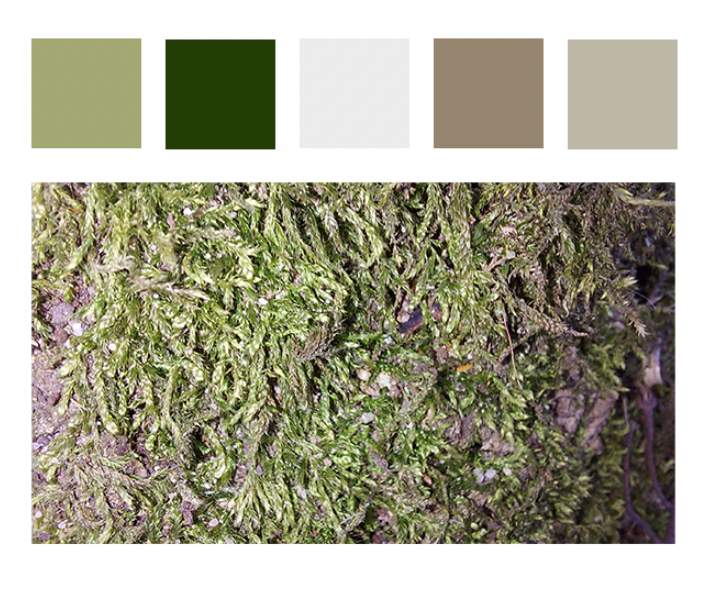
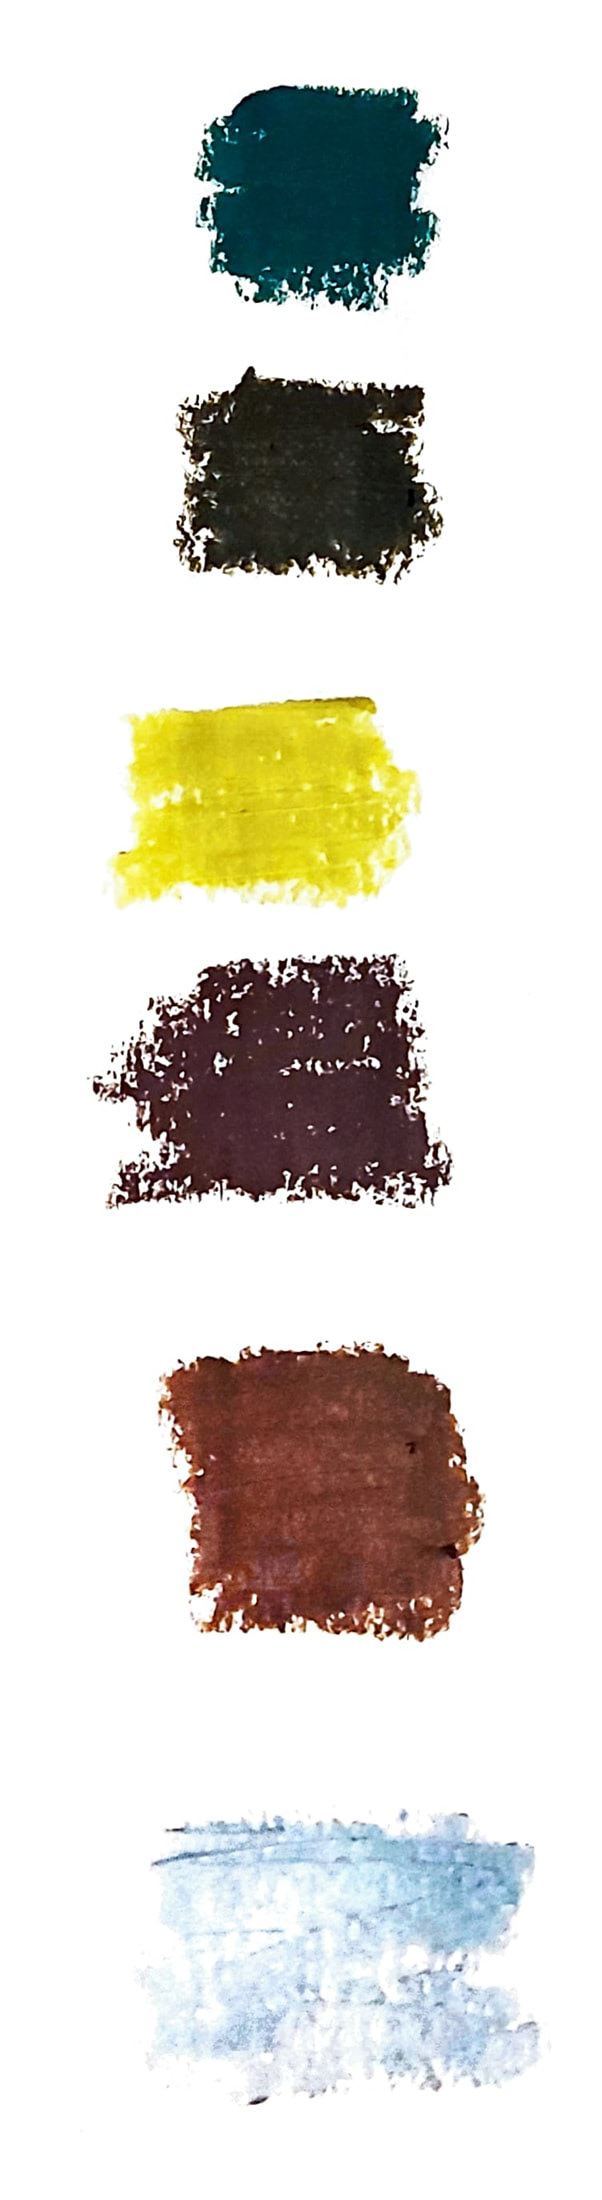
I used a honey glaze to glaze the teacup as the golden yellow colour of the glaze matches well with the colour scheme of the moss I found on the site (shown above). Also I didn't add colour to the moss on the teacup as I wanted the texture of the moss and the way it was sticking out of the cup to be more noticeable and didn't want the use of colour to take away from that.

This video shows me pouring 200ml of water into the teacup because I had calculated that this was the amount that fitted securely in the teacup at RHS Bridgewater already. Unfortunately, not all the water went into the teacup and the water held in the teacup was 125ml, however, this would hold around three cups of tea using a teapot from Bridgewater so its not too small and won't effect the user experience as much as it could. However, if I were to remake this cup I would definitely make it slightly taller in order to hold more tea.
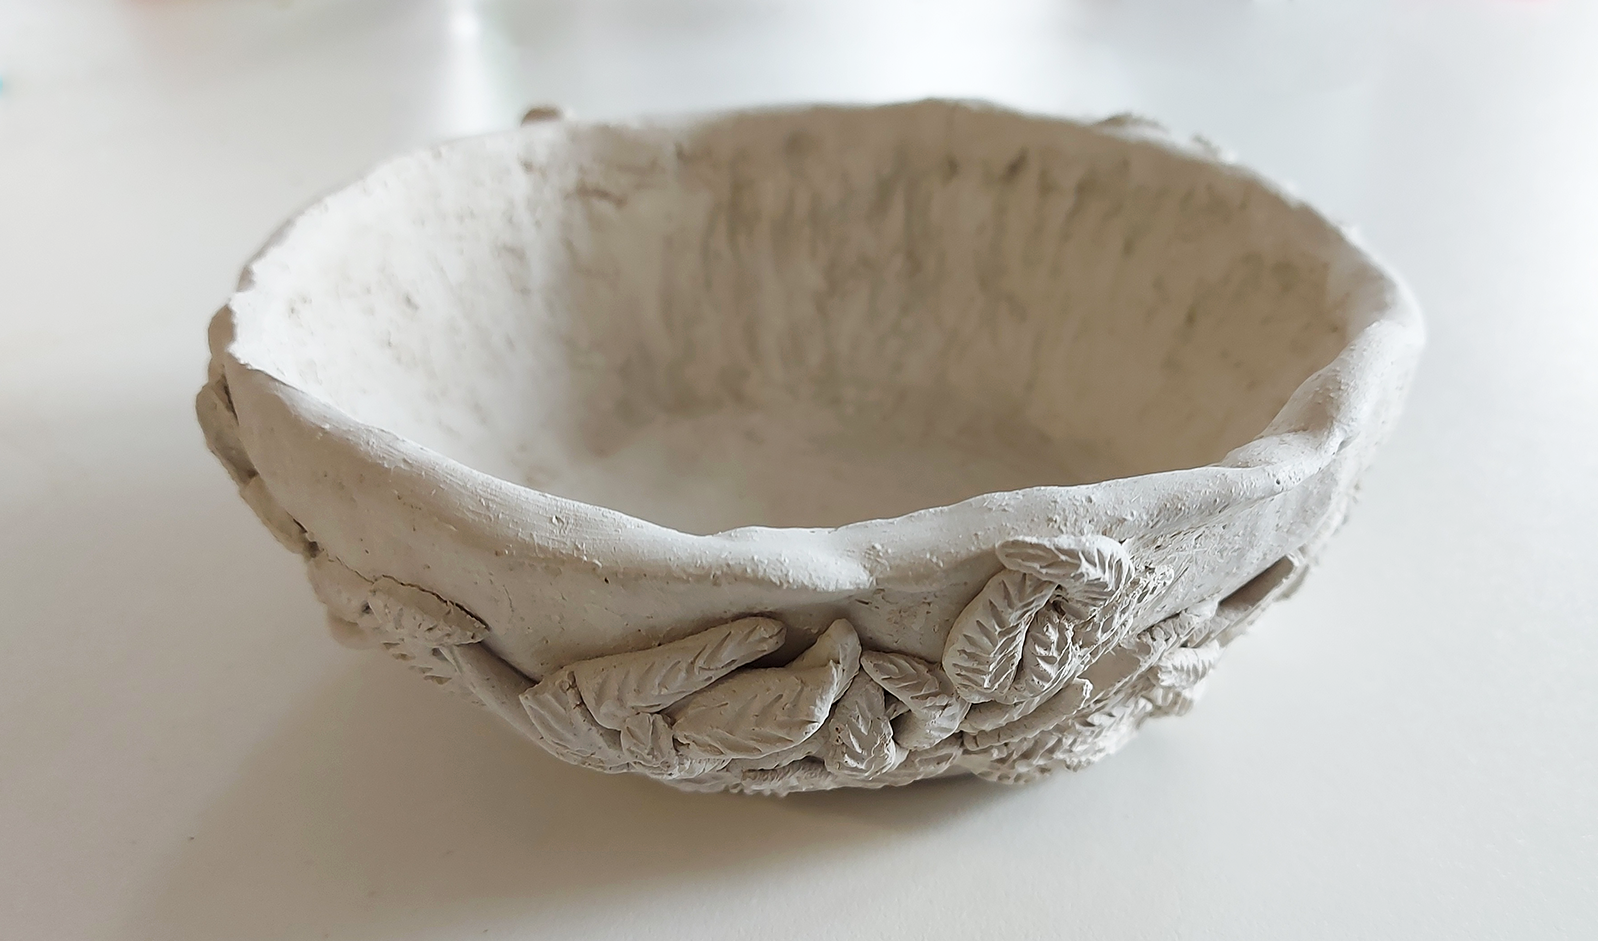
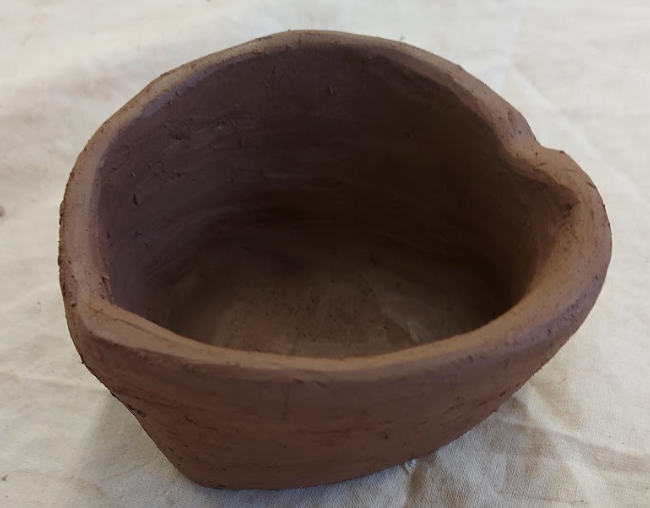
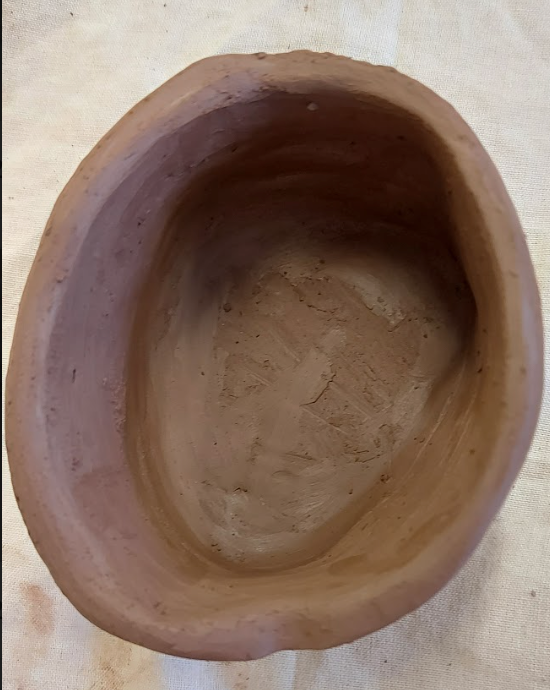
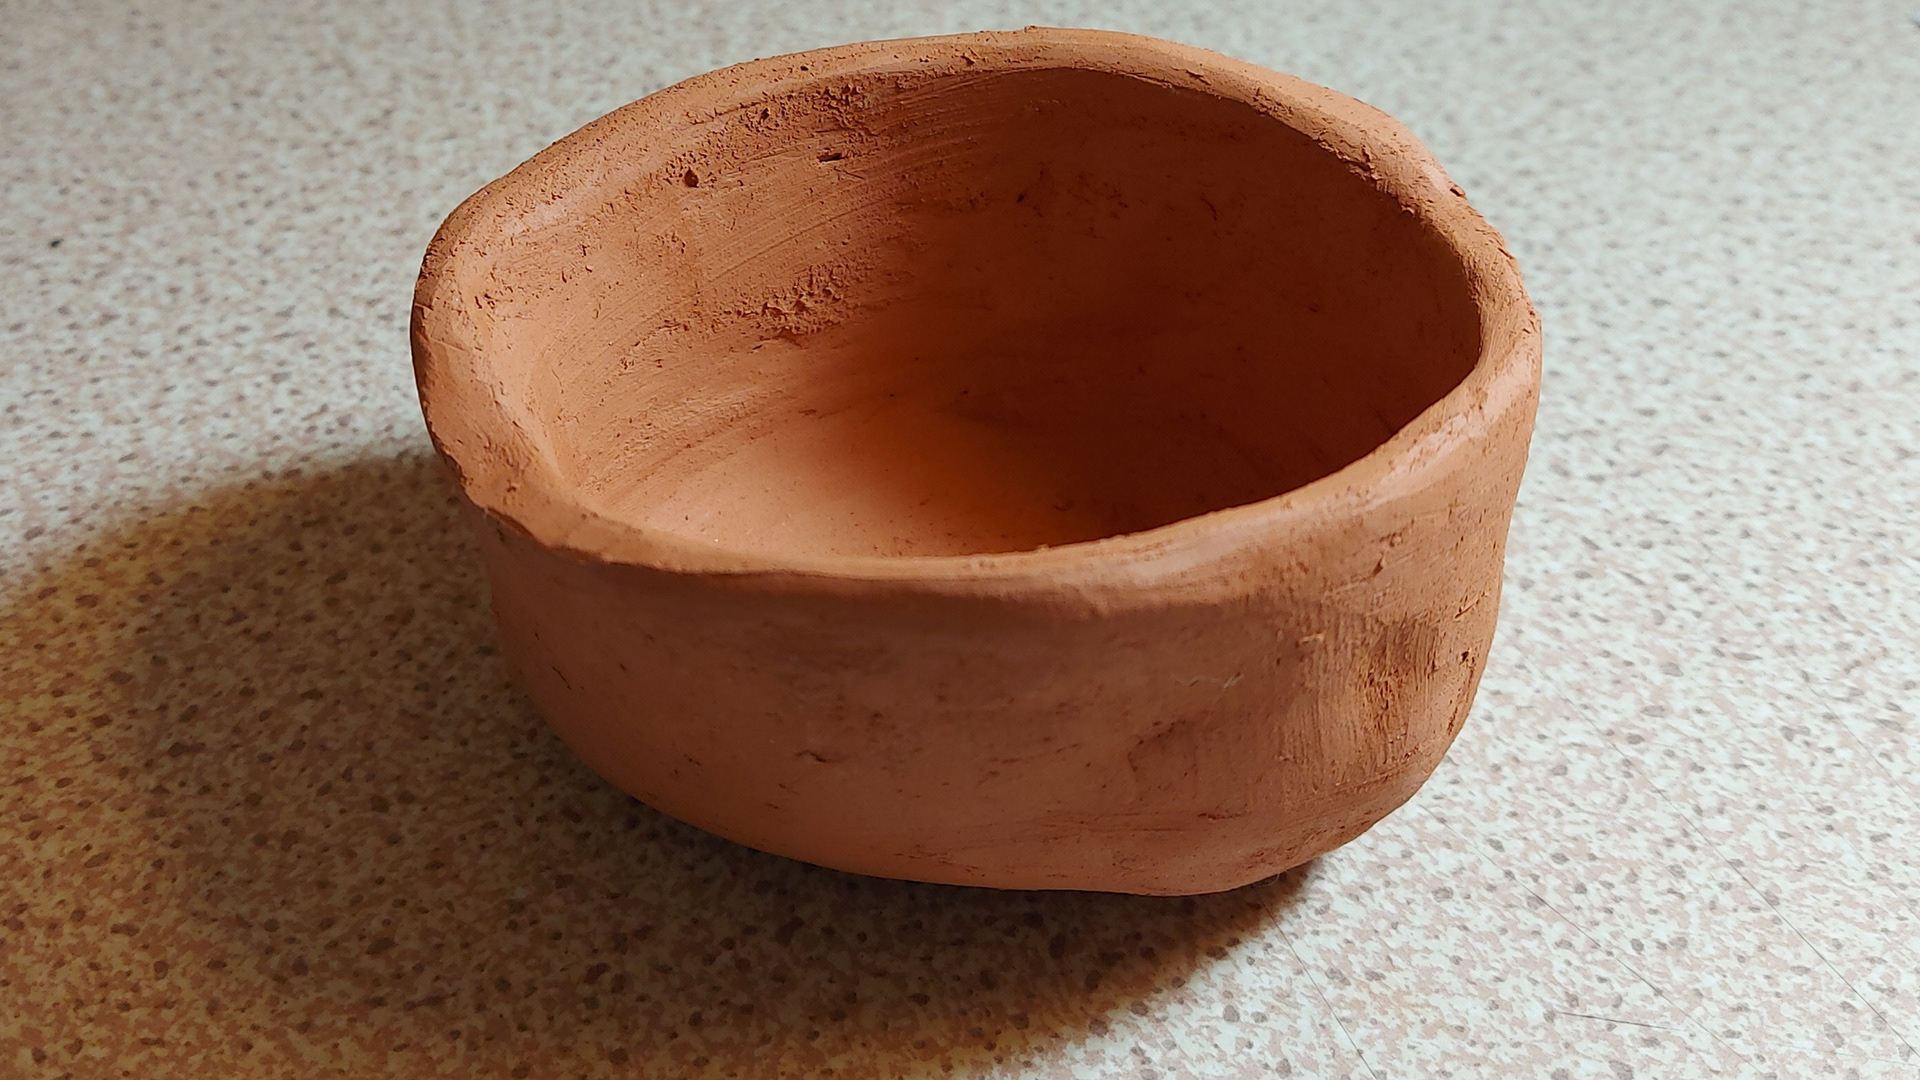
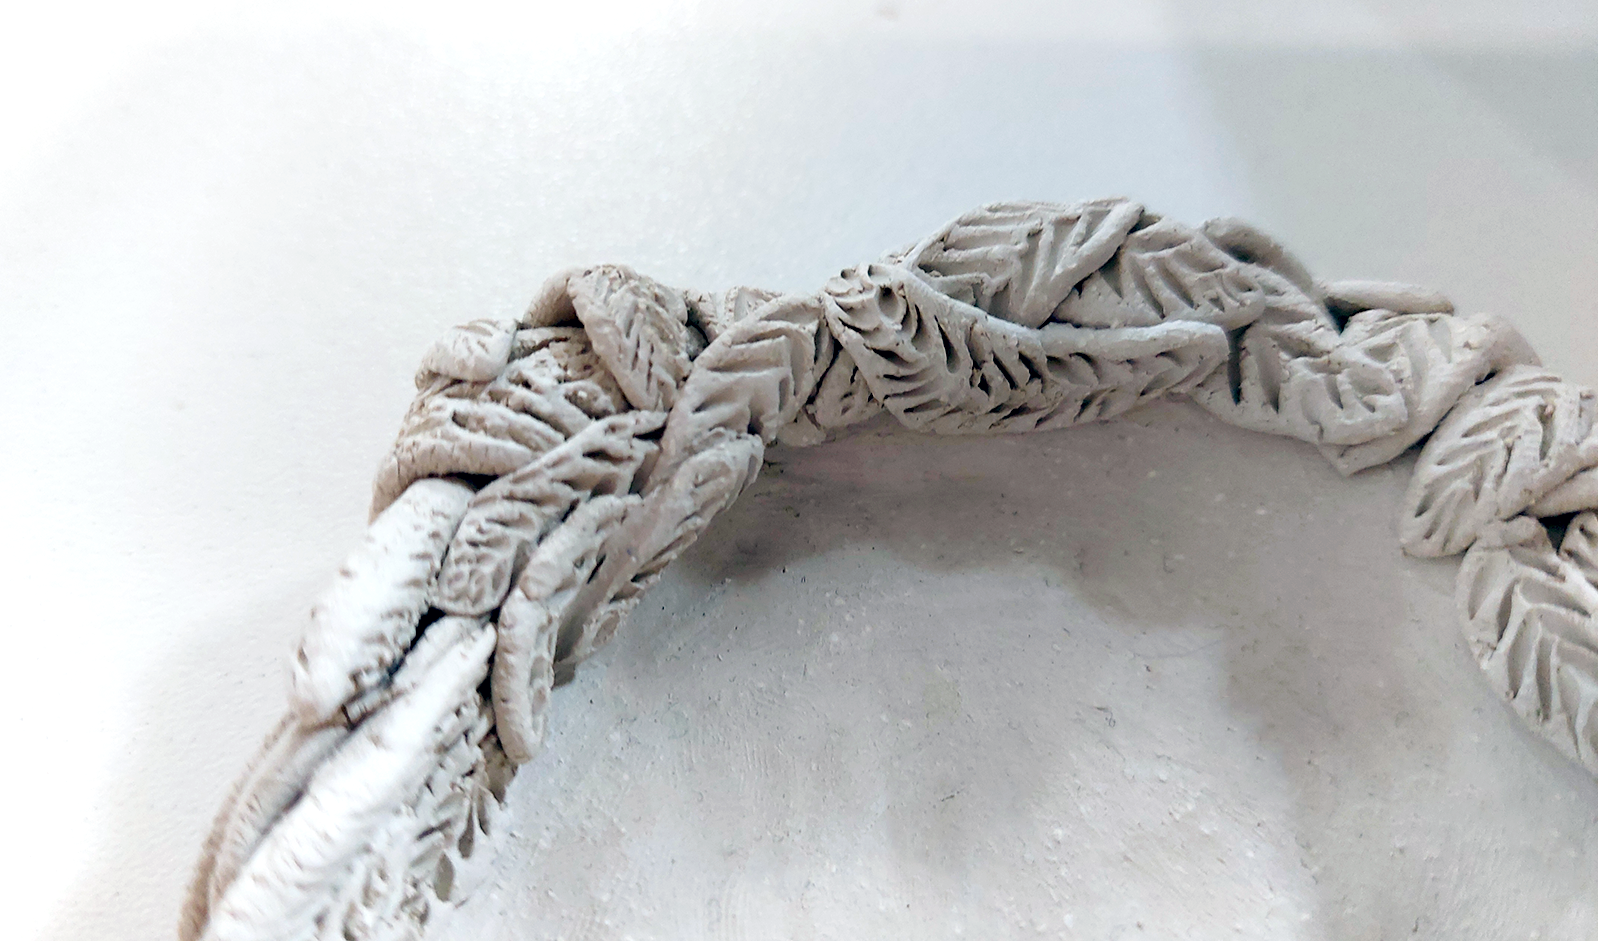
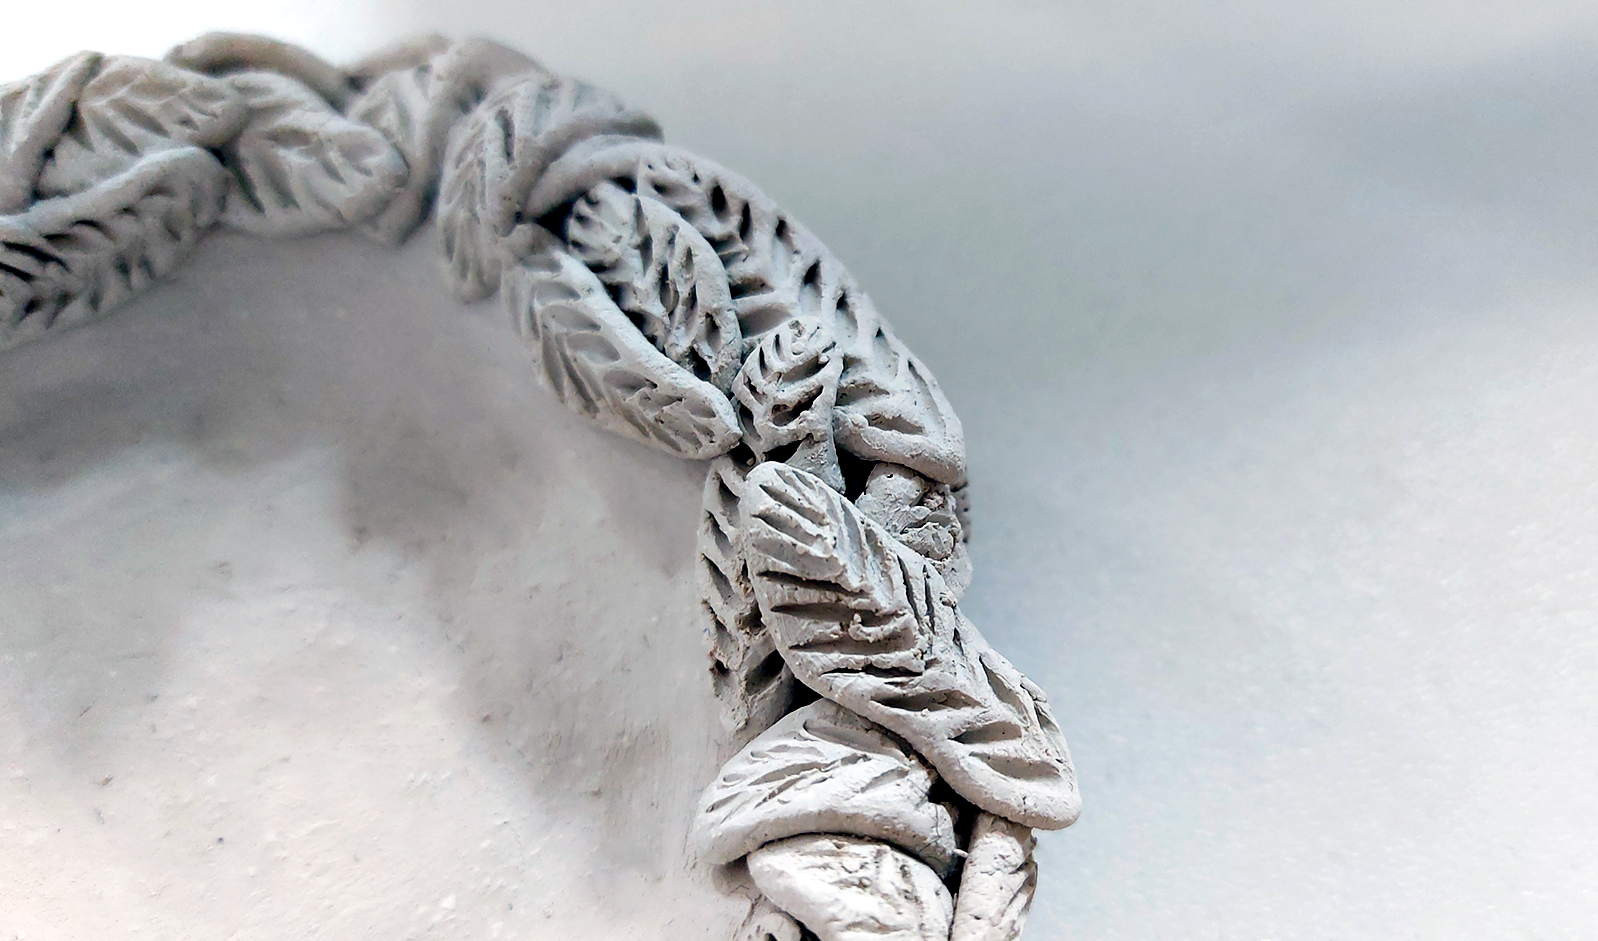
After making the teacup I wanted to make another moss pattern using the crank clay which was not as zoomed in as the teacup. I then decided to use this pattern, but as I wanted to experiment with the placement at individual piece of moss, I decided to make a bowl as it allowed more space to look at the different ways to place the moss.
I rolled the individual pieces of moss and used a sharp and thin pointy tool to create the small lines on each individual piece of moss. One problem that came up when making this piece is that because the moss was quite small, it dried very quickly and this could sometimes mean leaves would fall off easily. I think that if I glazed this piece i would quite like to use a honey glaze or a slightly coloured shiny glaze to show off the individual pieces.

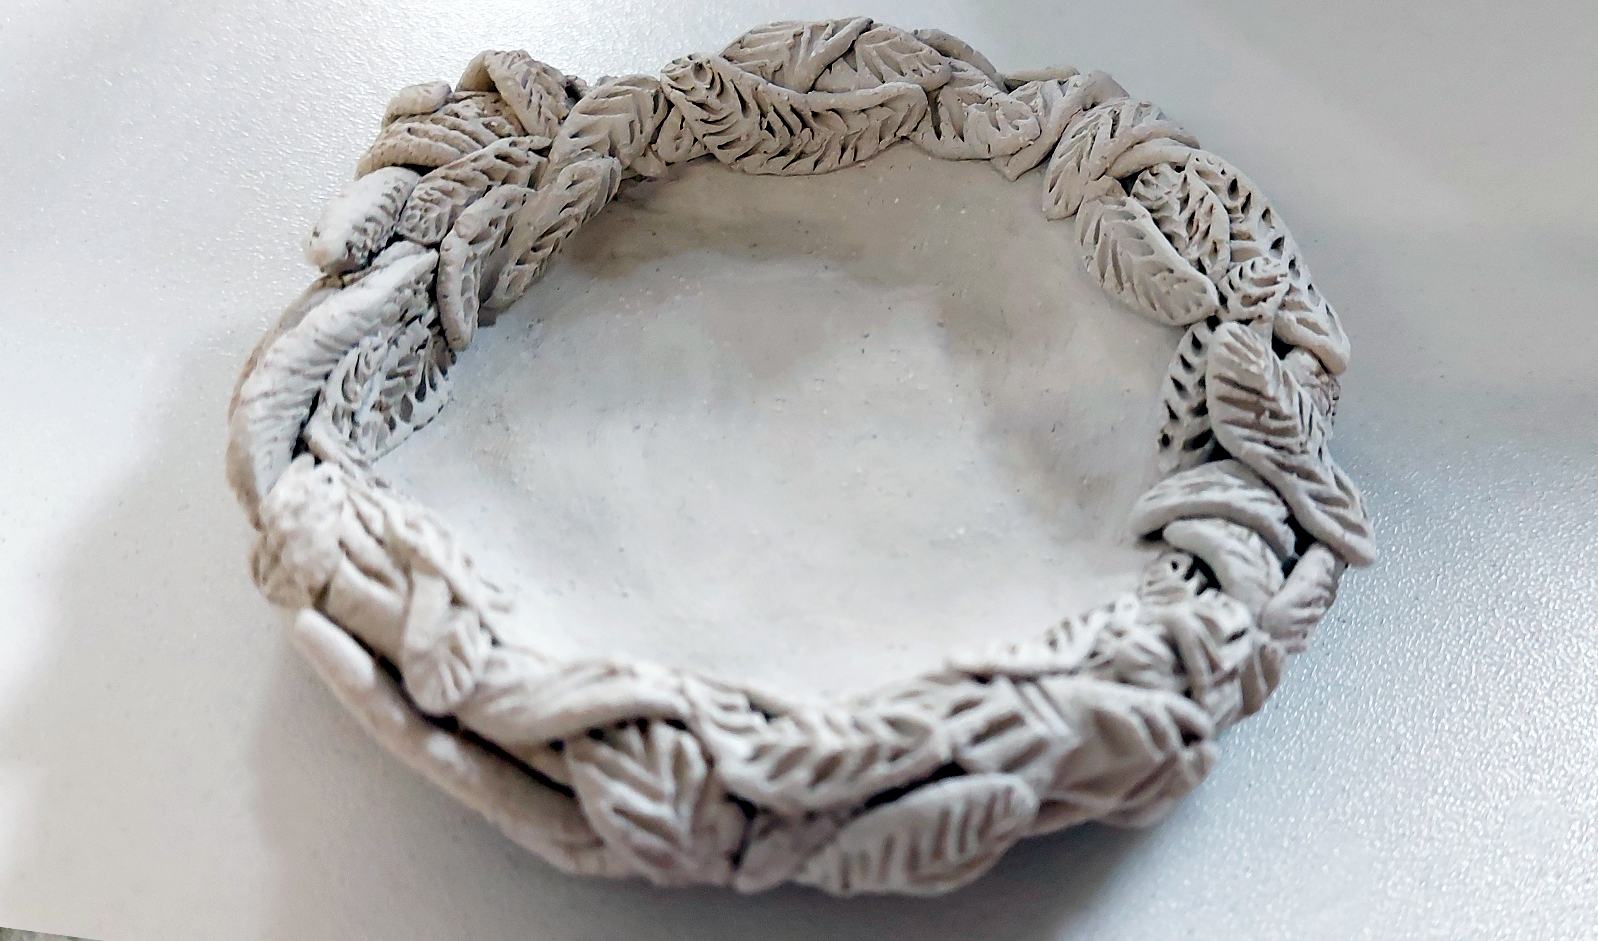
This was me experimenting with putting leaves over the rim of a dish to see if it works even if it can't be used on a teacup due to practicality. This could potentially be a model for a saucer for the teacup and if I was to take this further I would glaze it and look to see if I could make saucers a different shape.