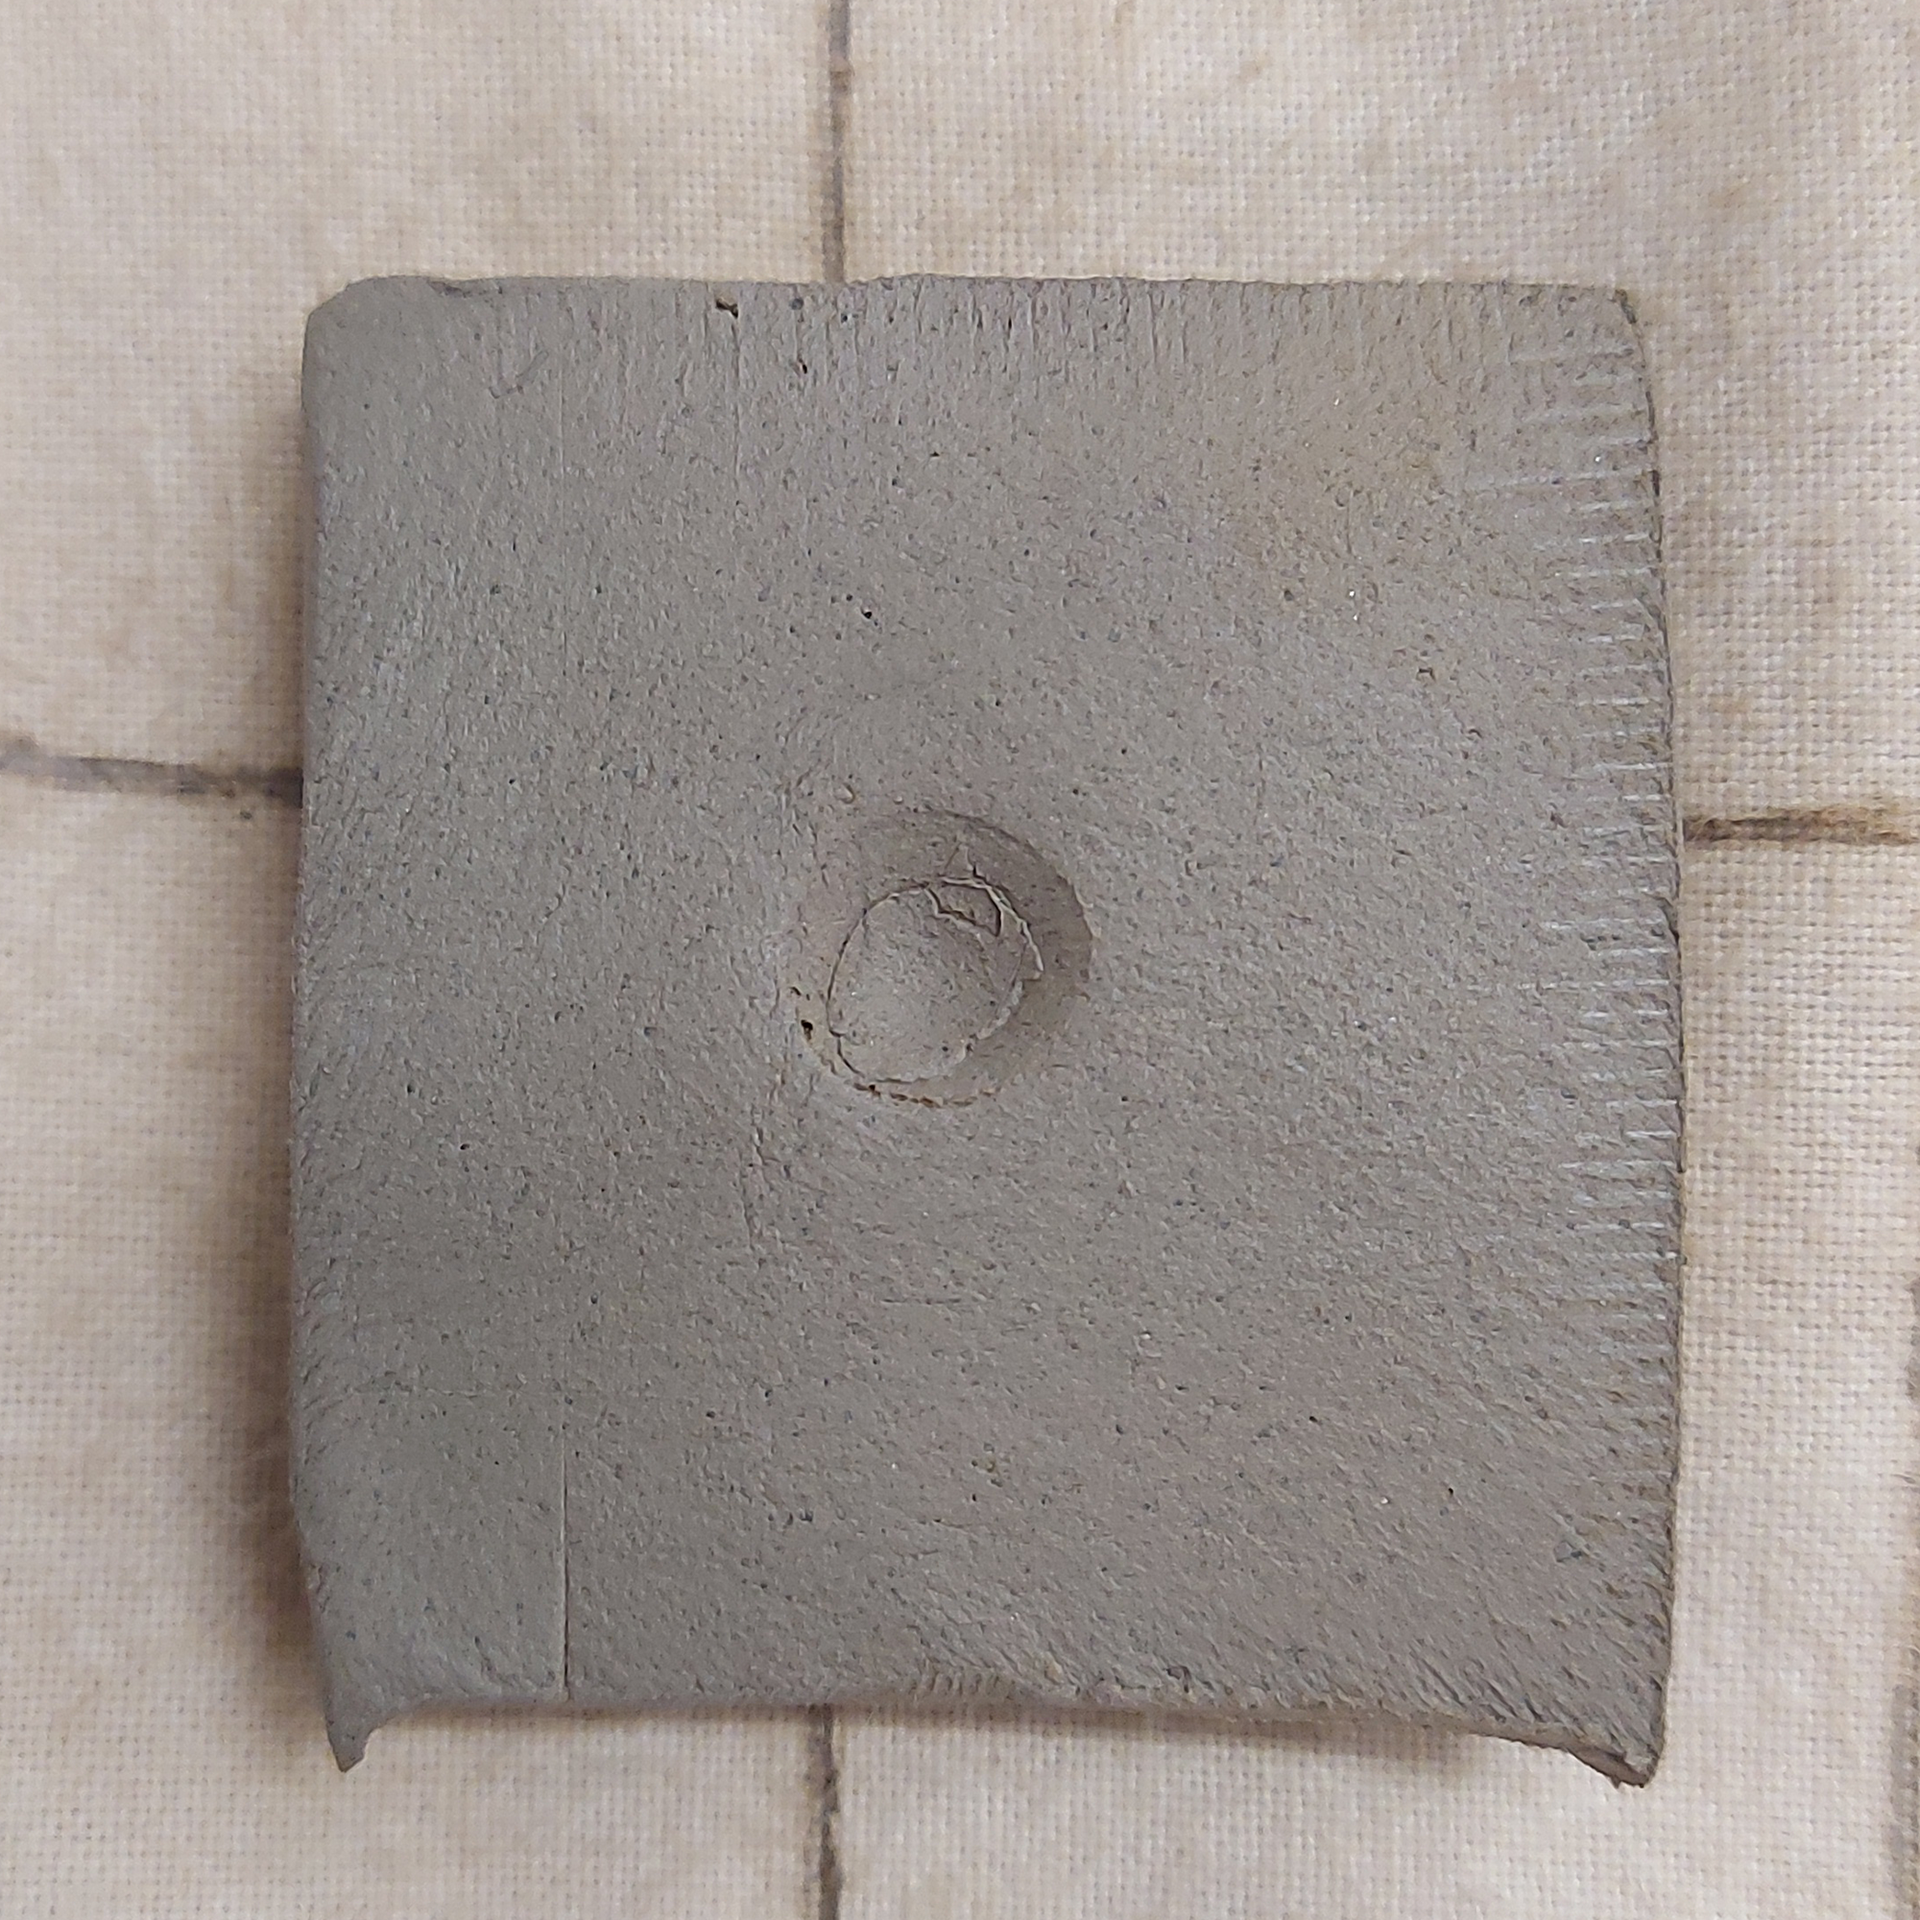
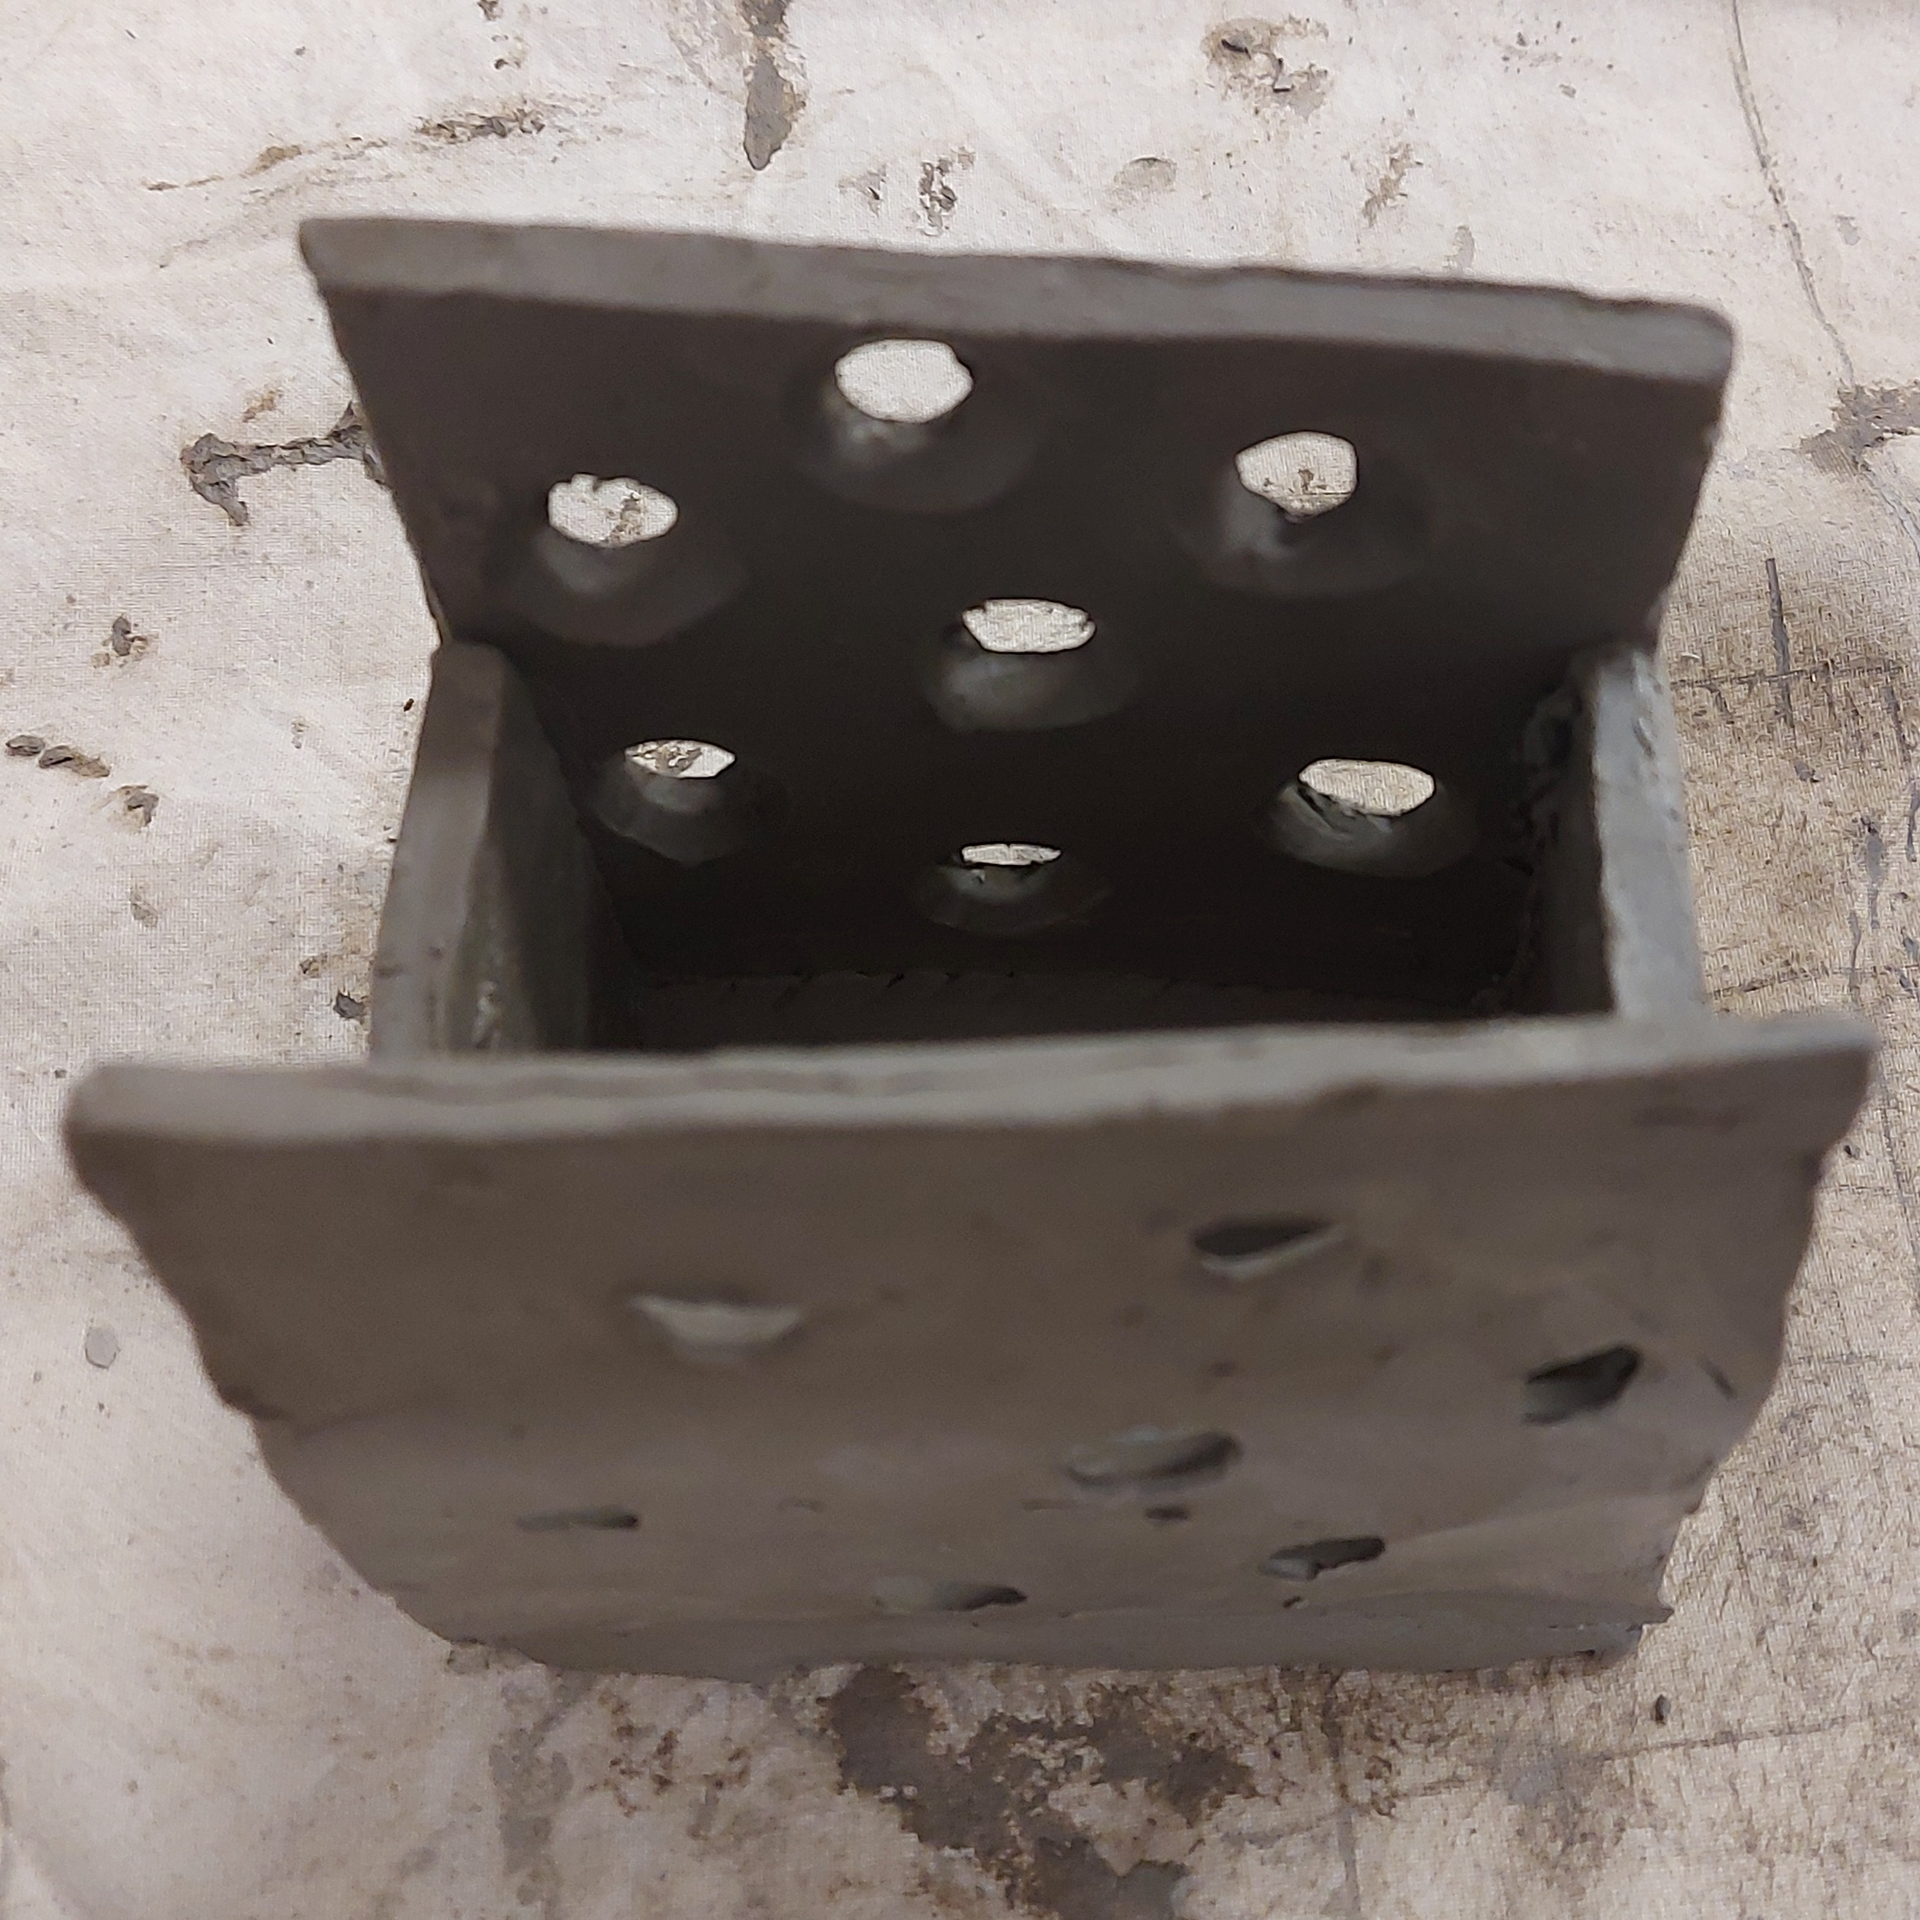
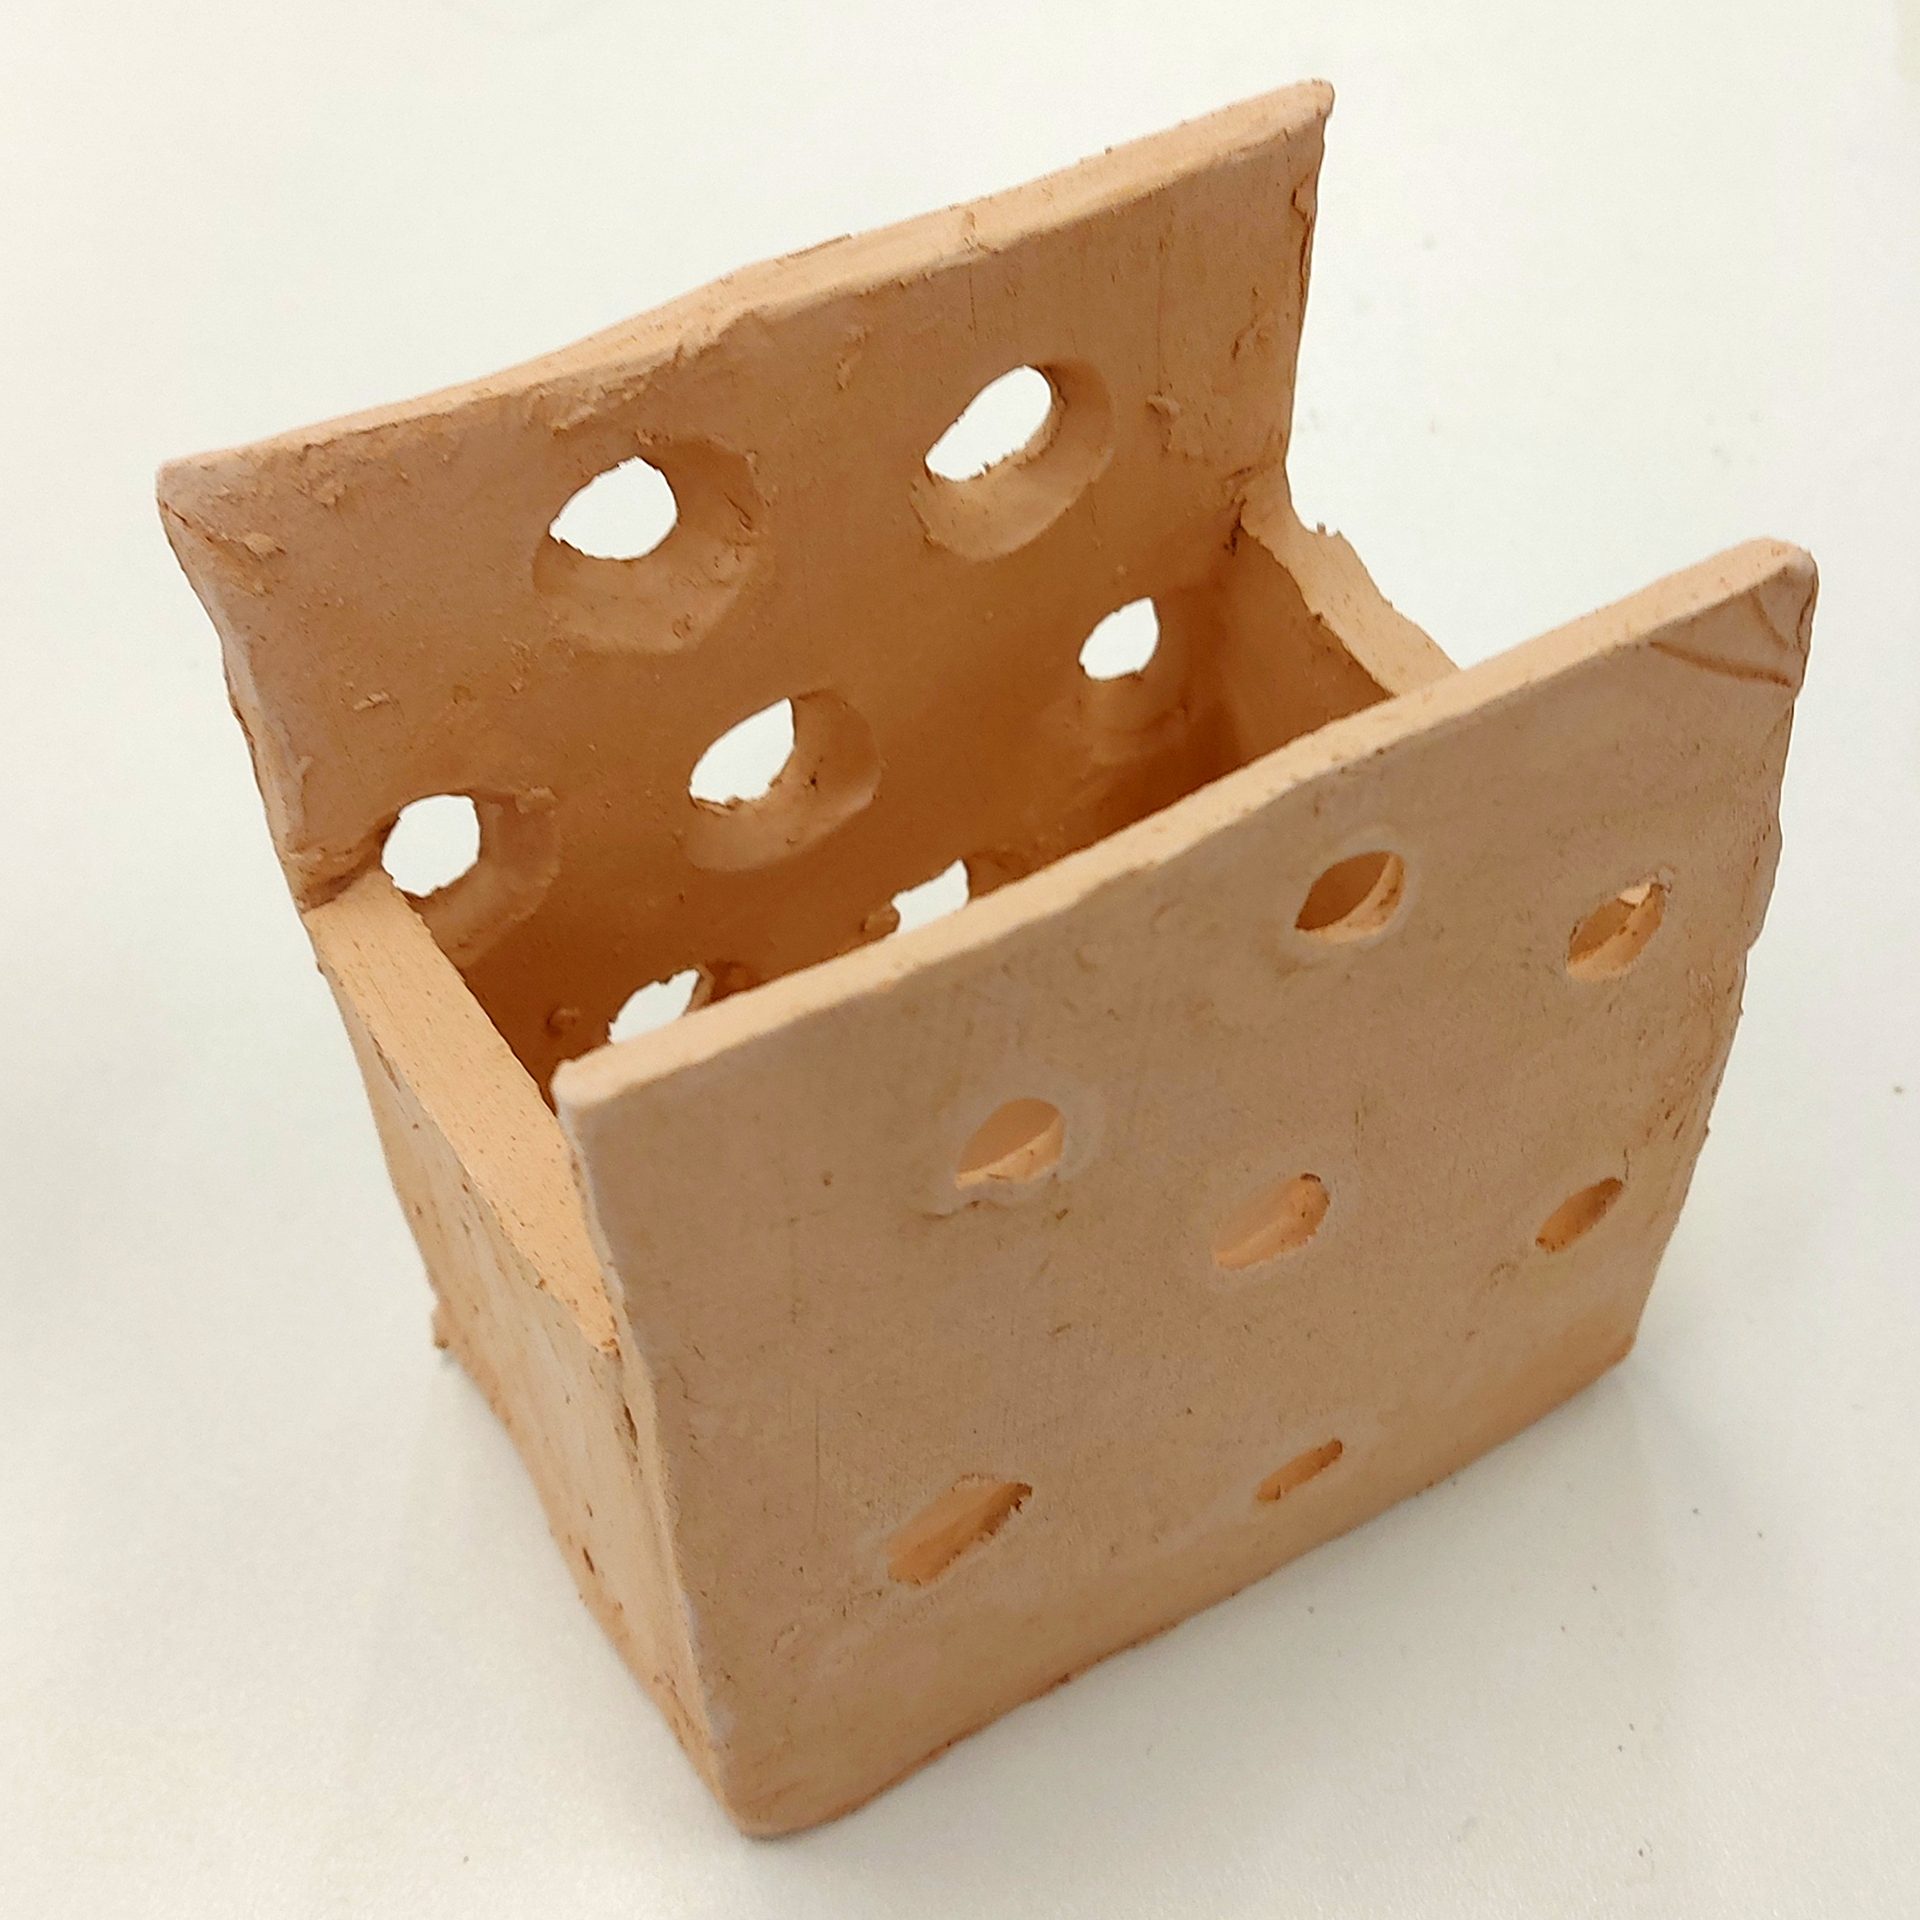
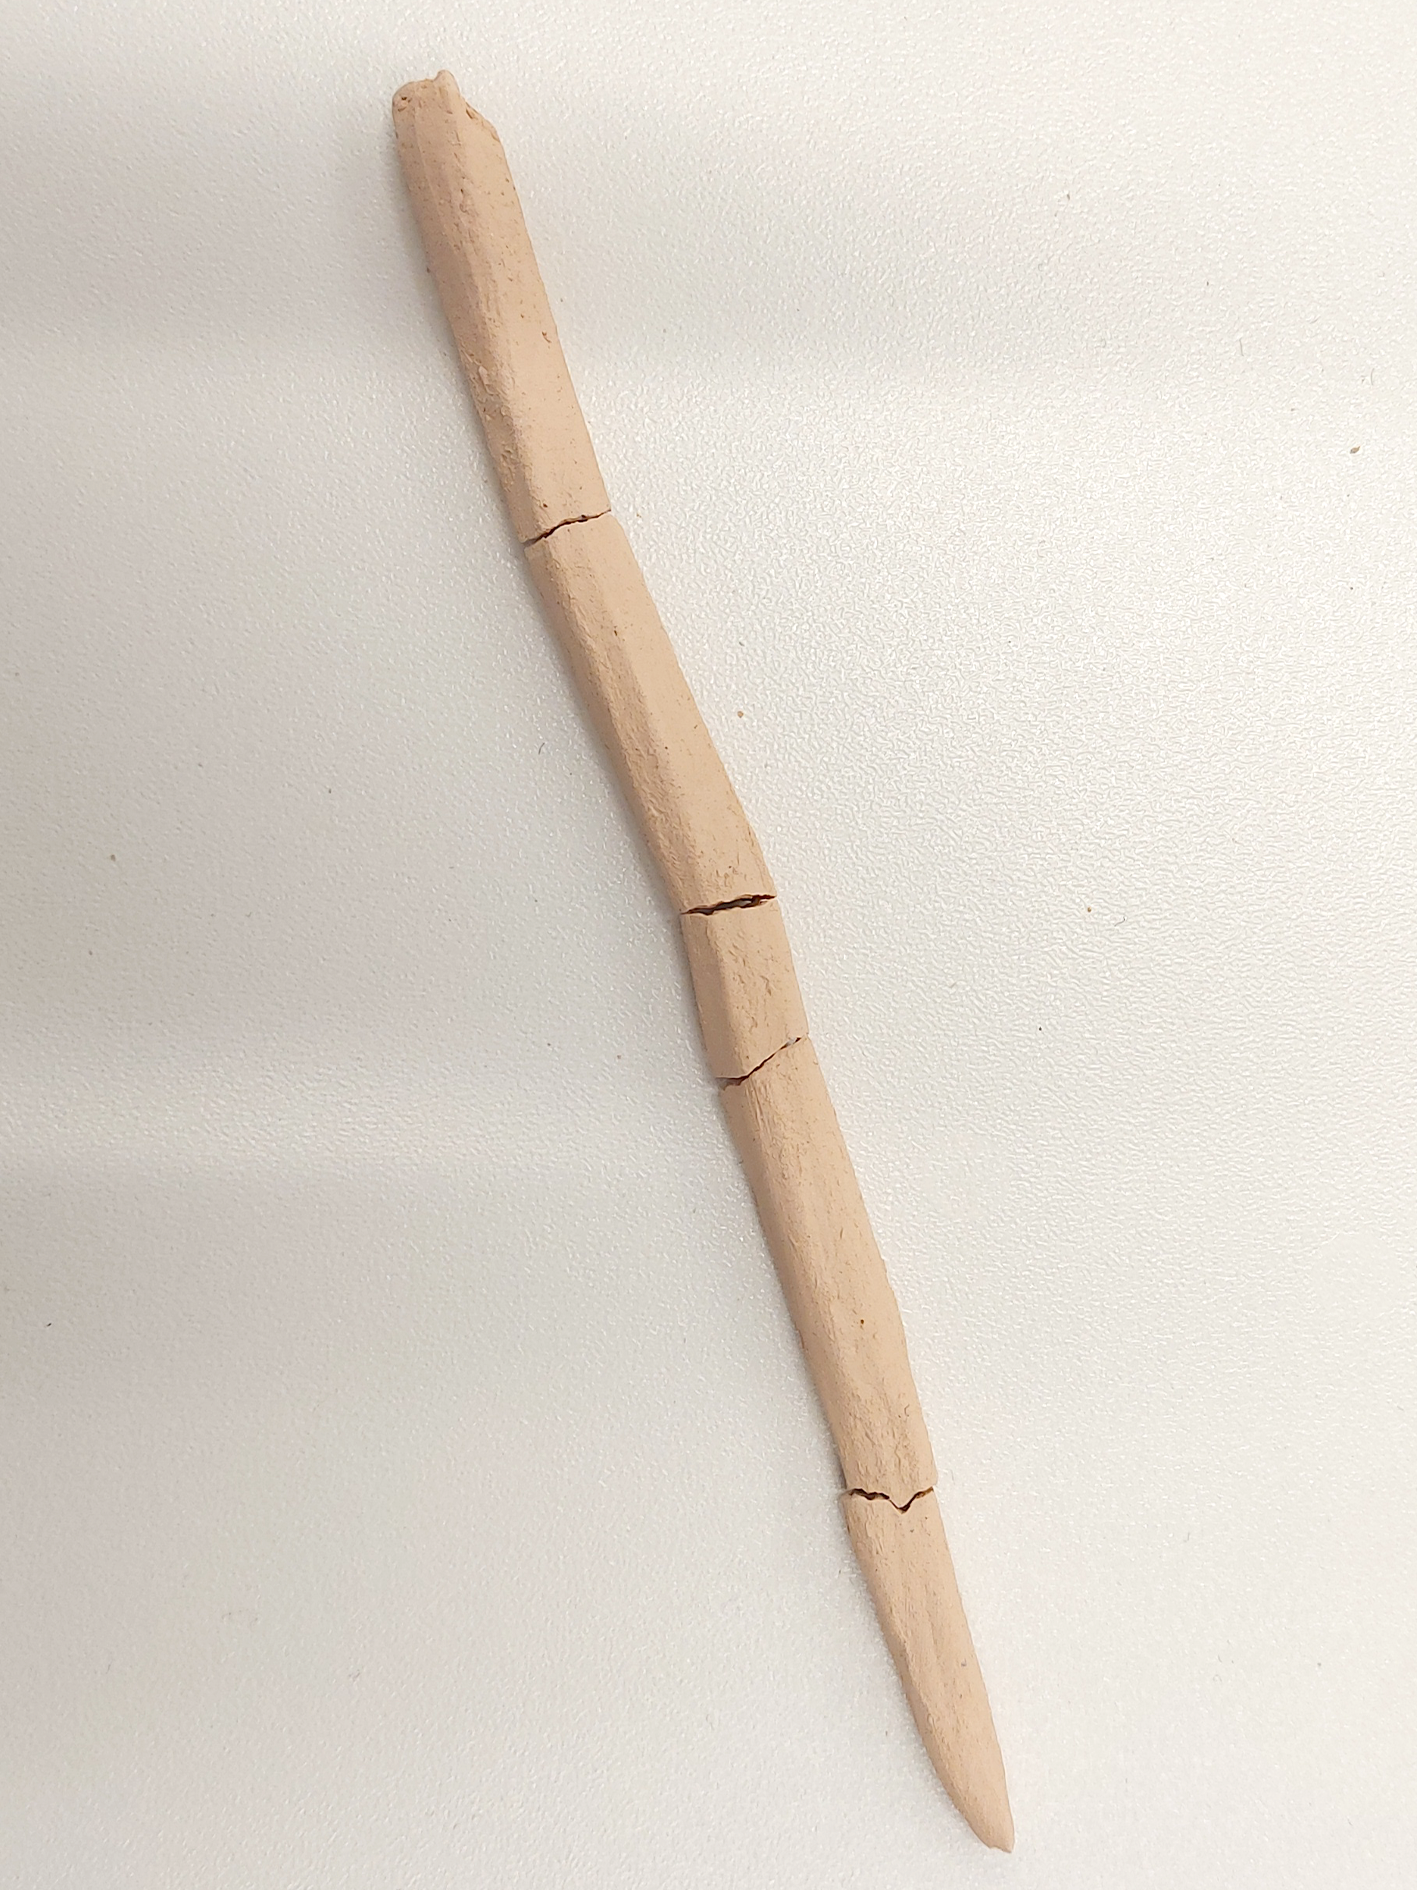
I started my material samples by making different types of holes for different pencils. I wanted to use a range of pencils that varied in shape in order to see the different types of holes I could make and how they would gradient out. As seen above, I used pencils to indent the clay and then used different engraving tools to see how I could fan out the holes within the clay.
I wanted to make sure that the holes were the correct size due to what I had found out during my cardboard modelling. I had found that having some space for the pencil to move around enables the pencil to move freely and be able to slot into more holes around the shape. When making this I found that creating a perfect cone like shape for the hole was difficult but because I had made such a range of holes I was able to go into the next part of experimentation easily as I had learnt that using tools that were curved on one side but straight on the other was the best way to create these holes.
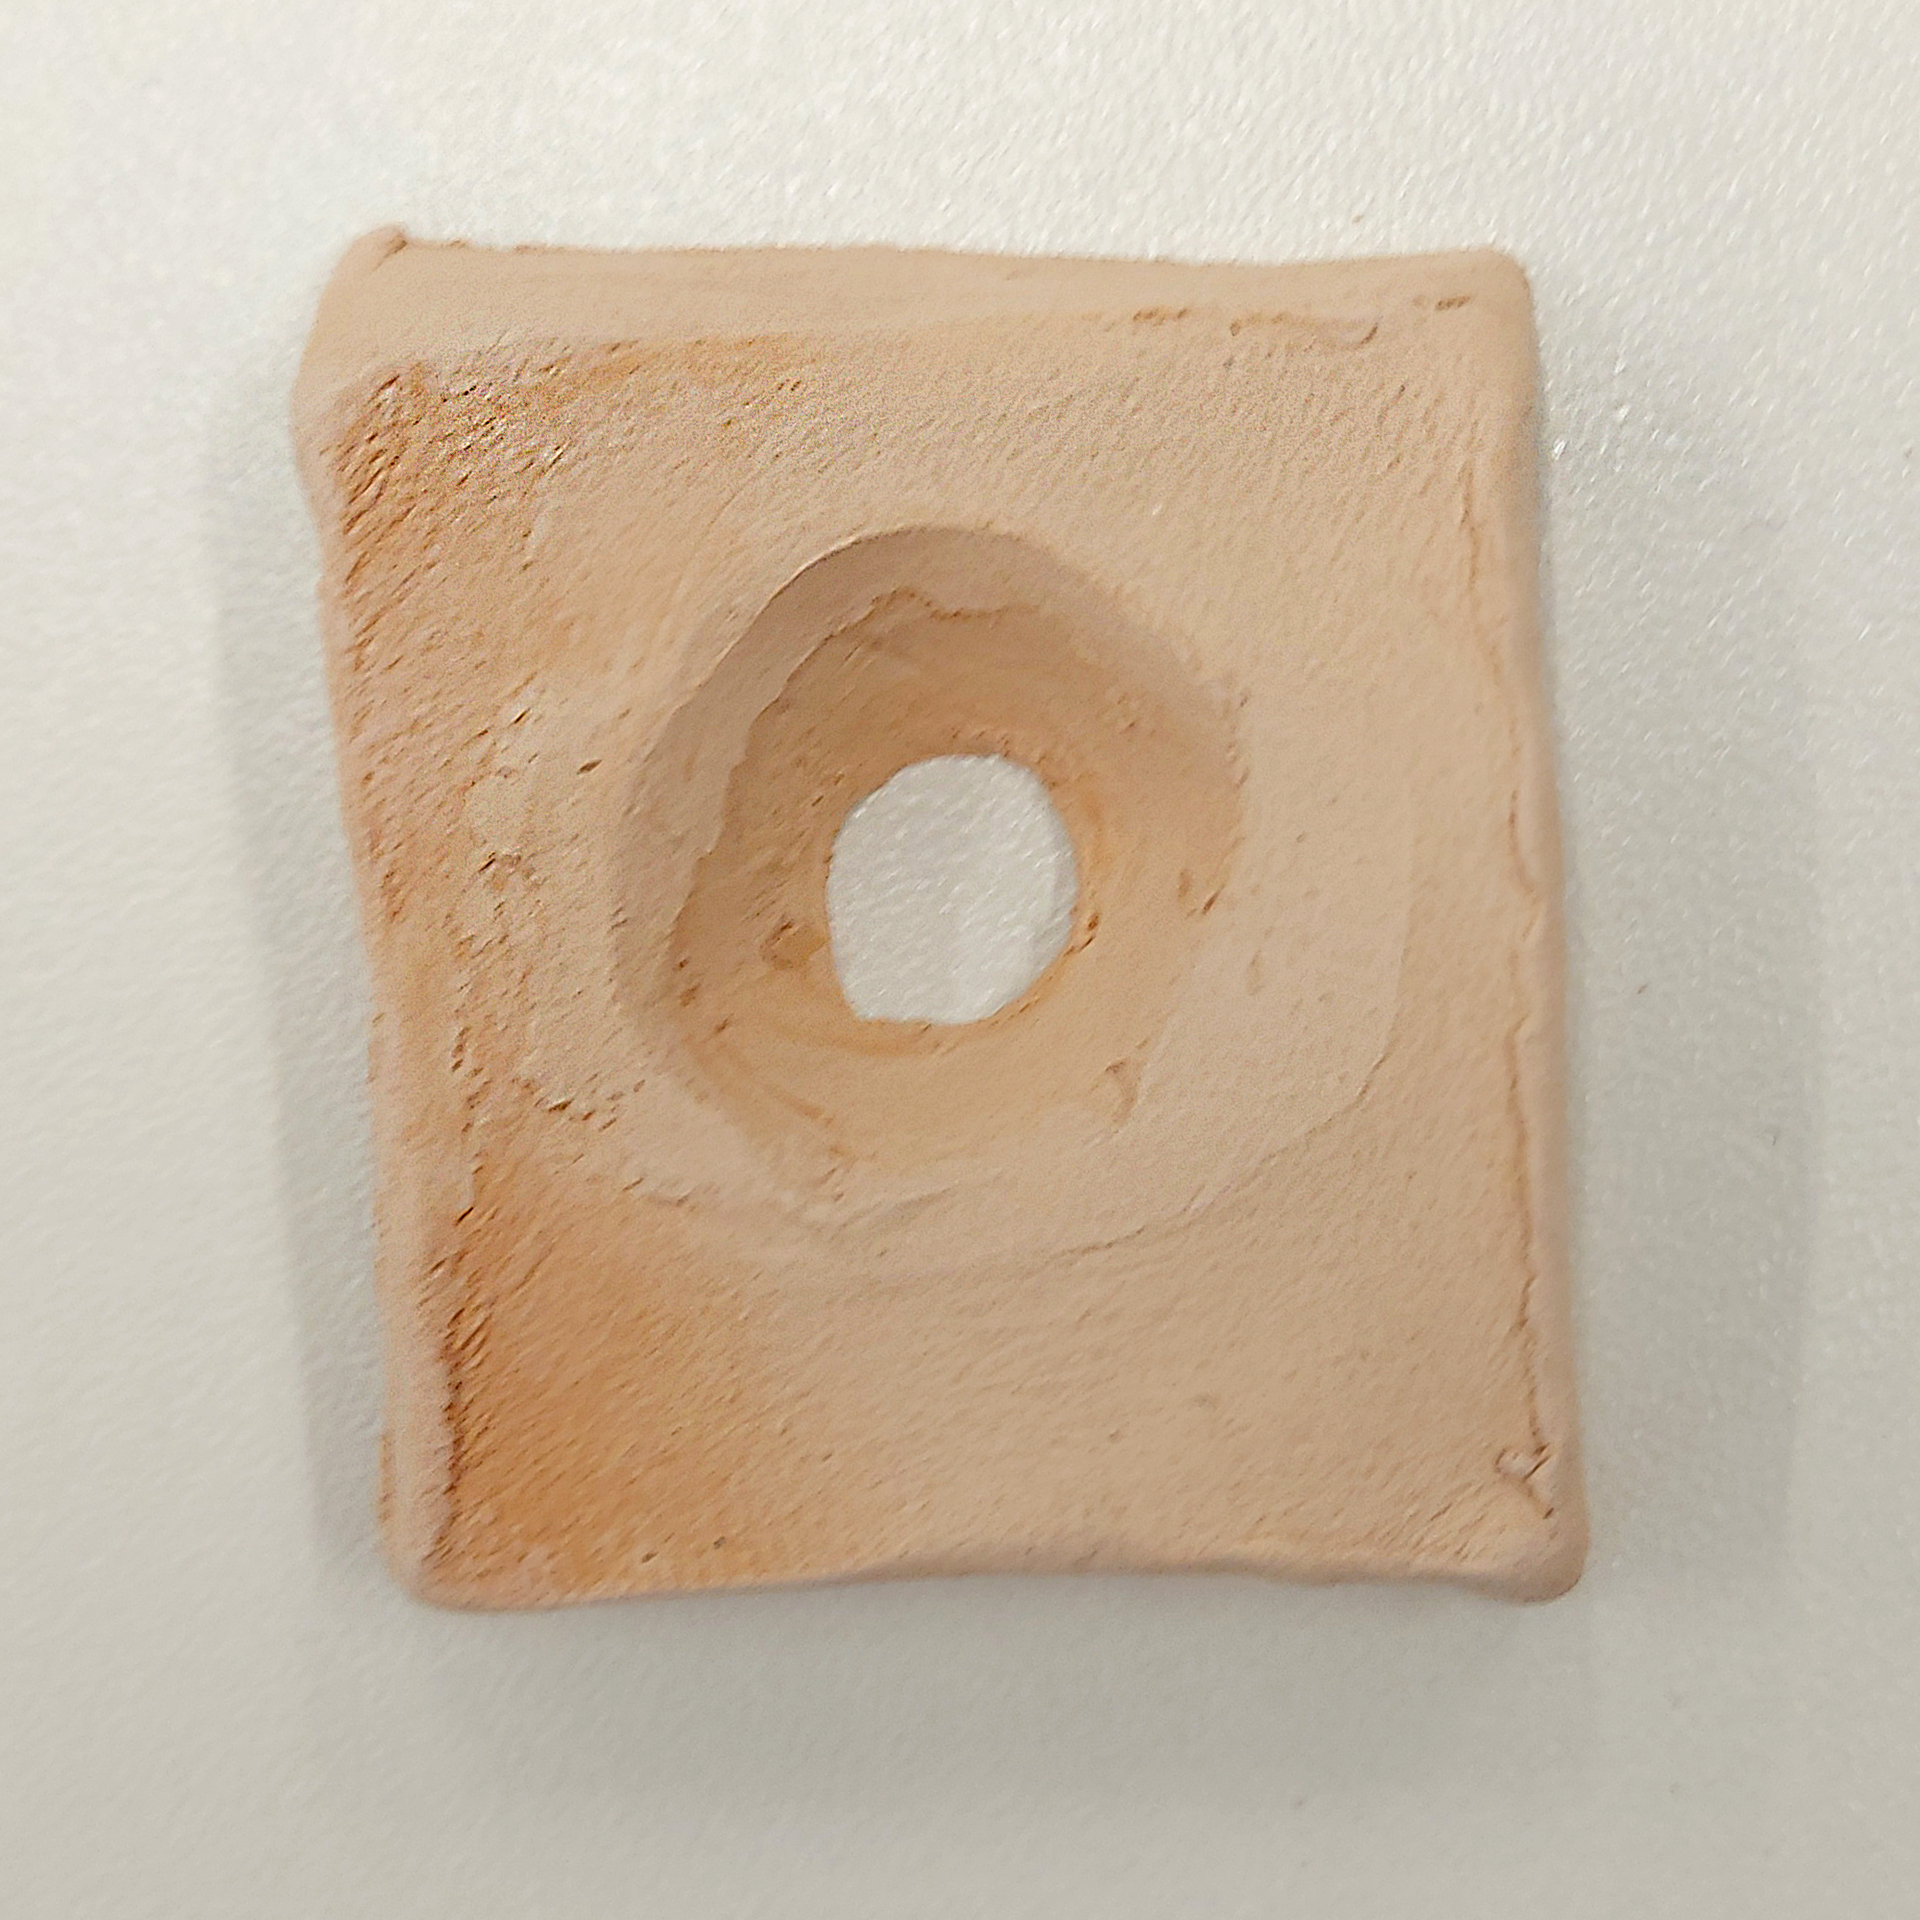
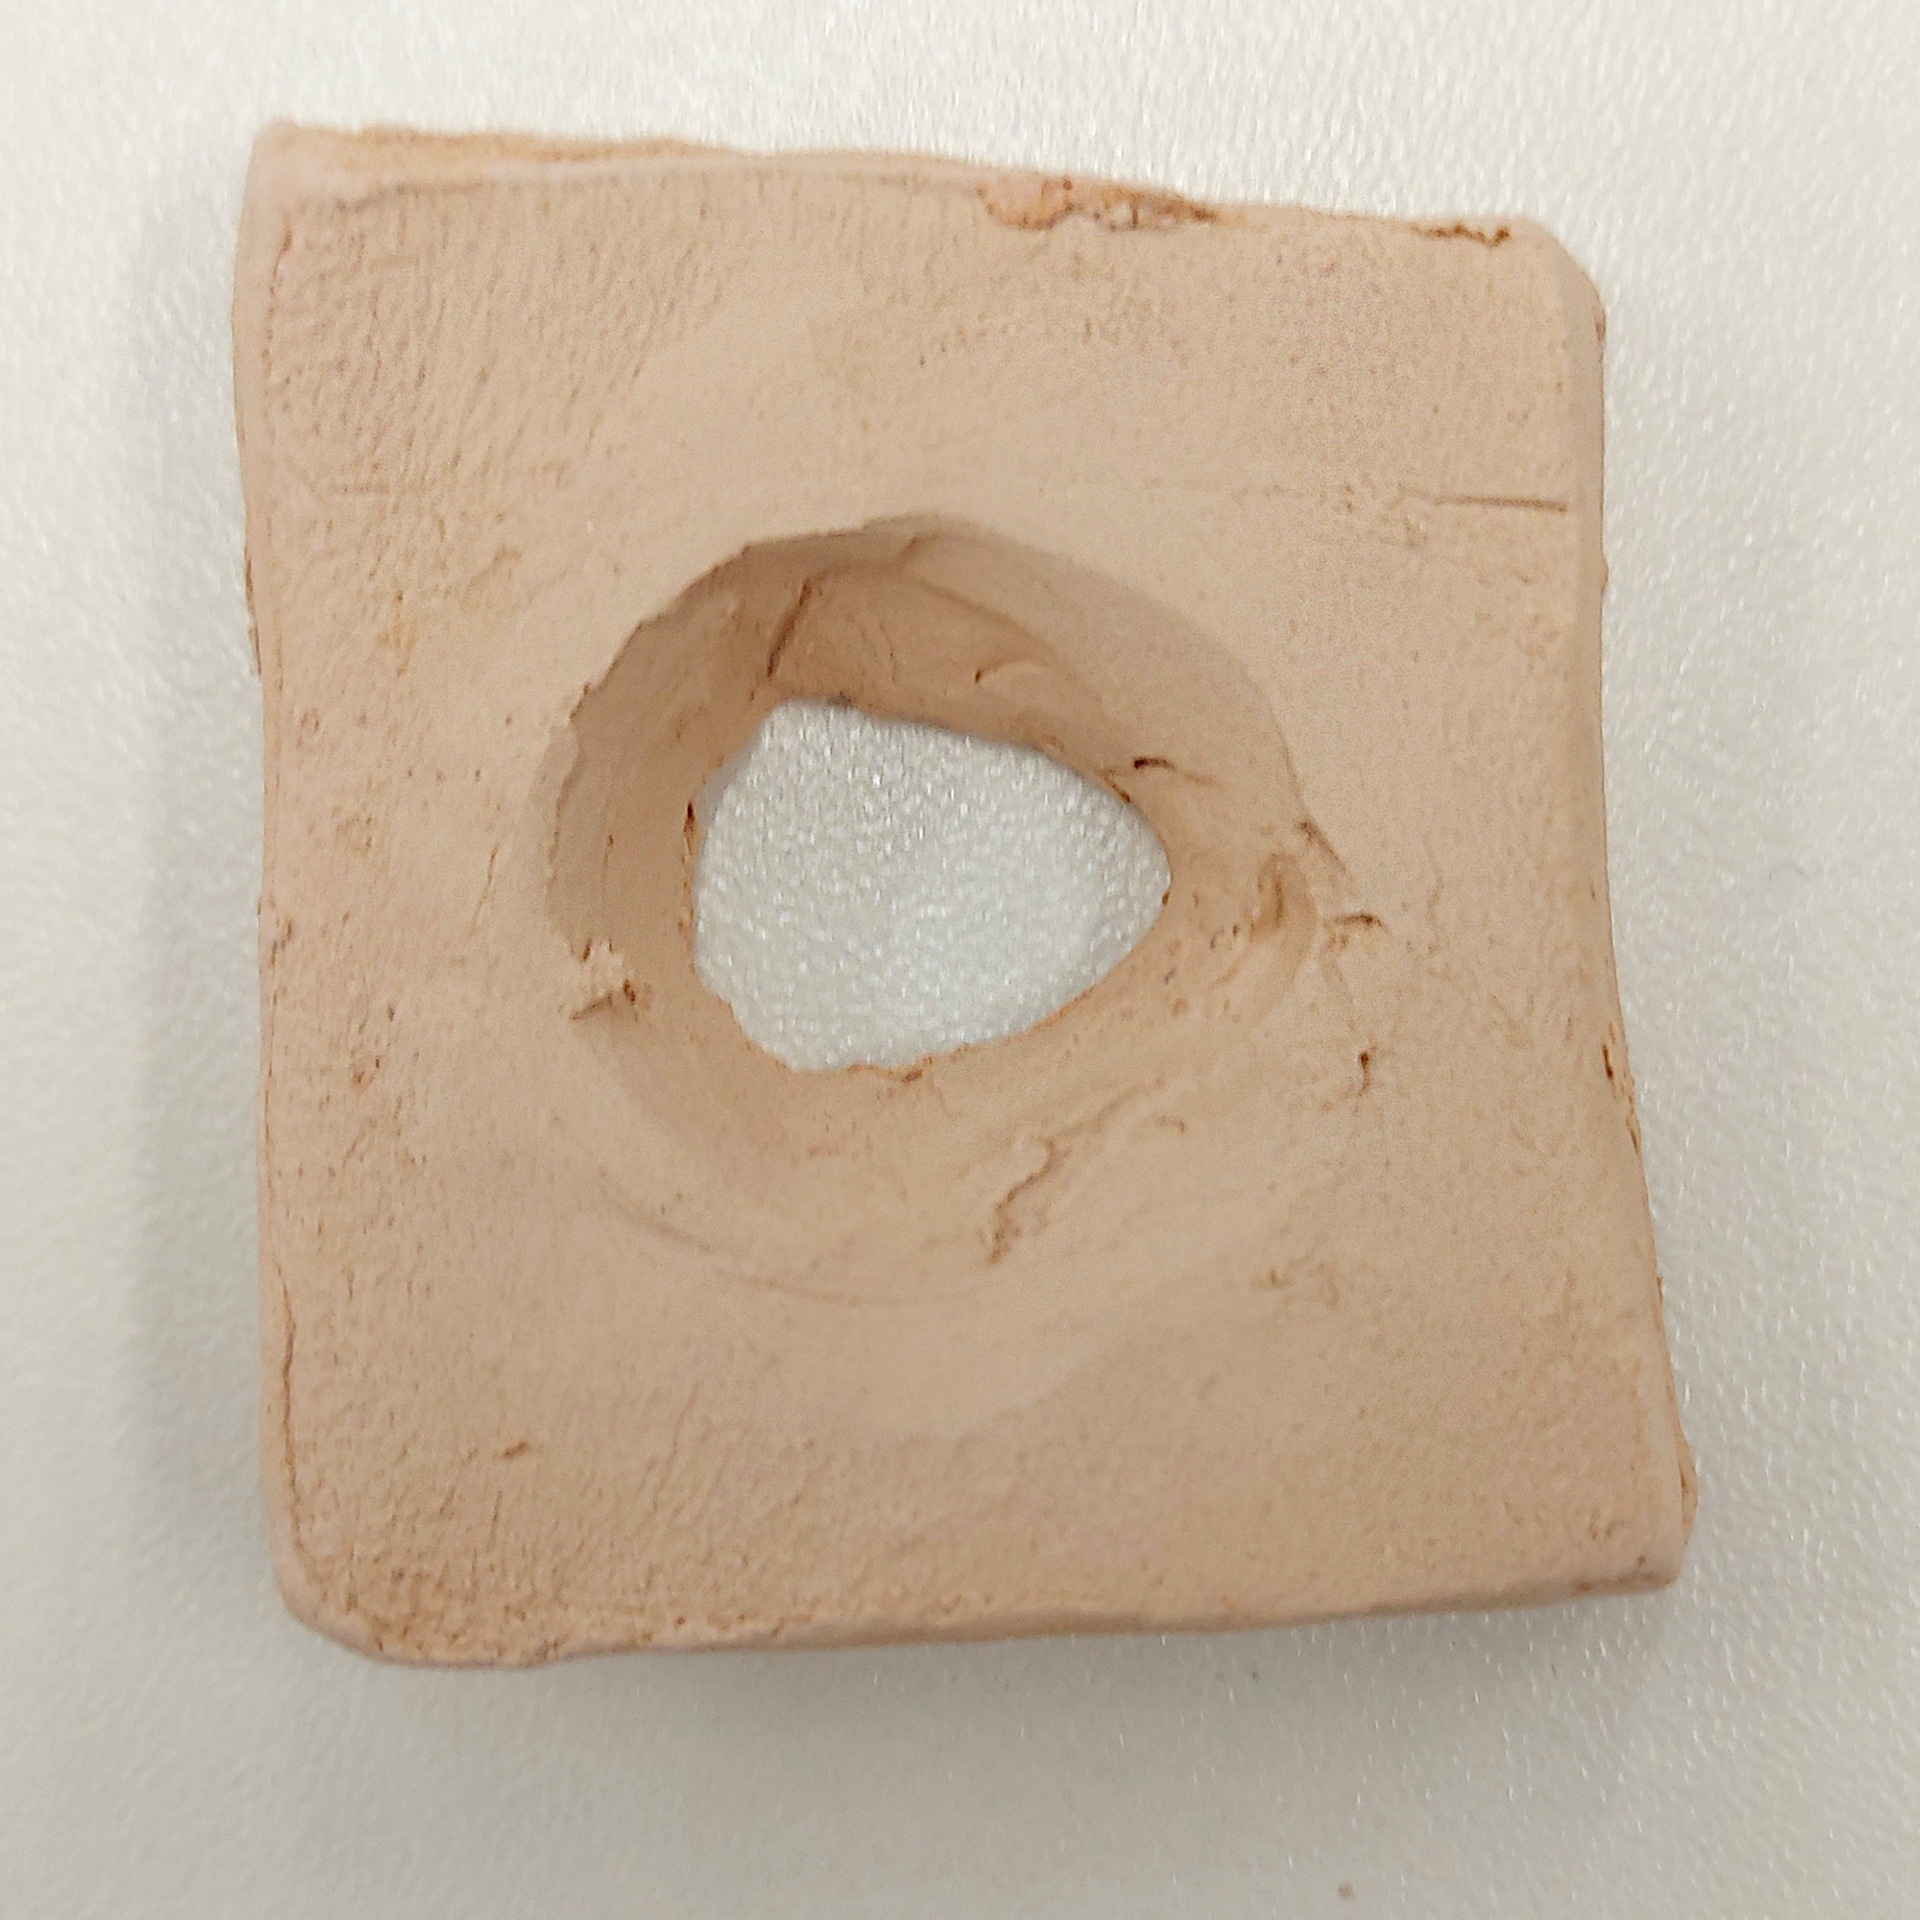
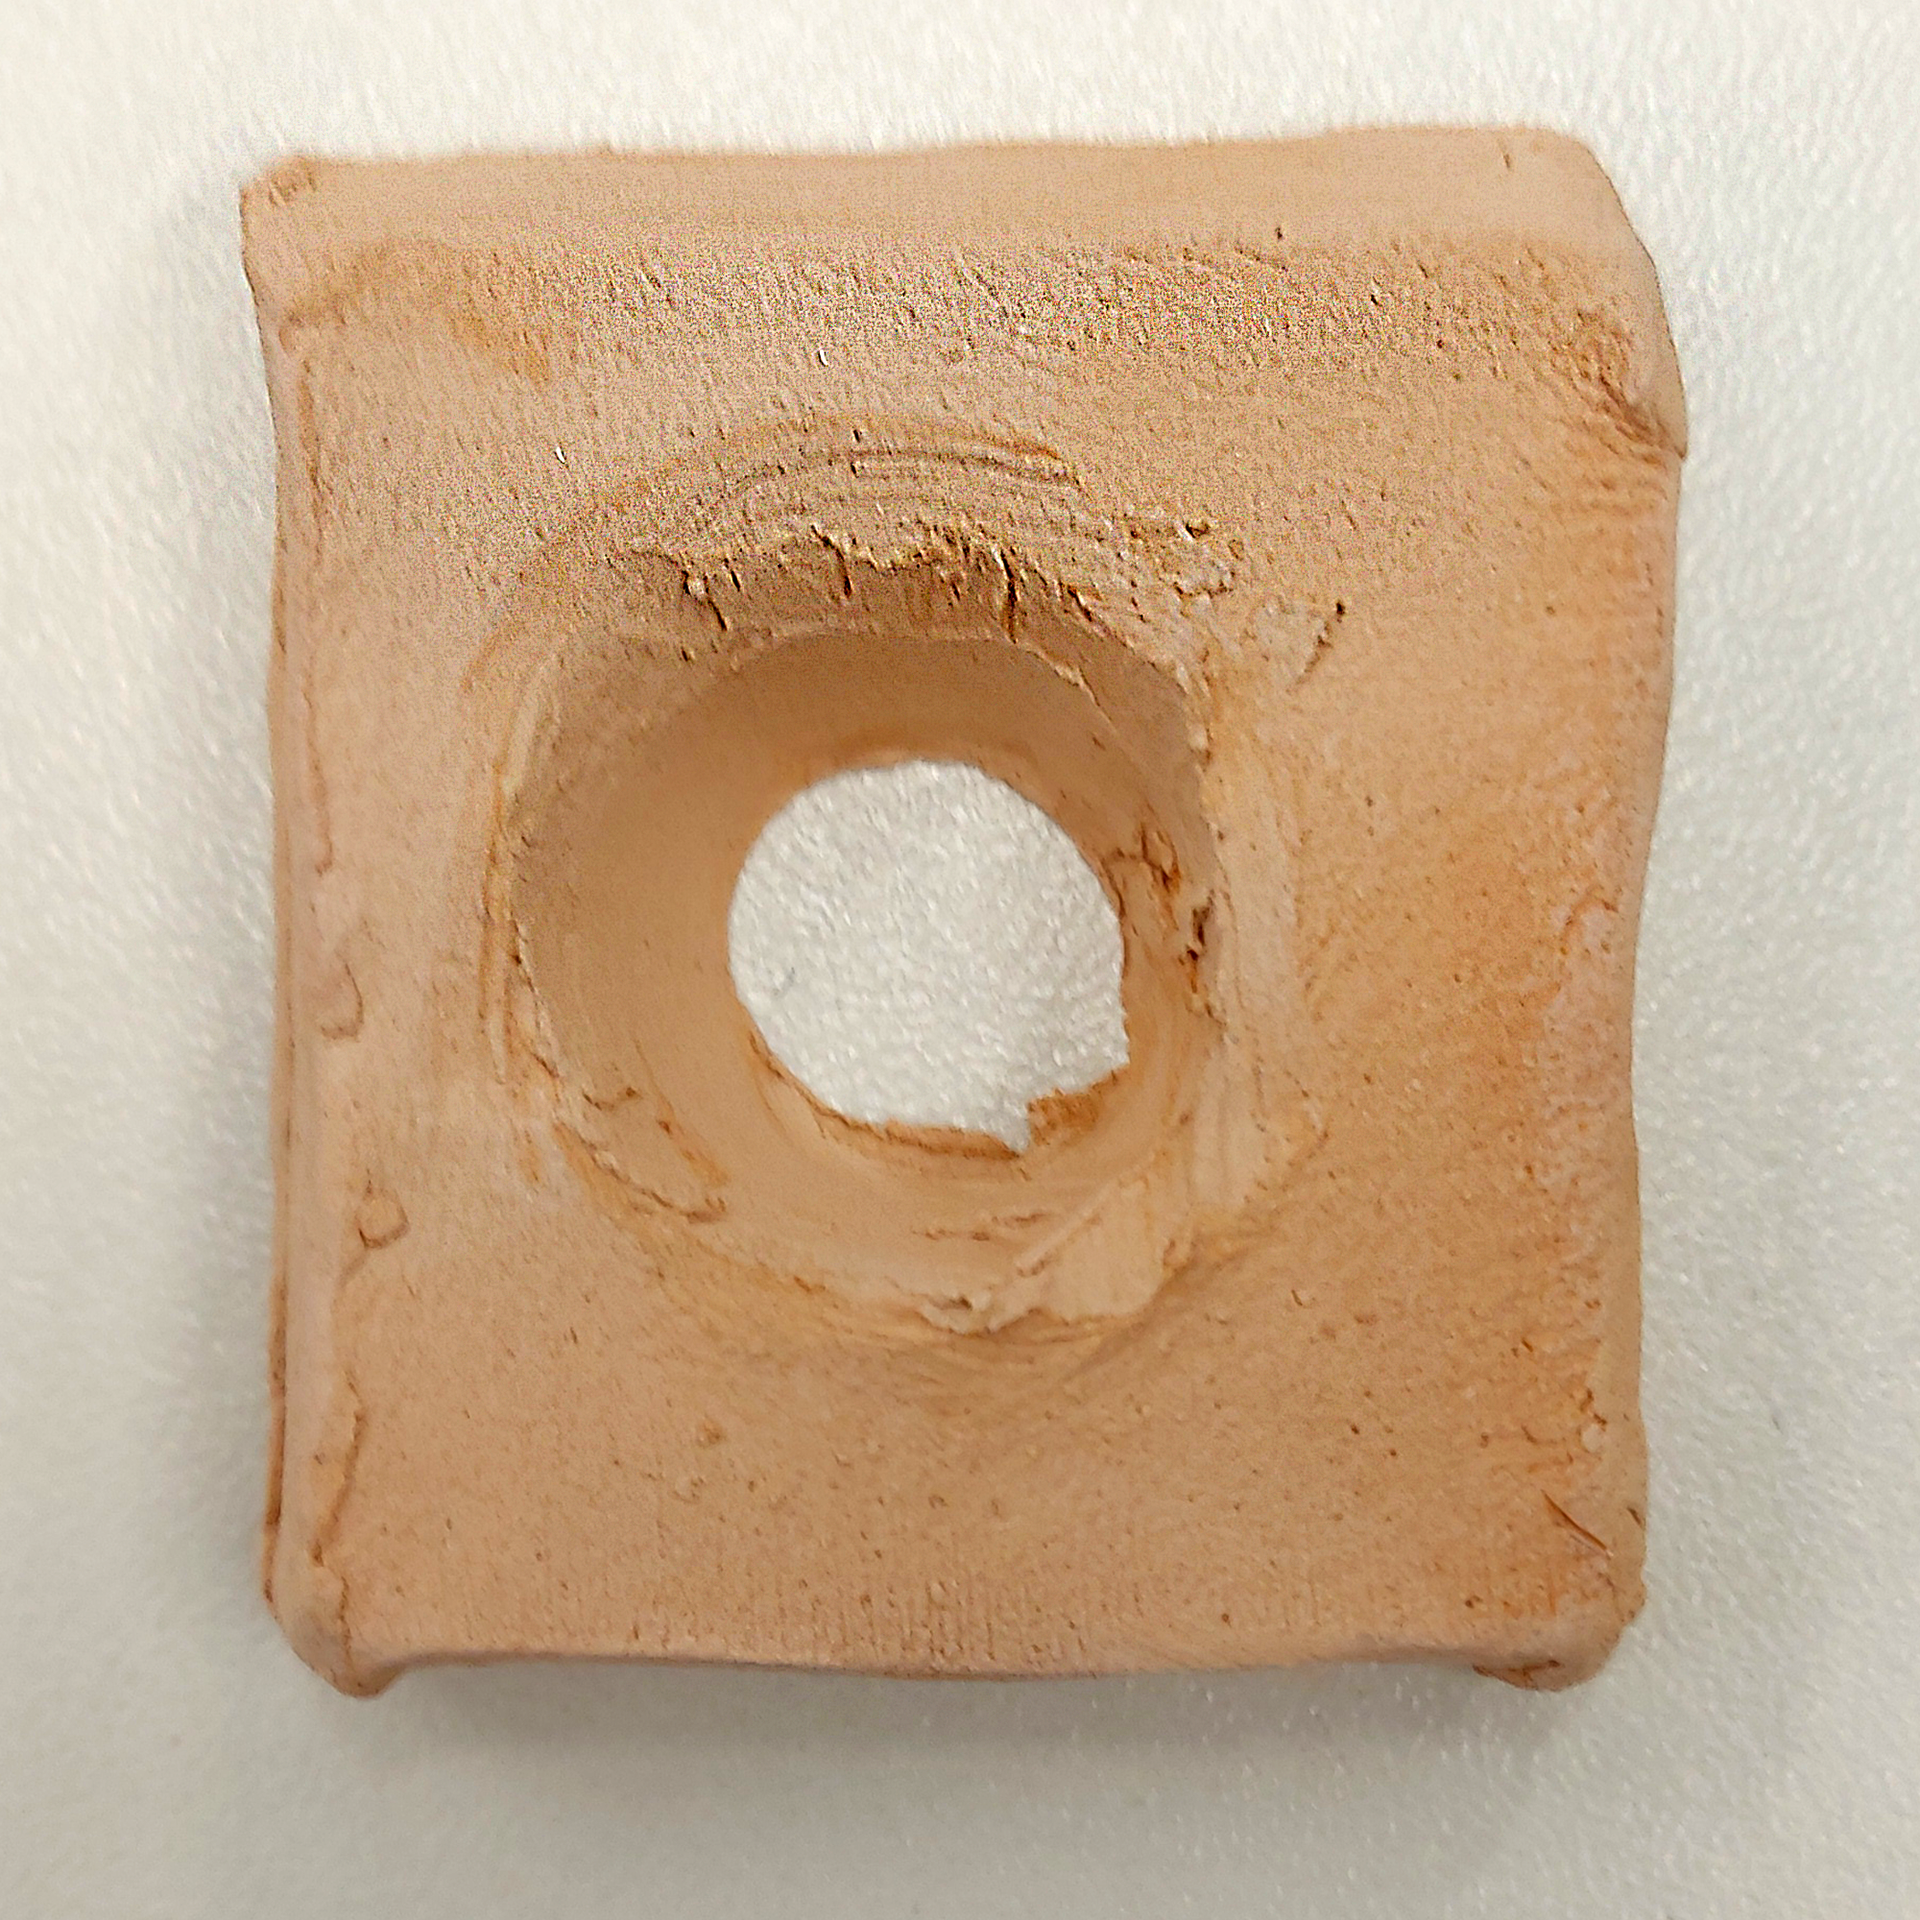

One problem that I found while creating these holes was that sometimes I would scoop out too much clay and the hole would be too big to fit a pencil. If the hole is too big then the pencil is going to fall out of the structure as its not being held tightly. When creating my final piece I am going to use a round pencil as a guide for the holes so that it is more likely to be held in by more pencils compared to a triangular shaped pencil. One thing I want to change for the final piece is designing the hole placement before I make it so I know theres a spot for all the pencils to go and that it fits together easily.
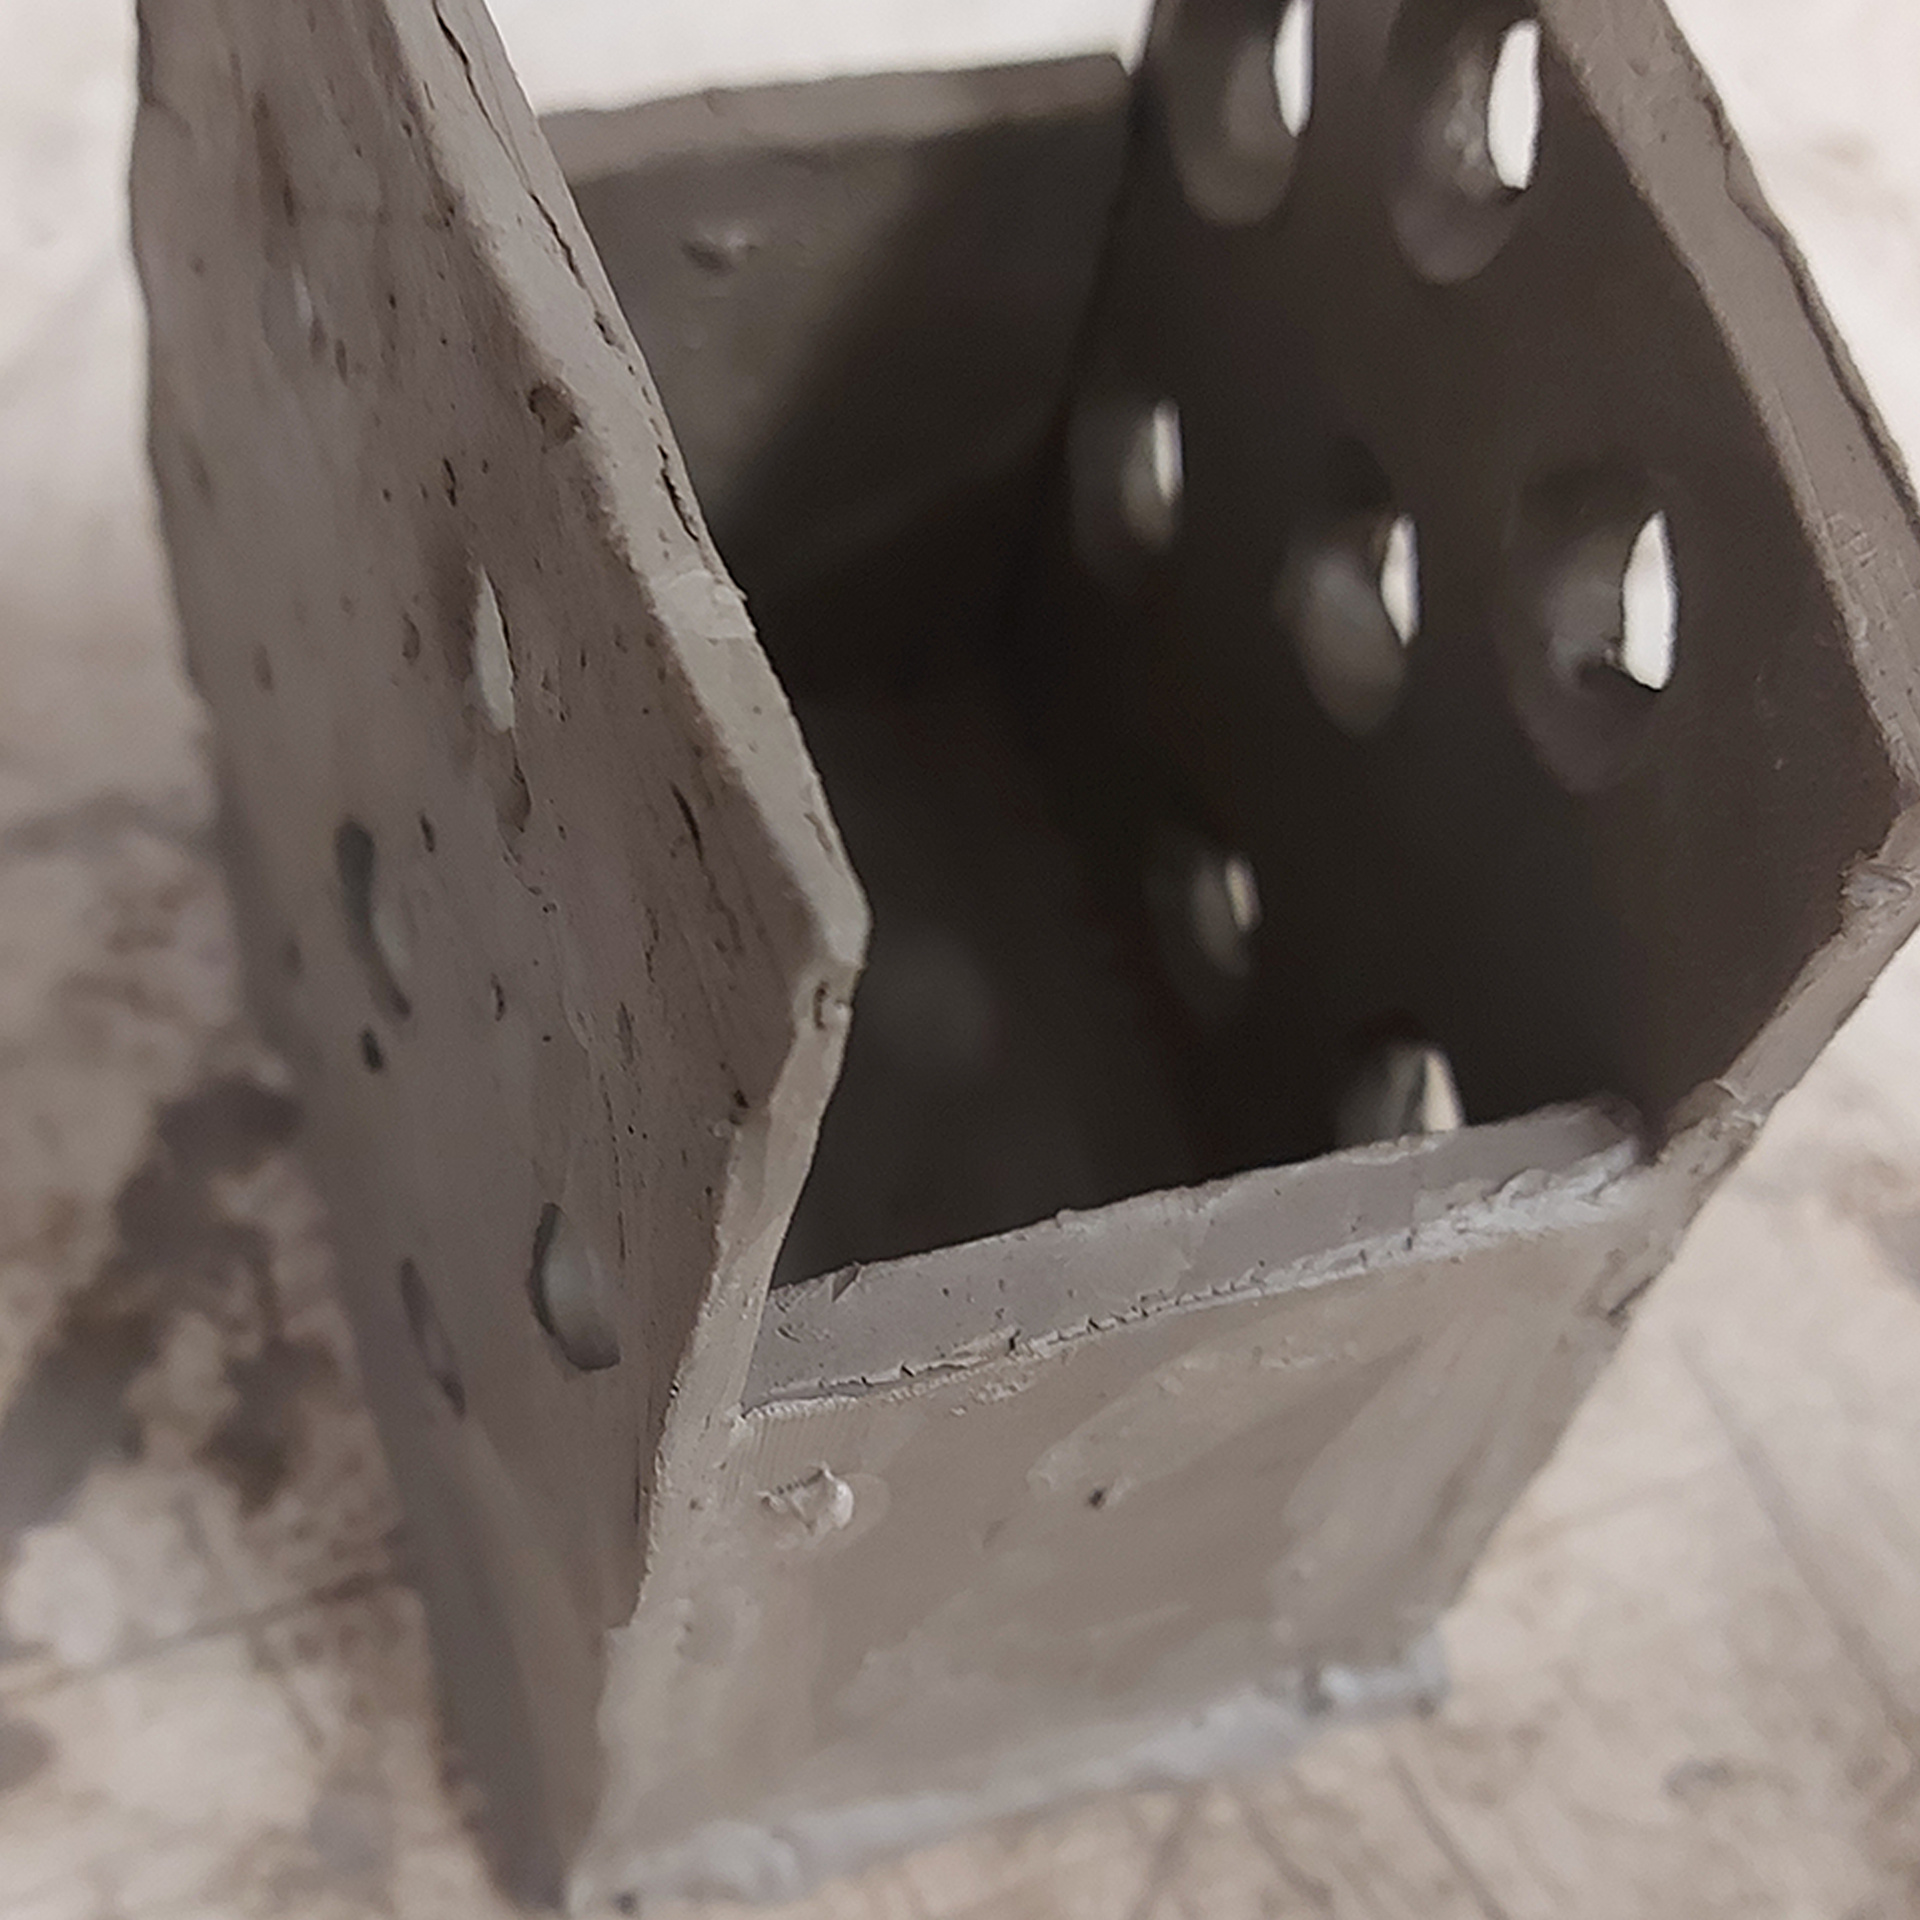
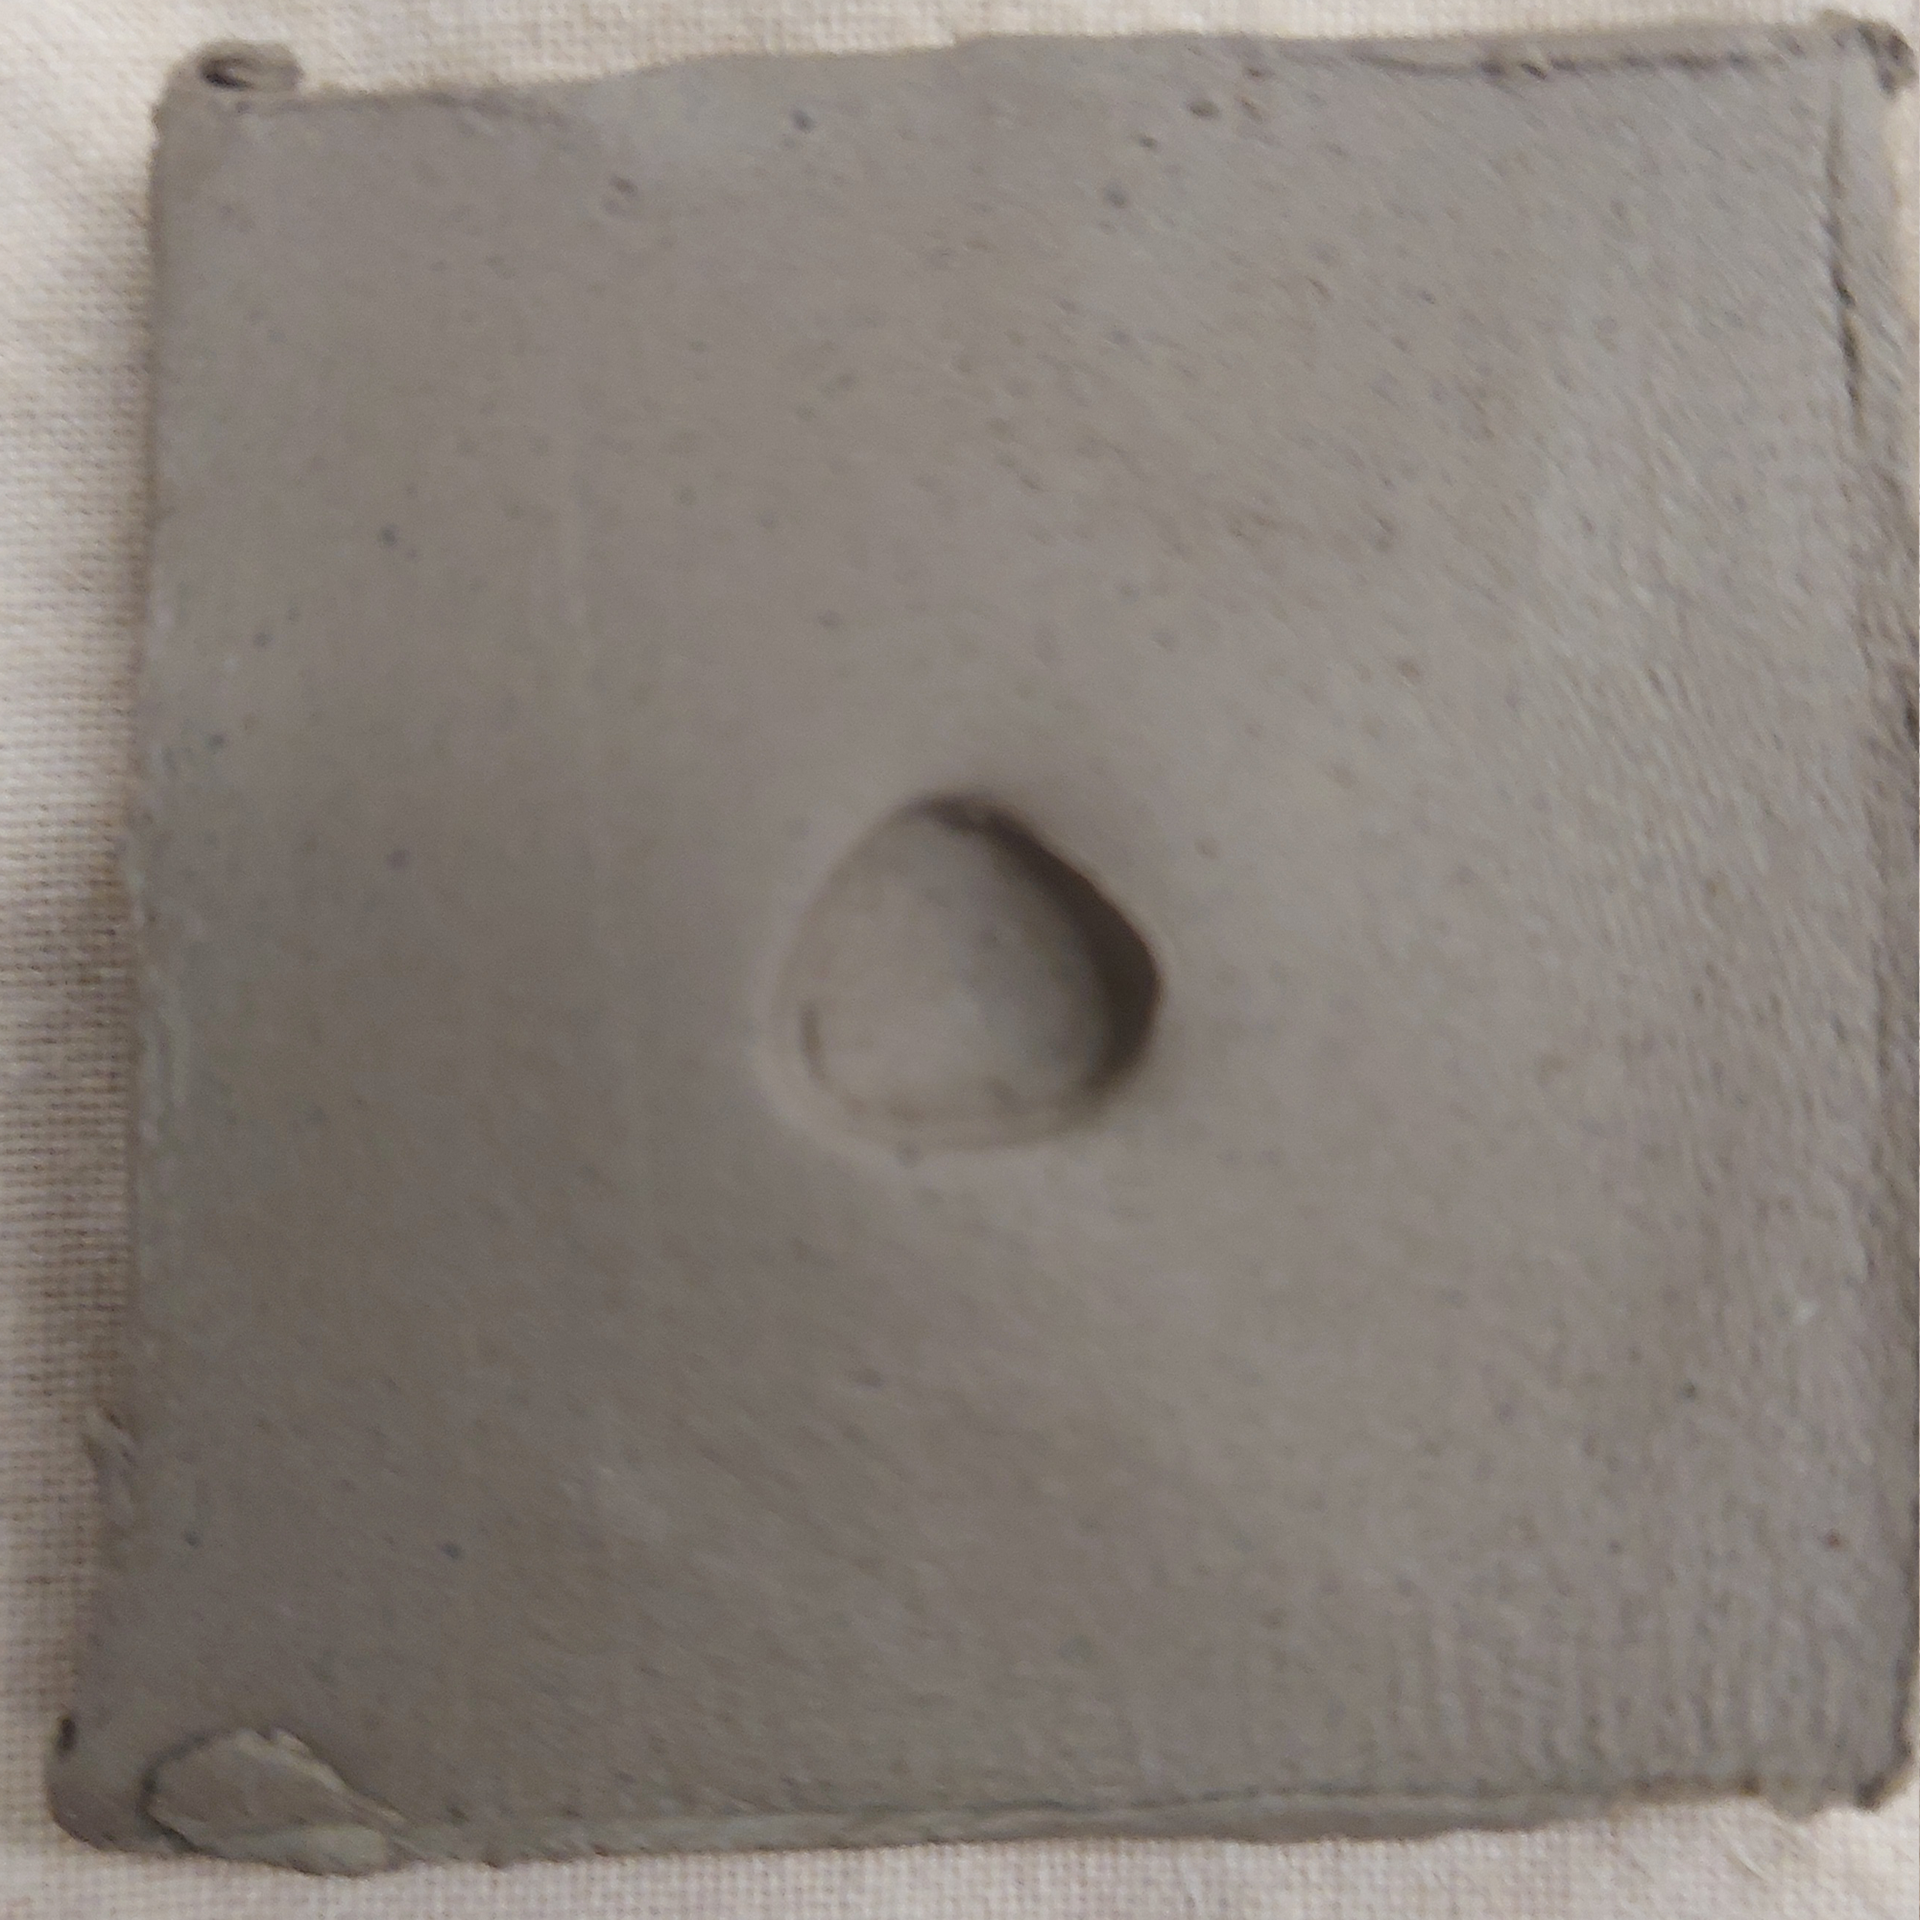
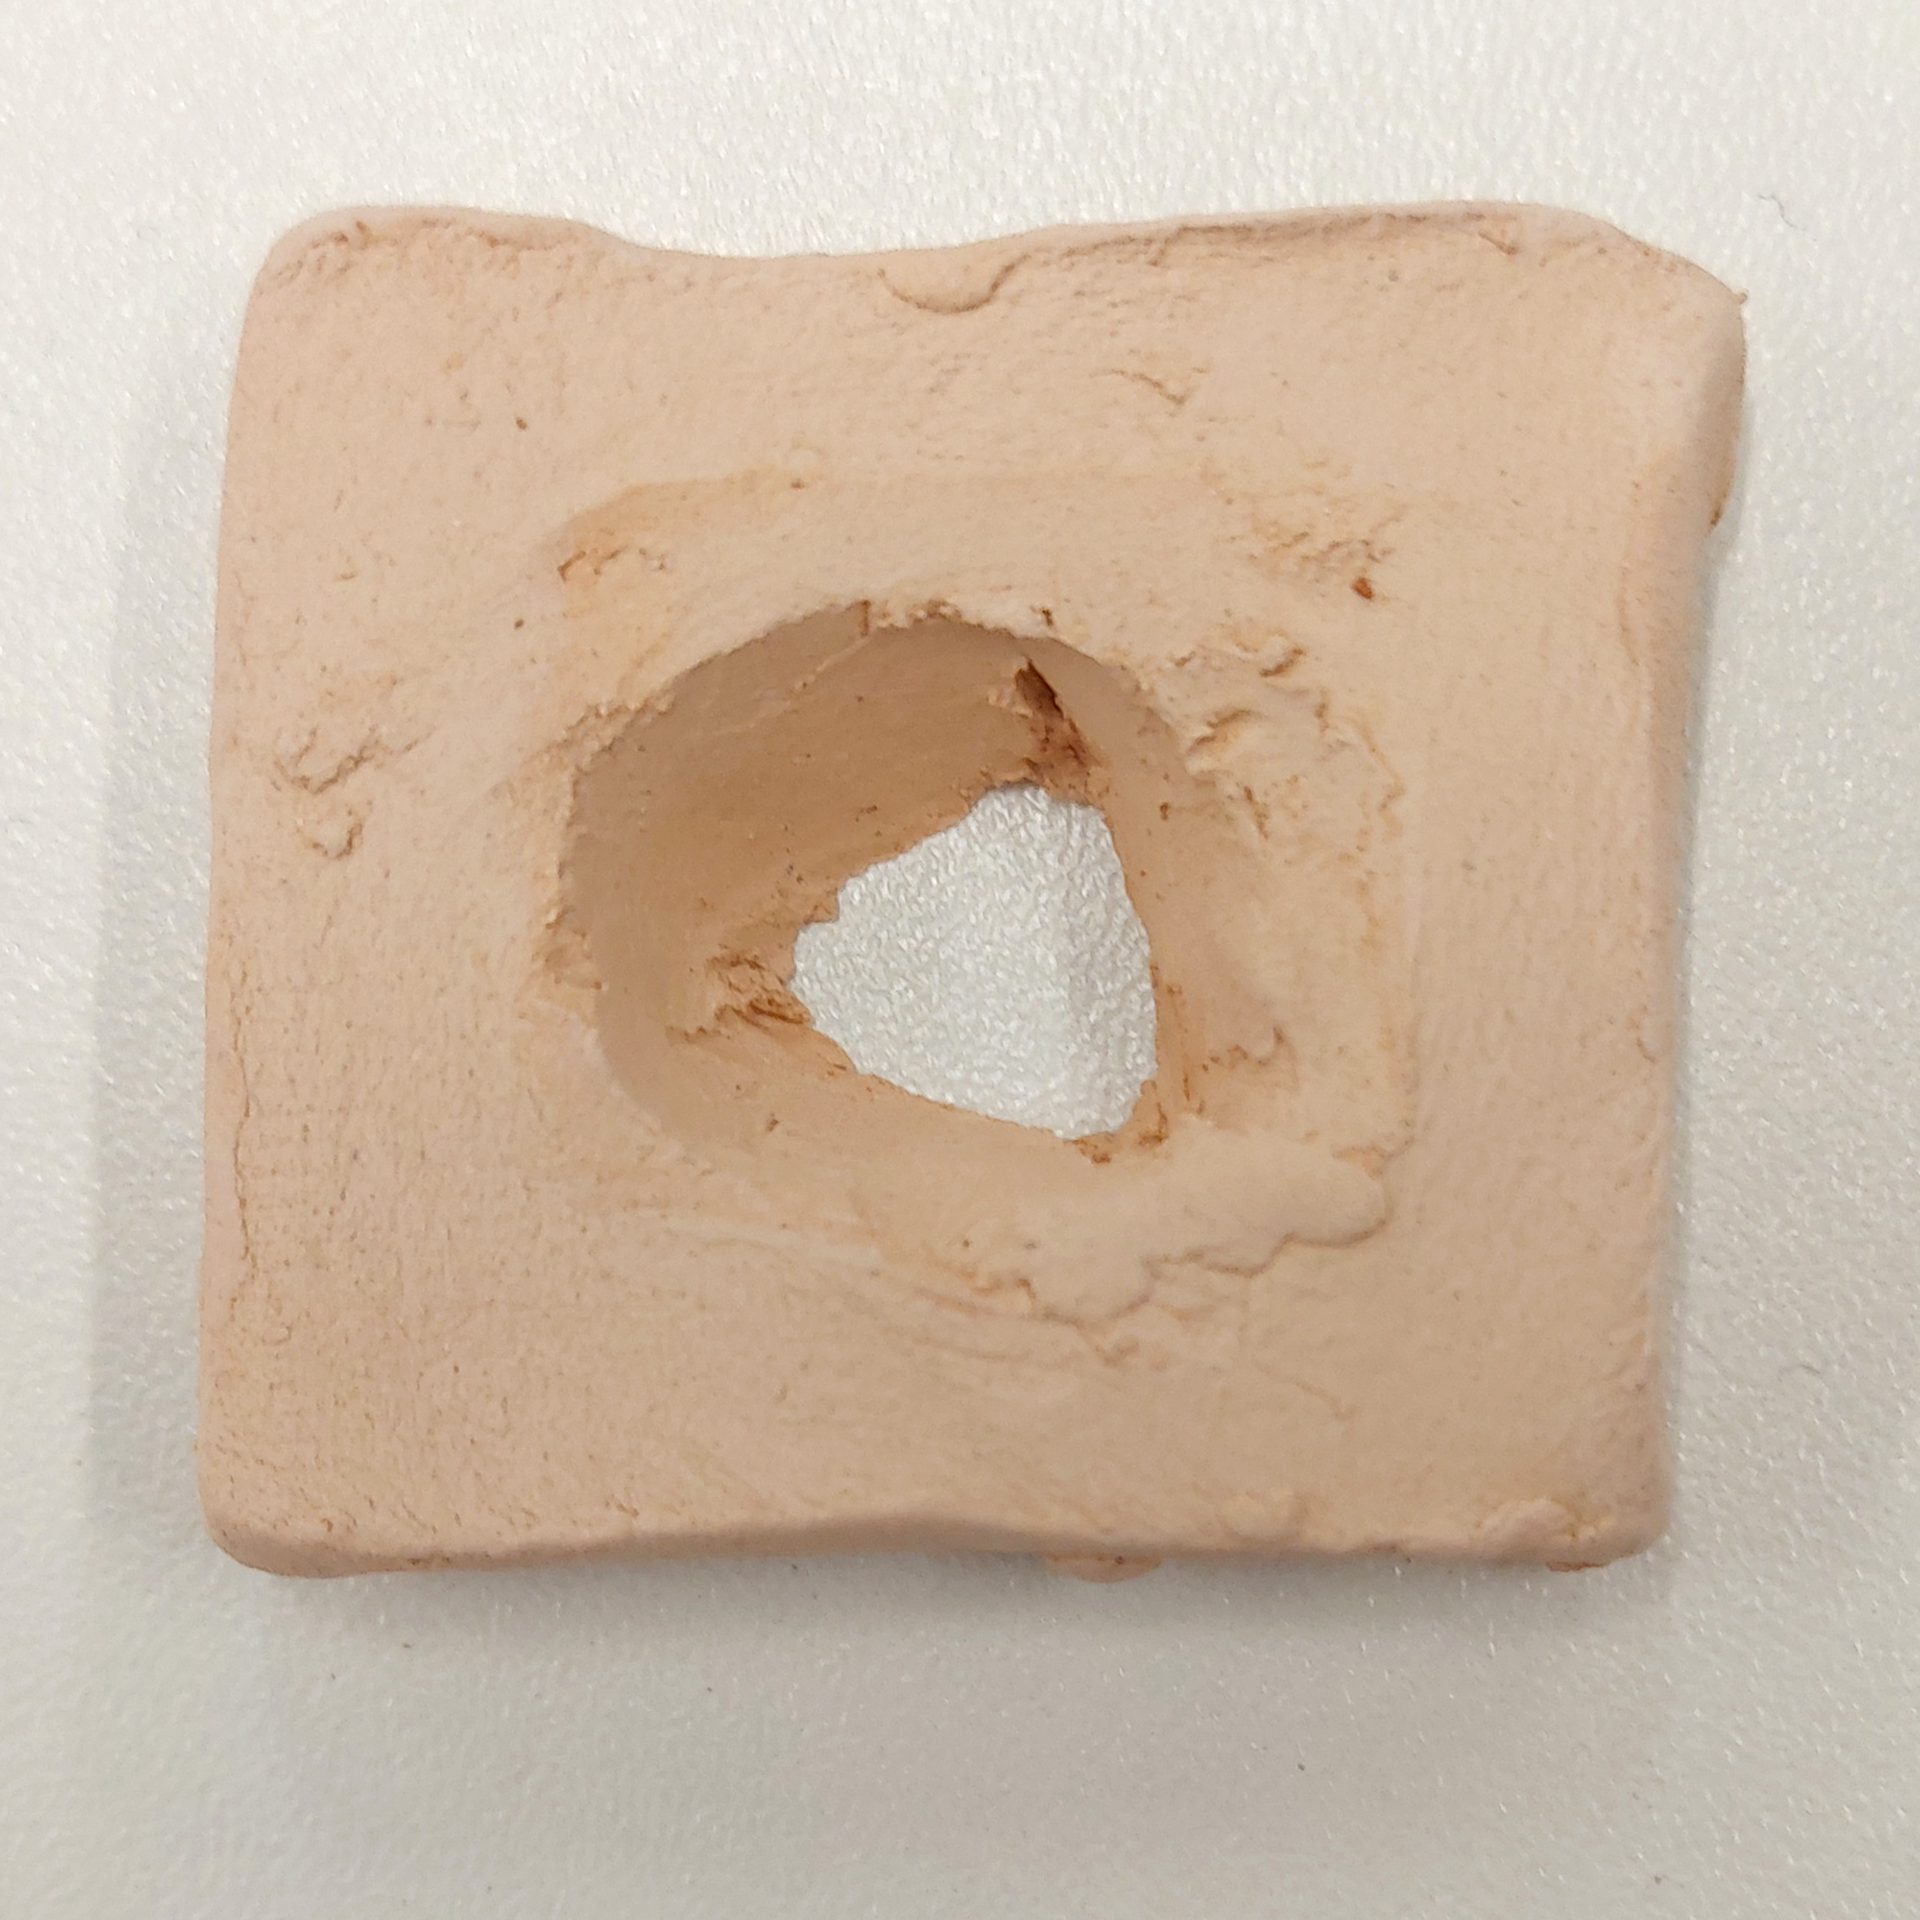
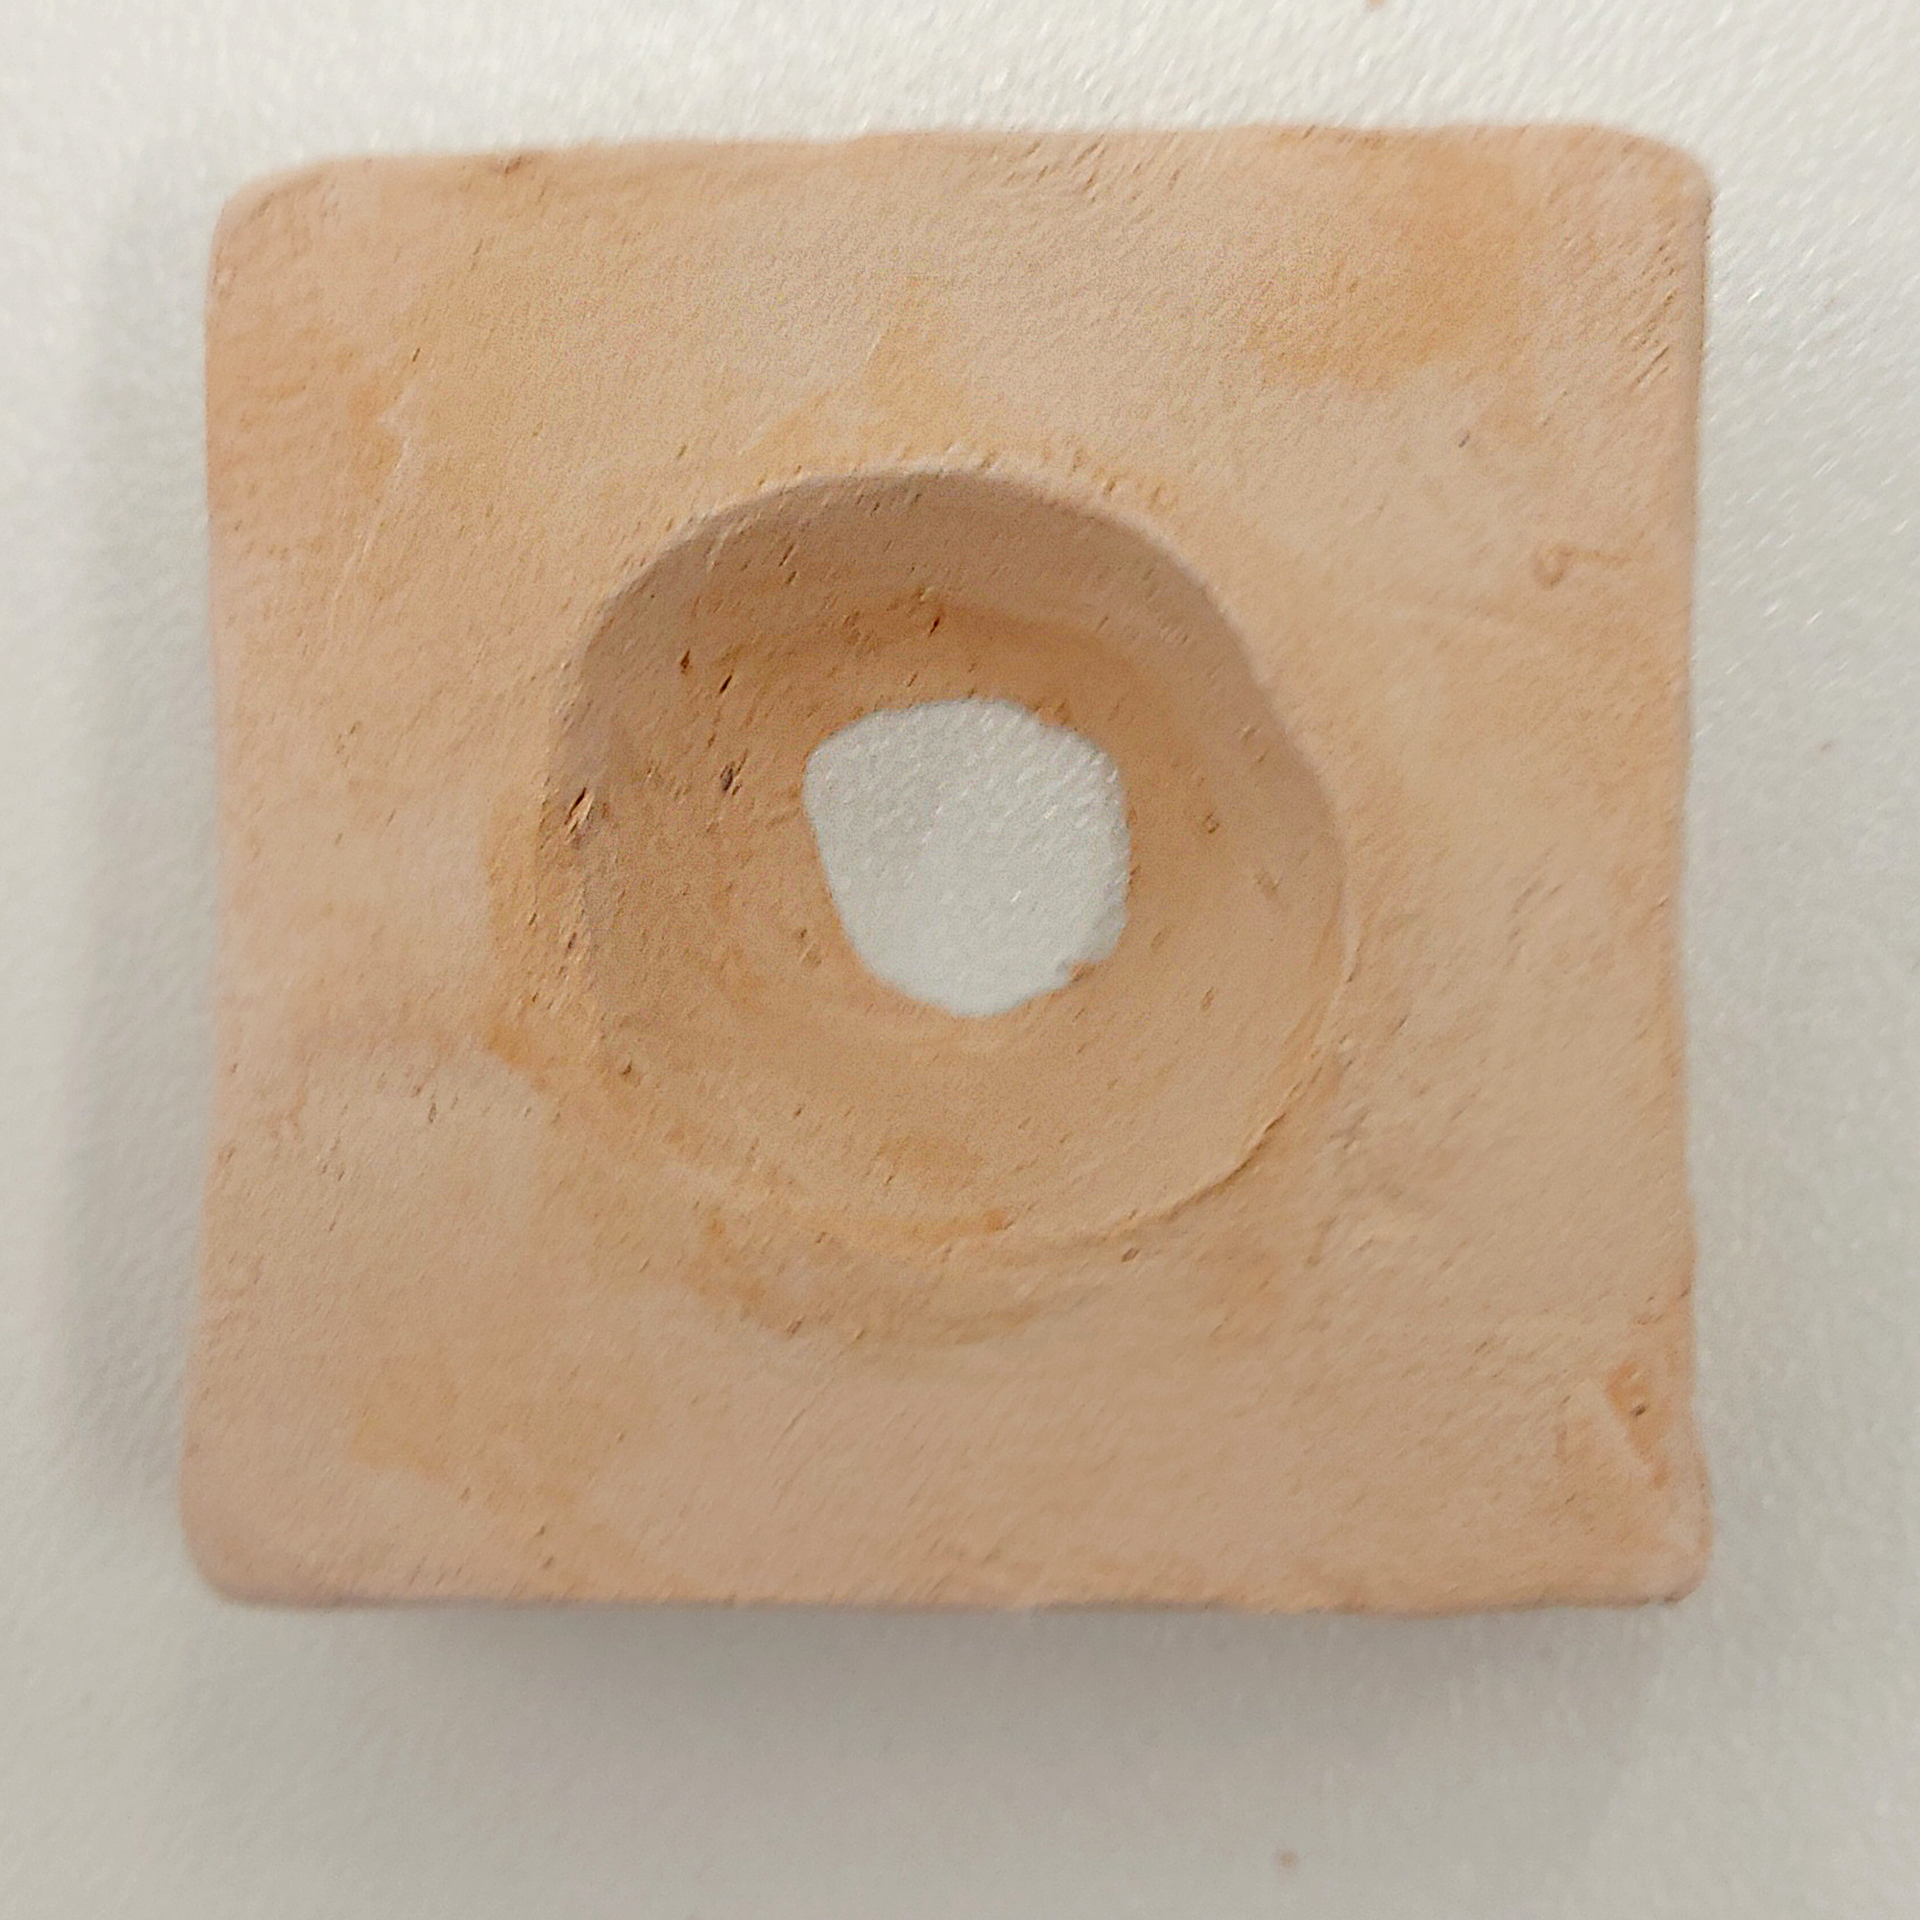
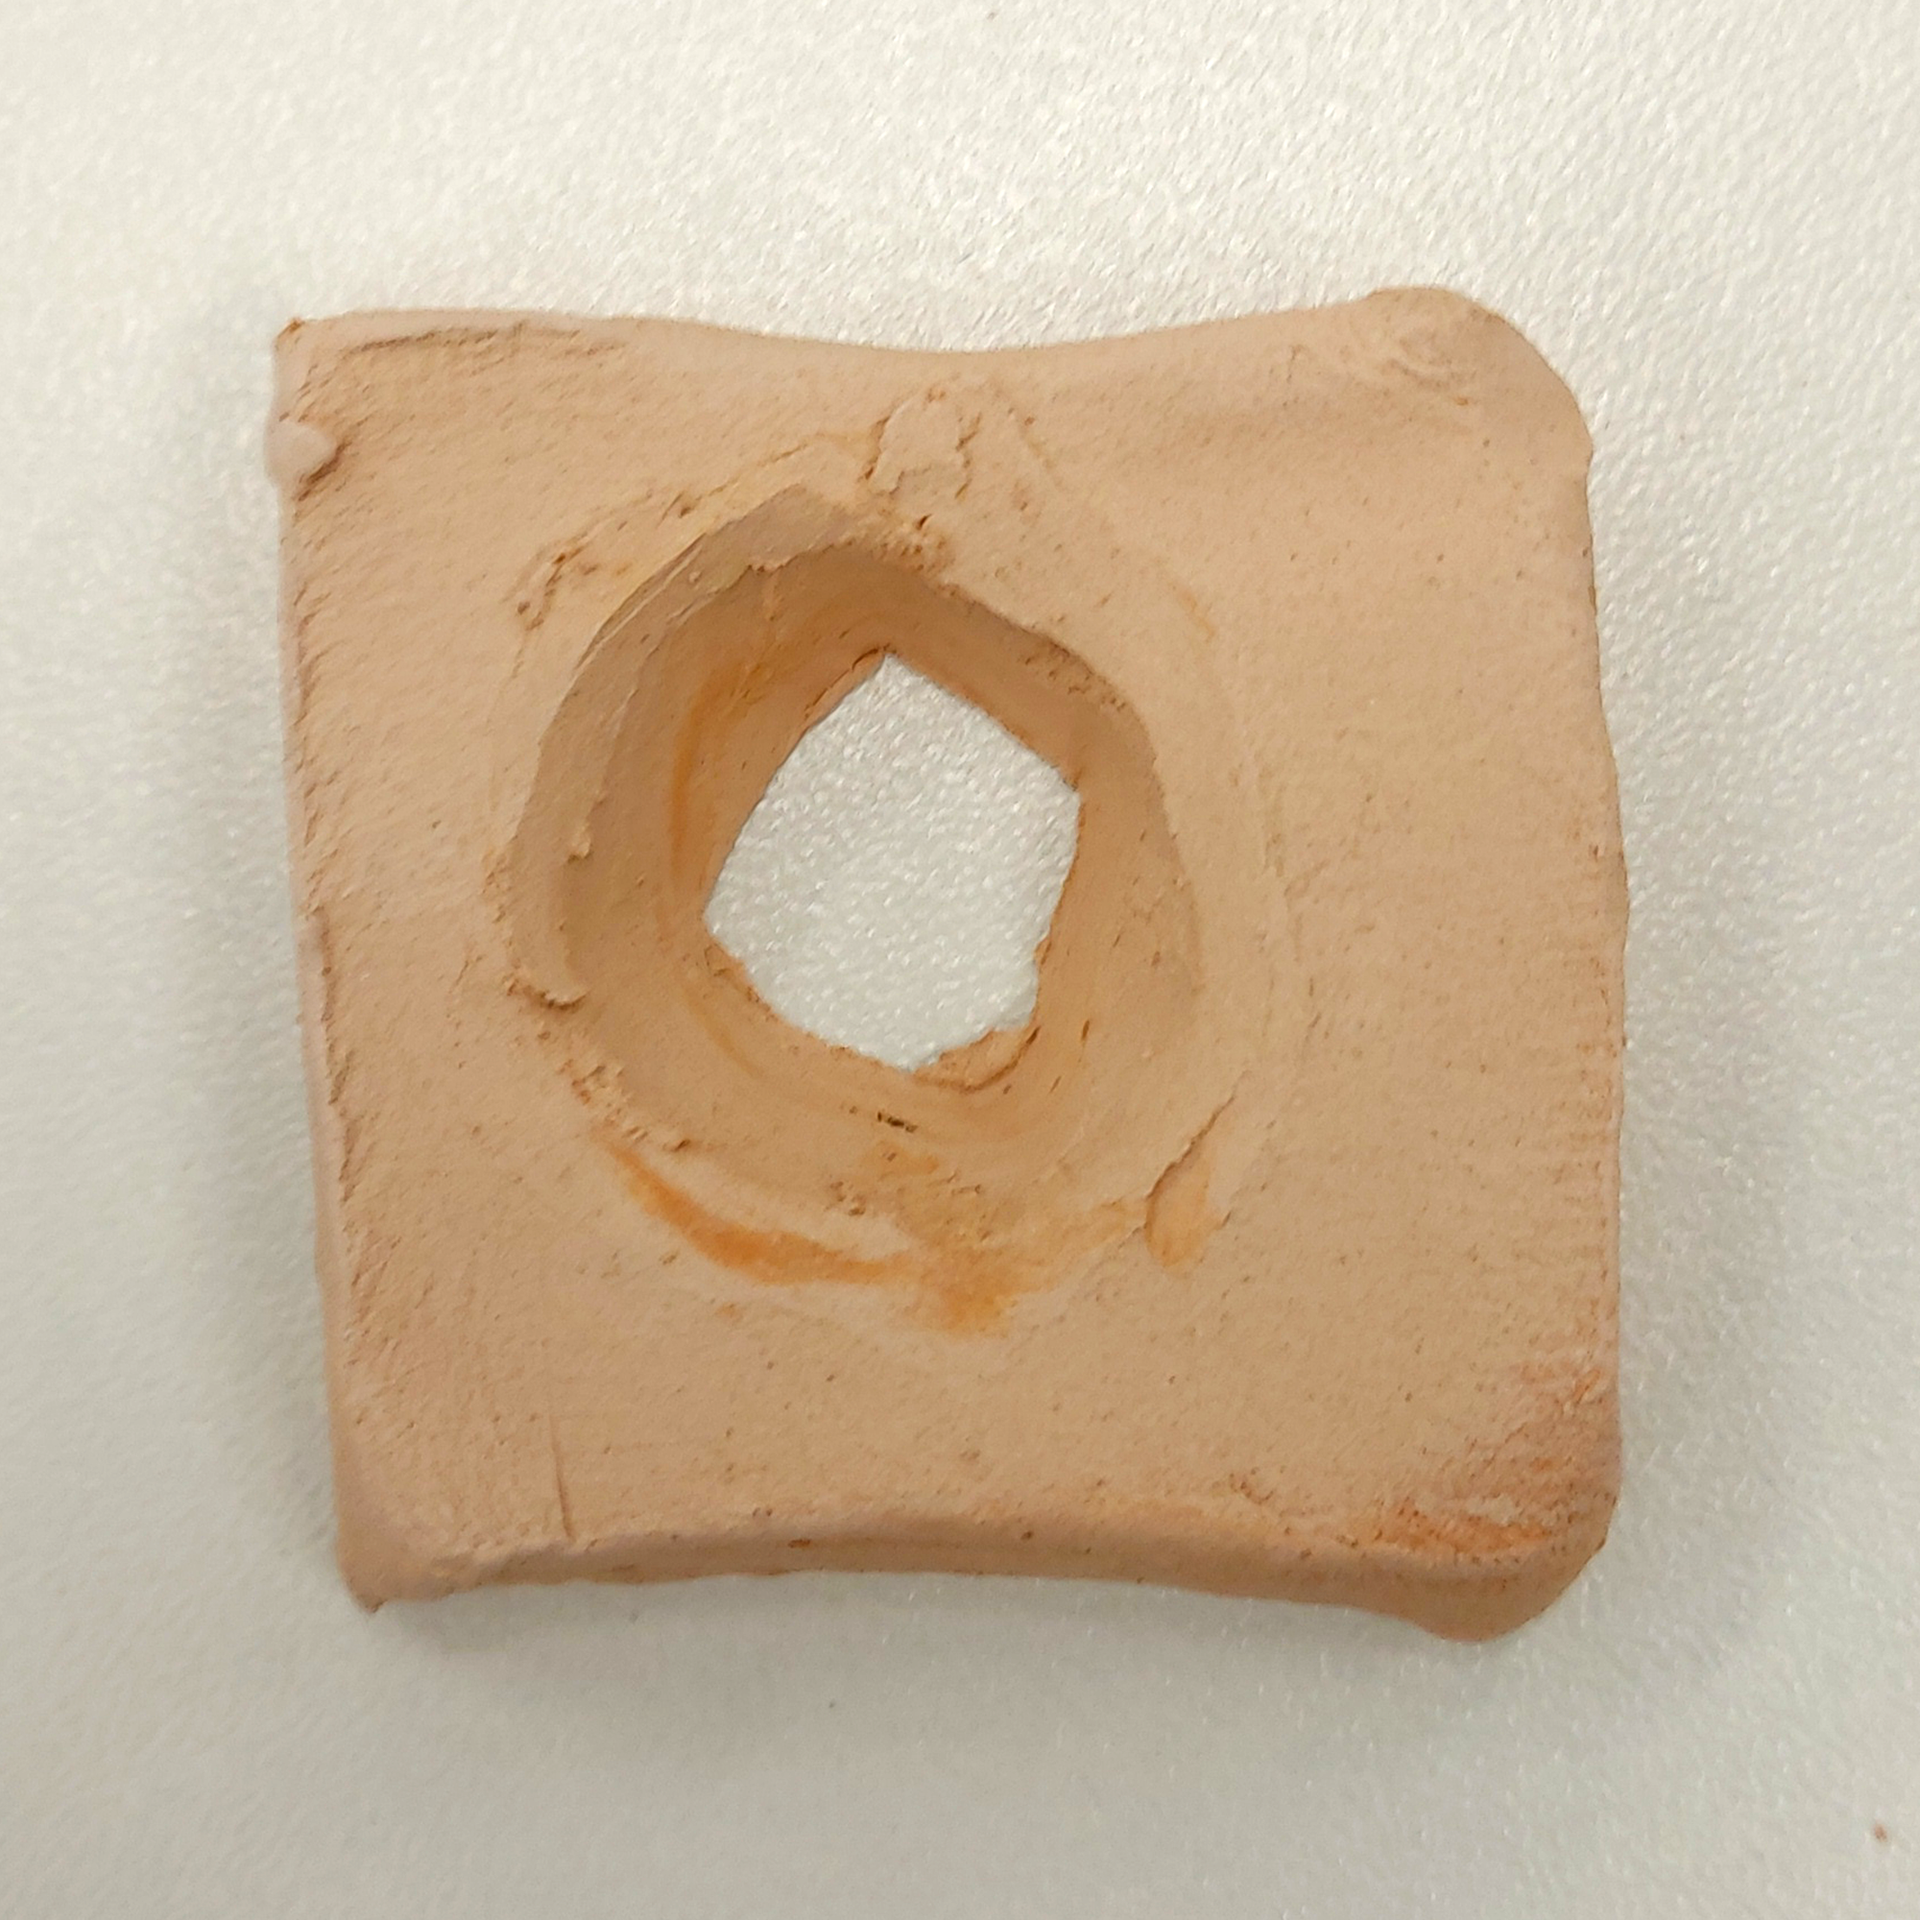
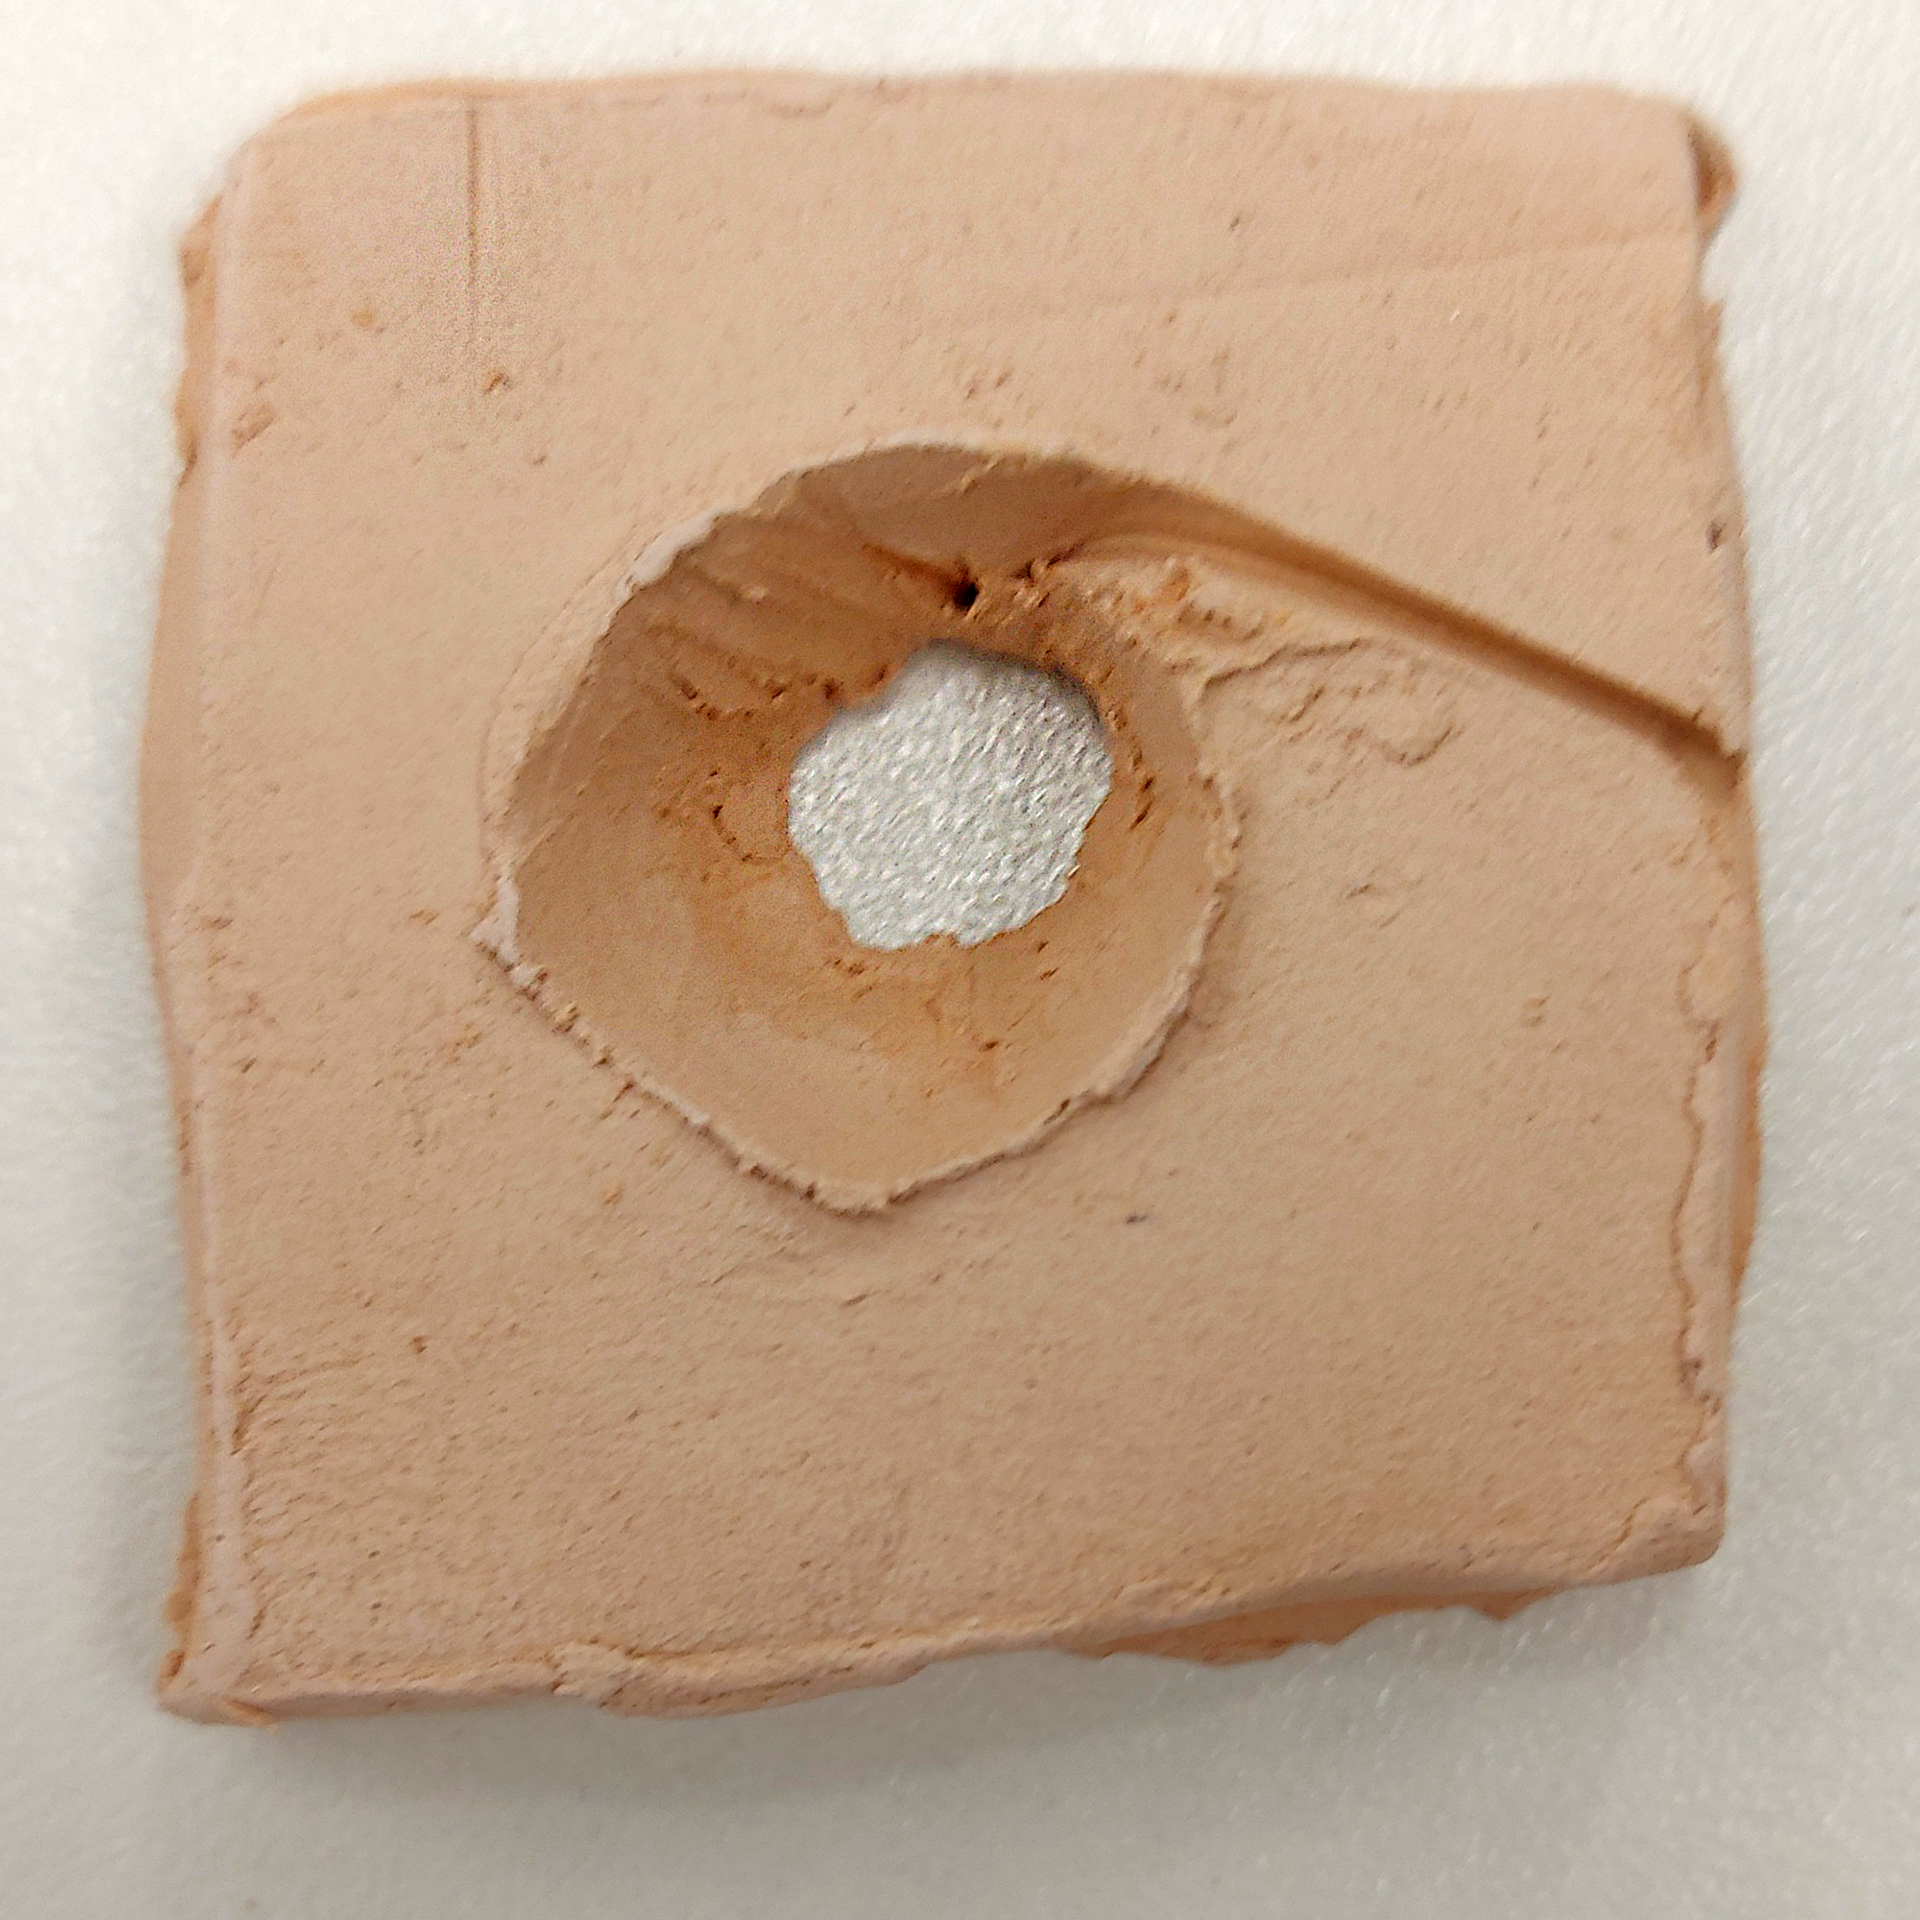
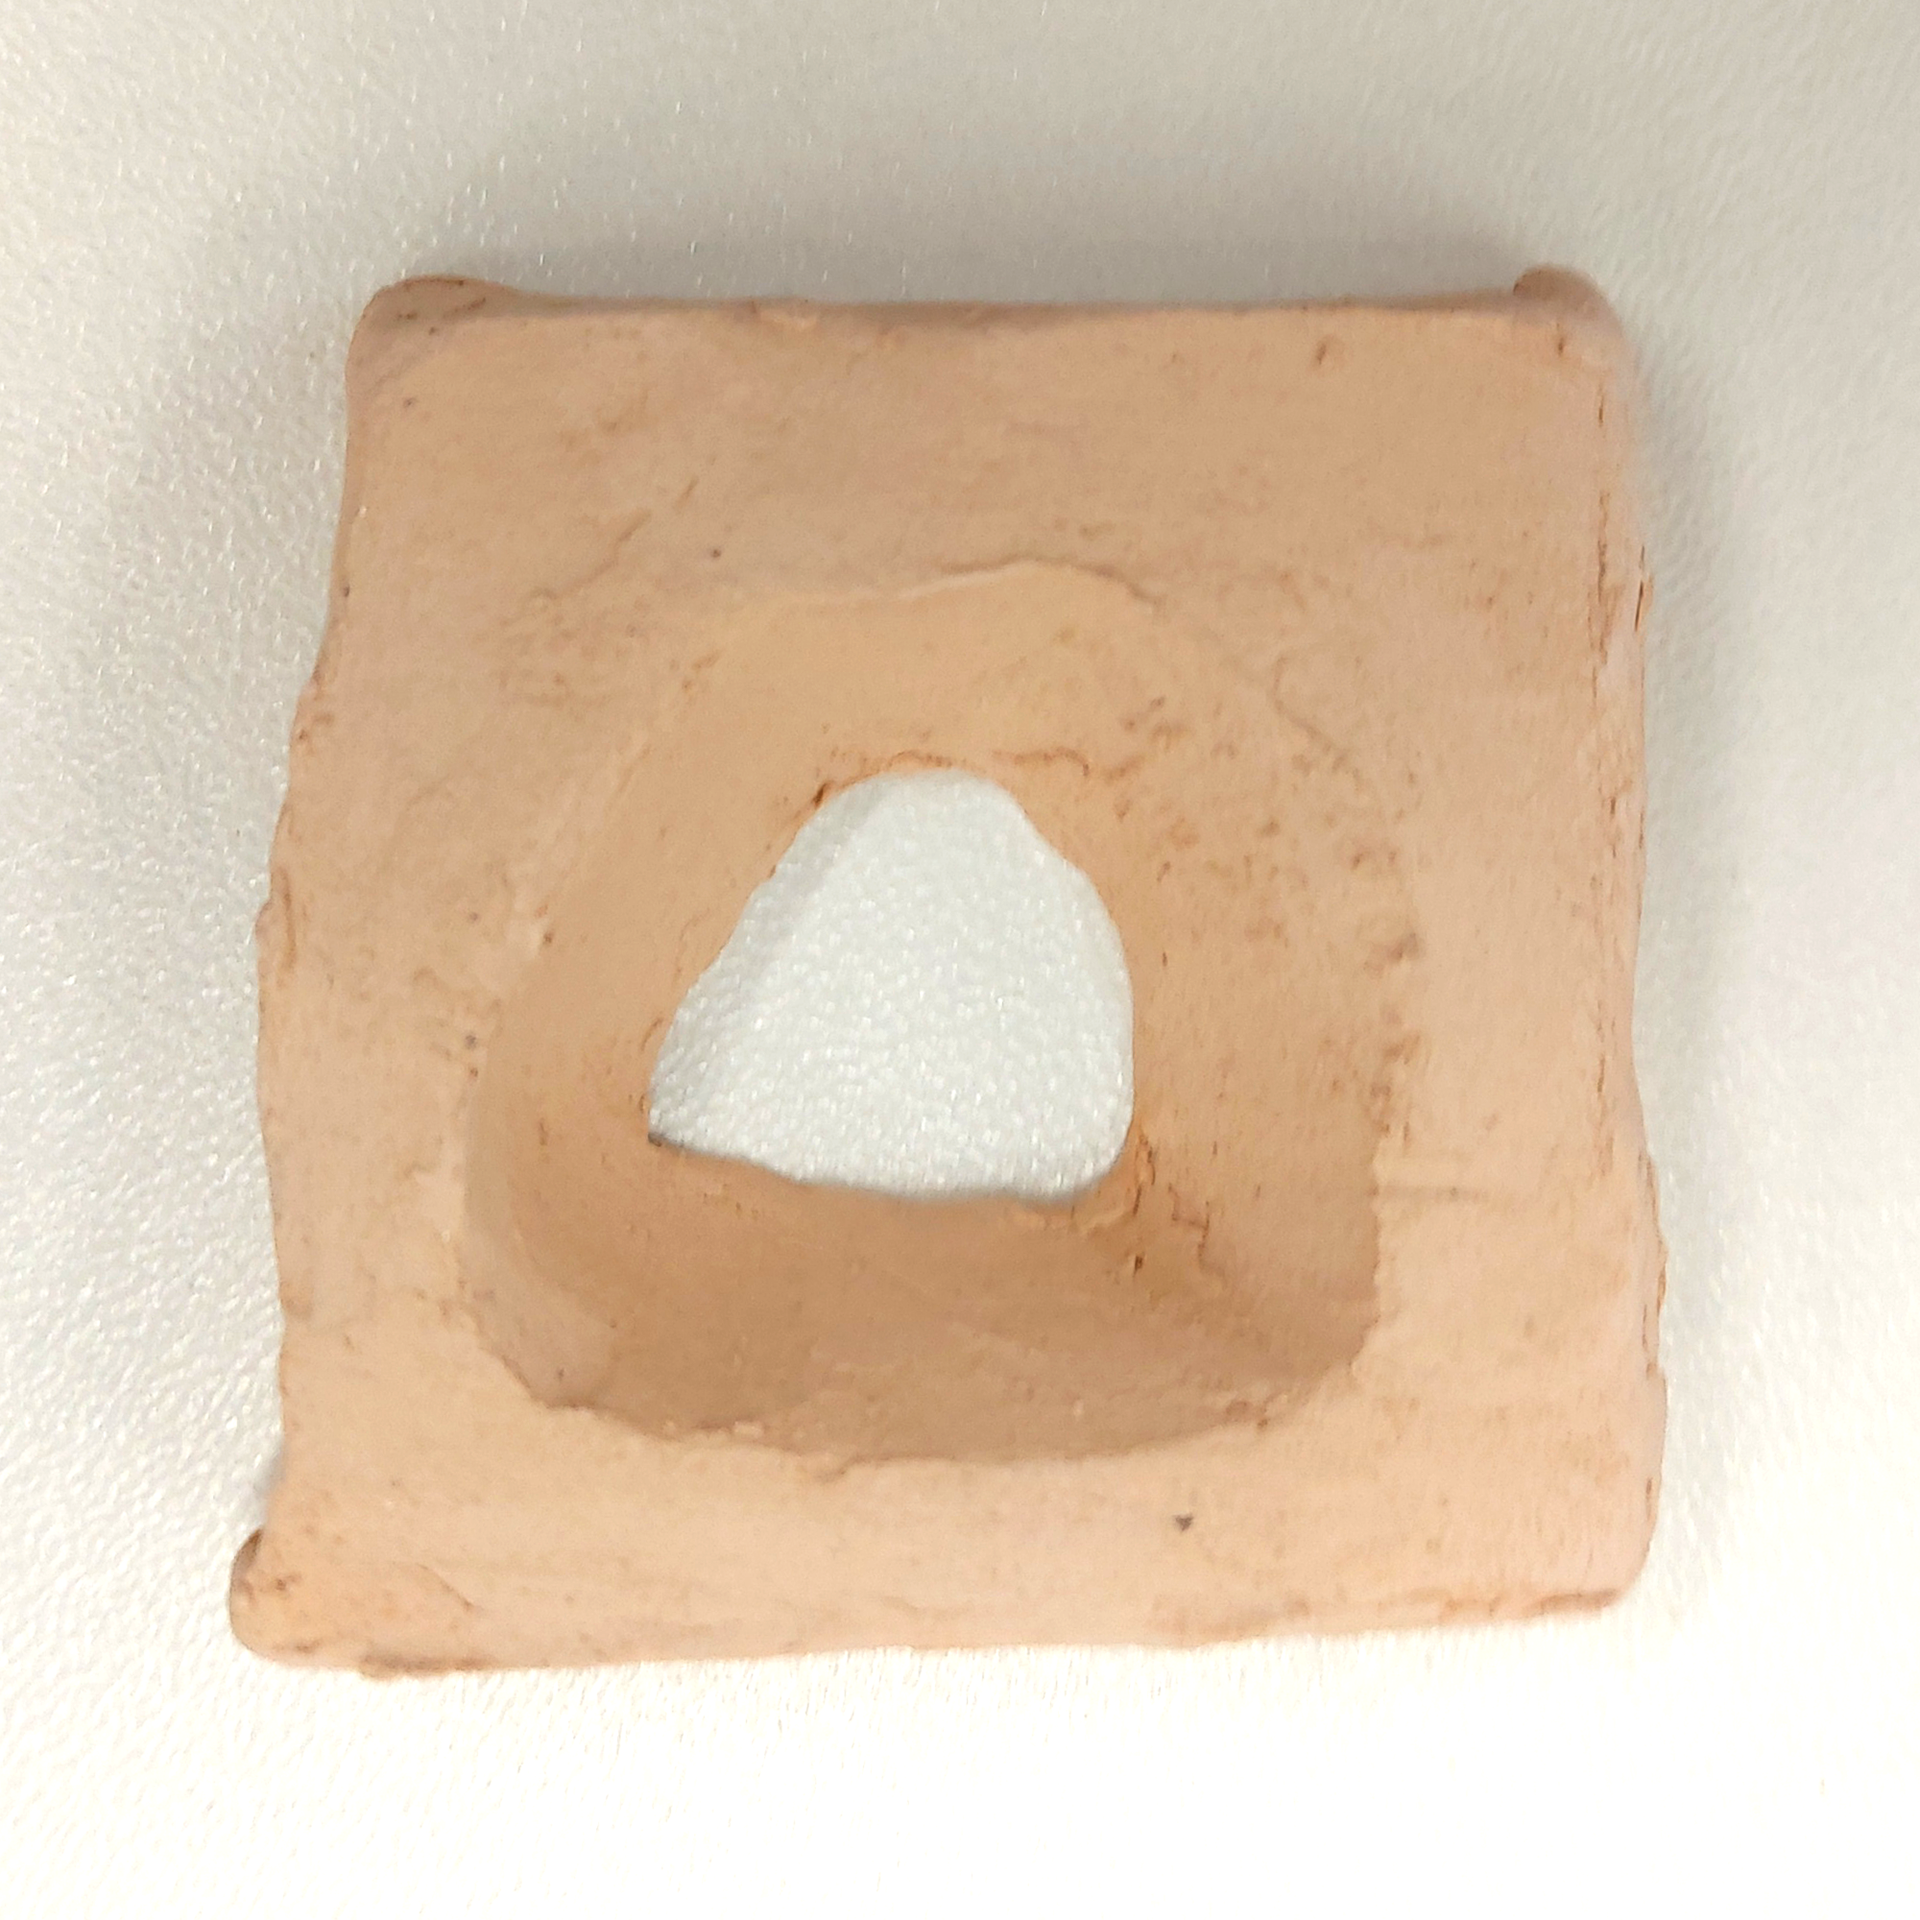
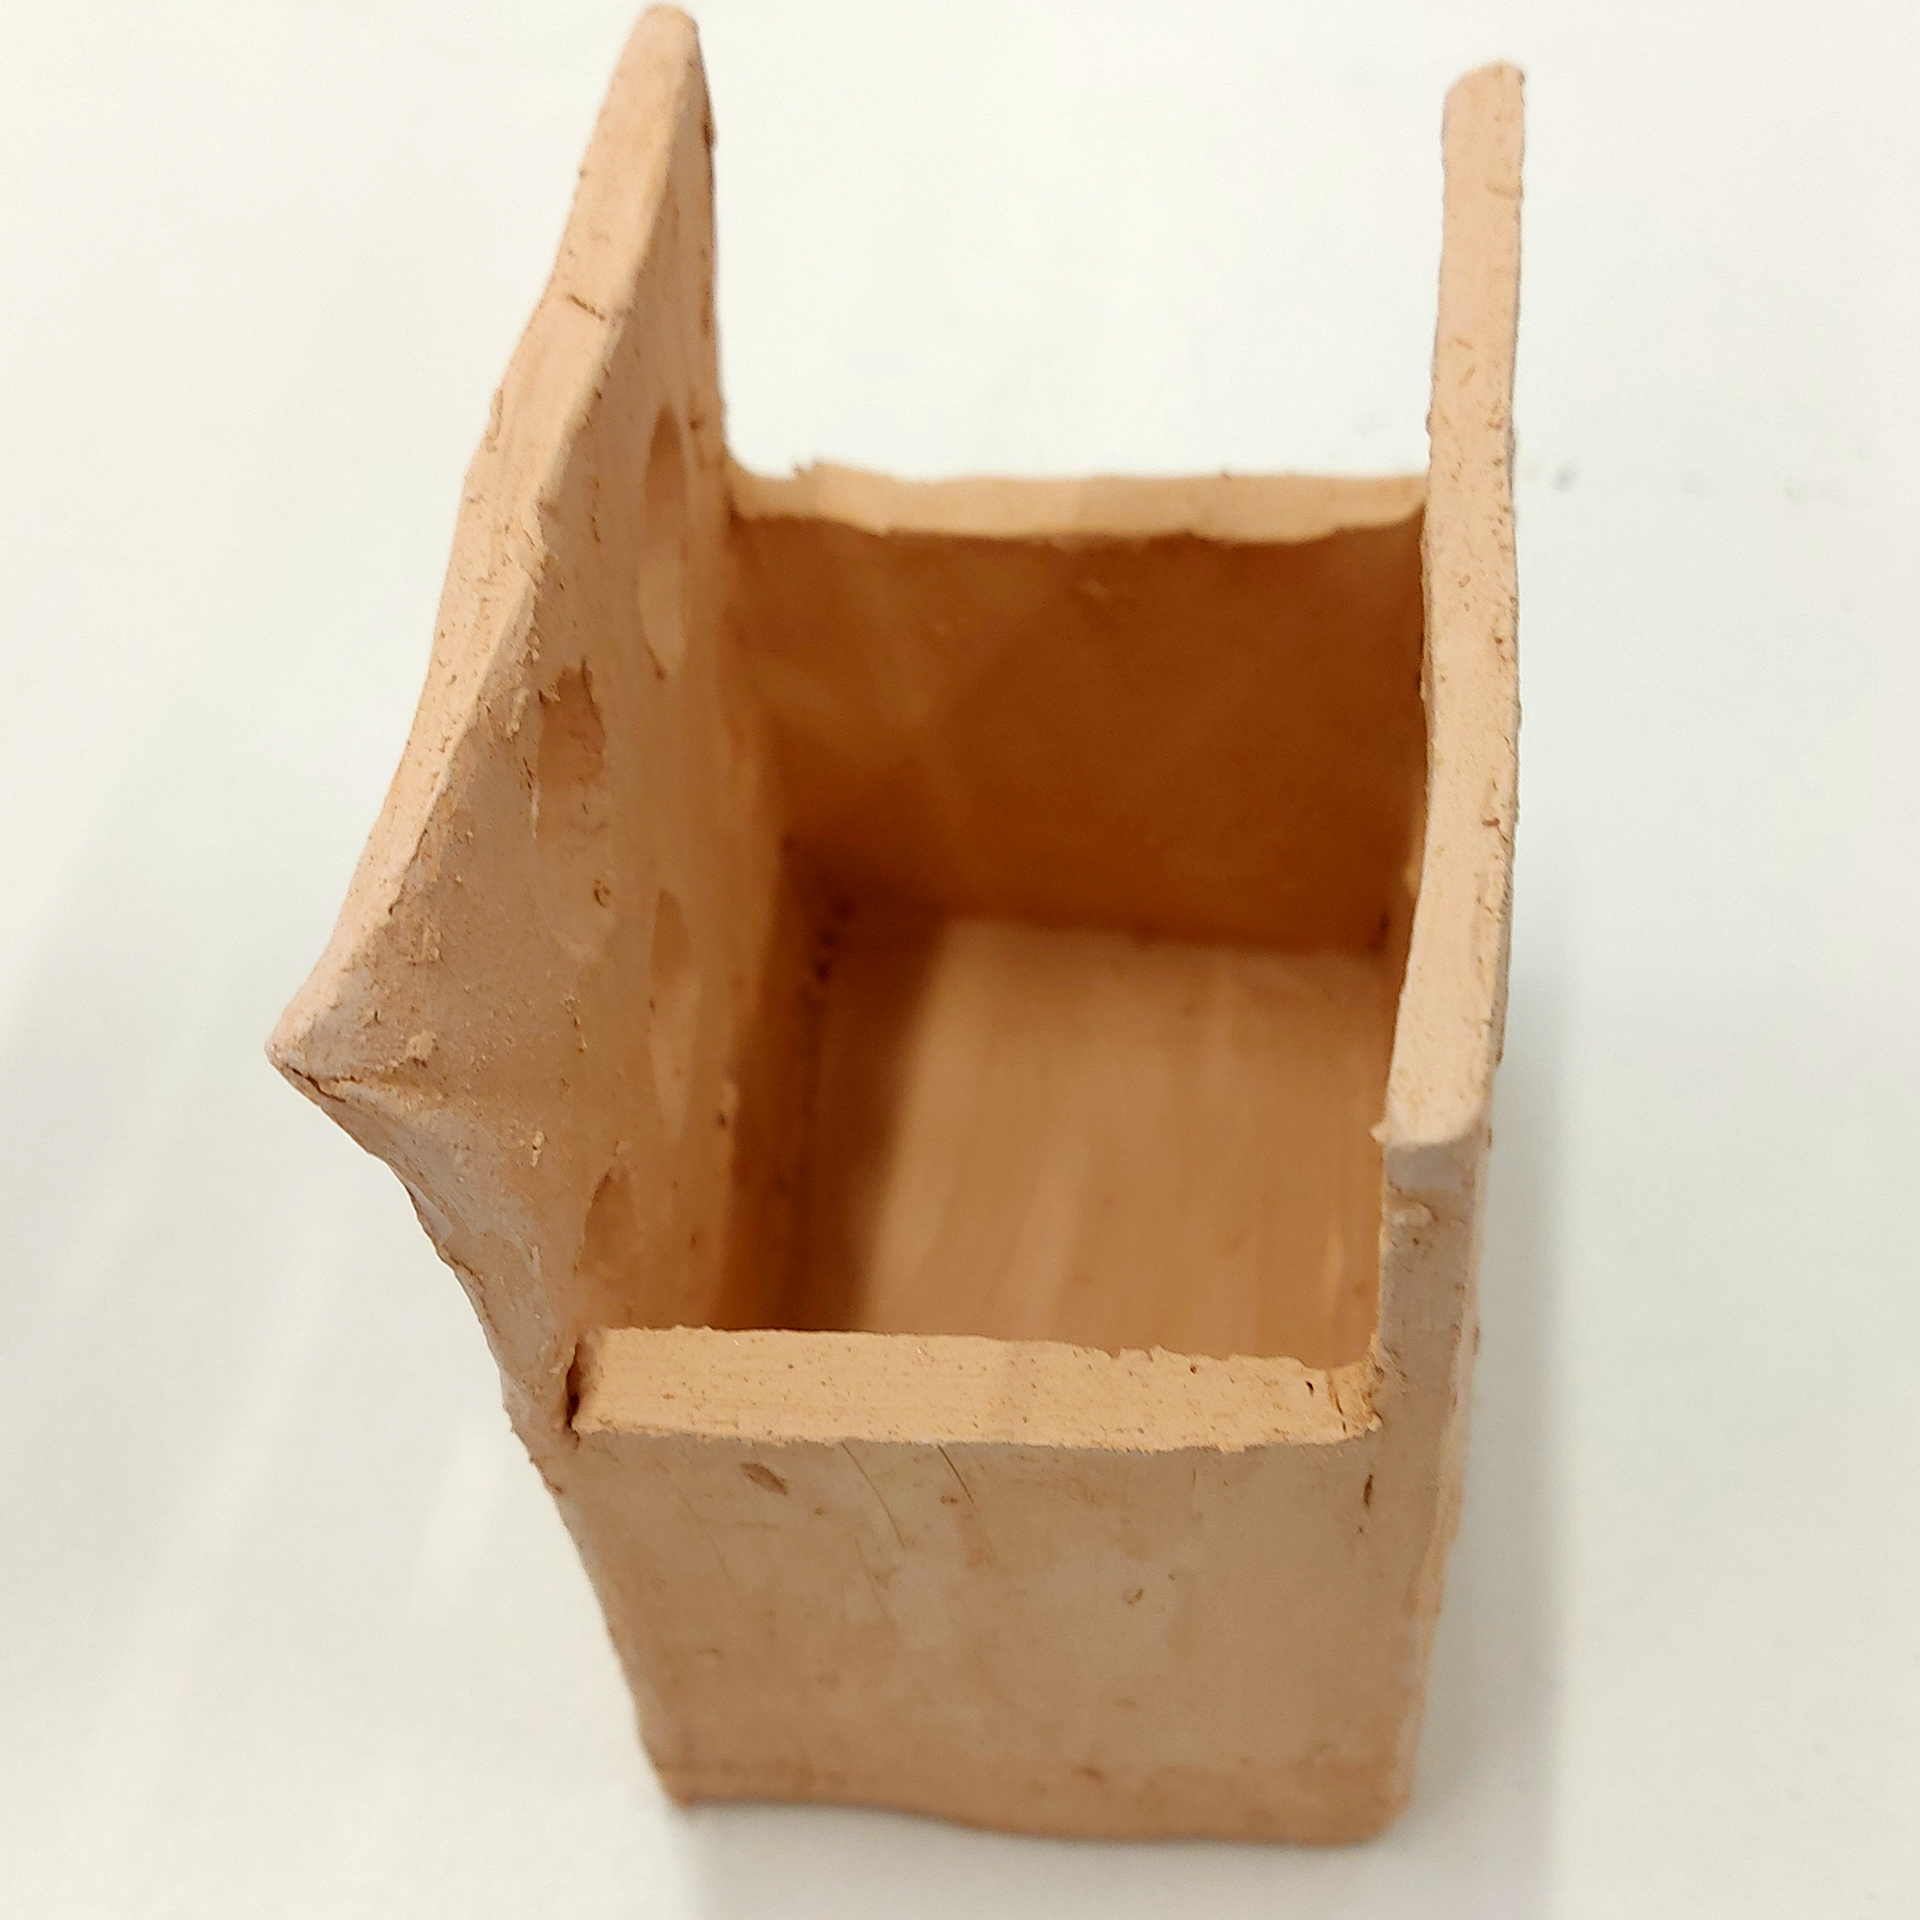
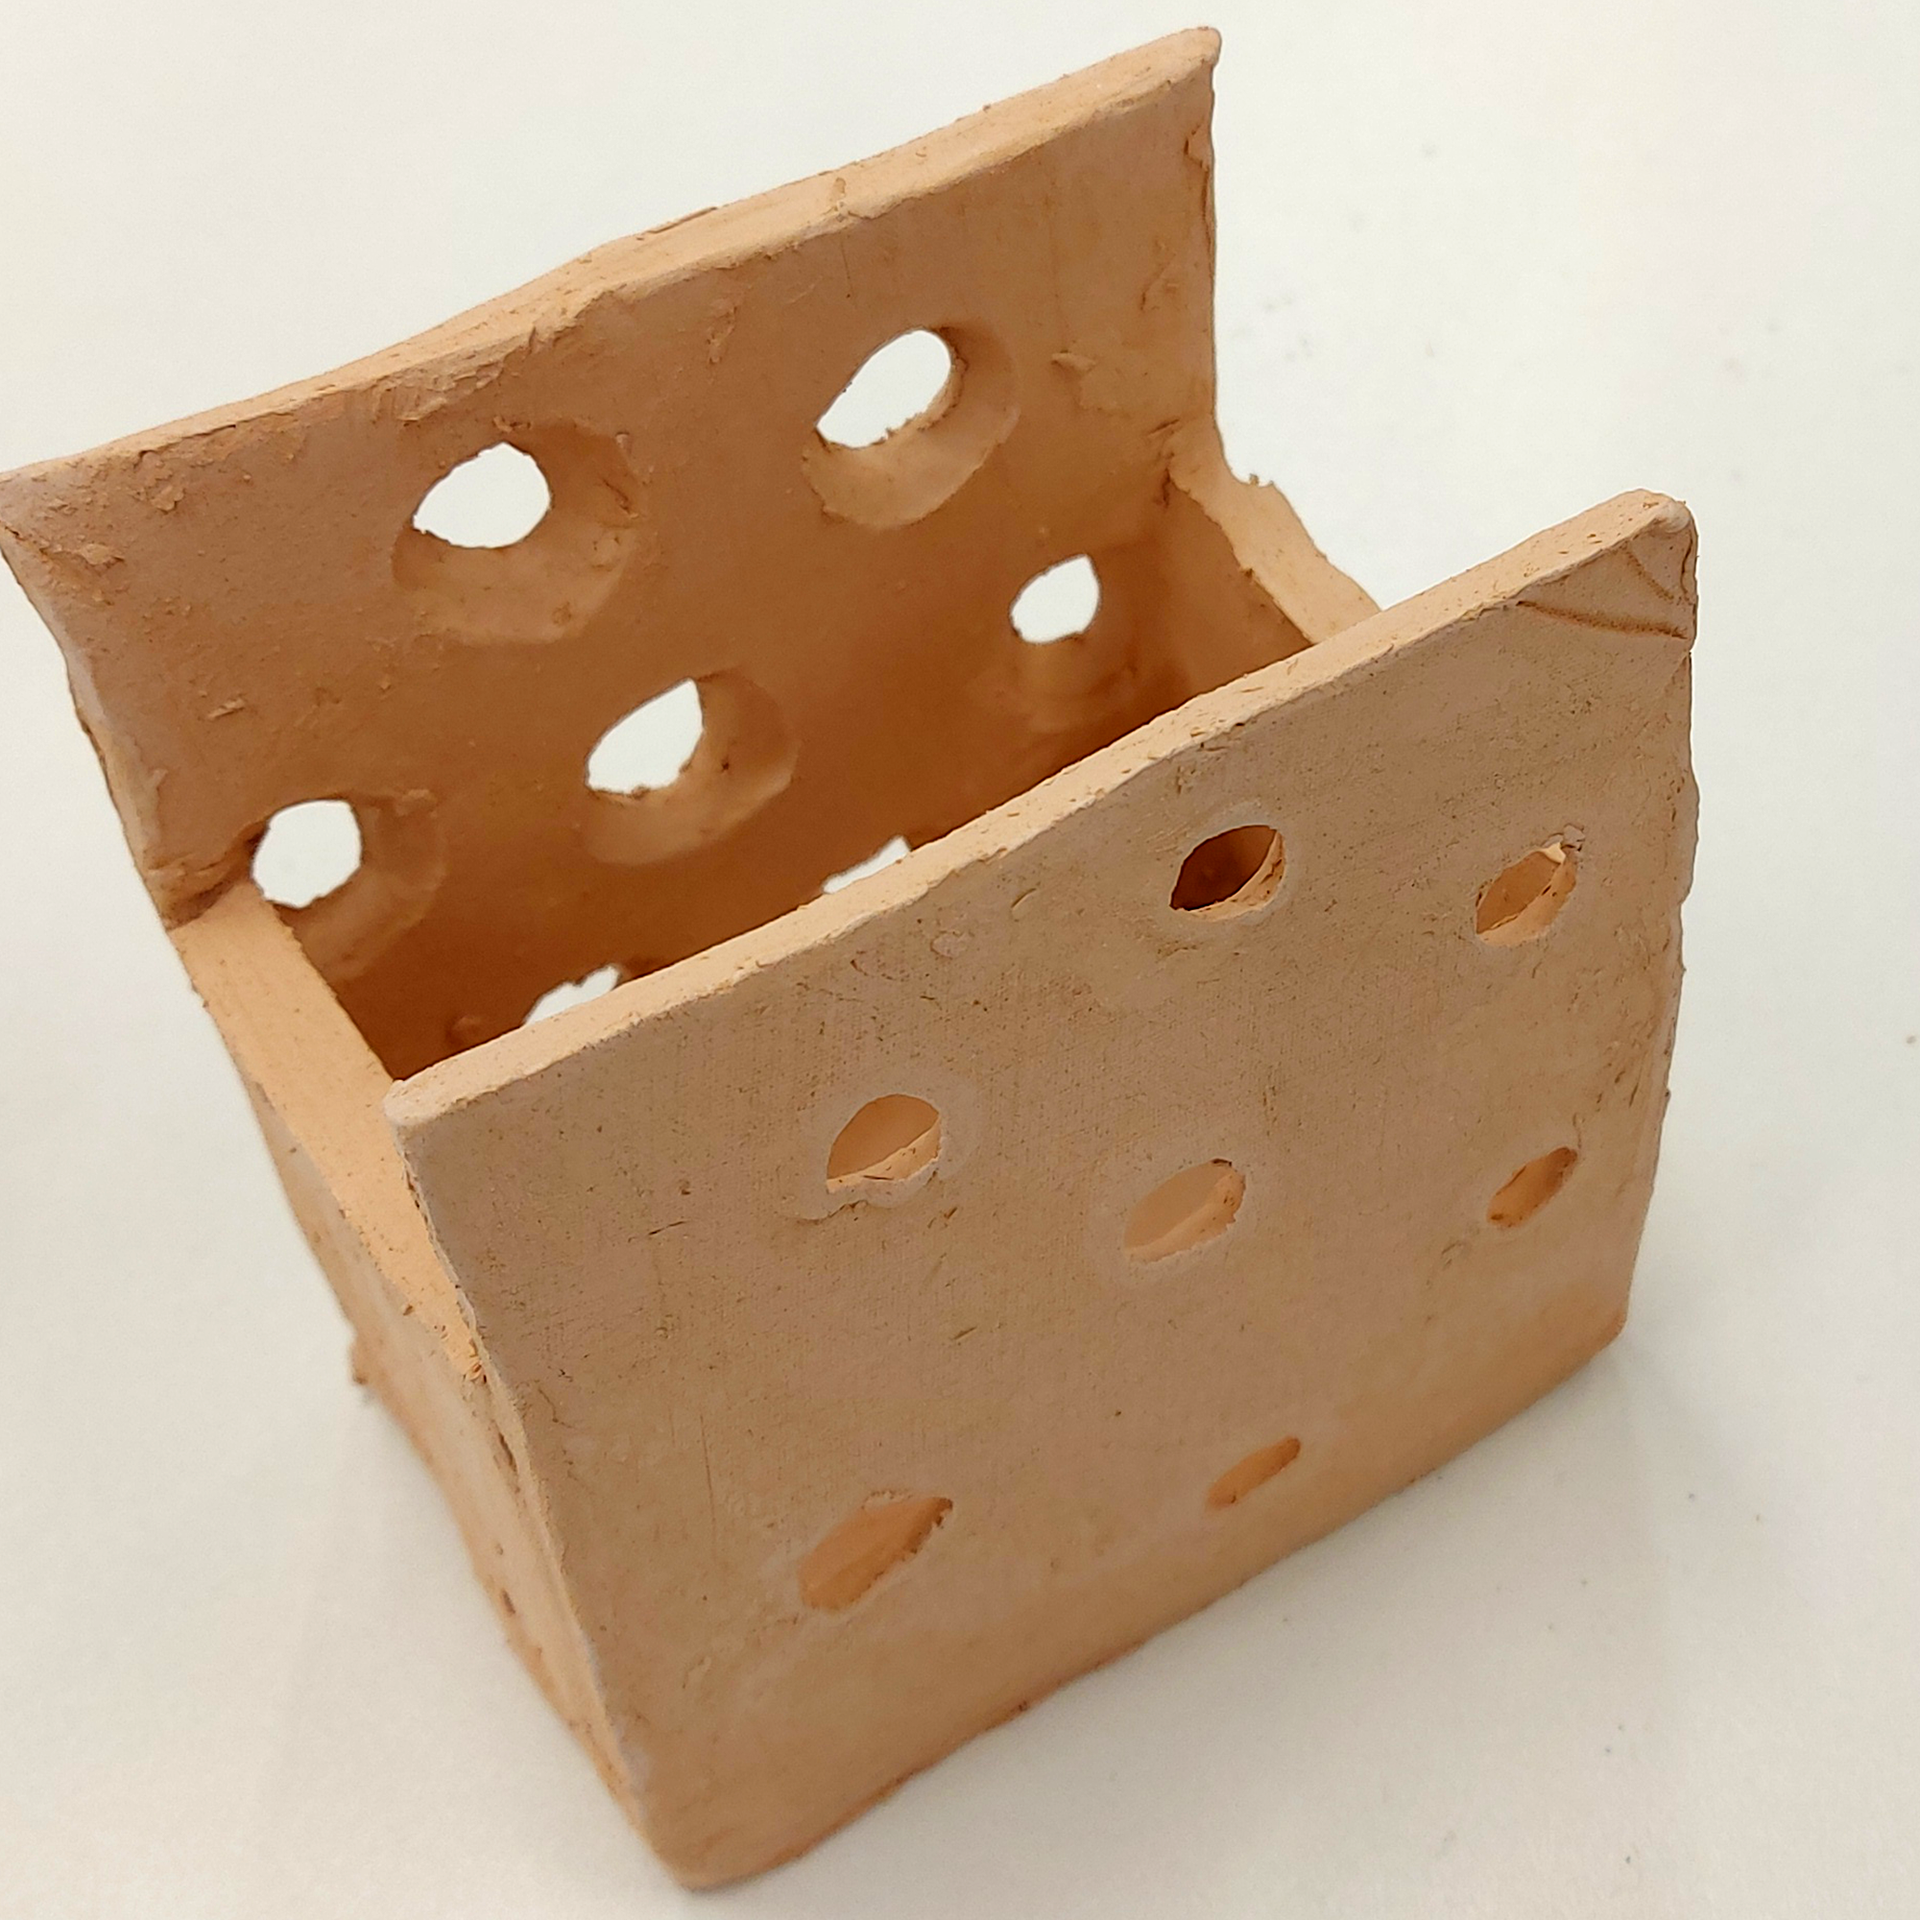
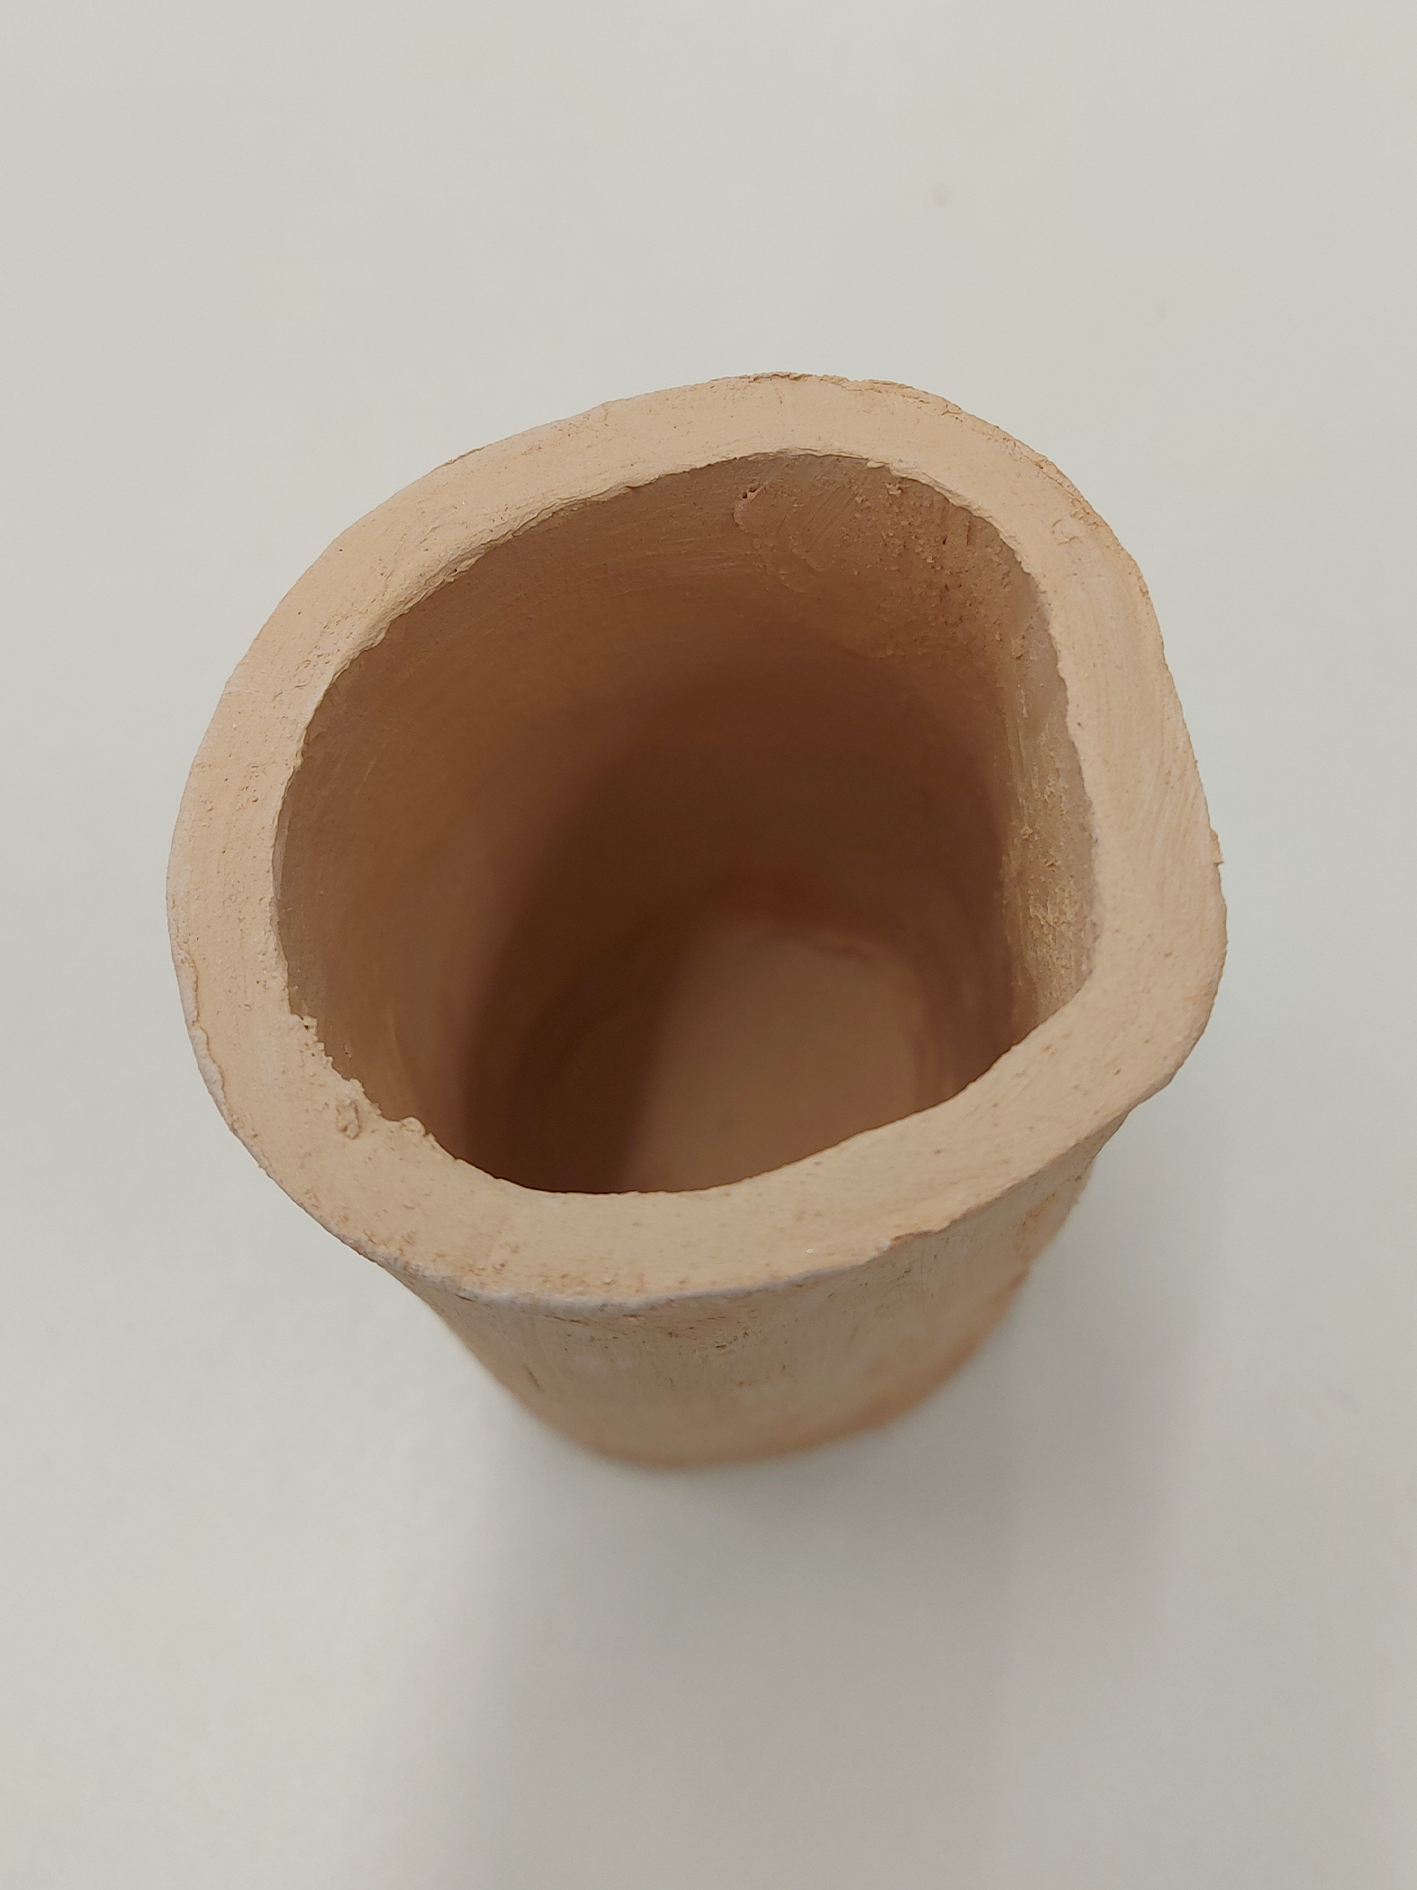
I created this material sample in order to see a simple version of how a pencil could potentially slot into the holes in different ways. This material sample was able to show me what the inside could look like and left room to see what the inside could look like. Learning from the previous material samples,, I tried to keep the holes the same size while also keeping them small enough so that when using the small model stick, it would keep in place rather than just sliding out the bottom. A problem I found while making this piece is that the box was slightly wonky and so the sides were leaning slightly which could've effected the model and this is something I need to fix for my final piece.
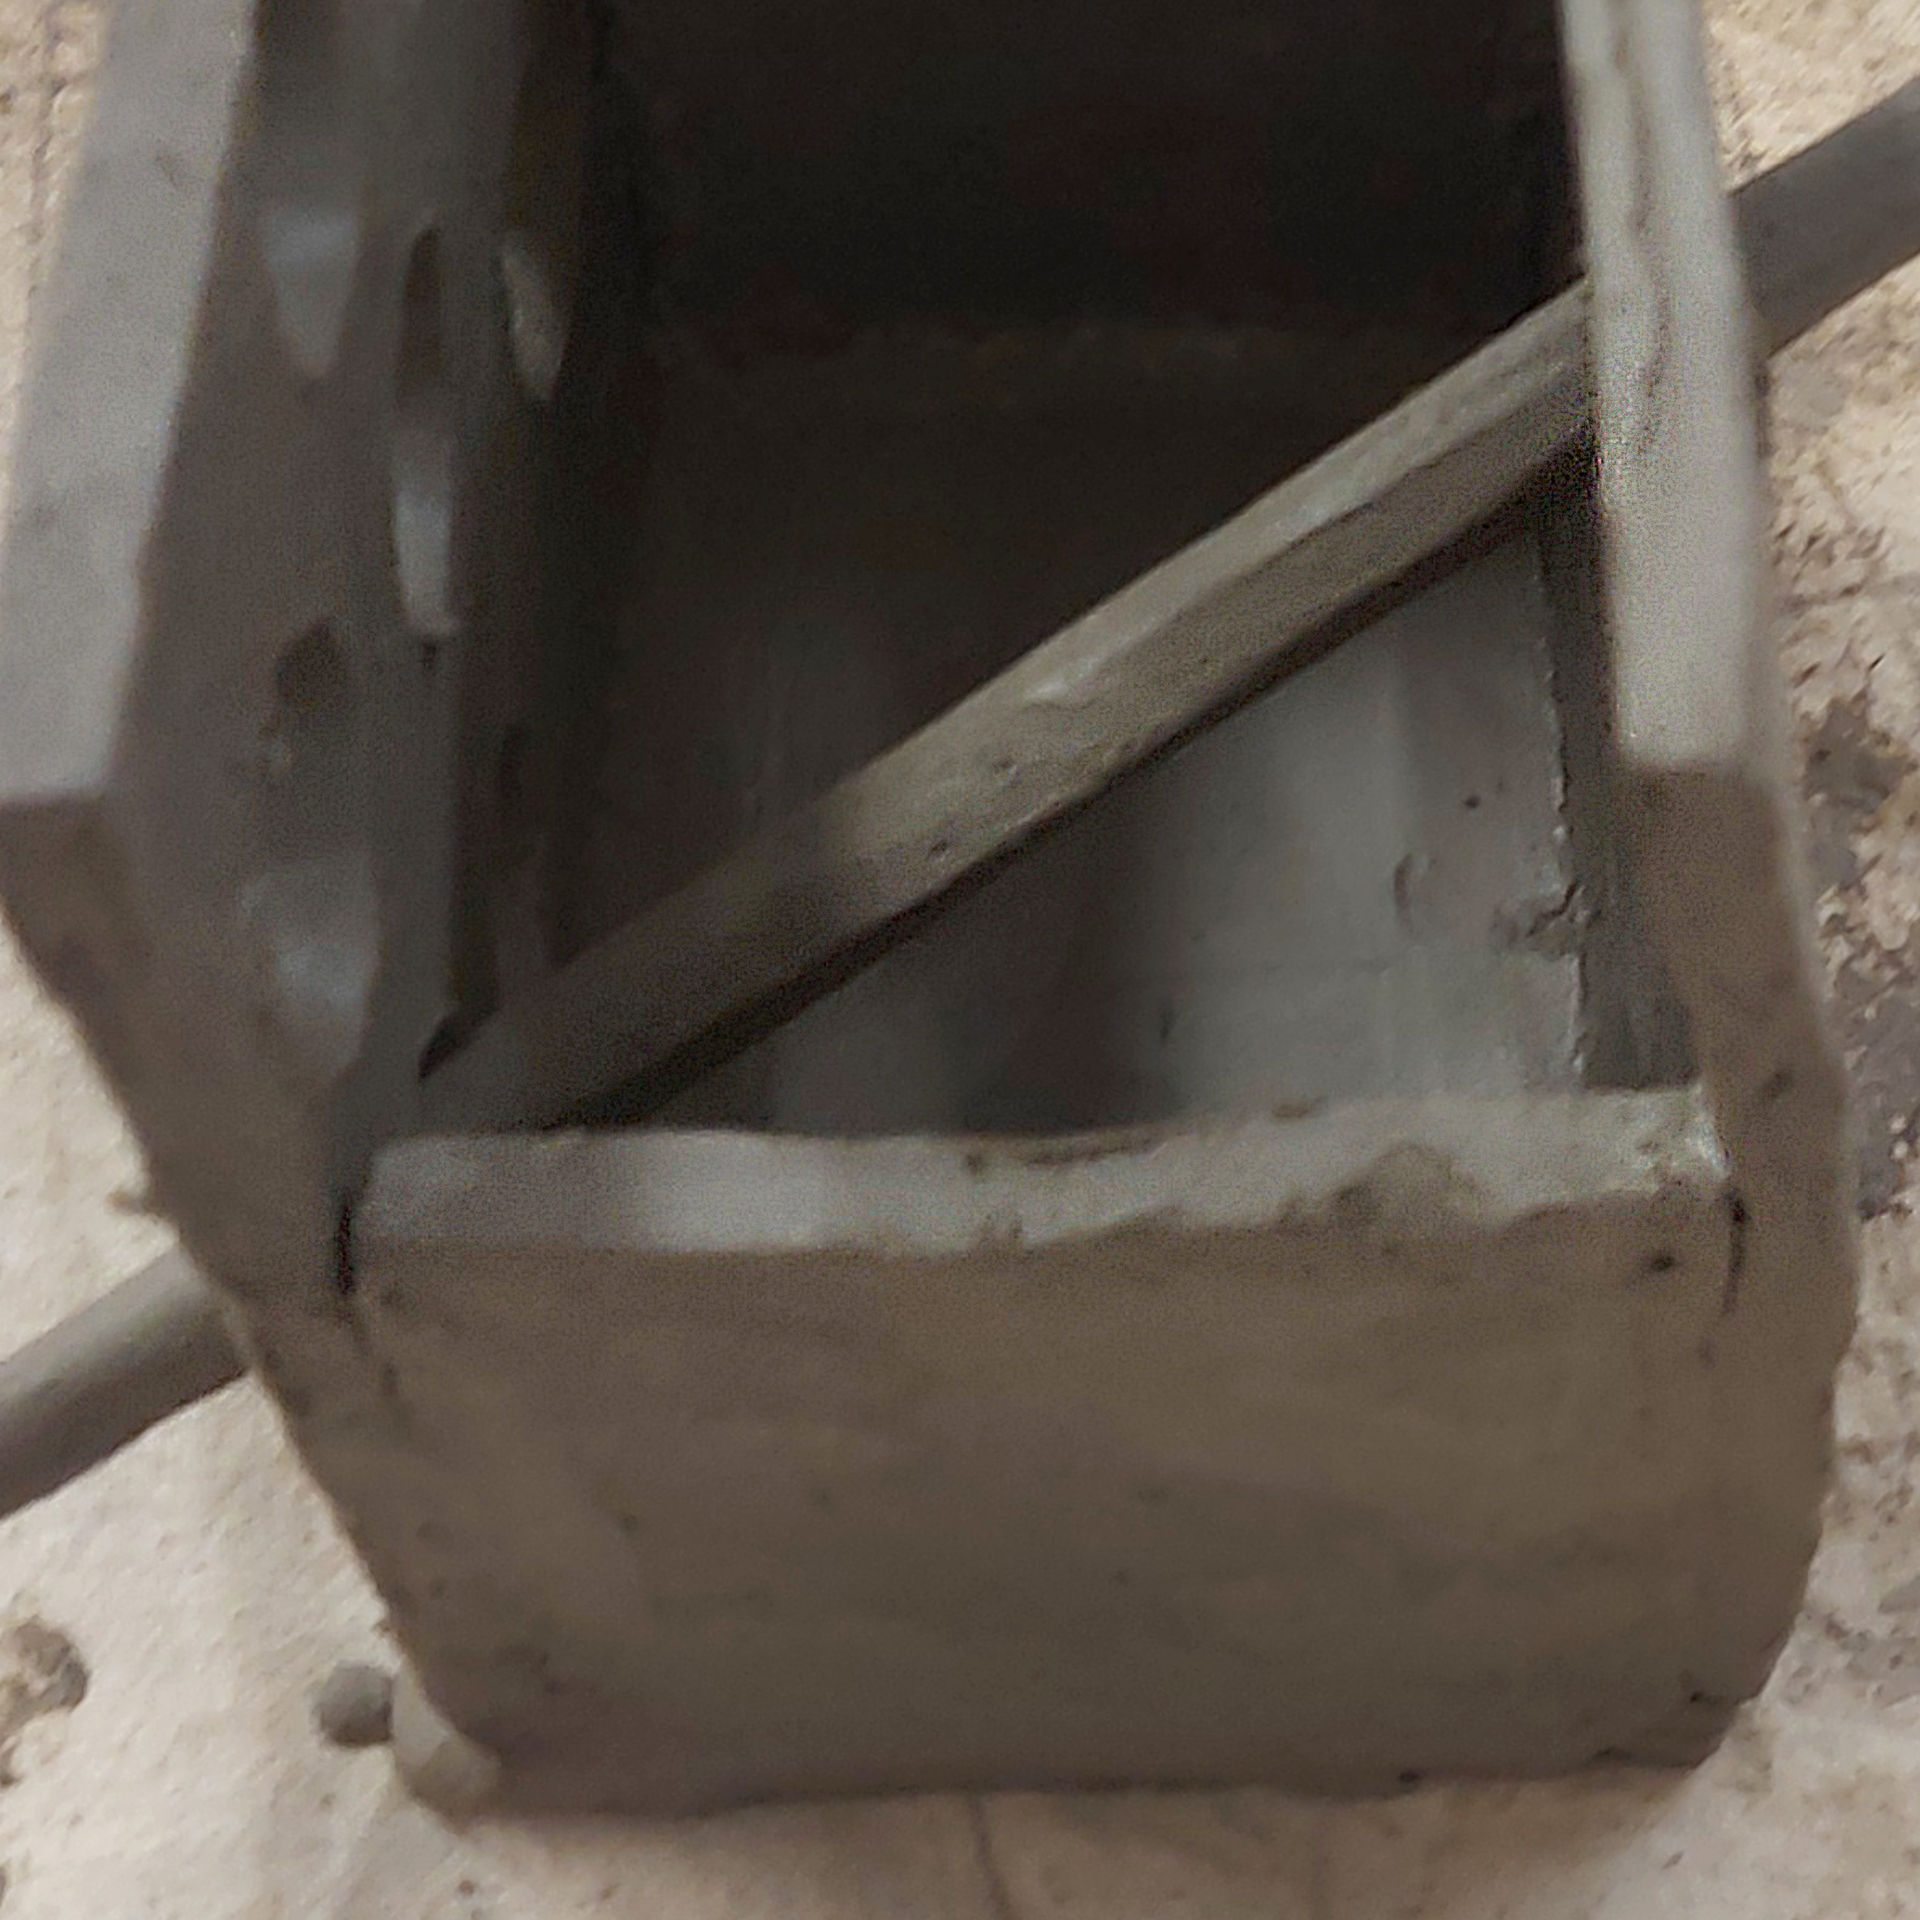
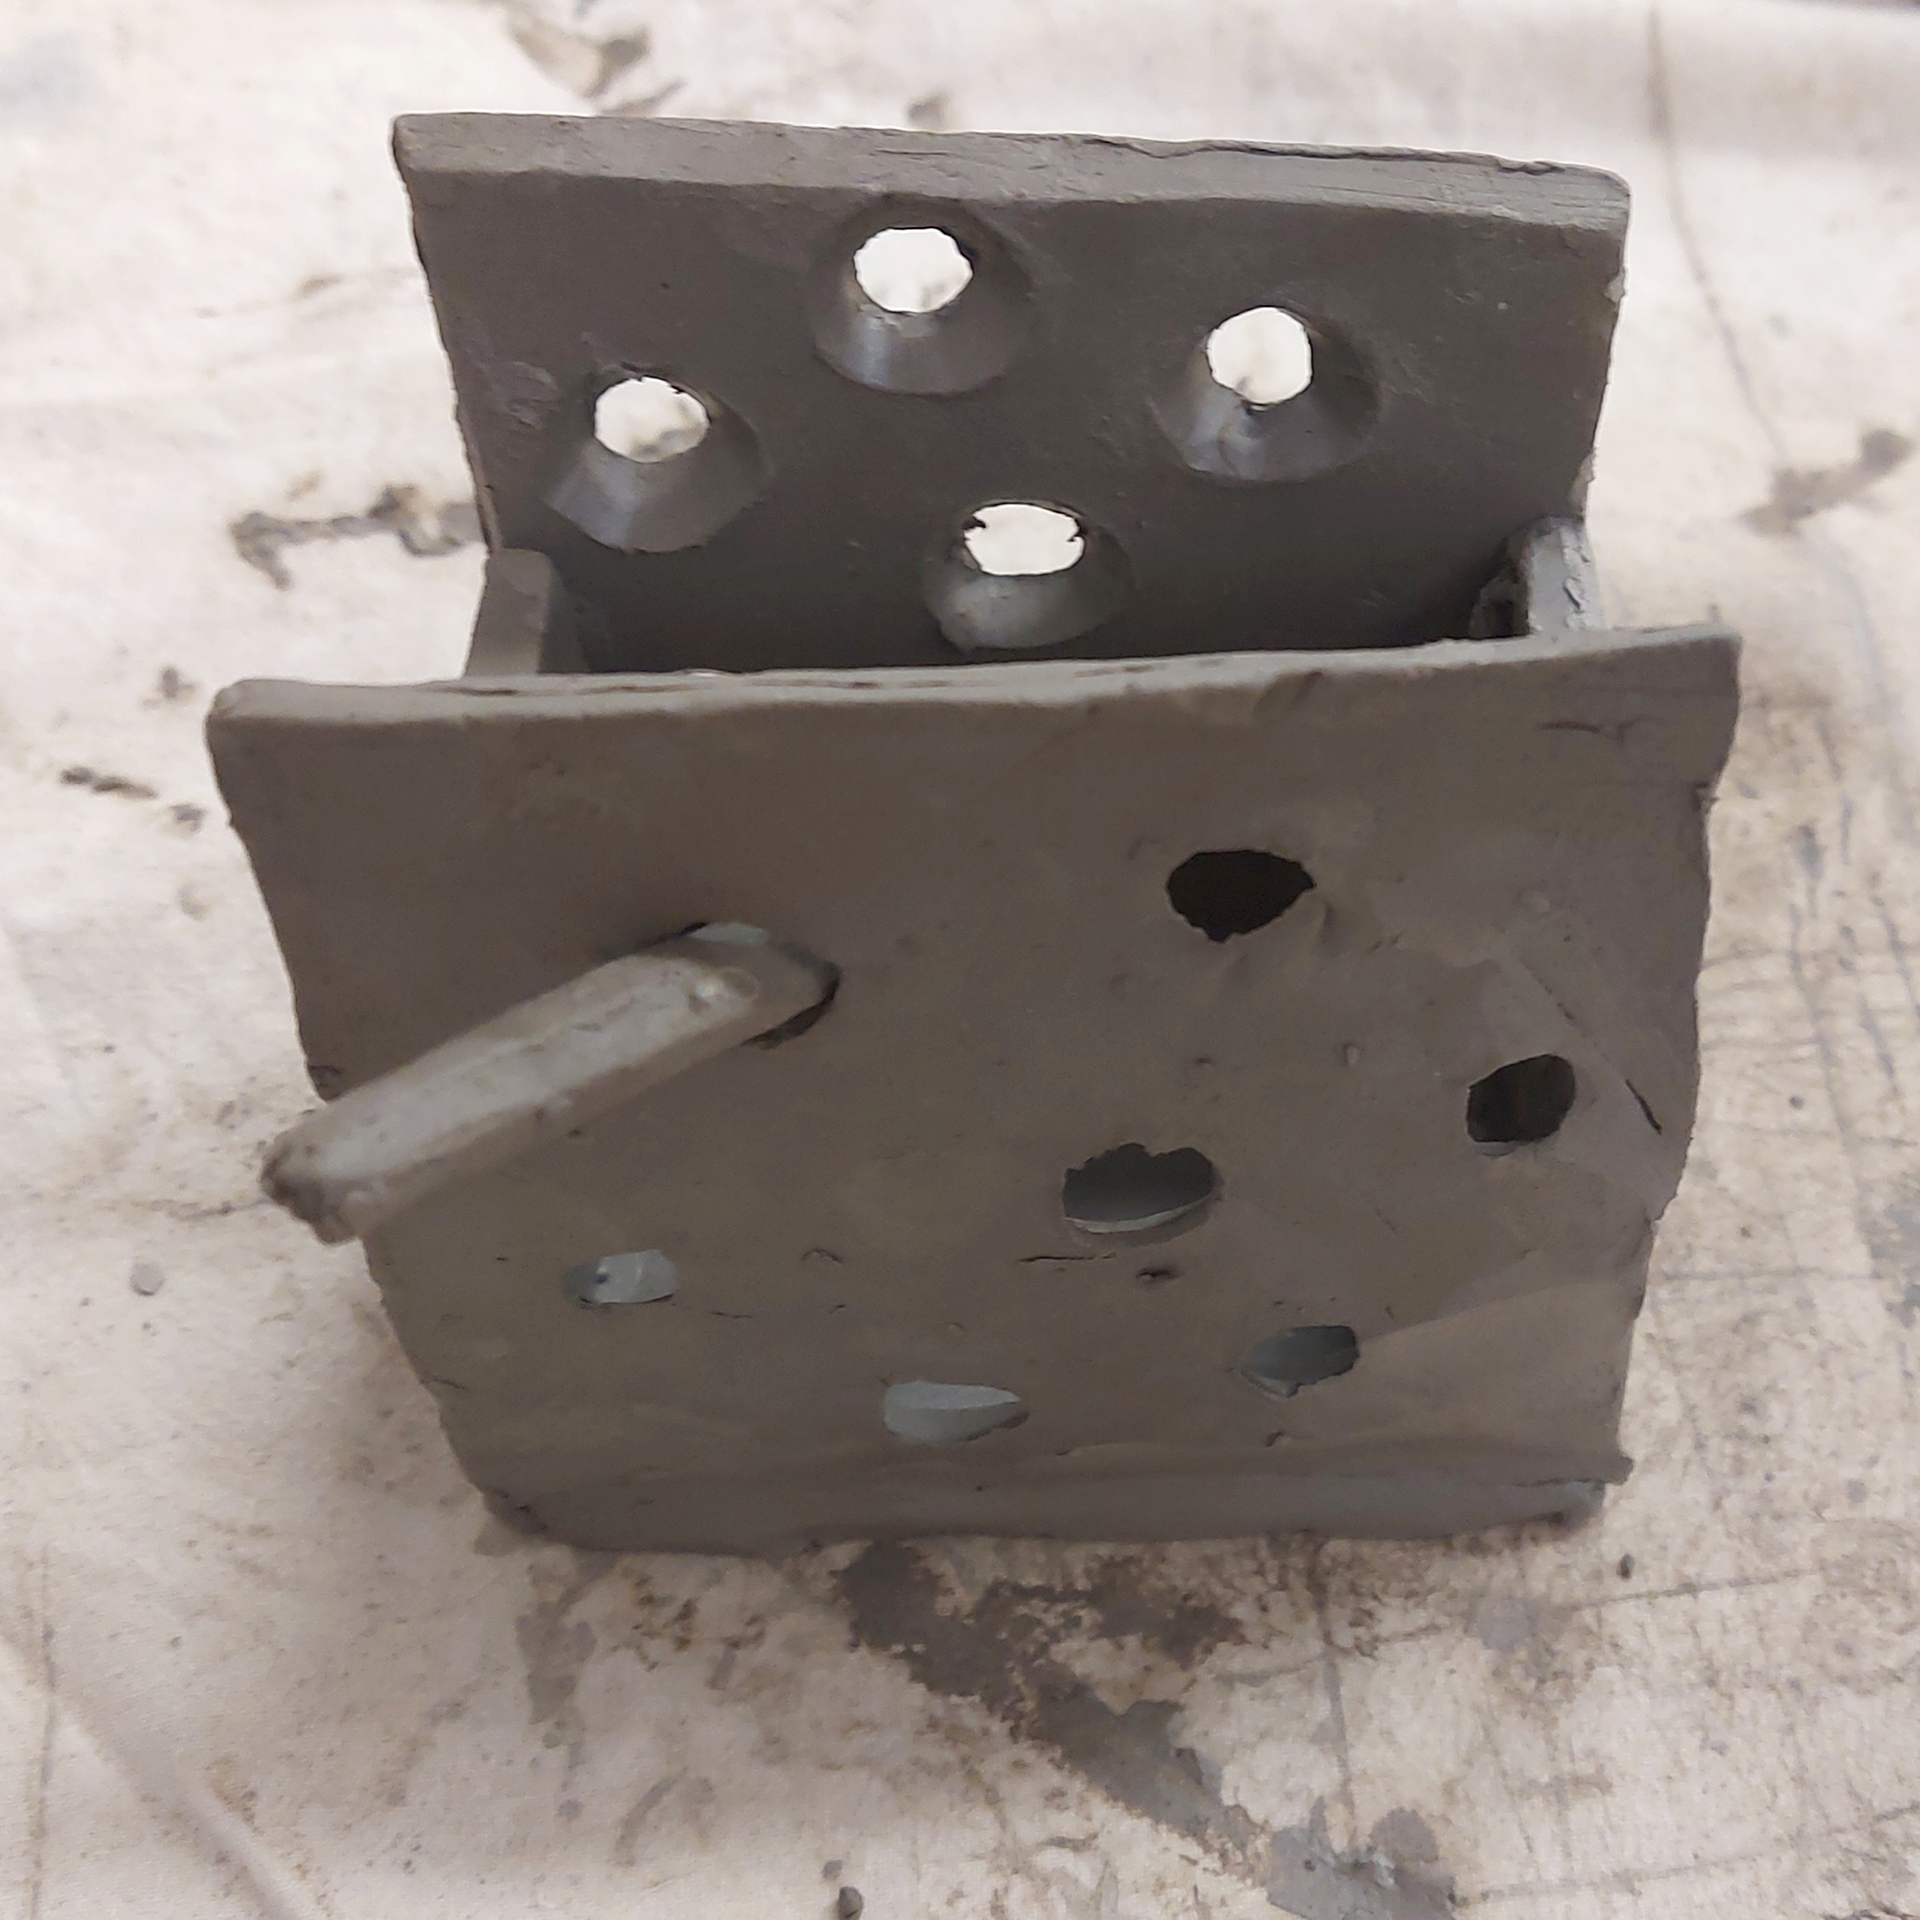
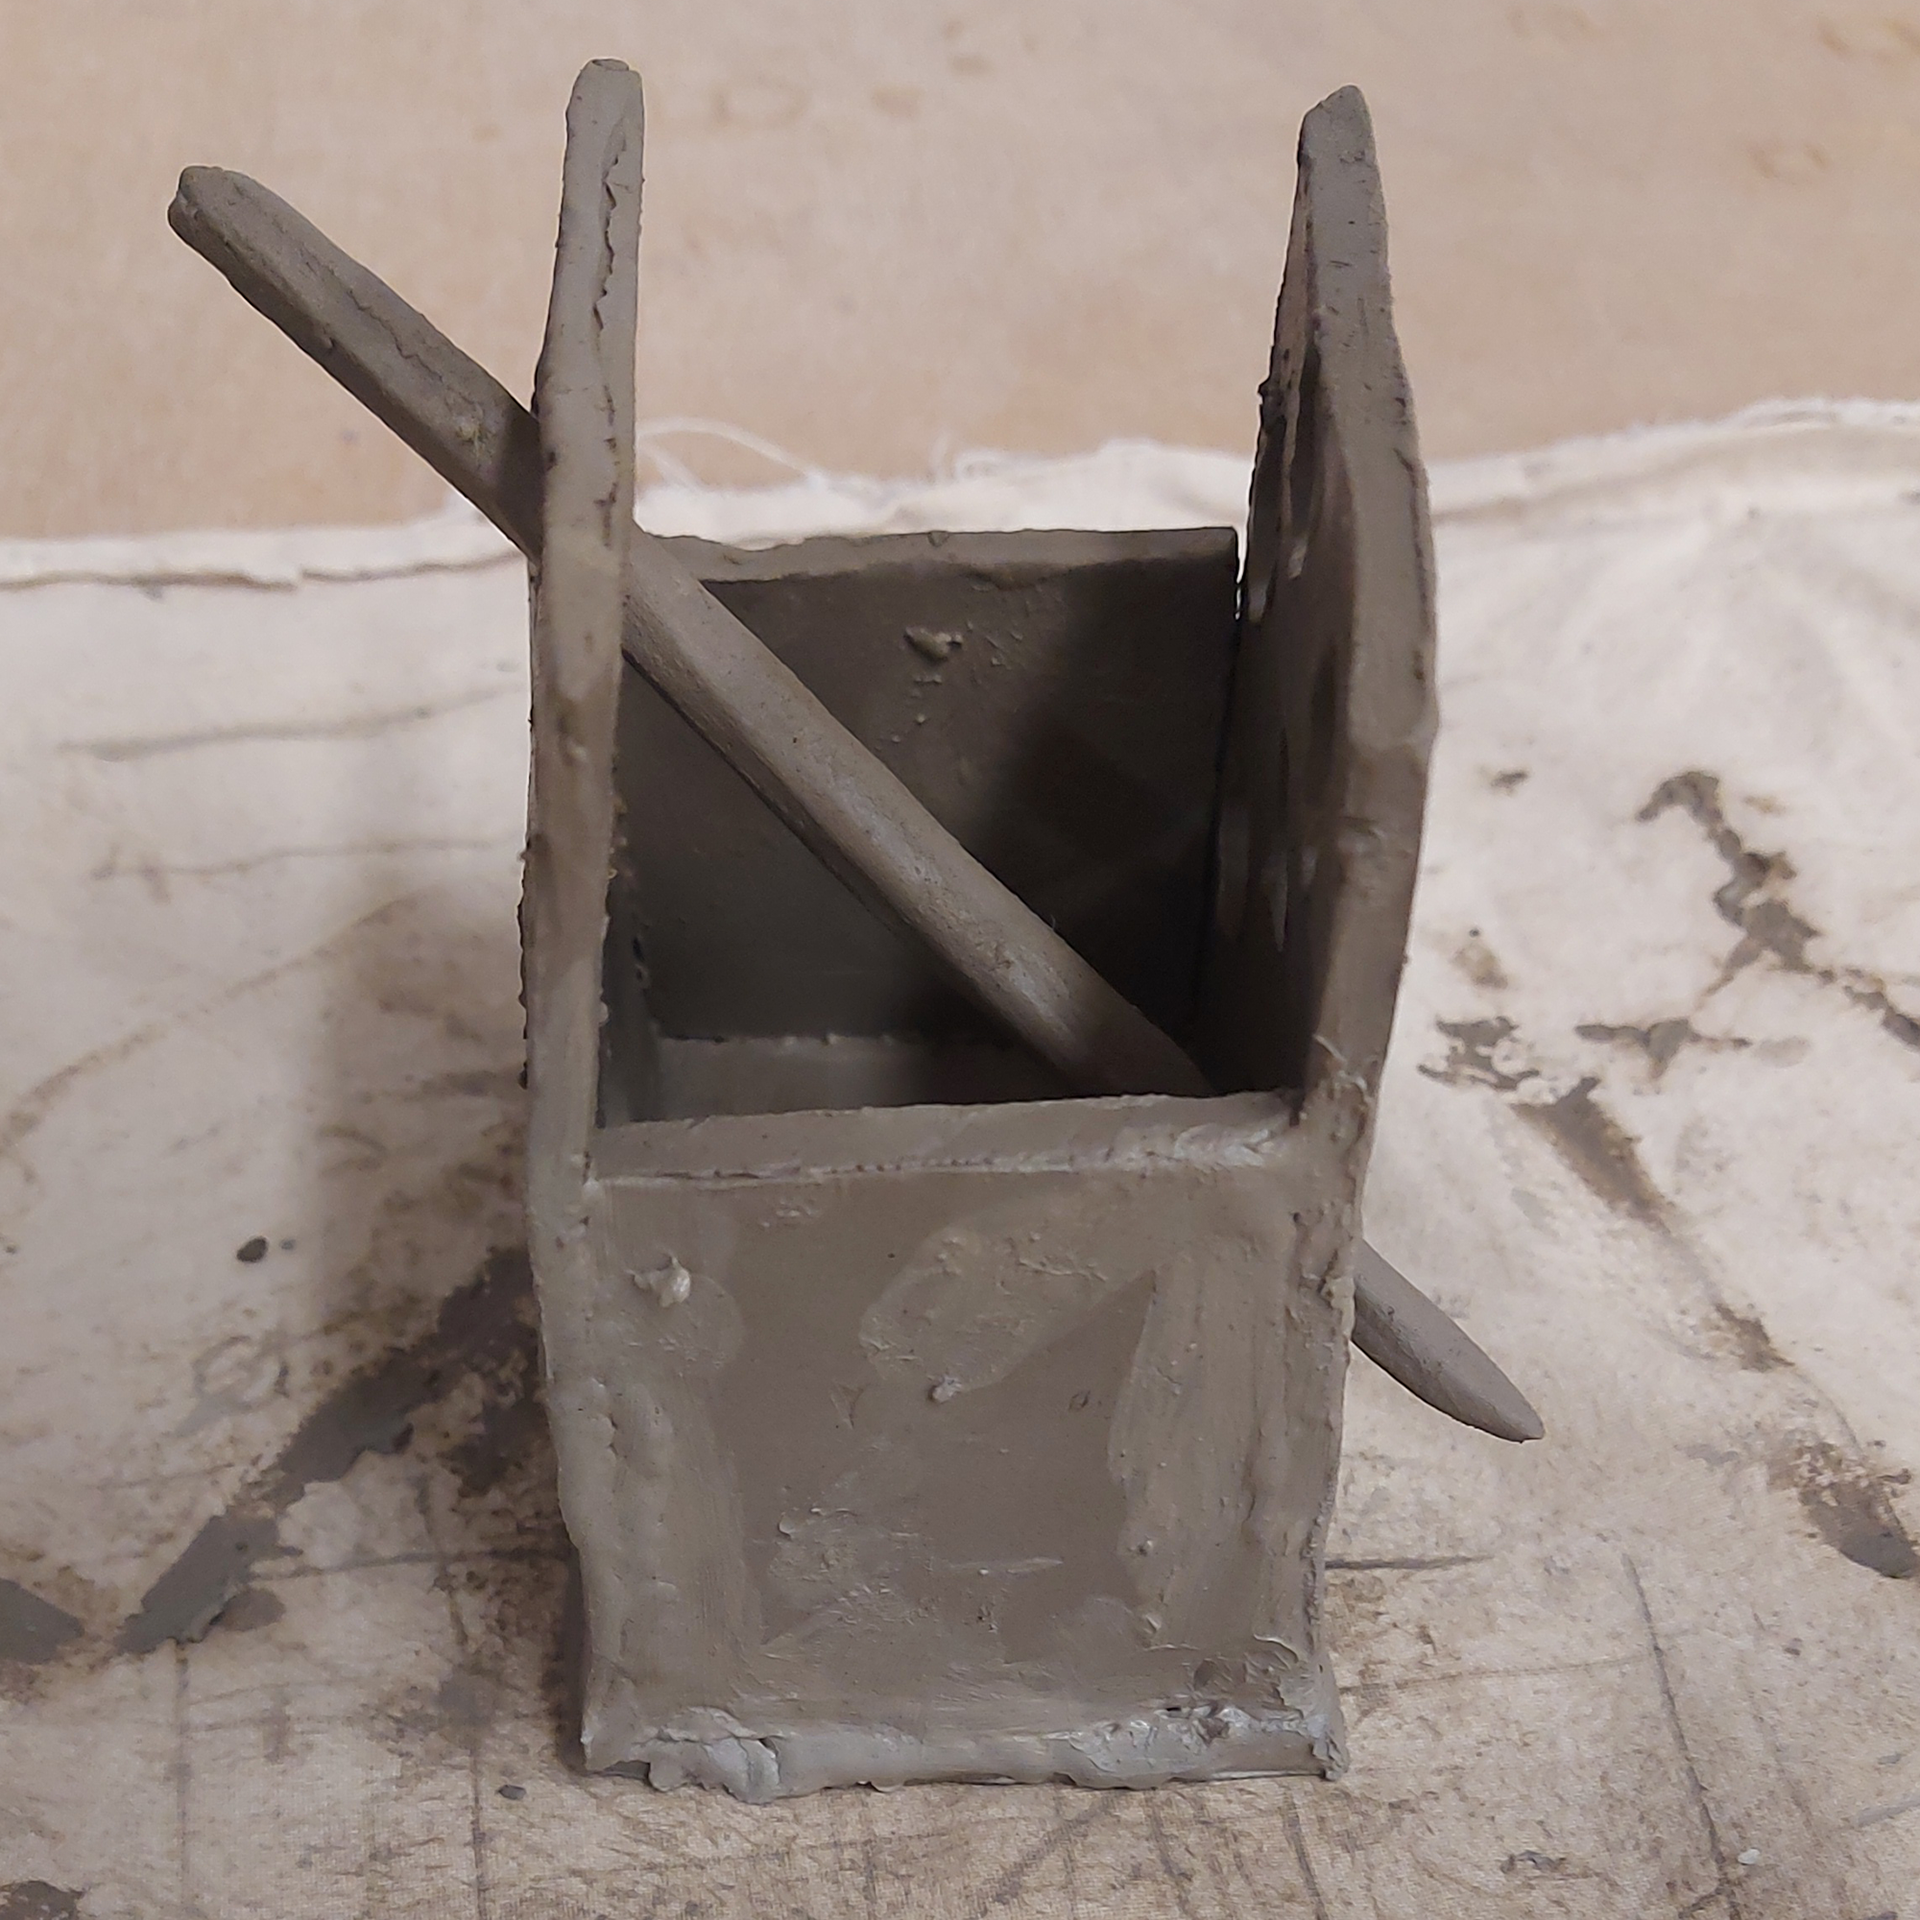
What I did like is that the inside and outside holes on the piece look different. This is due to the very flat and smooth holes on the outside and the shape that resembles a bottom part of a cone on the inside. I think this gives variation to the simple design and if the holes were more evenly rounded I think the final piece would be smooth and have a nice visual effect on it's surroundings.
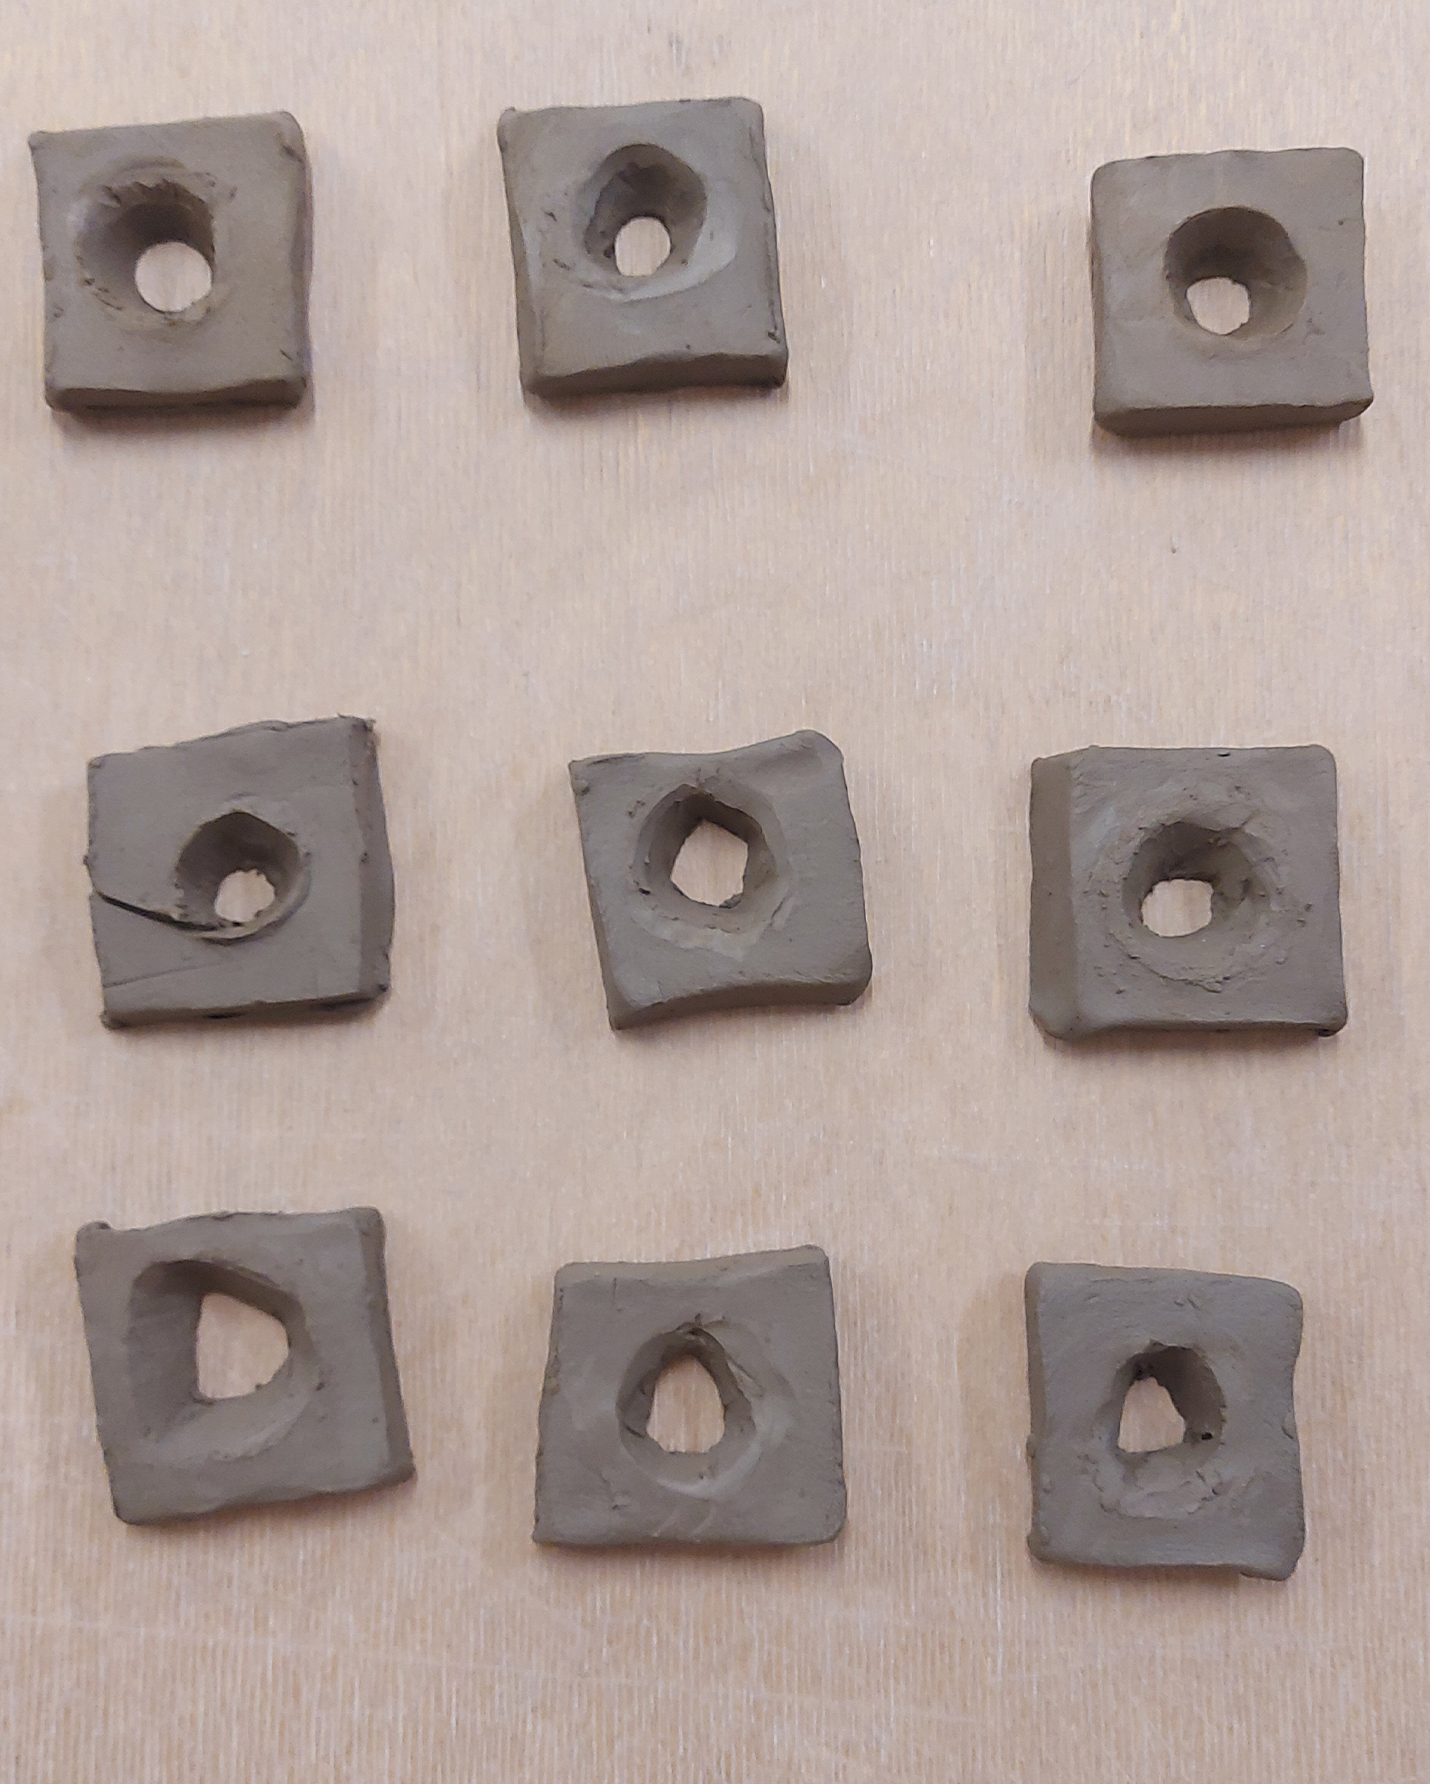
I experimented with making different shapes to see how they would be made for my final piece. I also wanted to visually see what each shape would look like before making a decision on what shape to make my work out of. I would've explored further with more organic shapes that were irregular but i needed my shape to be regular due to the nature of the piece. As the pencils would've been sticking into different places and stationery pieces would be dropped into the shape, it needed to be functional and easy to use.
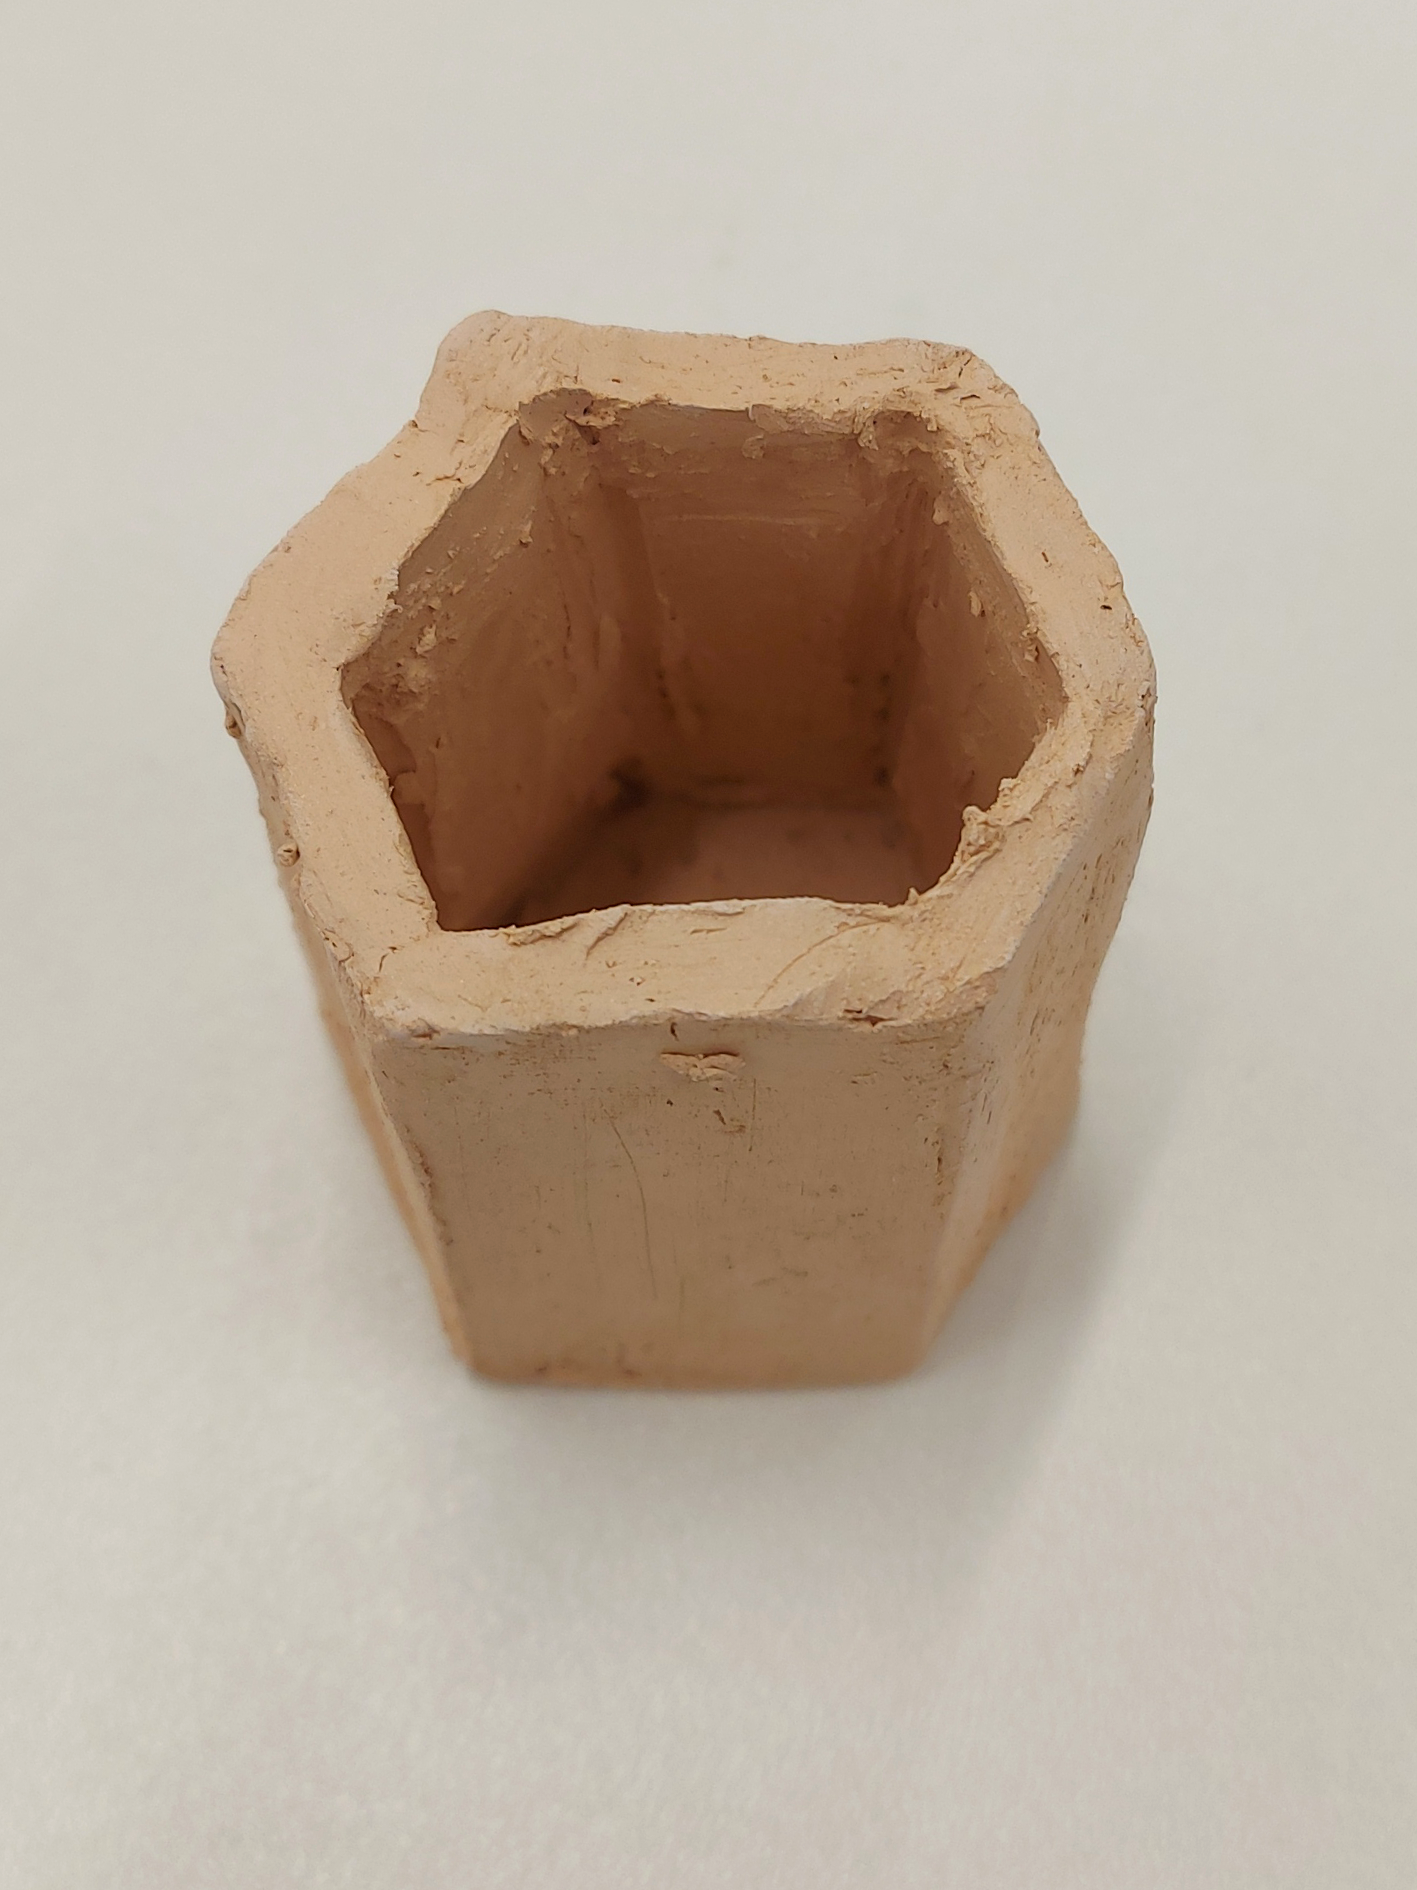
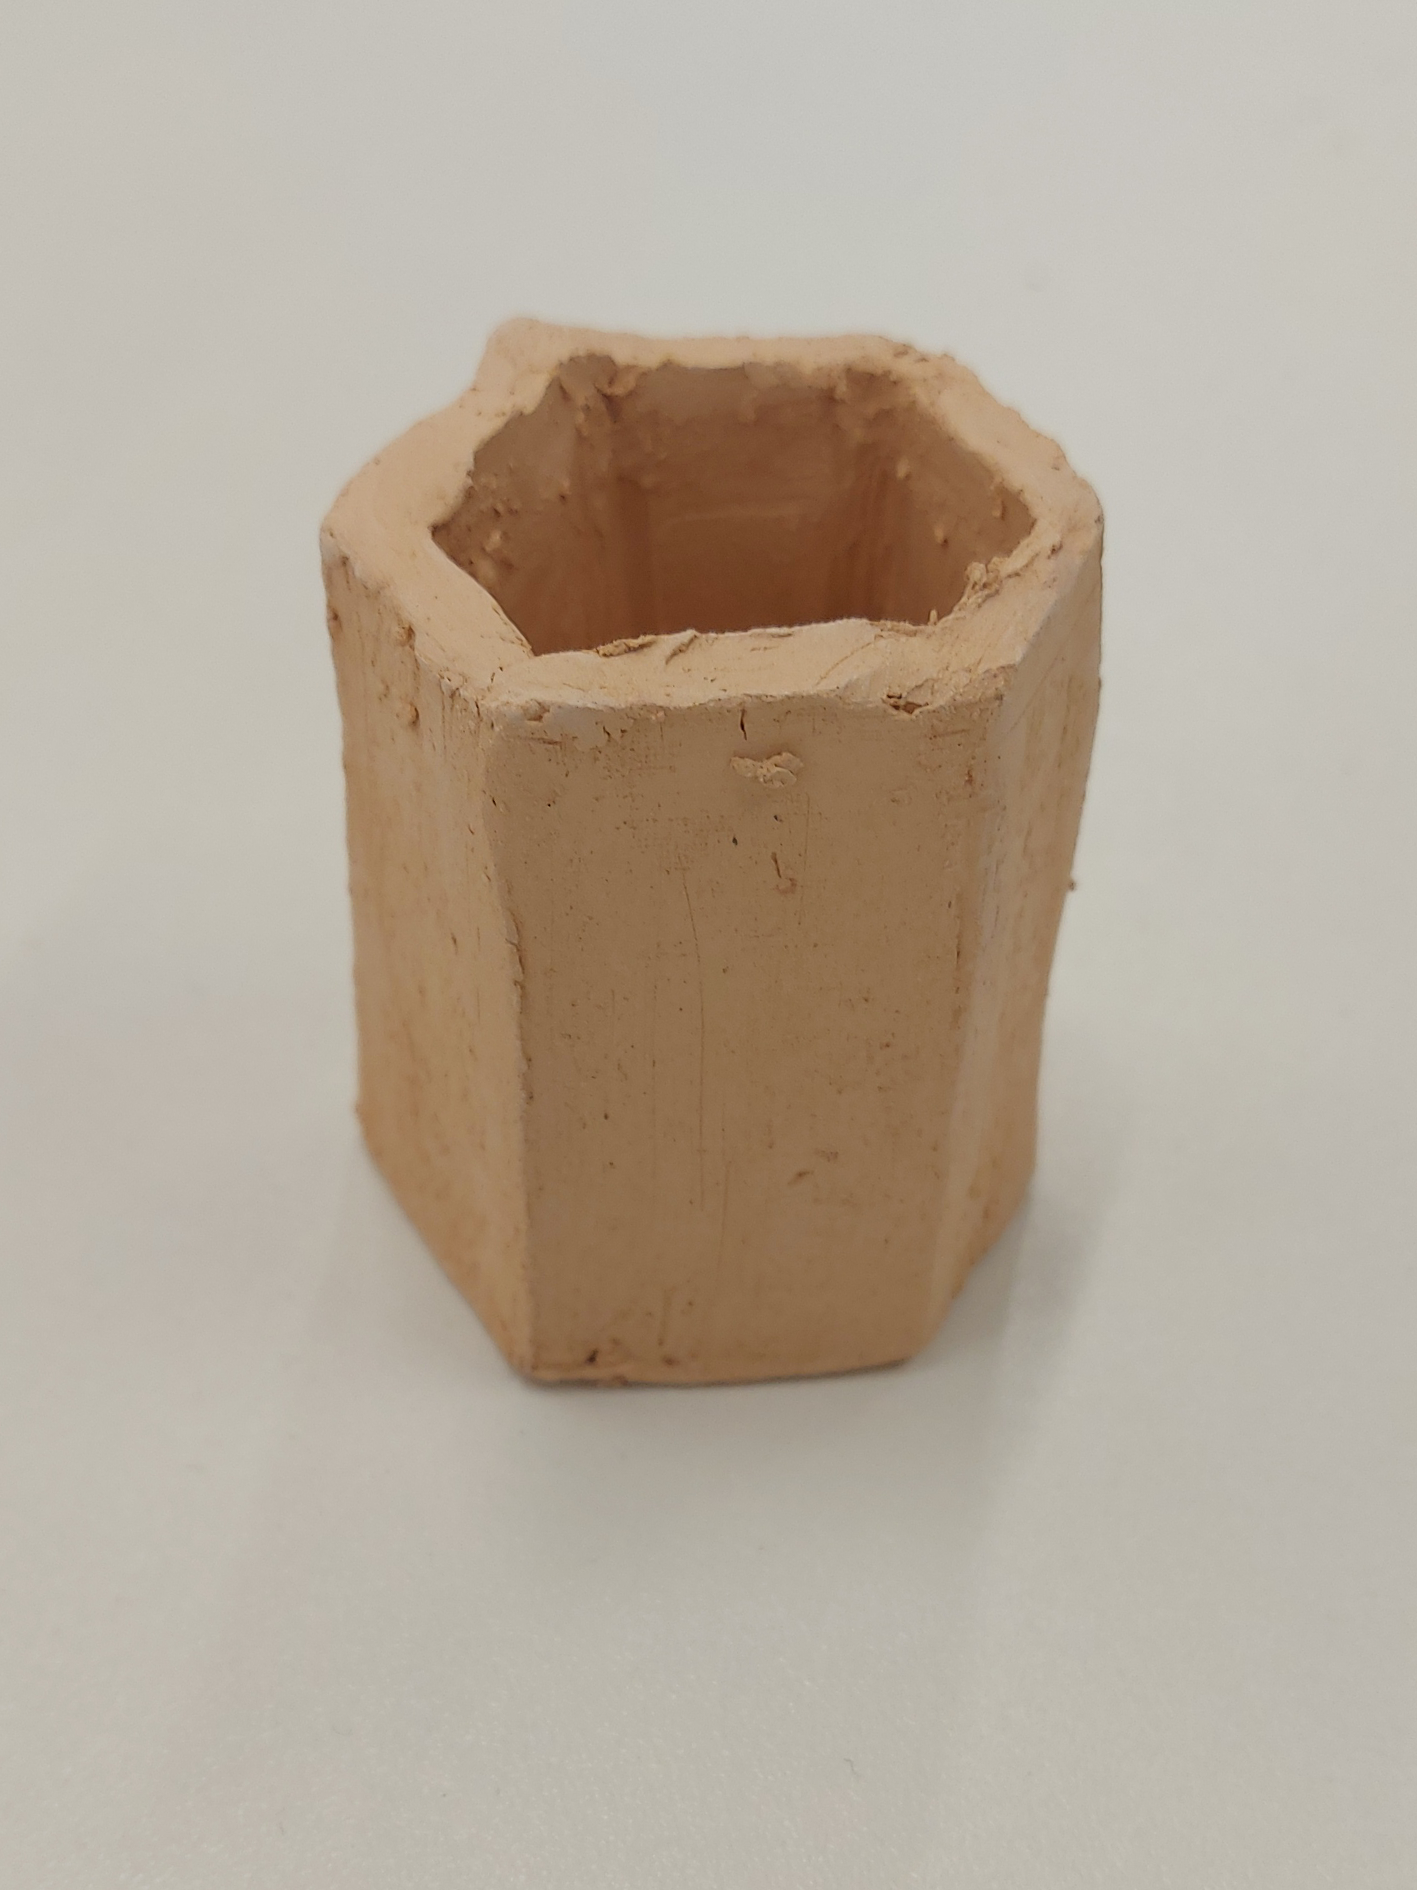


I've decided to choose a circular piece as it allows for easy handling compared to a hexagon which was unequal and I believe the sides would've gotten in the way. For my final piece I am going to make sure that there is less of a taper and that it will be thicker to allow room for longer pencils. Making these material samples showed me that making the hexagon doesn't have a lot of space to add holes for the pencil to go through and that the square would be difficult to handle and wouldn't fit into my design which is looking for a smooth and sleek piece that can be put on a desk.
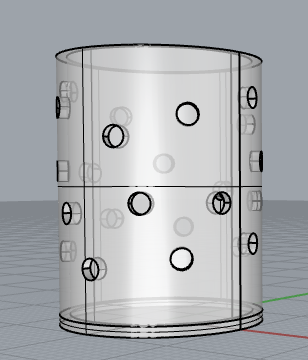
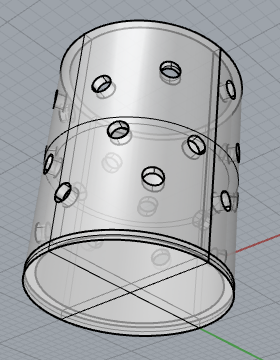
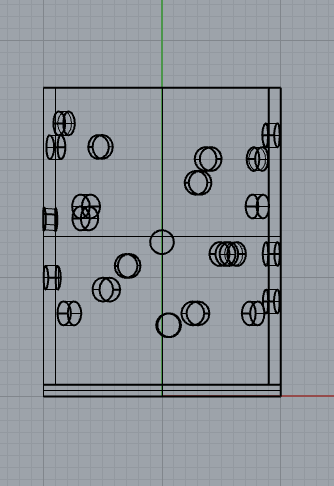
Using the material samples, I created a 3D model of the piece where I placed the holes around the cylindrical shape. I am happy with the look of the piece and believe this would work for the final piece.