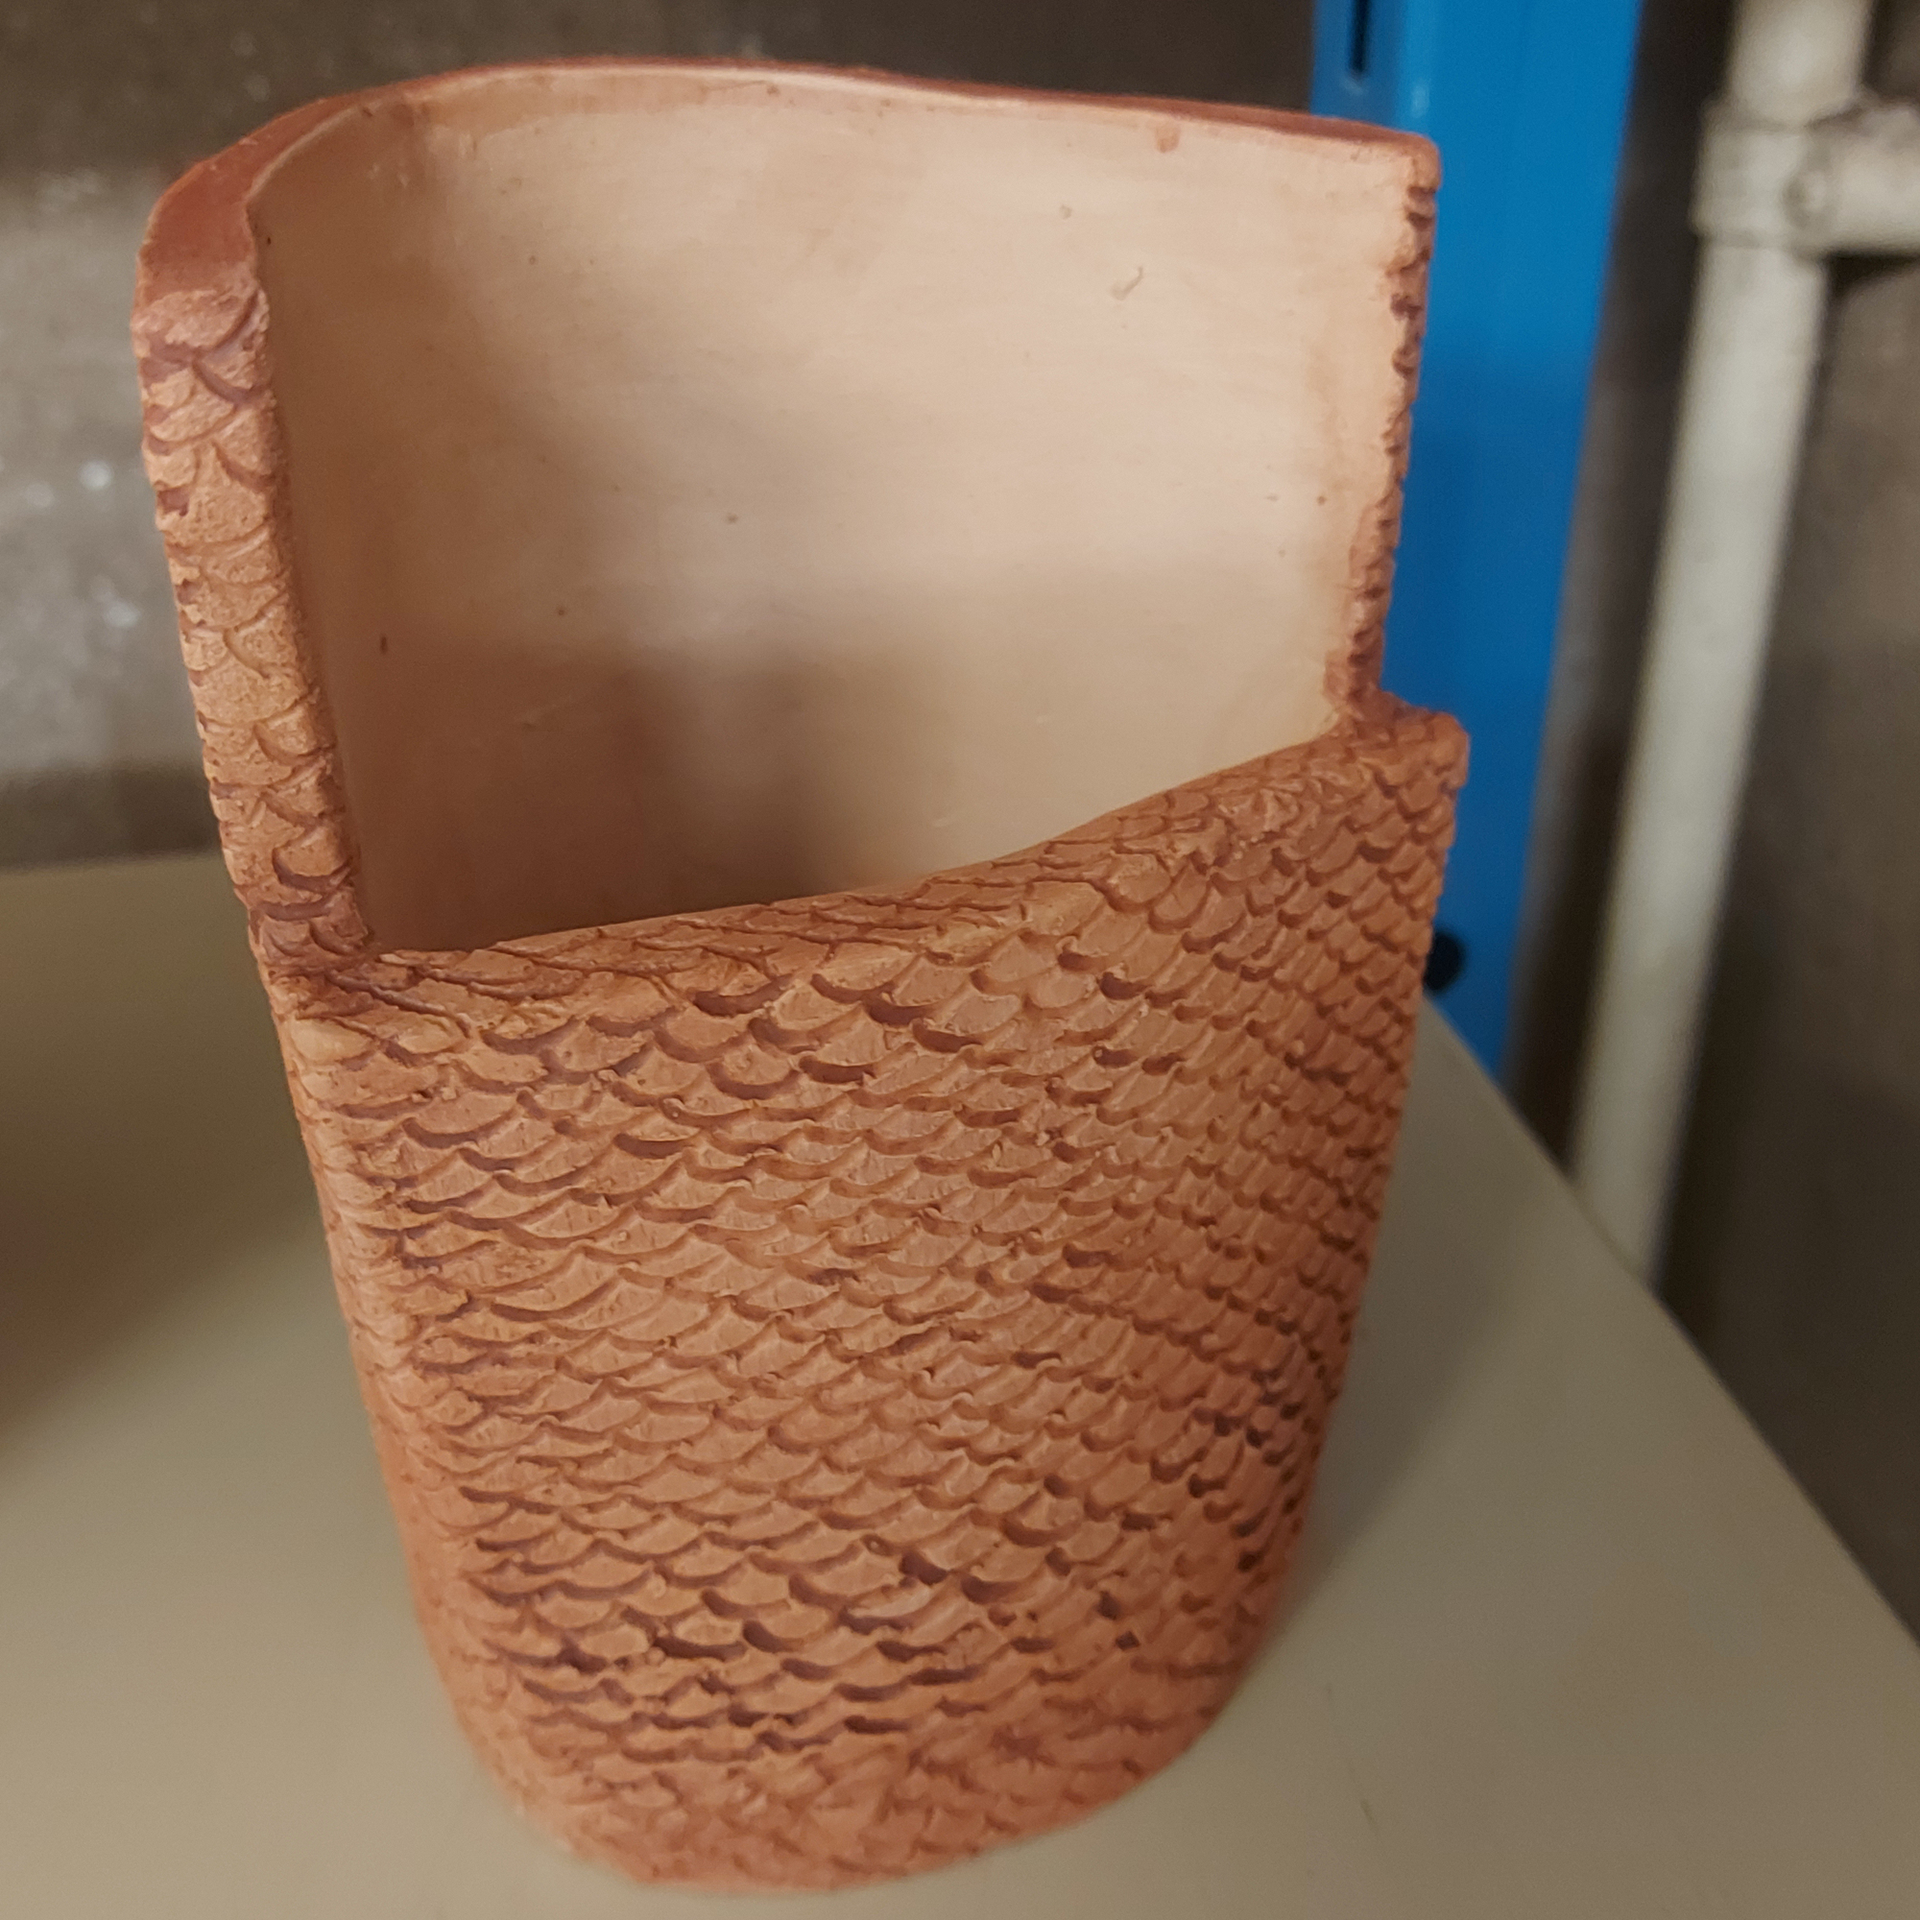
I started off by making this pen pot and experimenting with engraving and texture. The shape was a irregular, however I was focusing more on the texture. Using an engraving tool, I created a scaled sort of texture that was consistent across the outside of the pen pot. After firing, I then experimented by using oxide on the ceramics and then wiping it away to create a colour in the small ridges. I don't think this effect worked that well because the colour wasn't consistent. In the future, I would like to use this effect for future textures that are bigger or that aren't consistent.
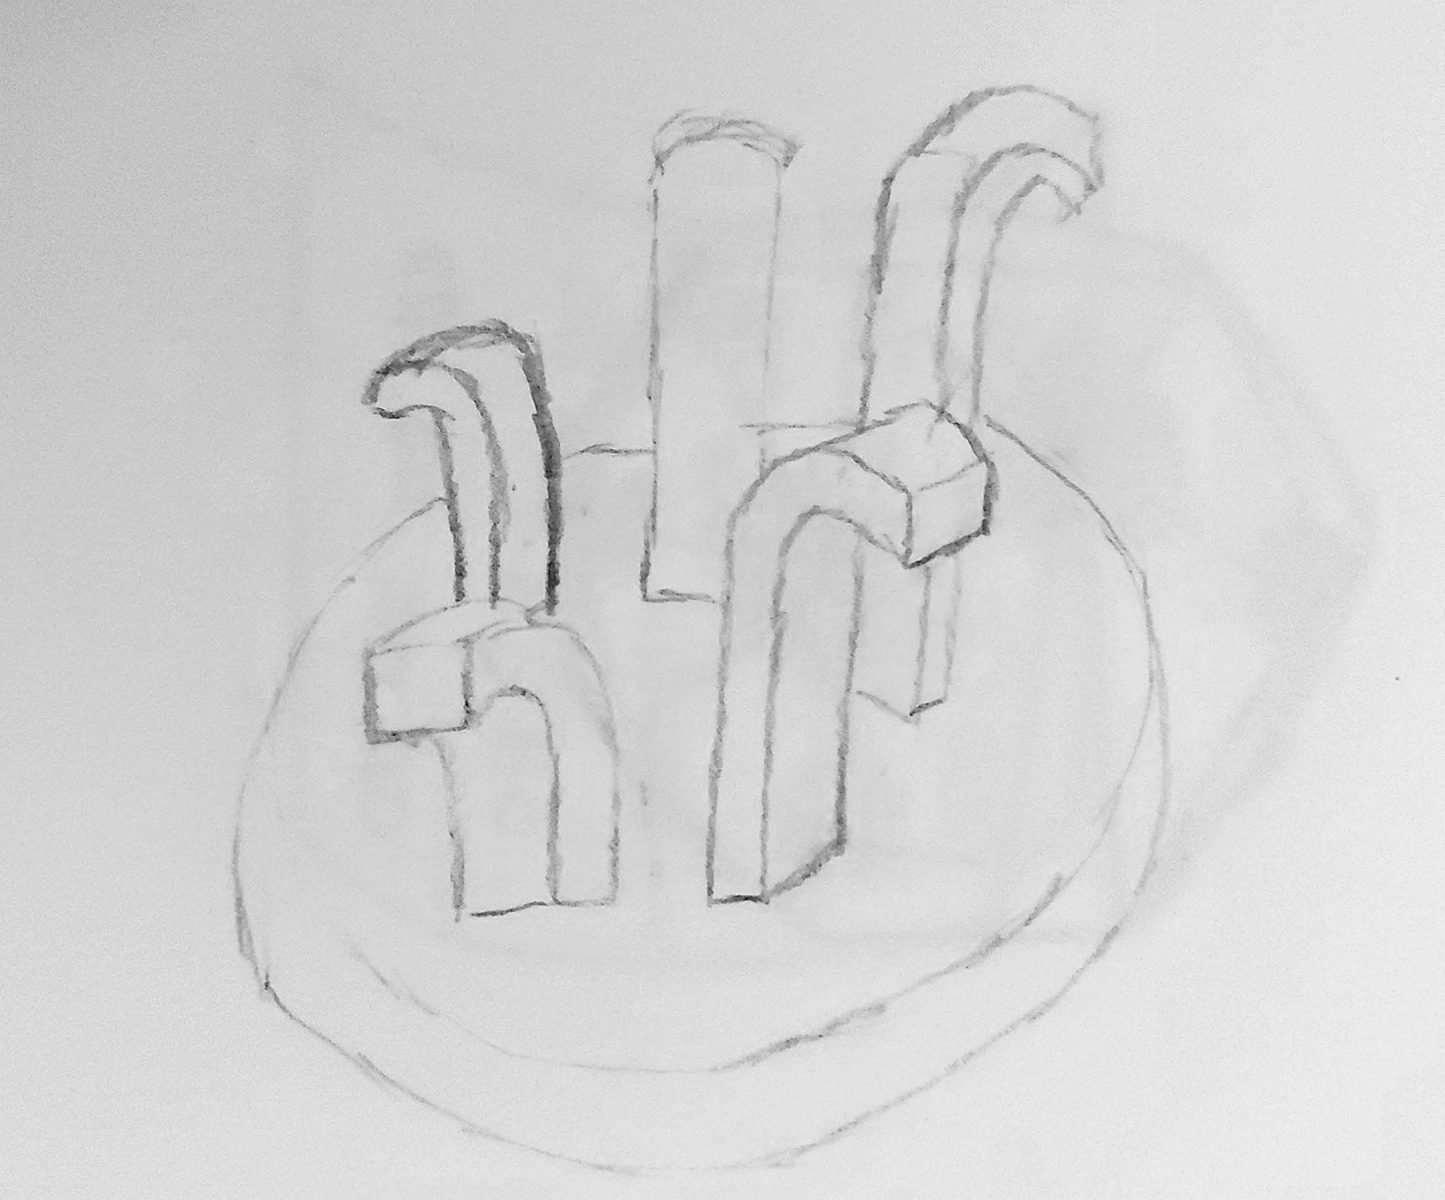
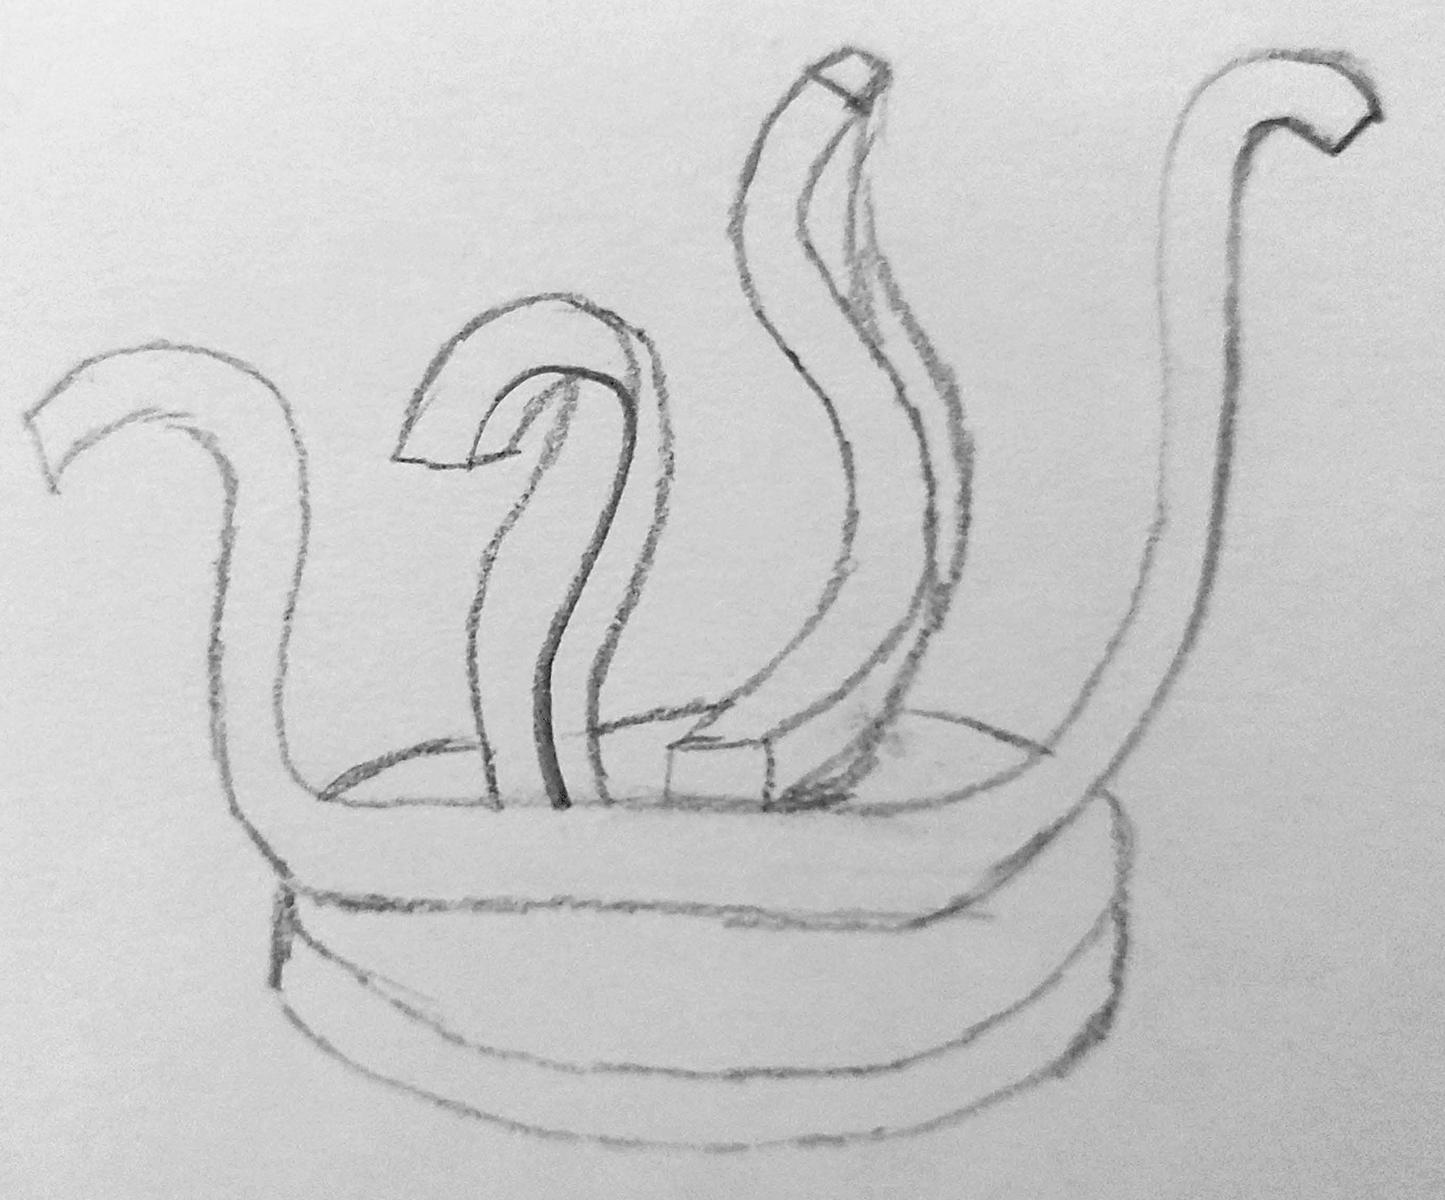
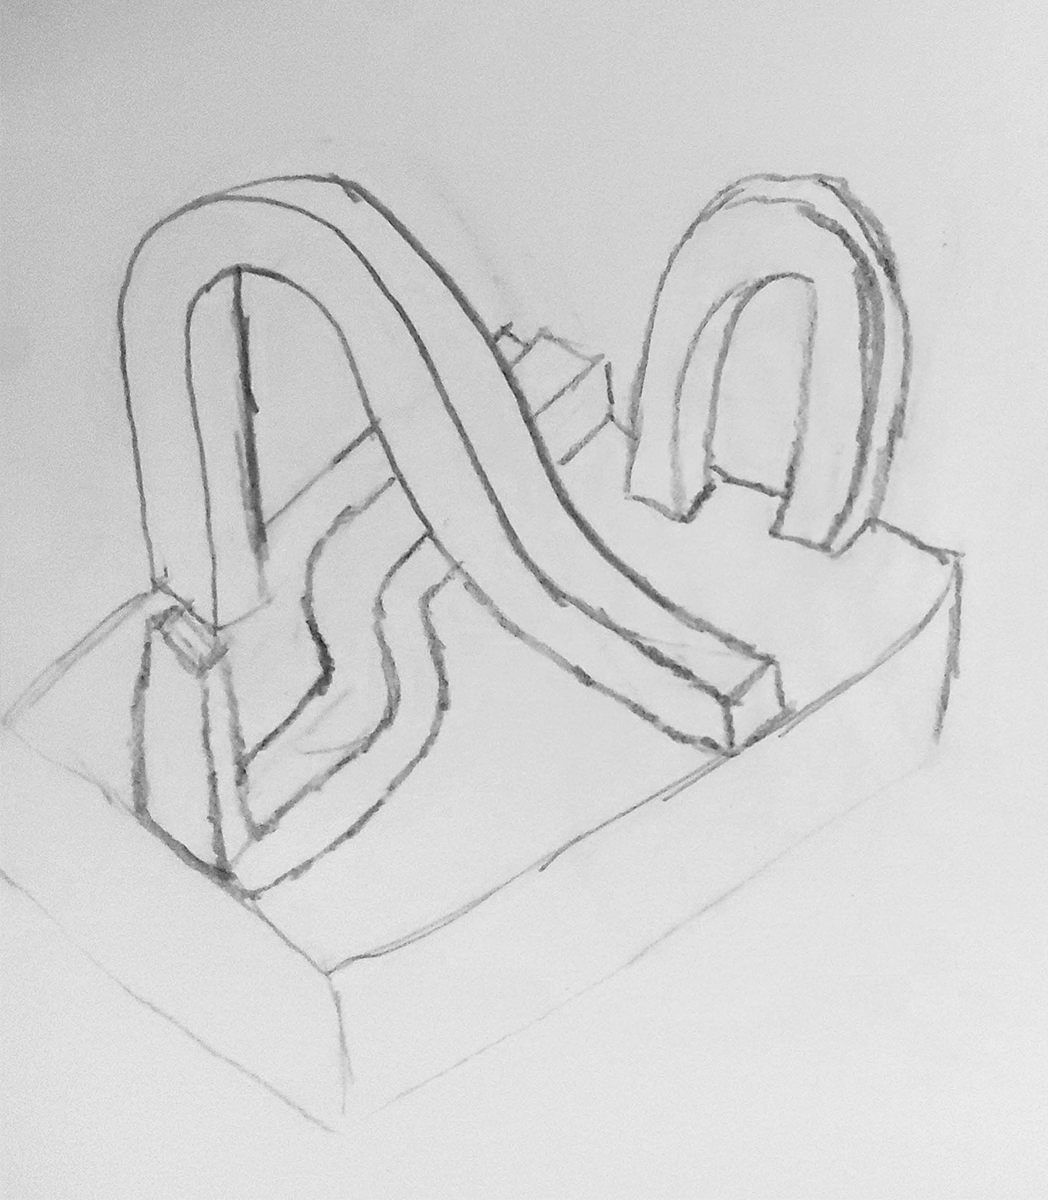
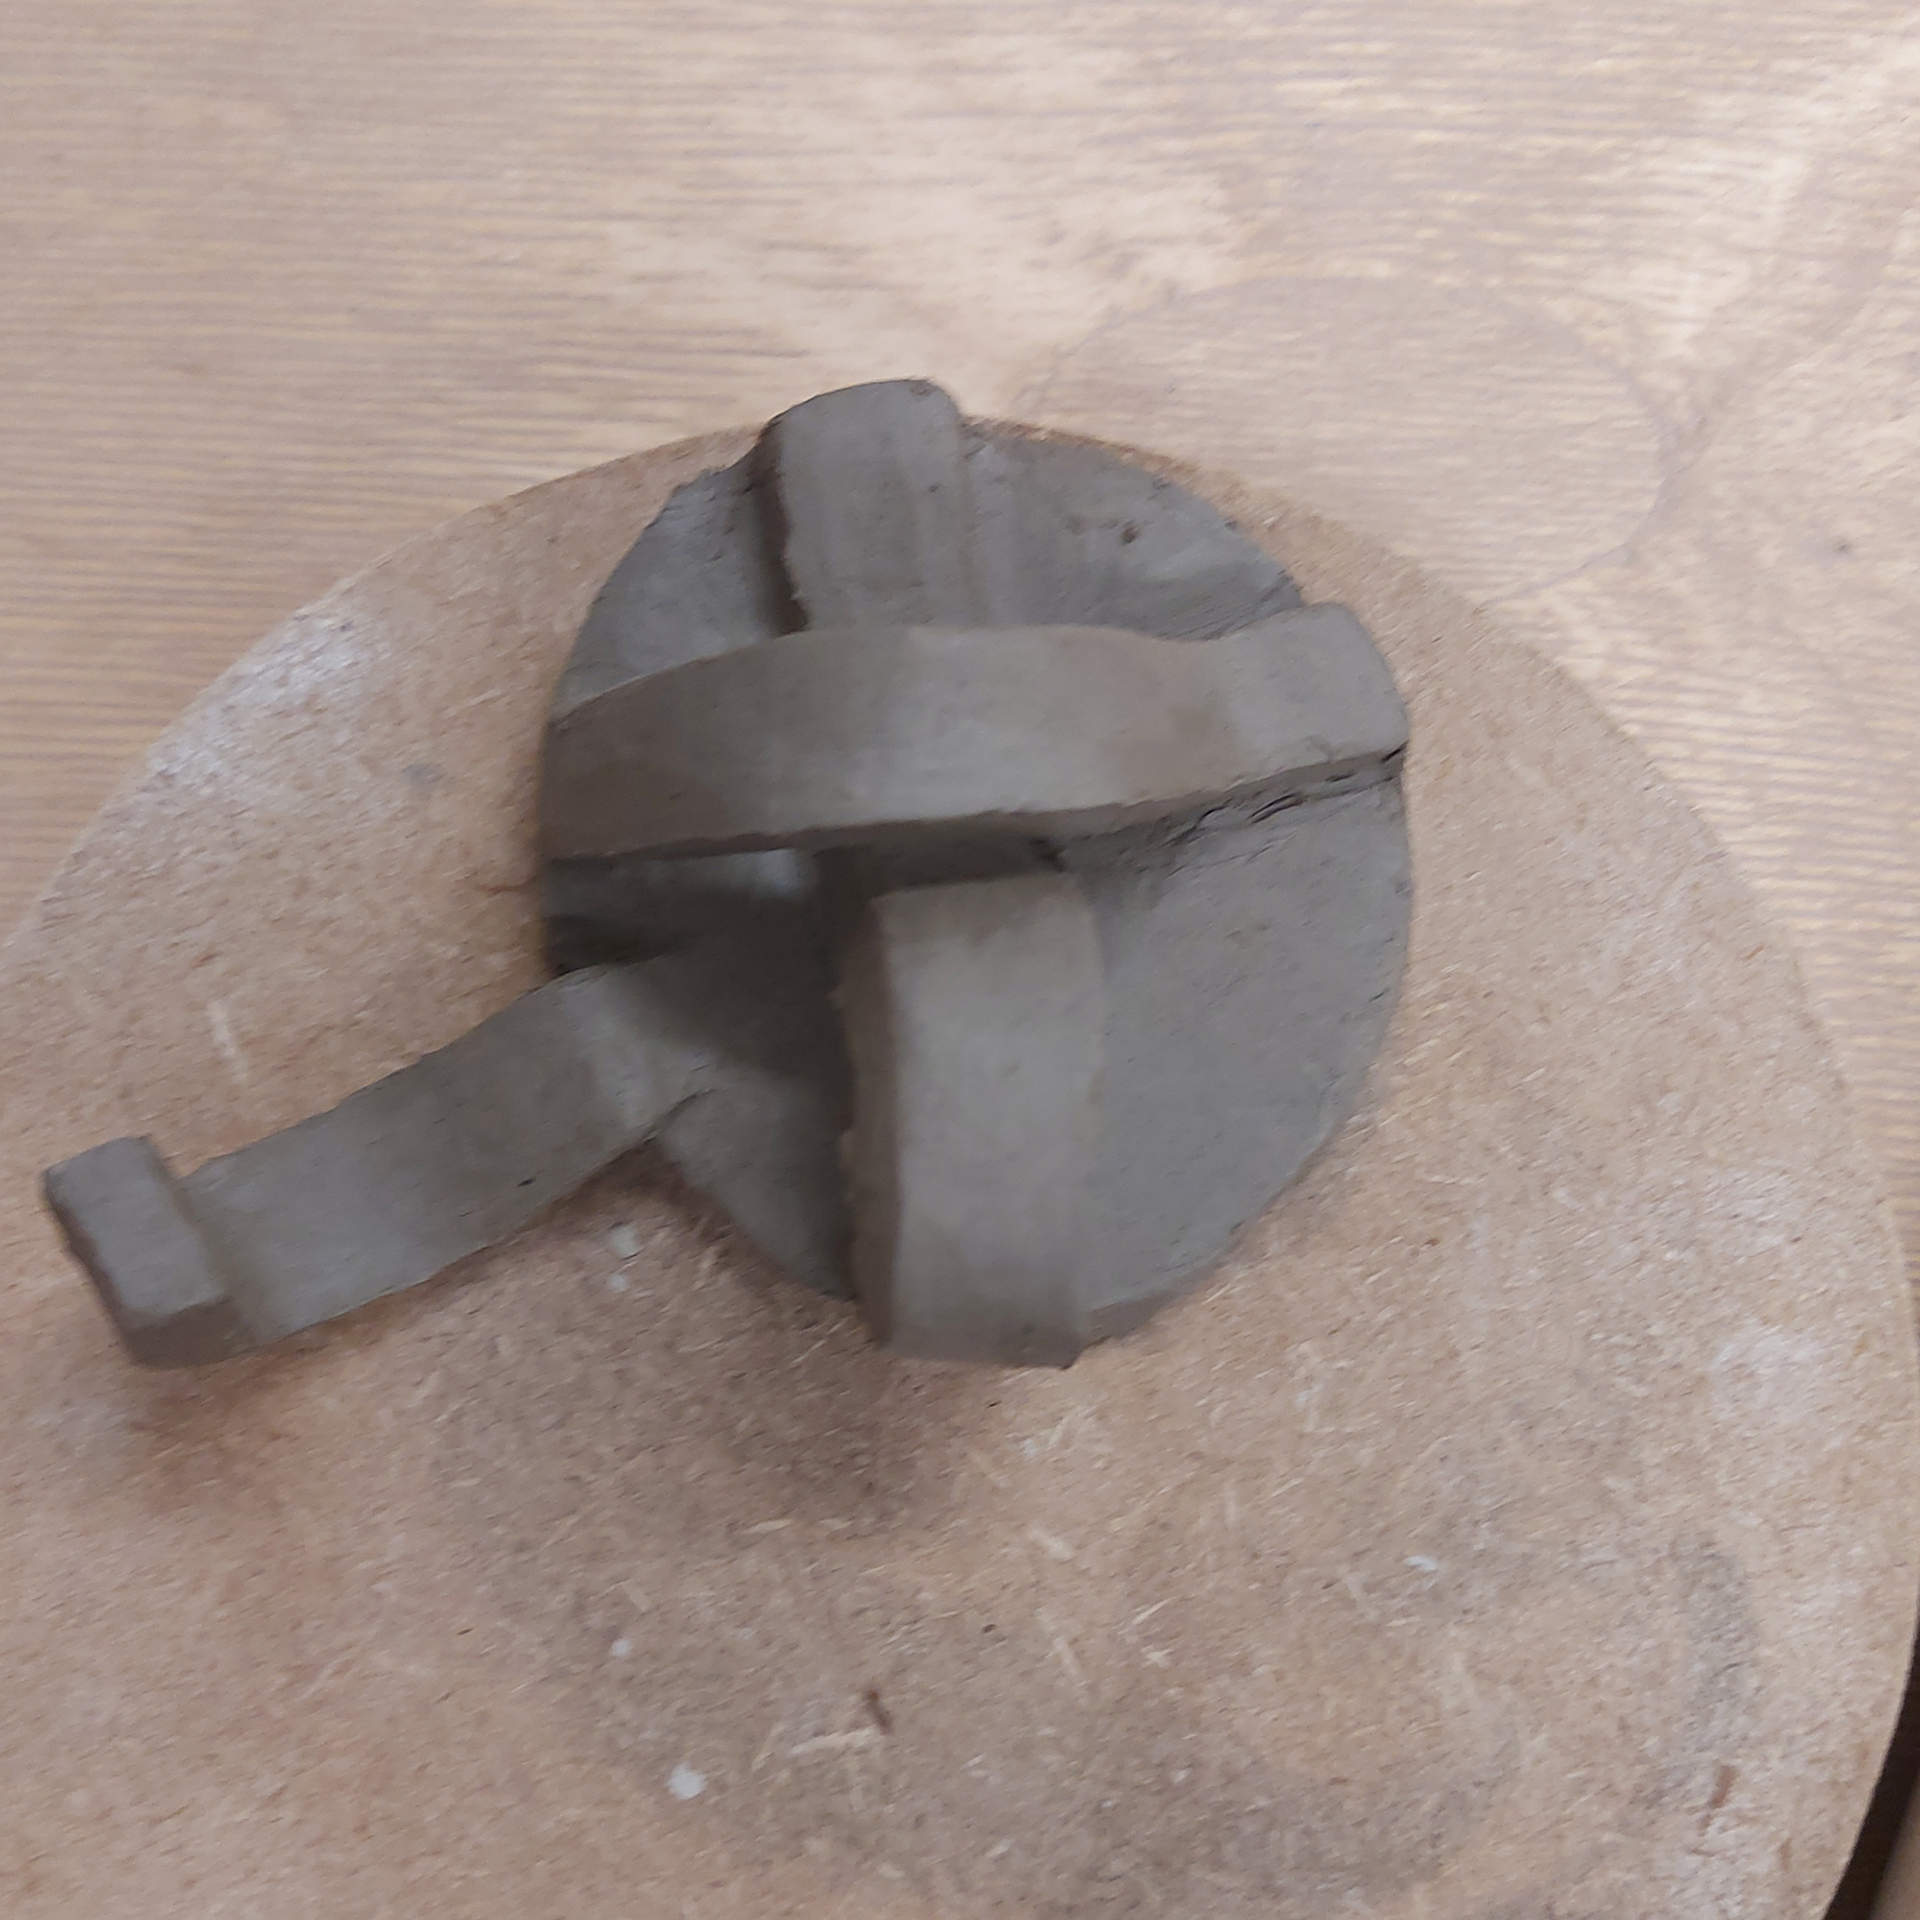
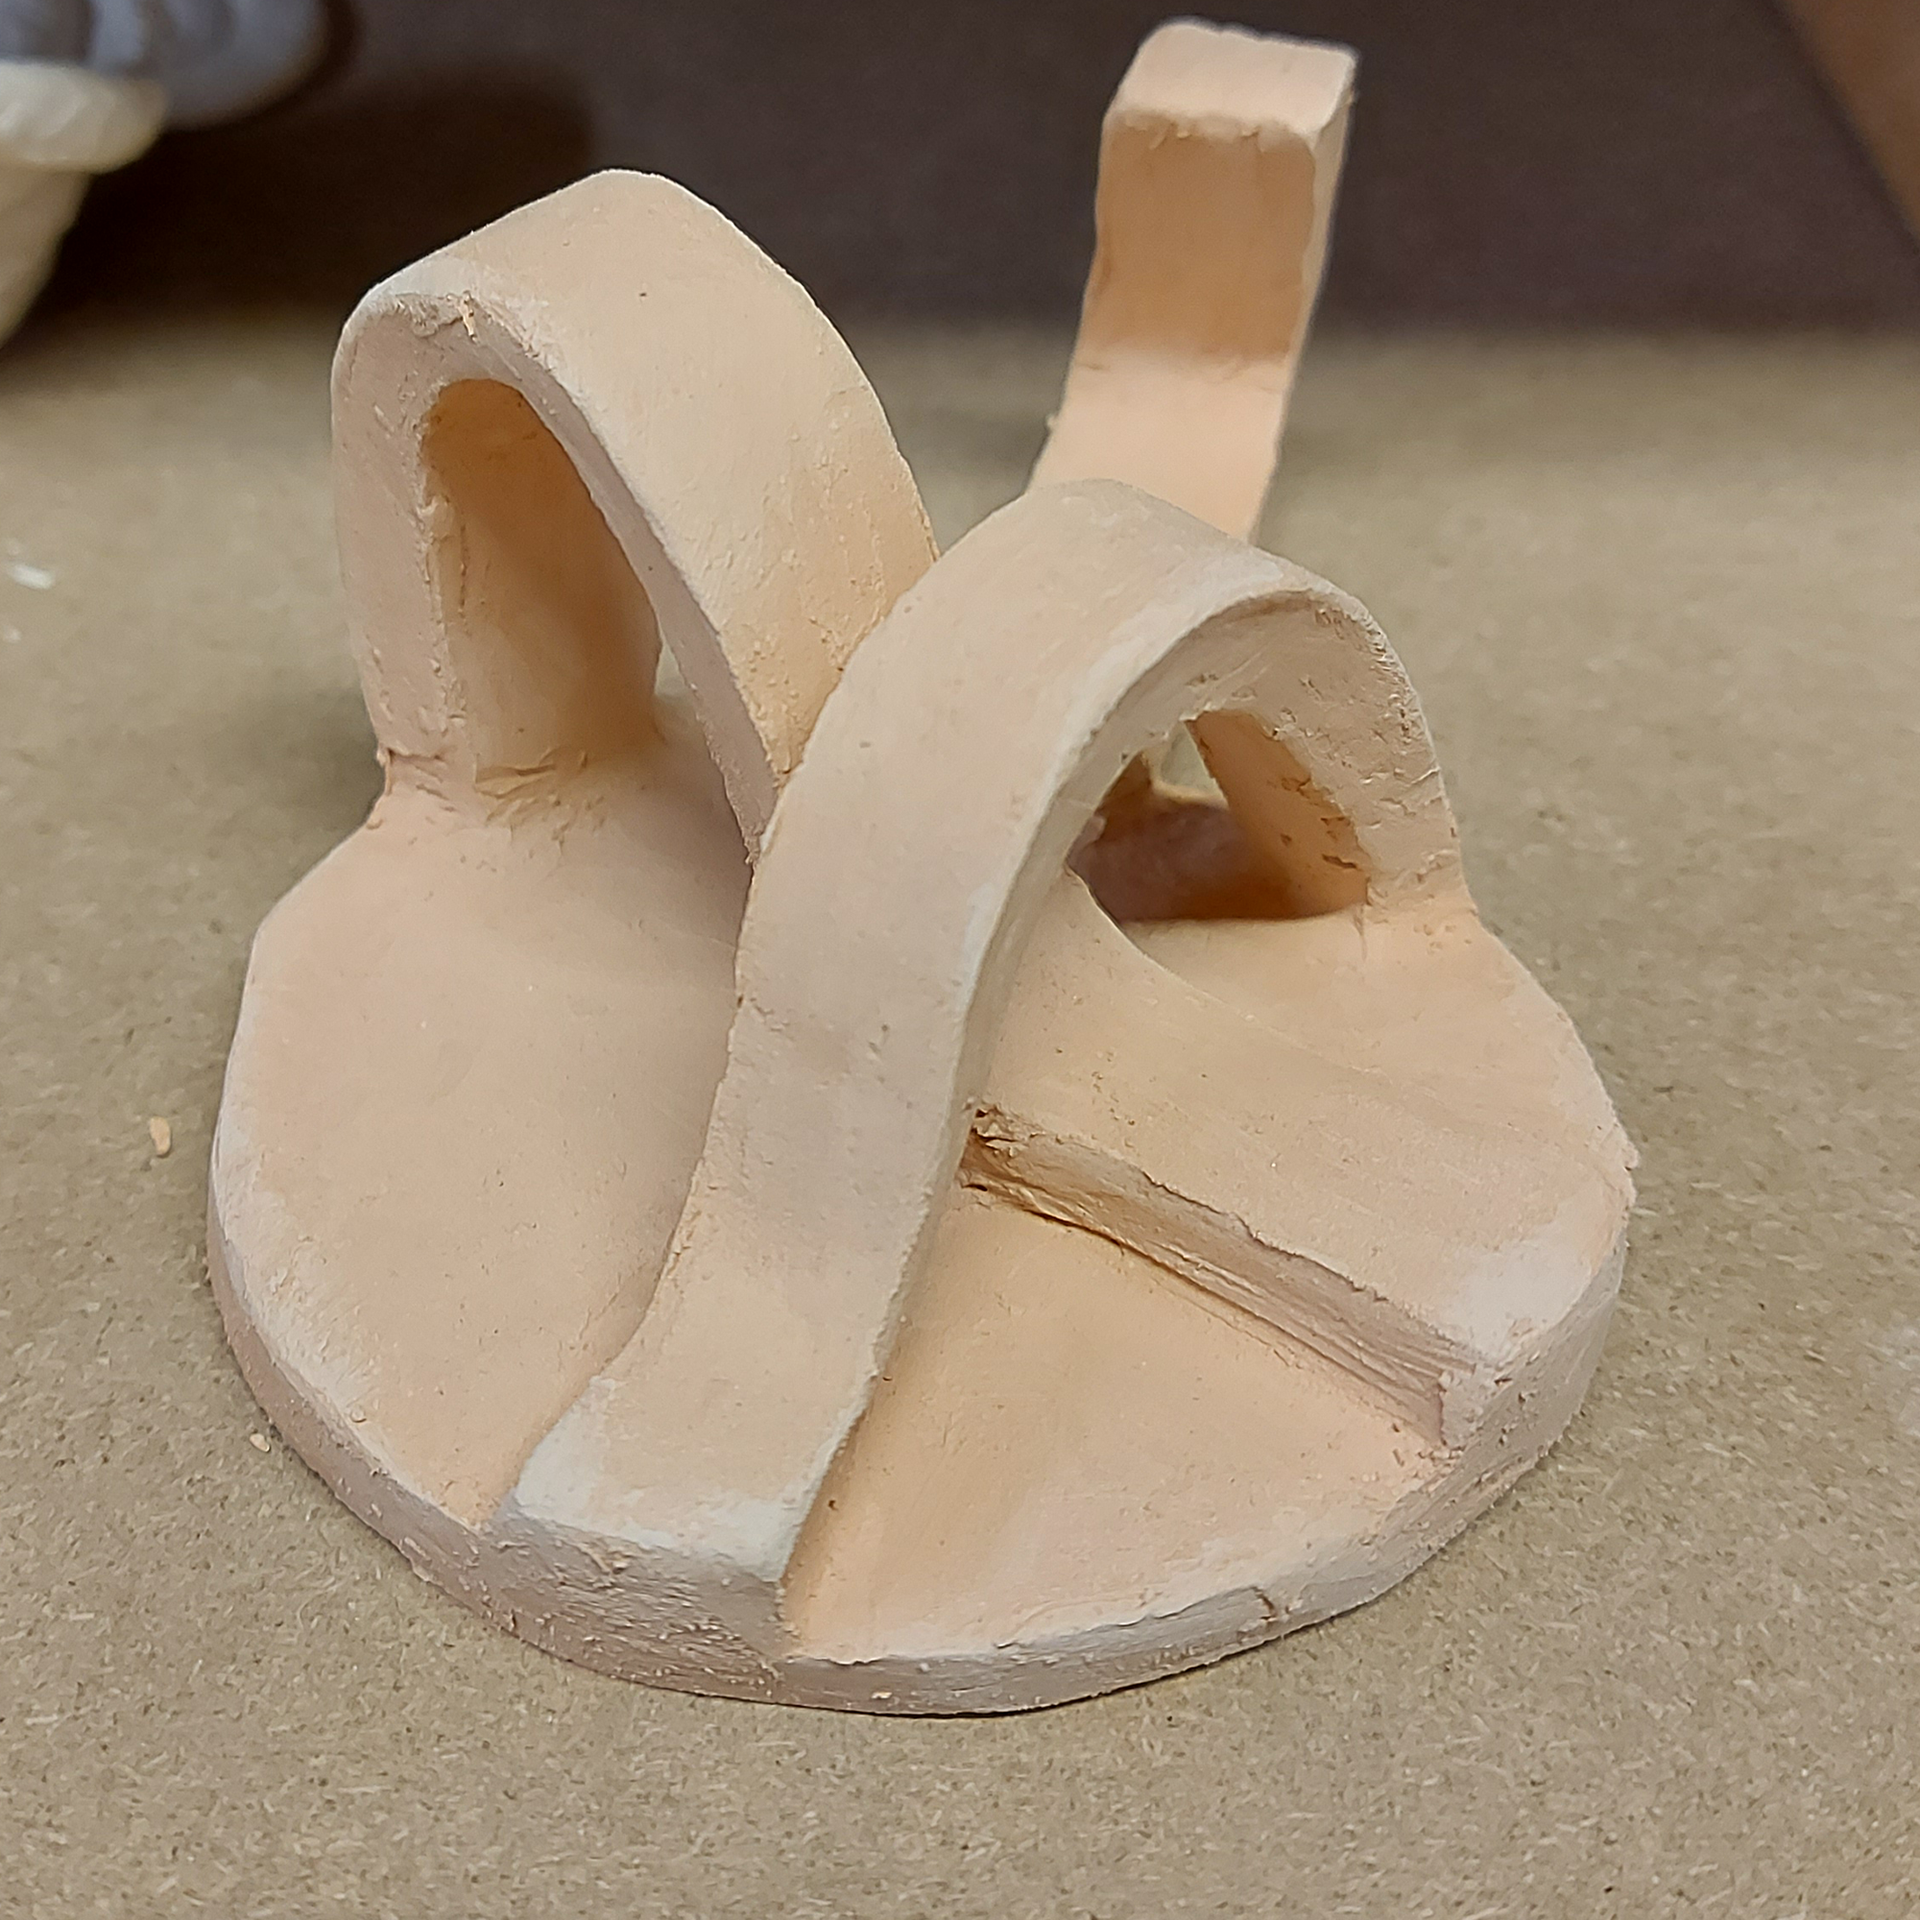
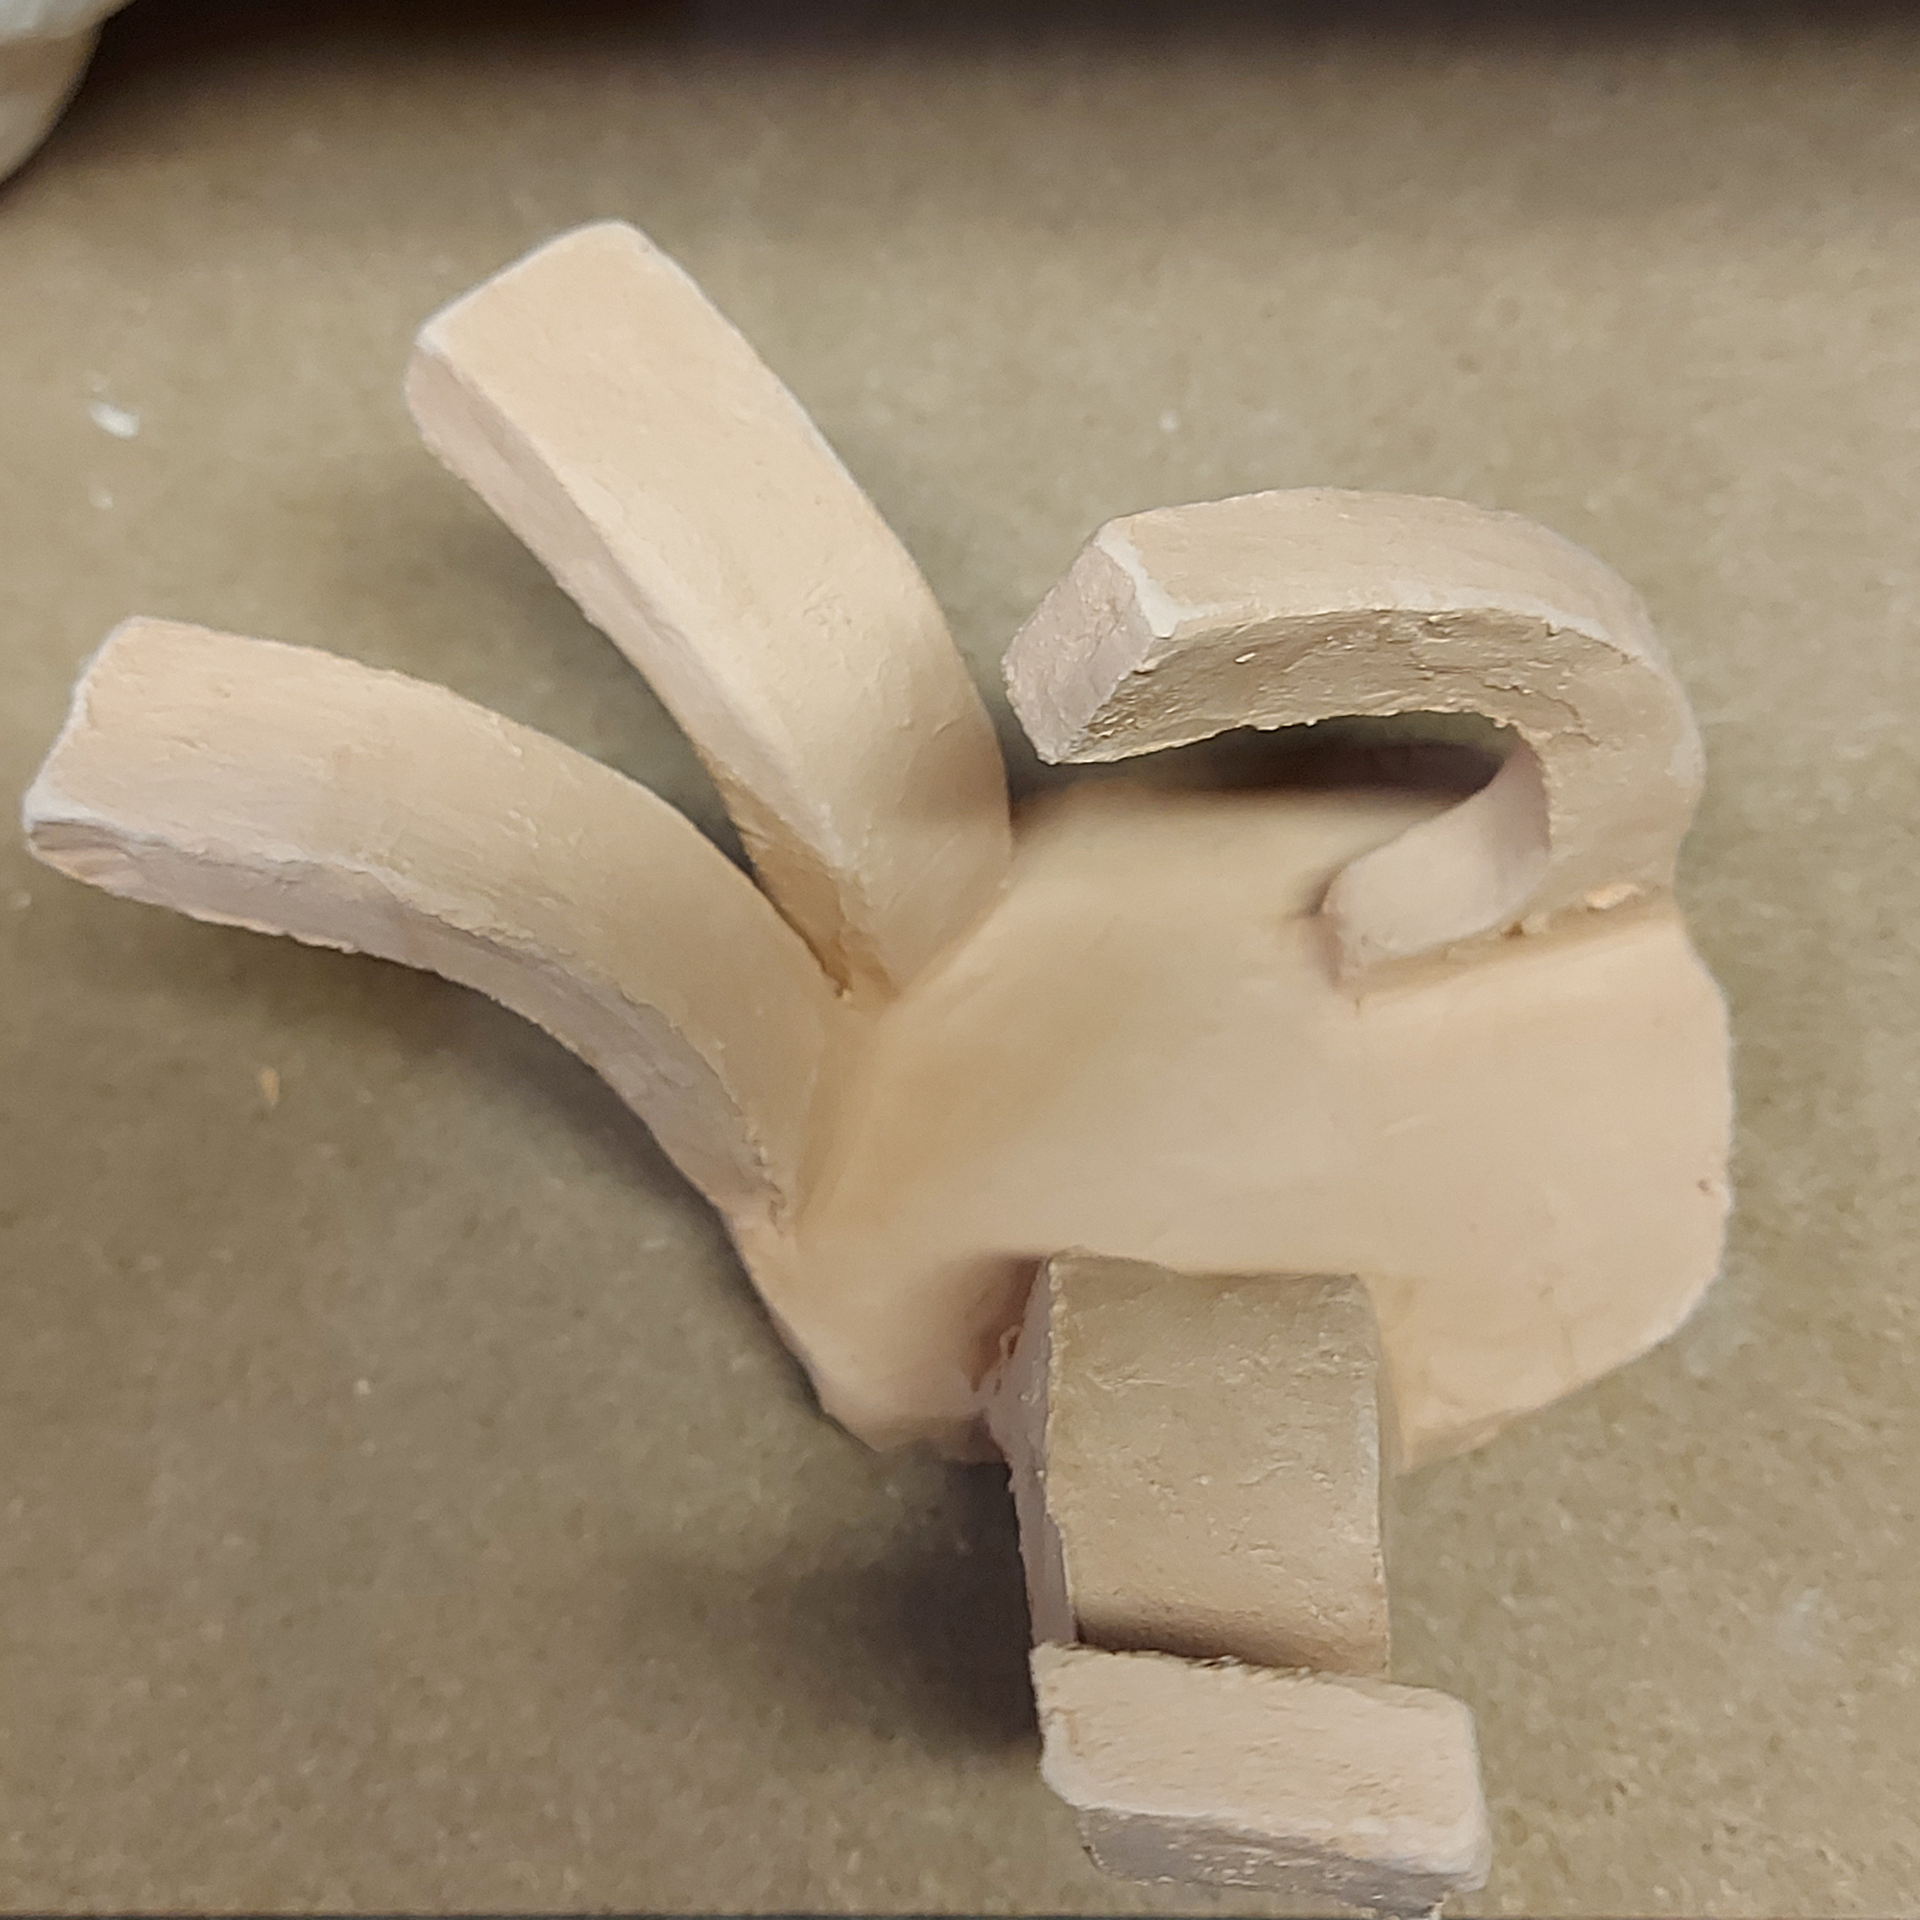
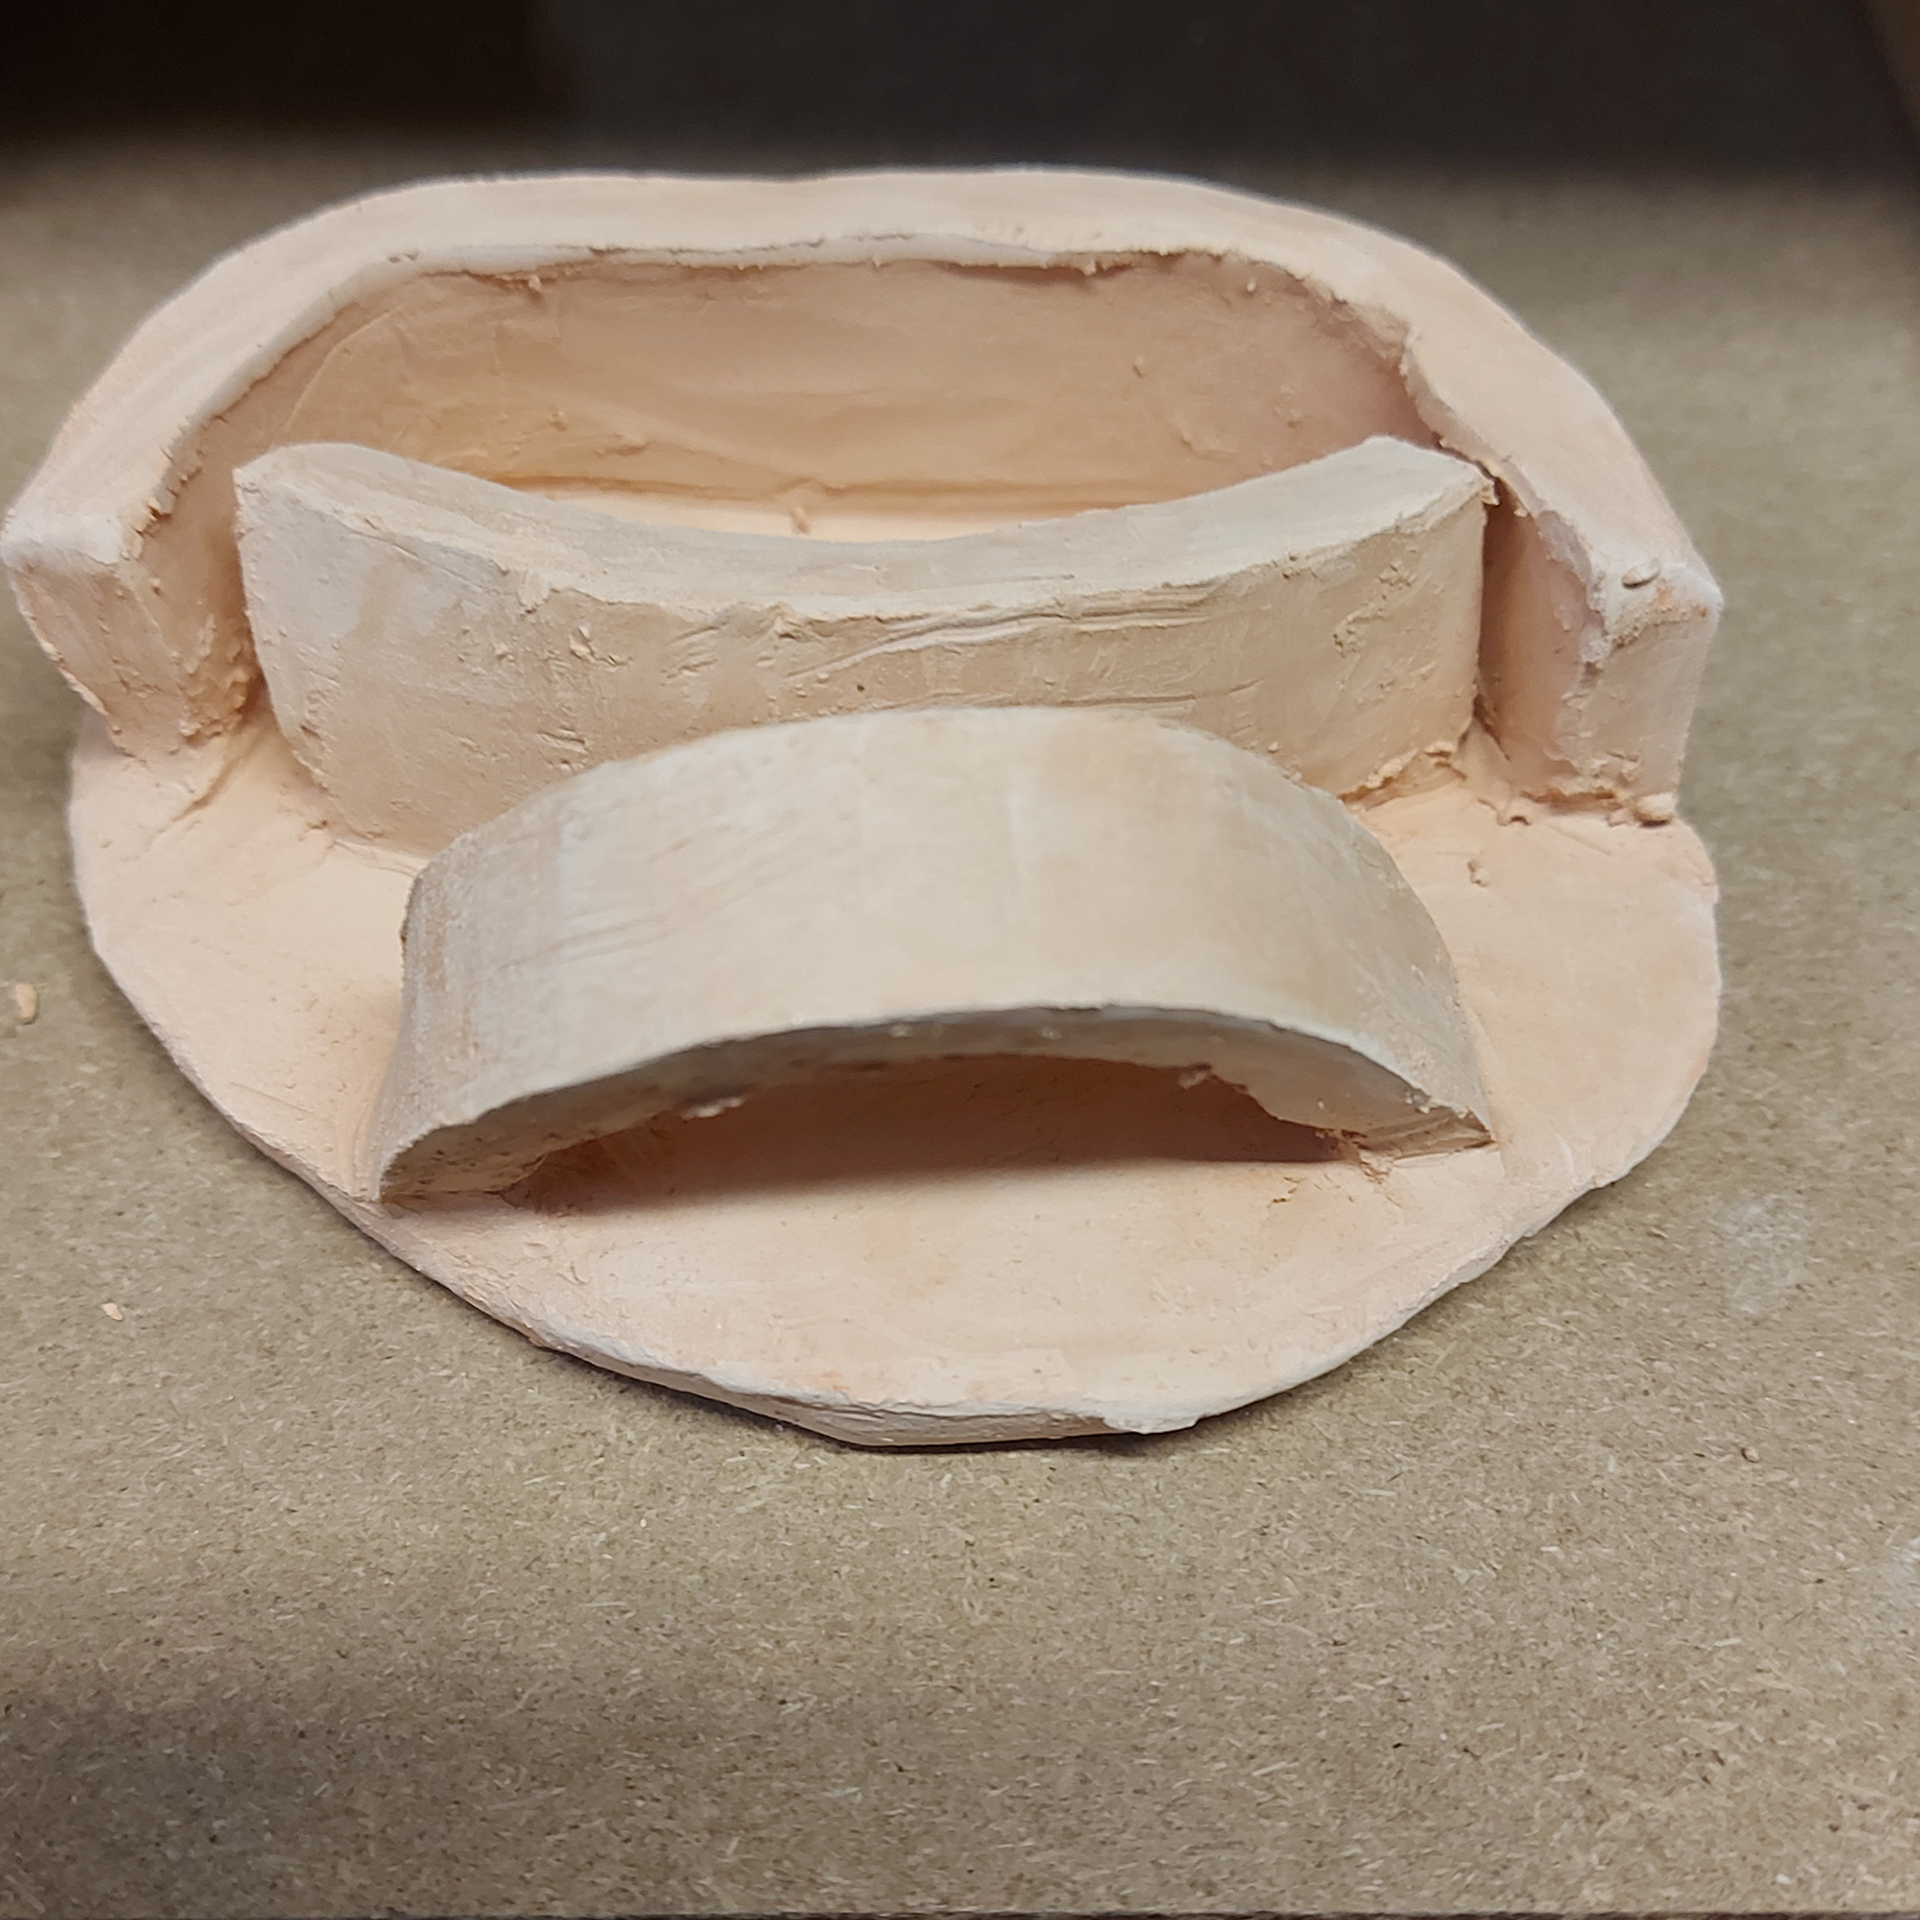
I then decided to expand from a storage idea for pens and include different ways to store elastic bands. Inspired by elastic band balls, I wanted to create a more fluid approach to storing elastic bands that also included movement. Thinking of different ways to shape different strips of clay, I created these three different shapes that would be able to stretch the elastic bands and hold them in different ways. This relates to play as it challenges the user to place elastic bands in different positions, creating a piece where the elastic bands become a visual aspect of the piece.
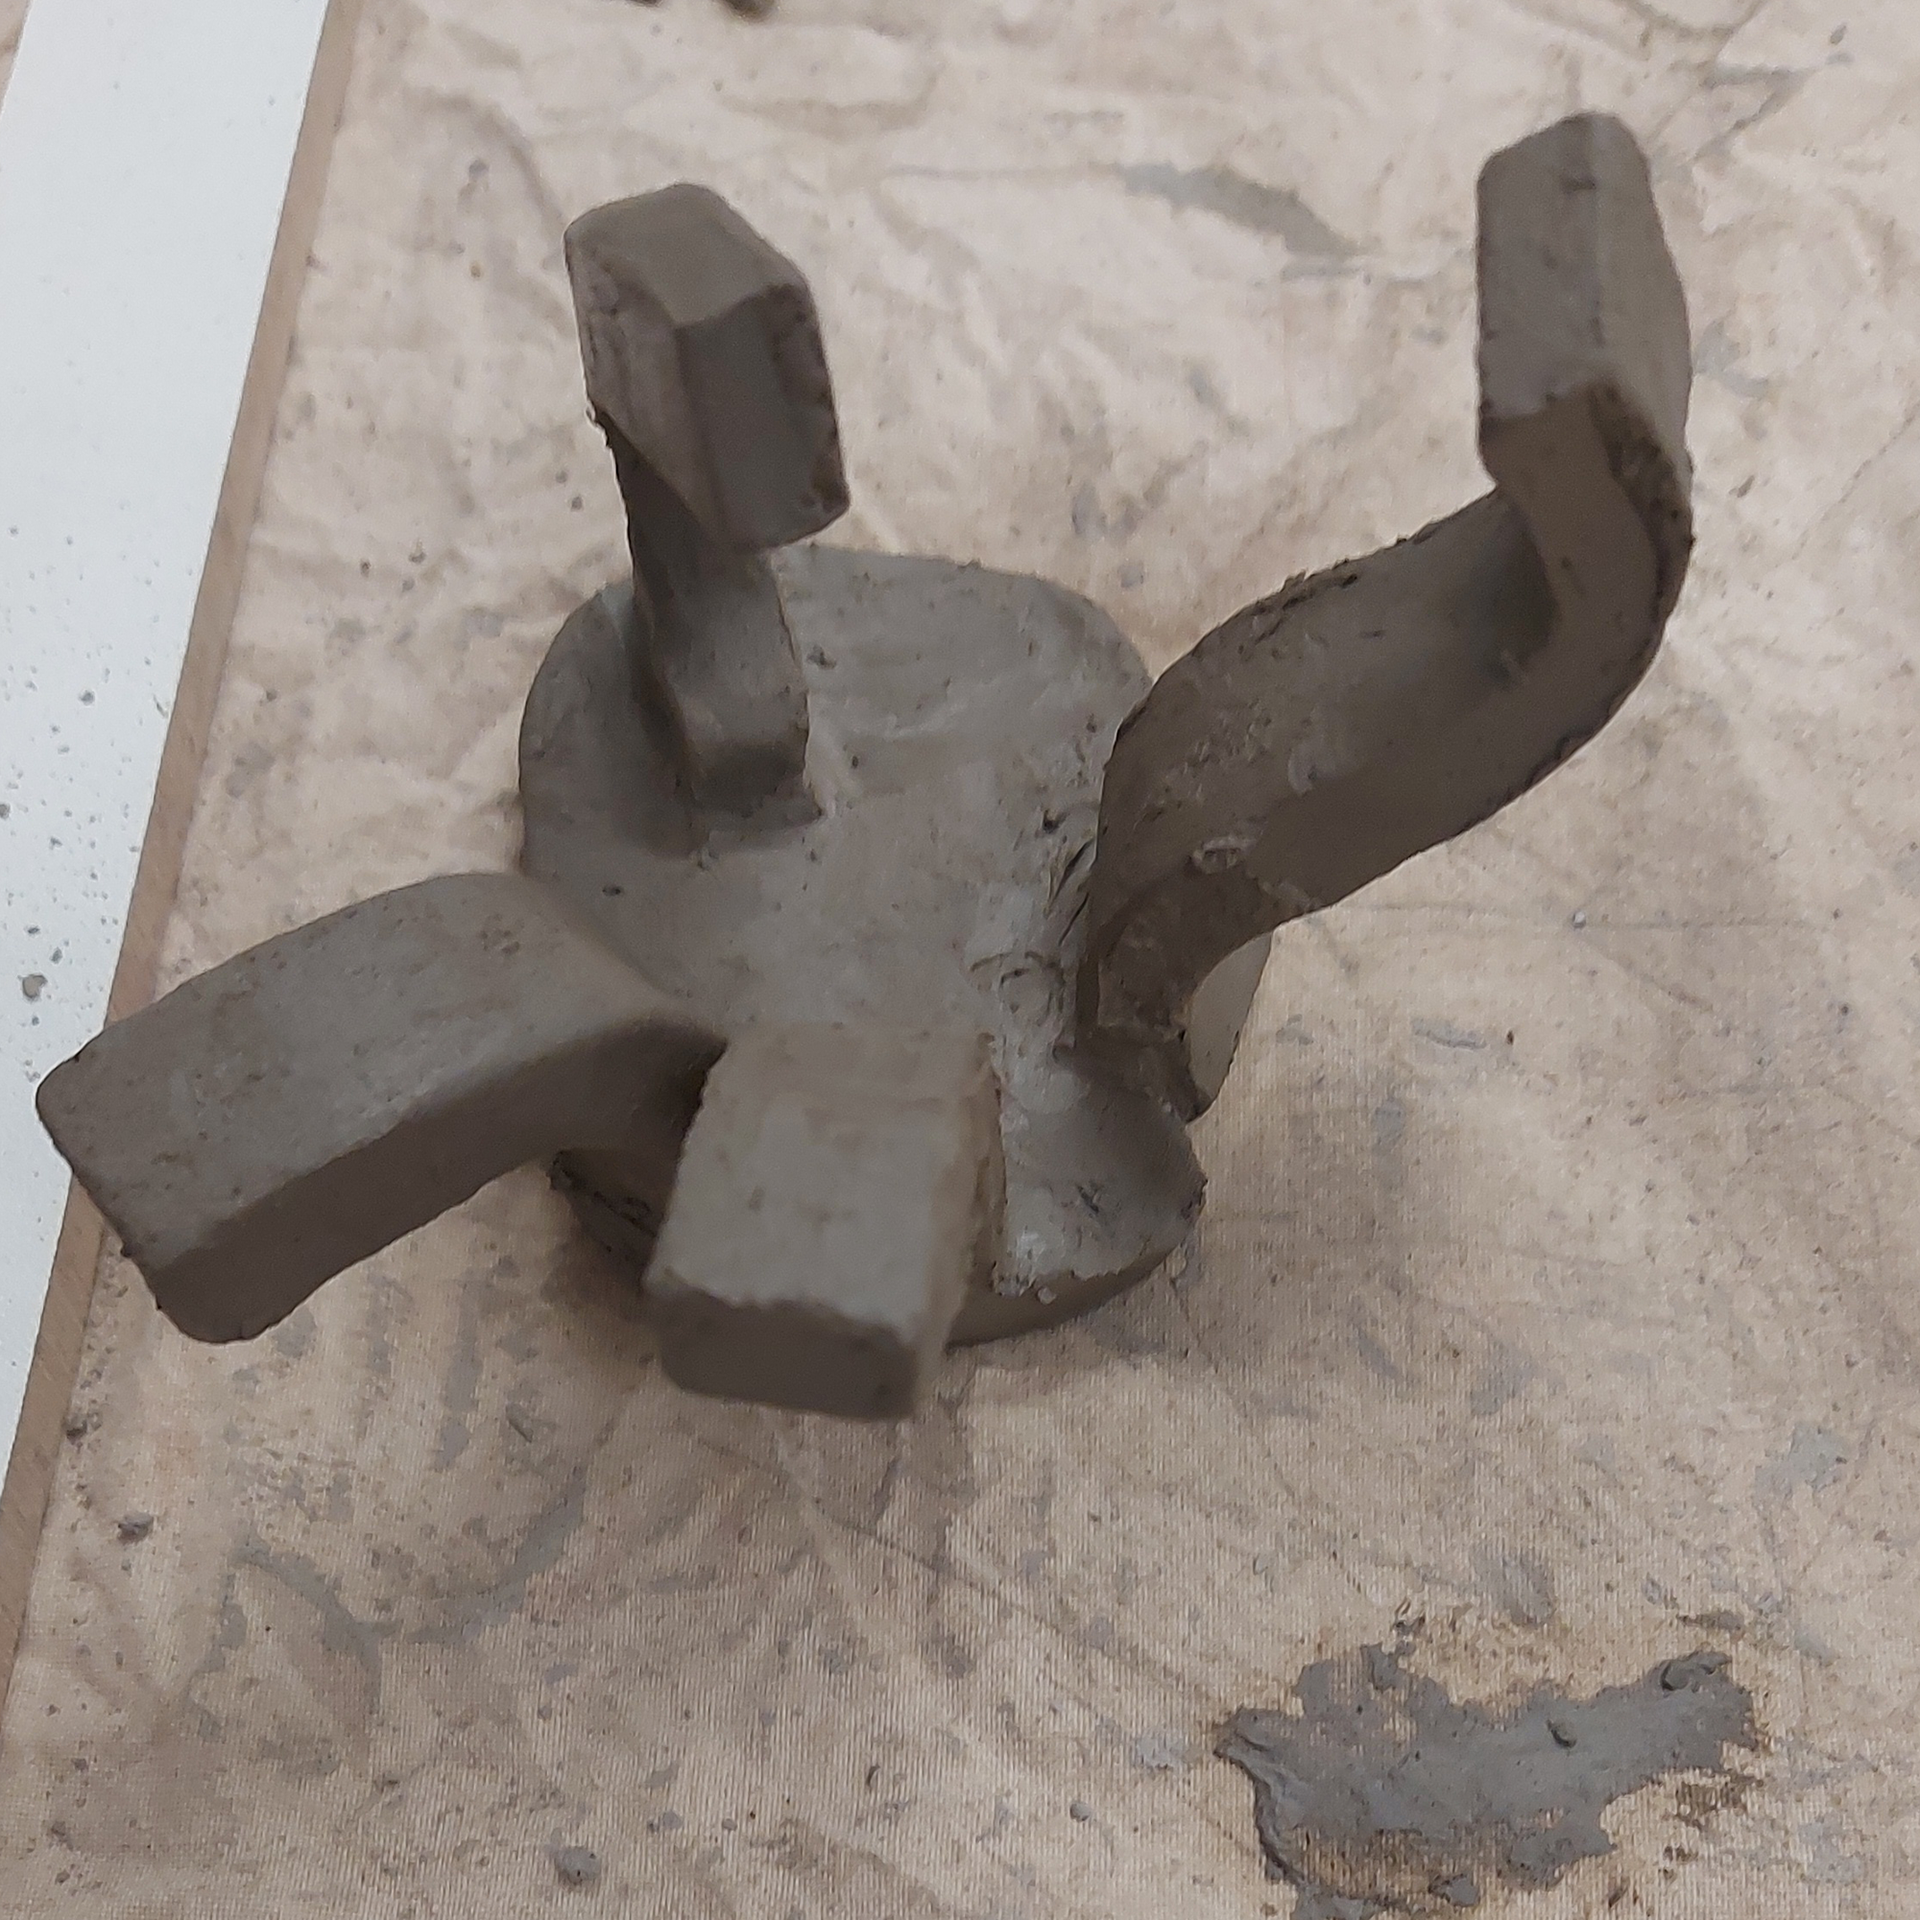

I then went on to create a larger version of the pen pot from the previous Understanding Context unit. I chose for the clay for this pen pot to be thicker, however, this meant I couldn't make a cylindrical shape as I had previously planned. I could have made the pot thinner but I did not want to do that as I thought the graduated holes in the pot that taper slightly would not be able to taper enough for the pencil to hold still in the hole, but have enough space to move around. I then decided to go back to a previous shape that I had been modelling with, the hexagon. I cut 6 different rectangular parts and carved the tapered holes into them before attaching them together using the slab building technique. The pattern I used for the holes was an alternating two vertical holes then one in the middle on the next slab. This was a small model that would include less pencils than I would like, the holes were also very big. I also realised that I put the tapers of the holes the wrong way around so I would need to fix this in my next model.
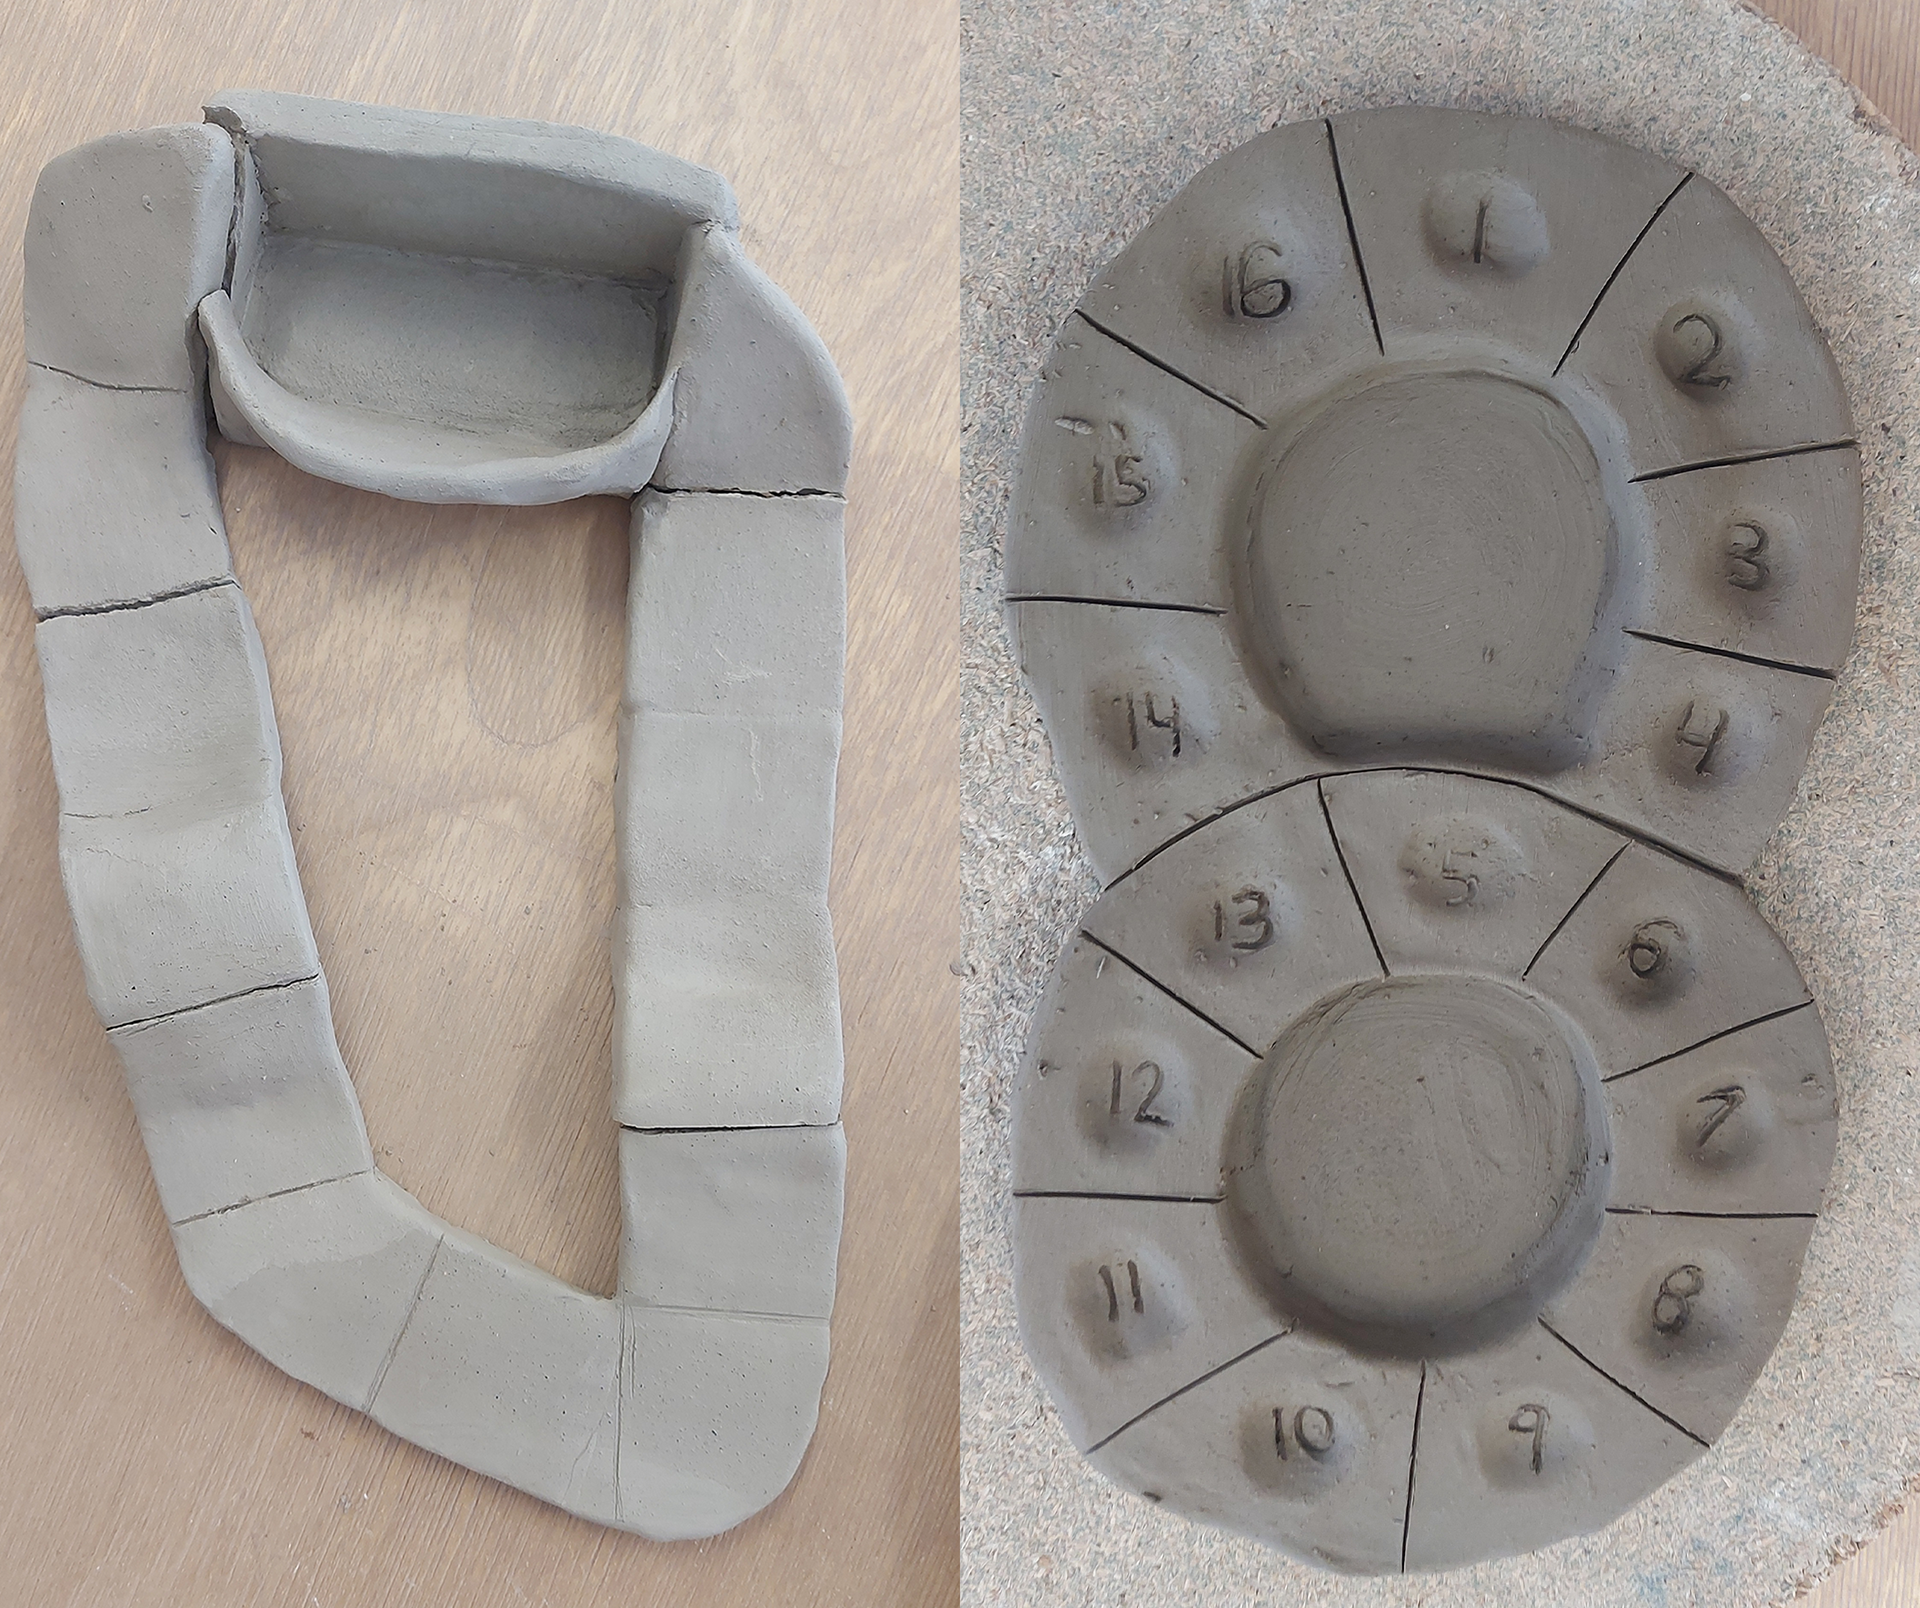
These two models took inspiration from board games and was meant as a storage vessel for paper clips. The first piece was a track that had humps on two parts of it so that there was some dynamic movement. This proved difficult during this process of using hump moulds as the piece would tend to go in a different direction. It was also difficult to attach the paper clip holder due to the flat clay having to bend up to attach to the shape. Overall, this piece was a good lesson in learning what works when creating a ceramic board game and once it broke I decided to try a different approach. The second board game inspired piece was also a storage piece for paper clips and I decided to raise this figure of eight shape to create two dishes with a game around it. One idea I thought could work is rolling a one or two die and then trying to stack that many paperclips in that numbered space and if they fall over you lose. Another game could be to roll a die and the number that you get, it goes into the dish nearest to that number. this was quite a playful idea but the spaces for the paperclips weren't big enough for the paper clips to fit.
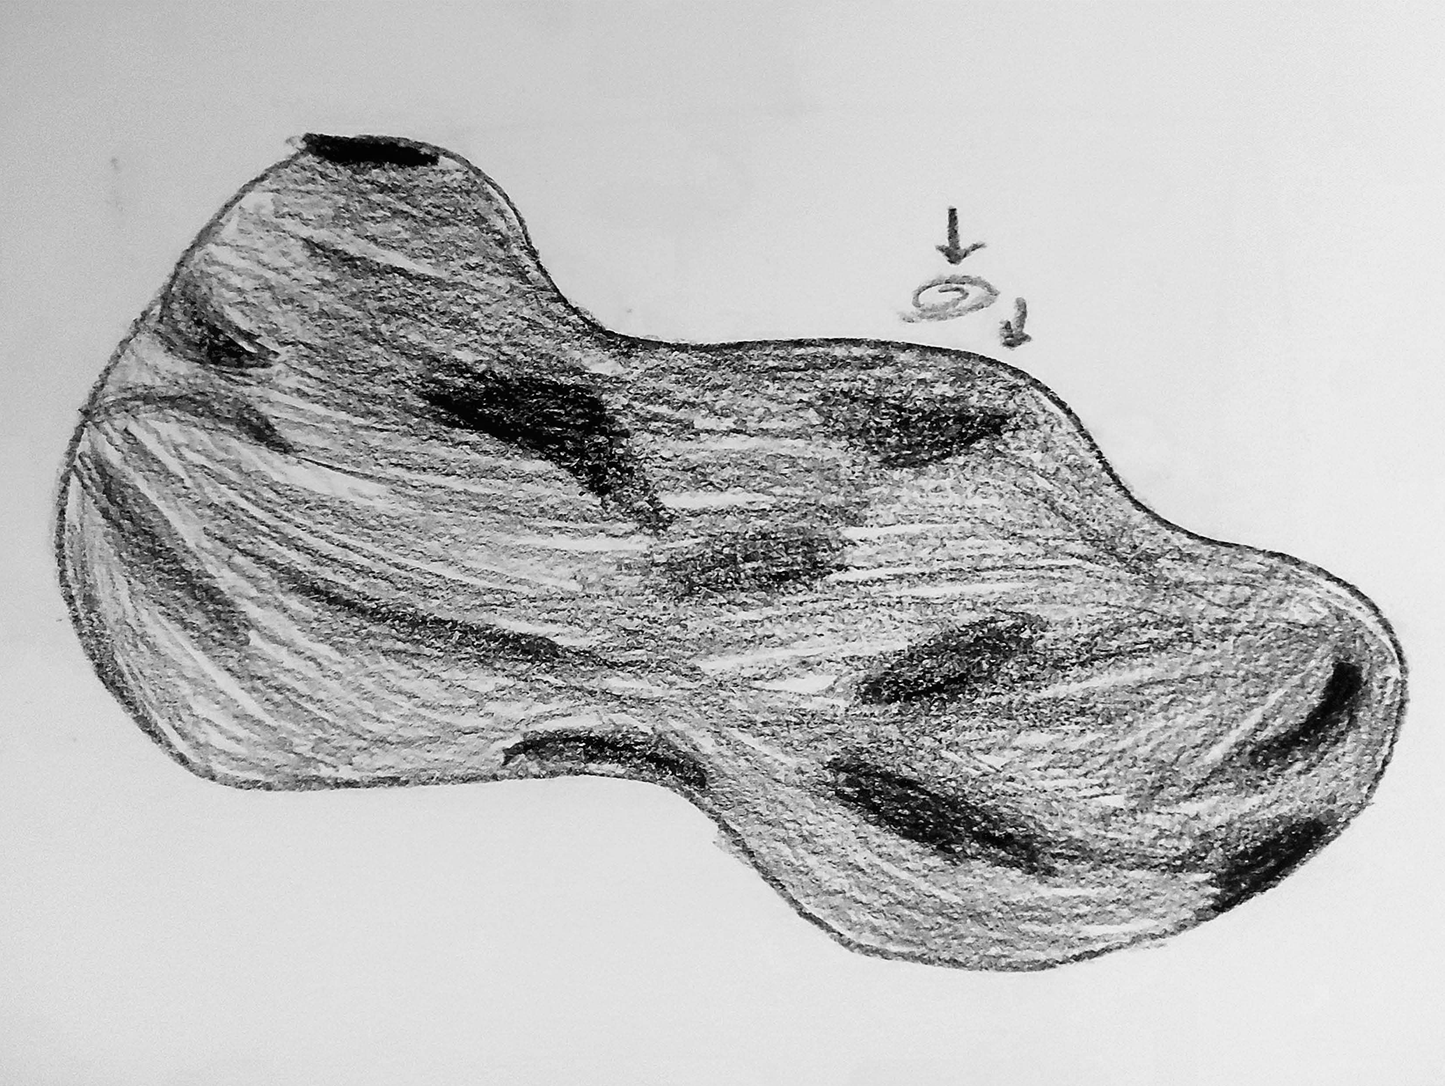
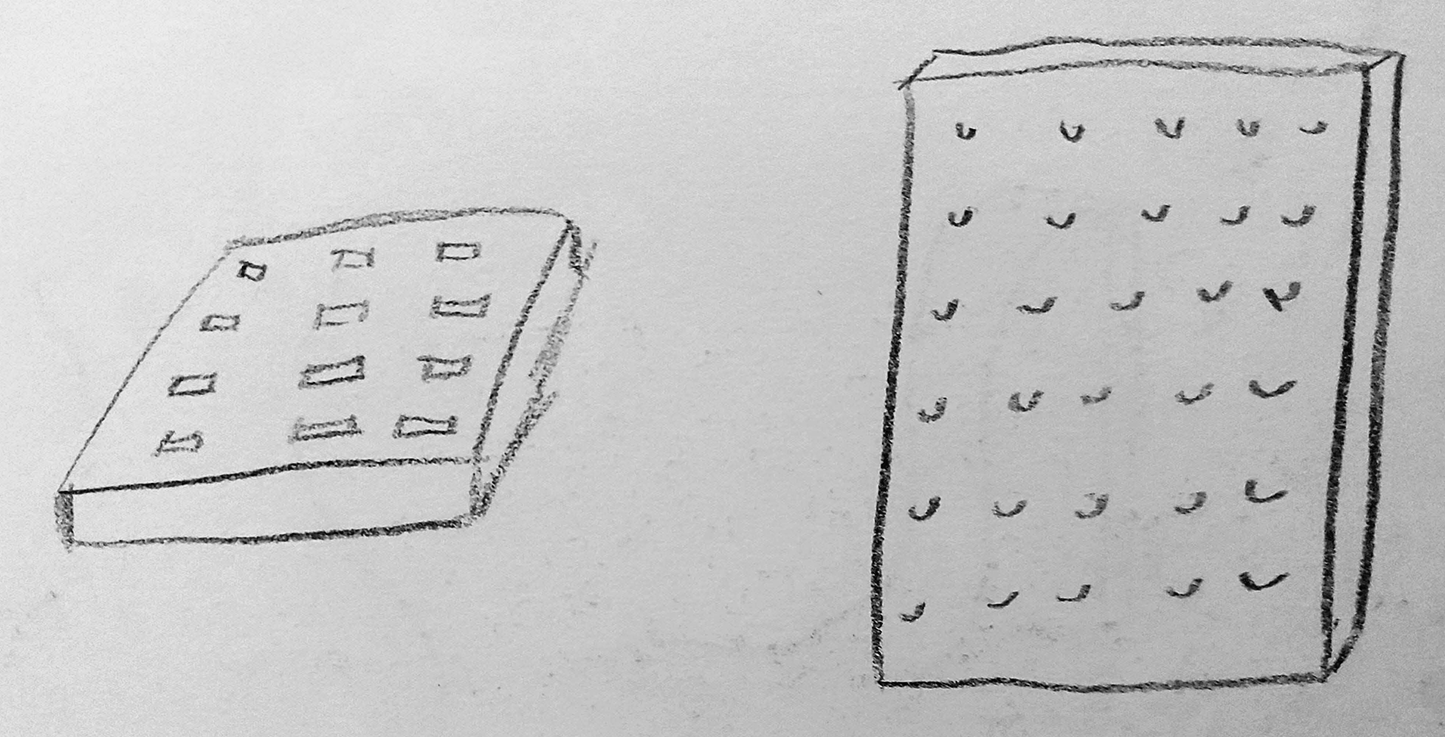
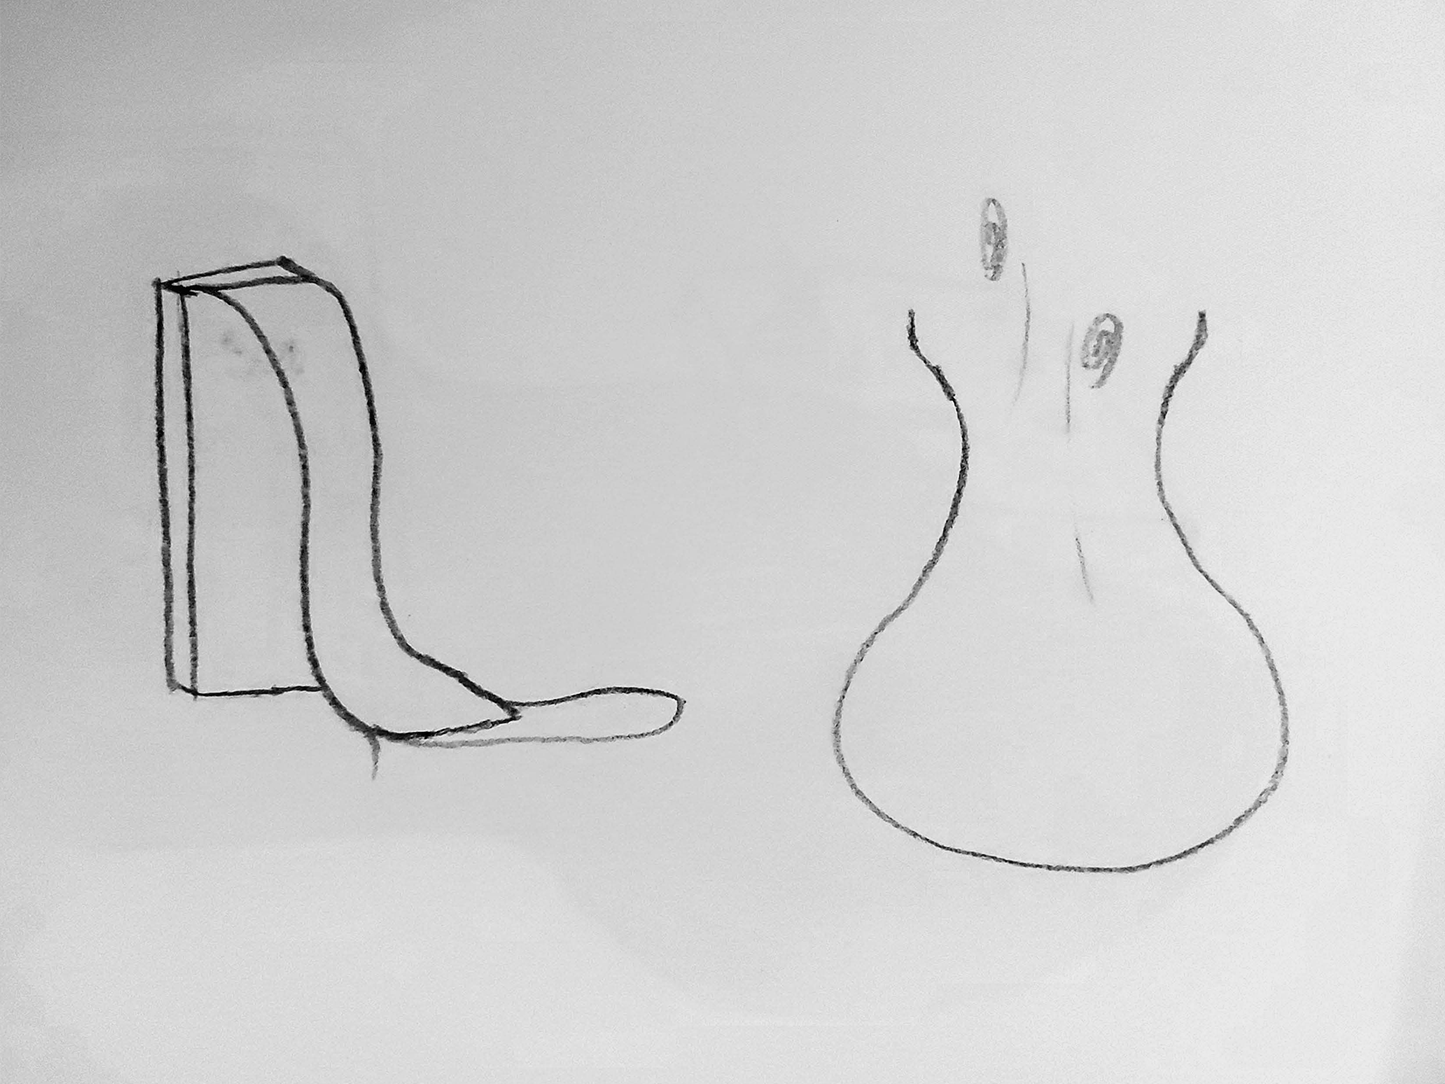
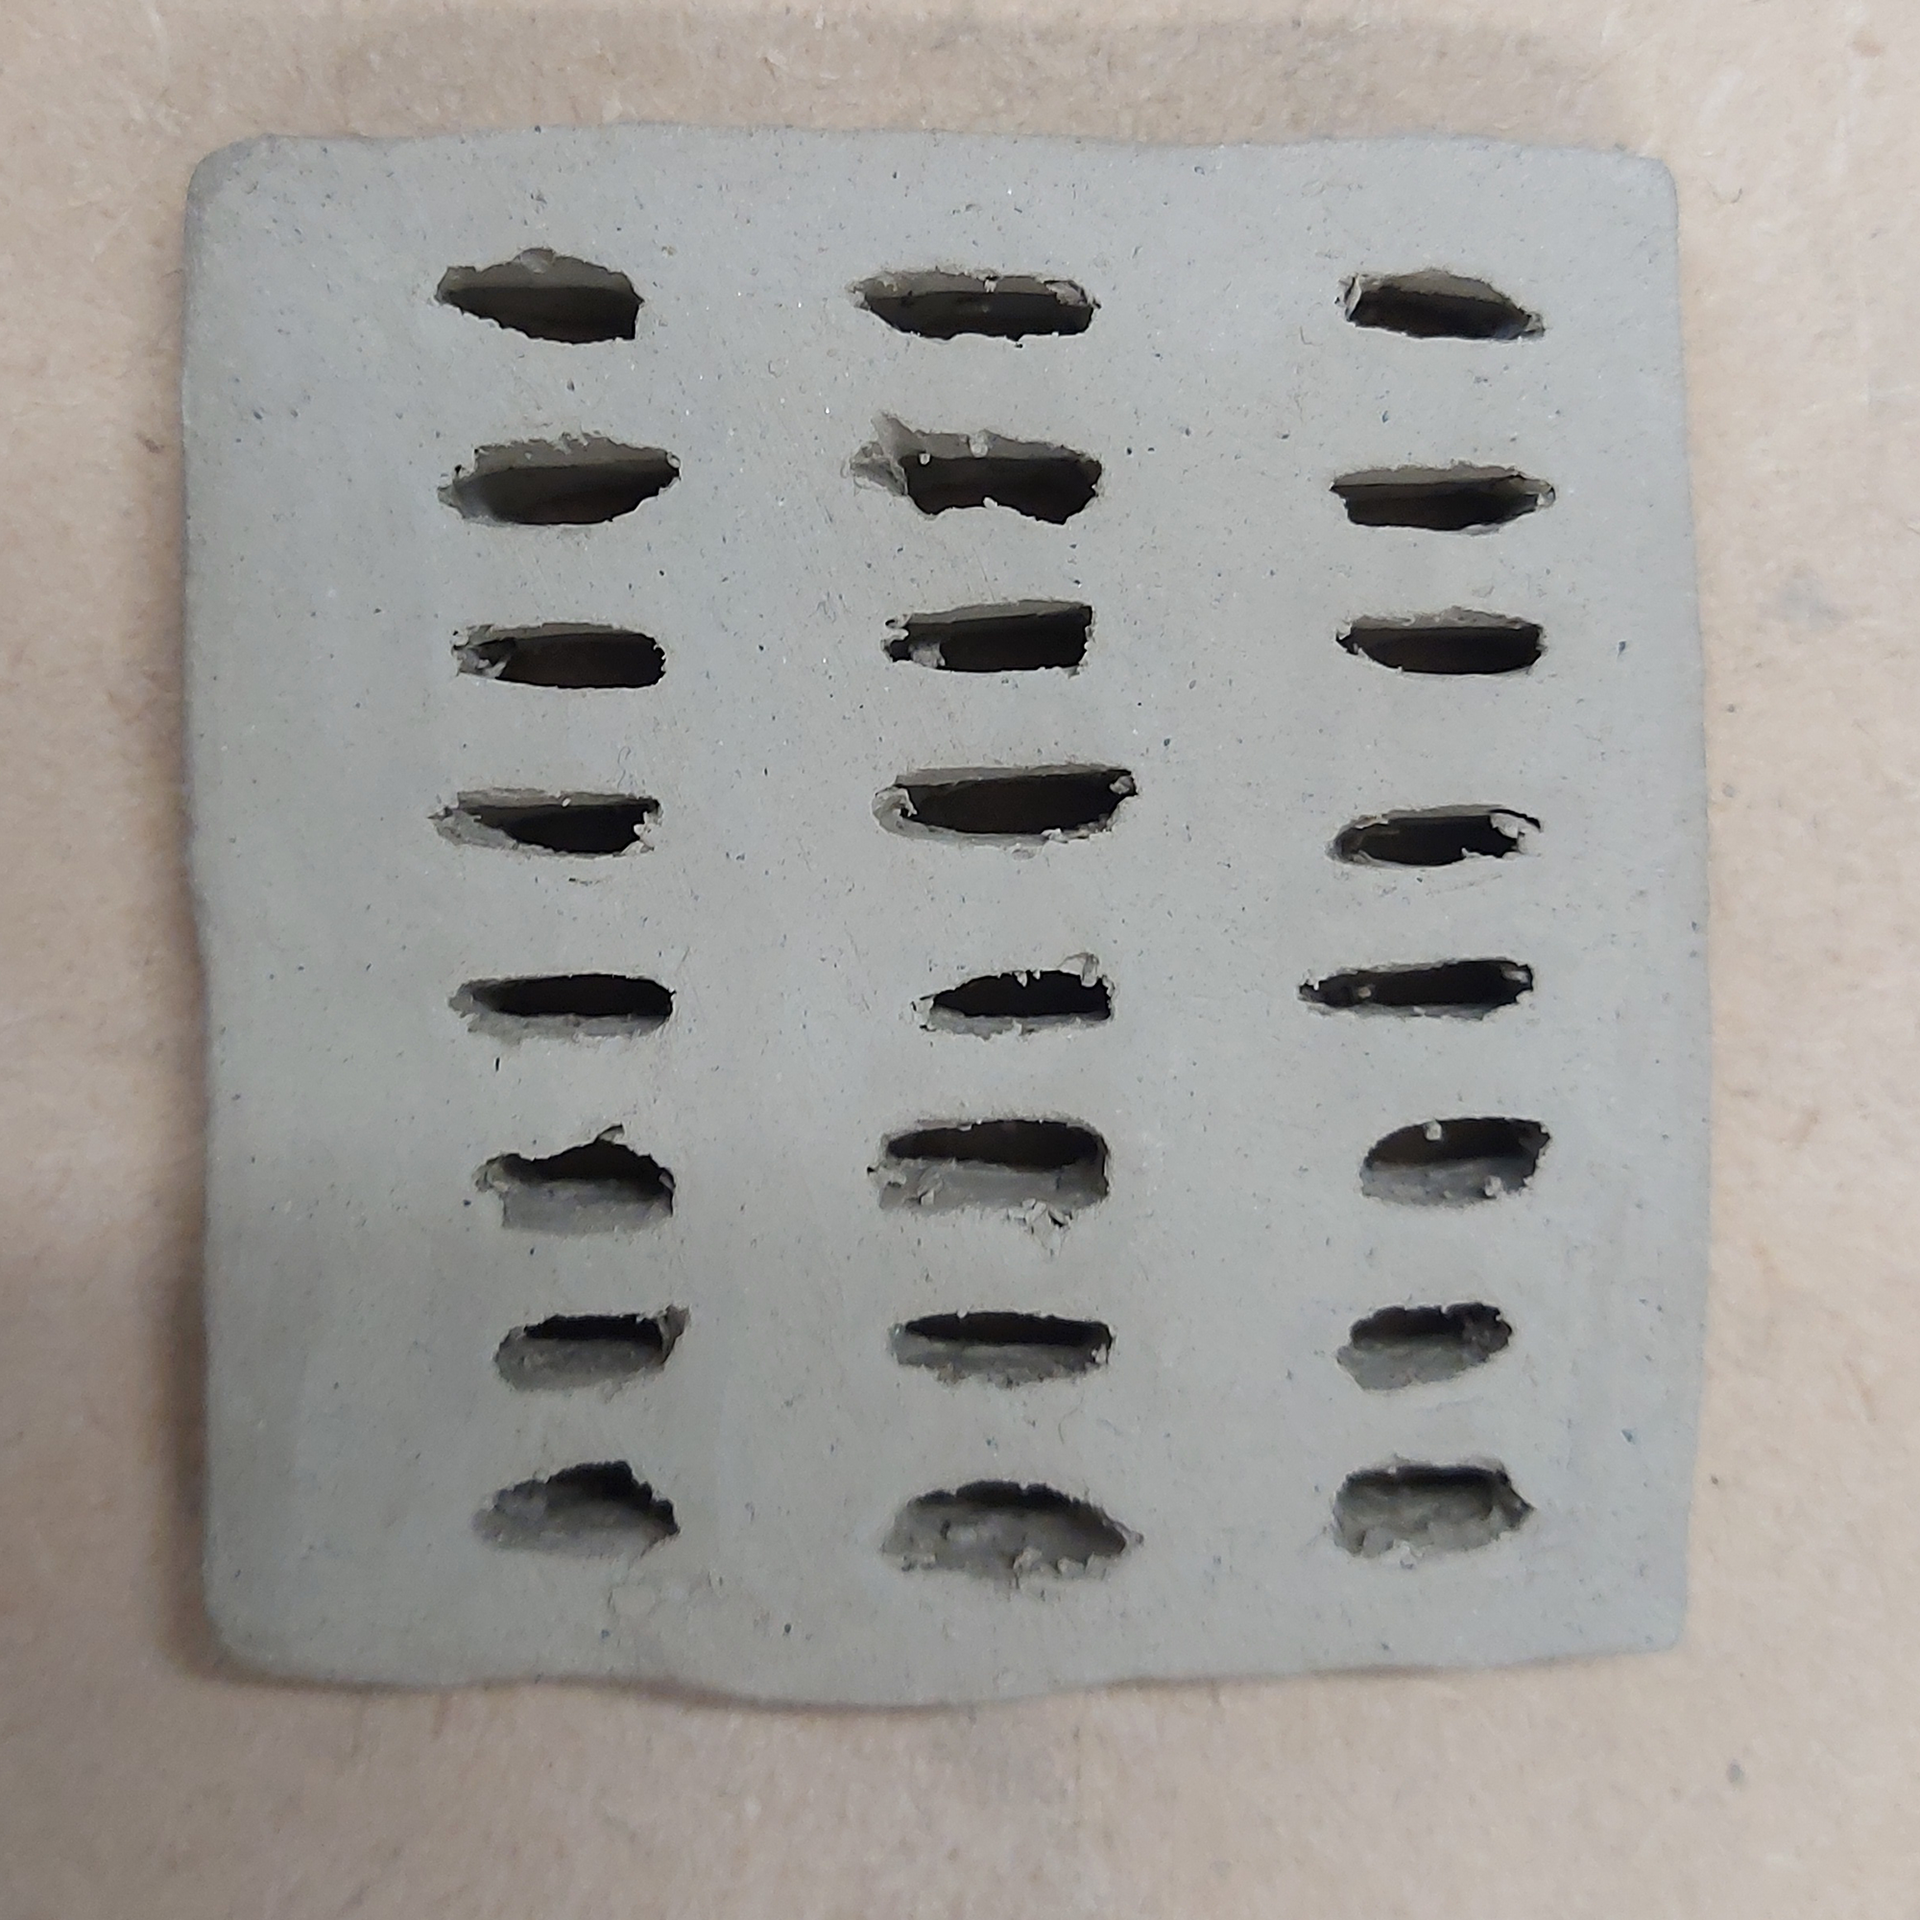
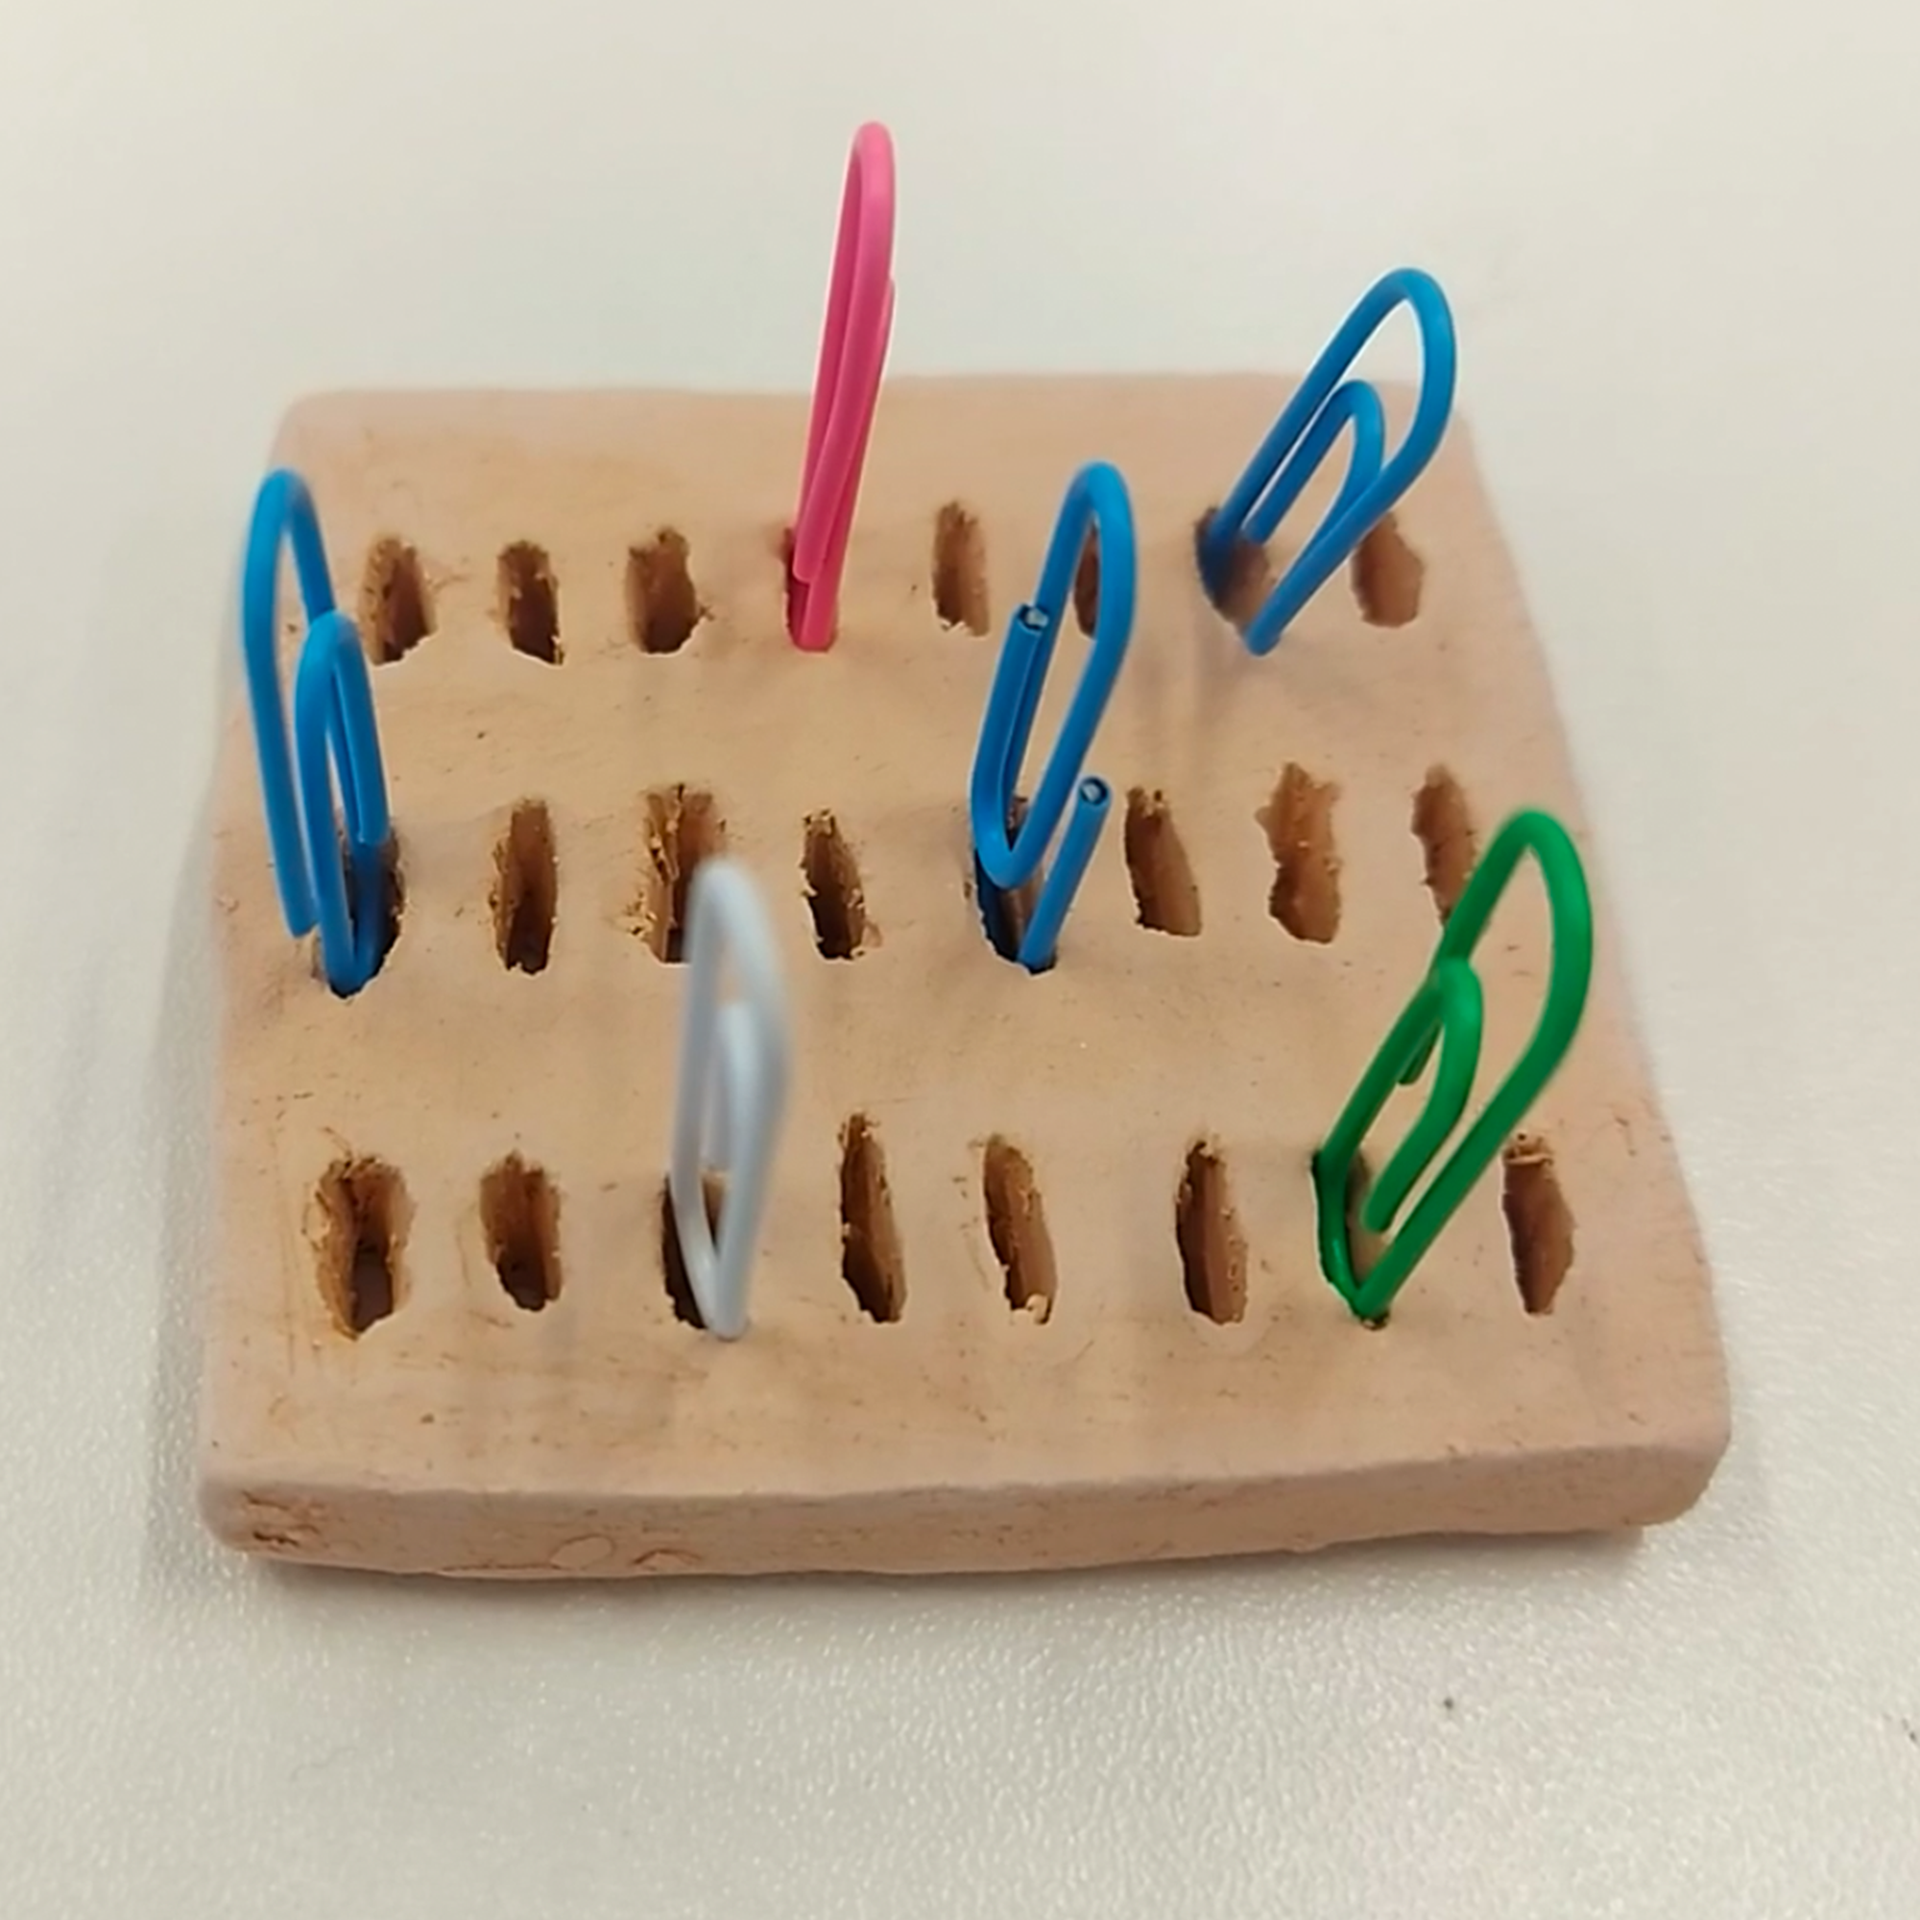
The idea above was a simple idea where I would slot paper clips into a space. This was an experiment to see if this idea would work and it did. My next steps were to see if I could apply this idea to a more fluid shape or a shape that fitted with my other pieces.
This slide I made using clay was used to slide paperclips down its slide. I made sure to put a small indented part at the bottom of the slide to allow for the paperclips to stay there. When making the piece I found it quite difficult to get the curve of the slide and there is a small bump at the top of the slide but it still functions. The movement of the paper clips on the slide required little guidance which makes the experience seamless for the user, however, there is no guarantee that the paperclips would fall off it. I could create sides but I felt like this defeats the point of the user seeing the paperclips moving down it.
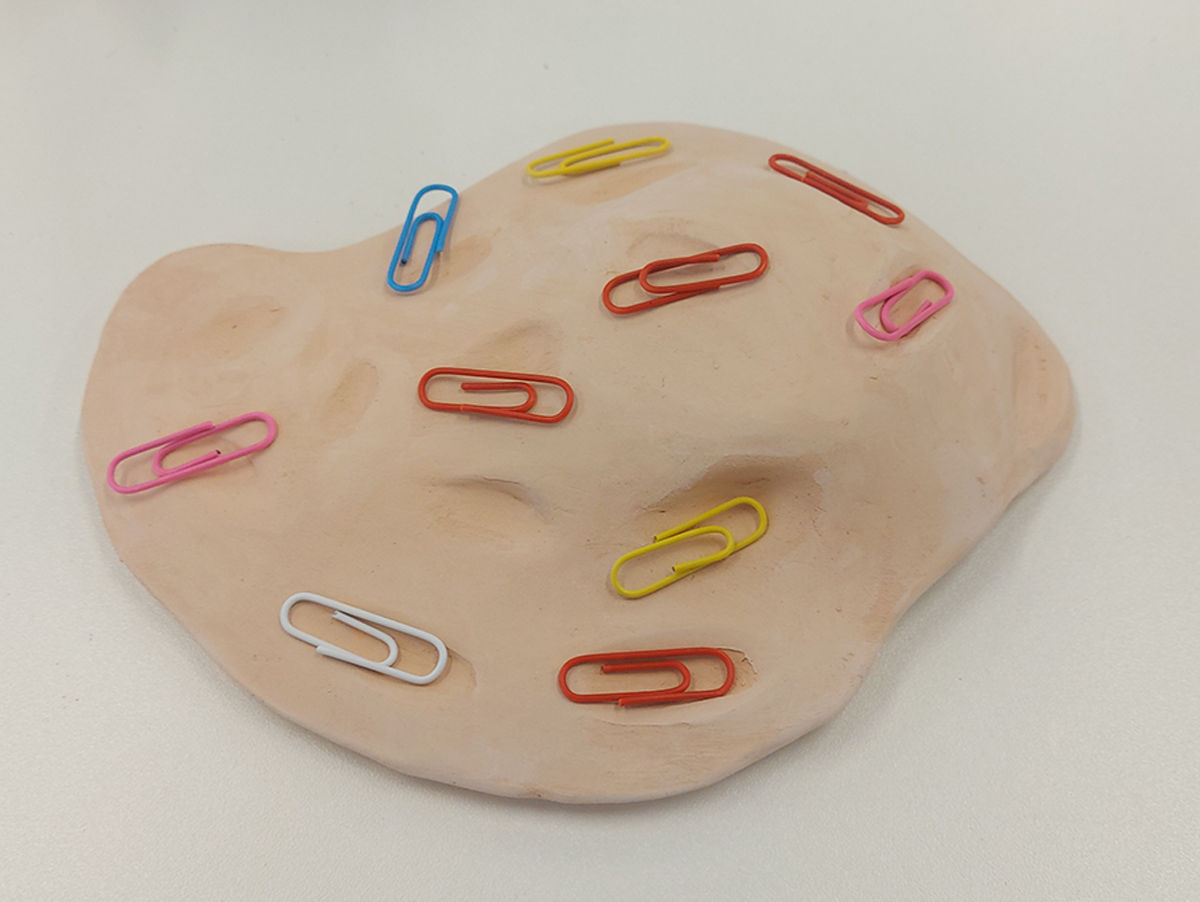
This was a more fluid shape that I put over a hump mould and indented small oval shapes into it so that I would be able to hold paper clips on them. This piece is quite abstract, you wouldn't know what it was unless you say the paperclips on them. However, maybe the fact that it is abstract means that it could be used for other uses as well and that doesn't really work for the play theme. It is also a big piece for storing 10 paperclips.
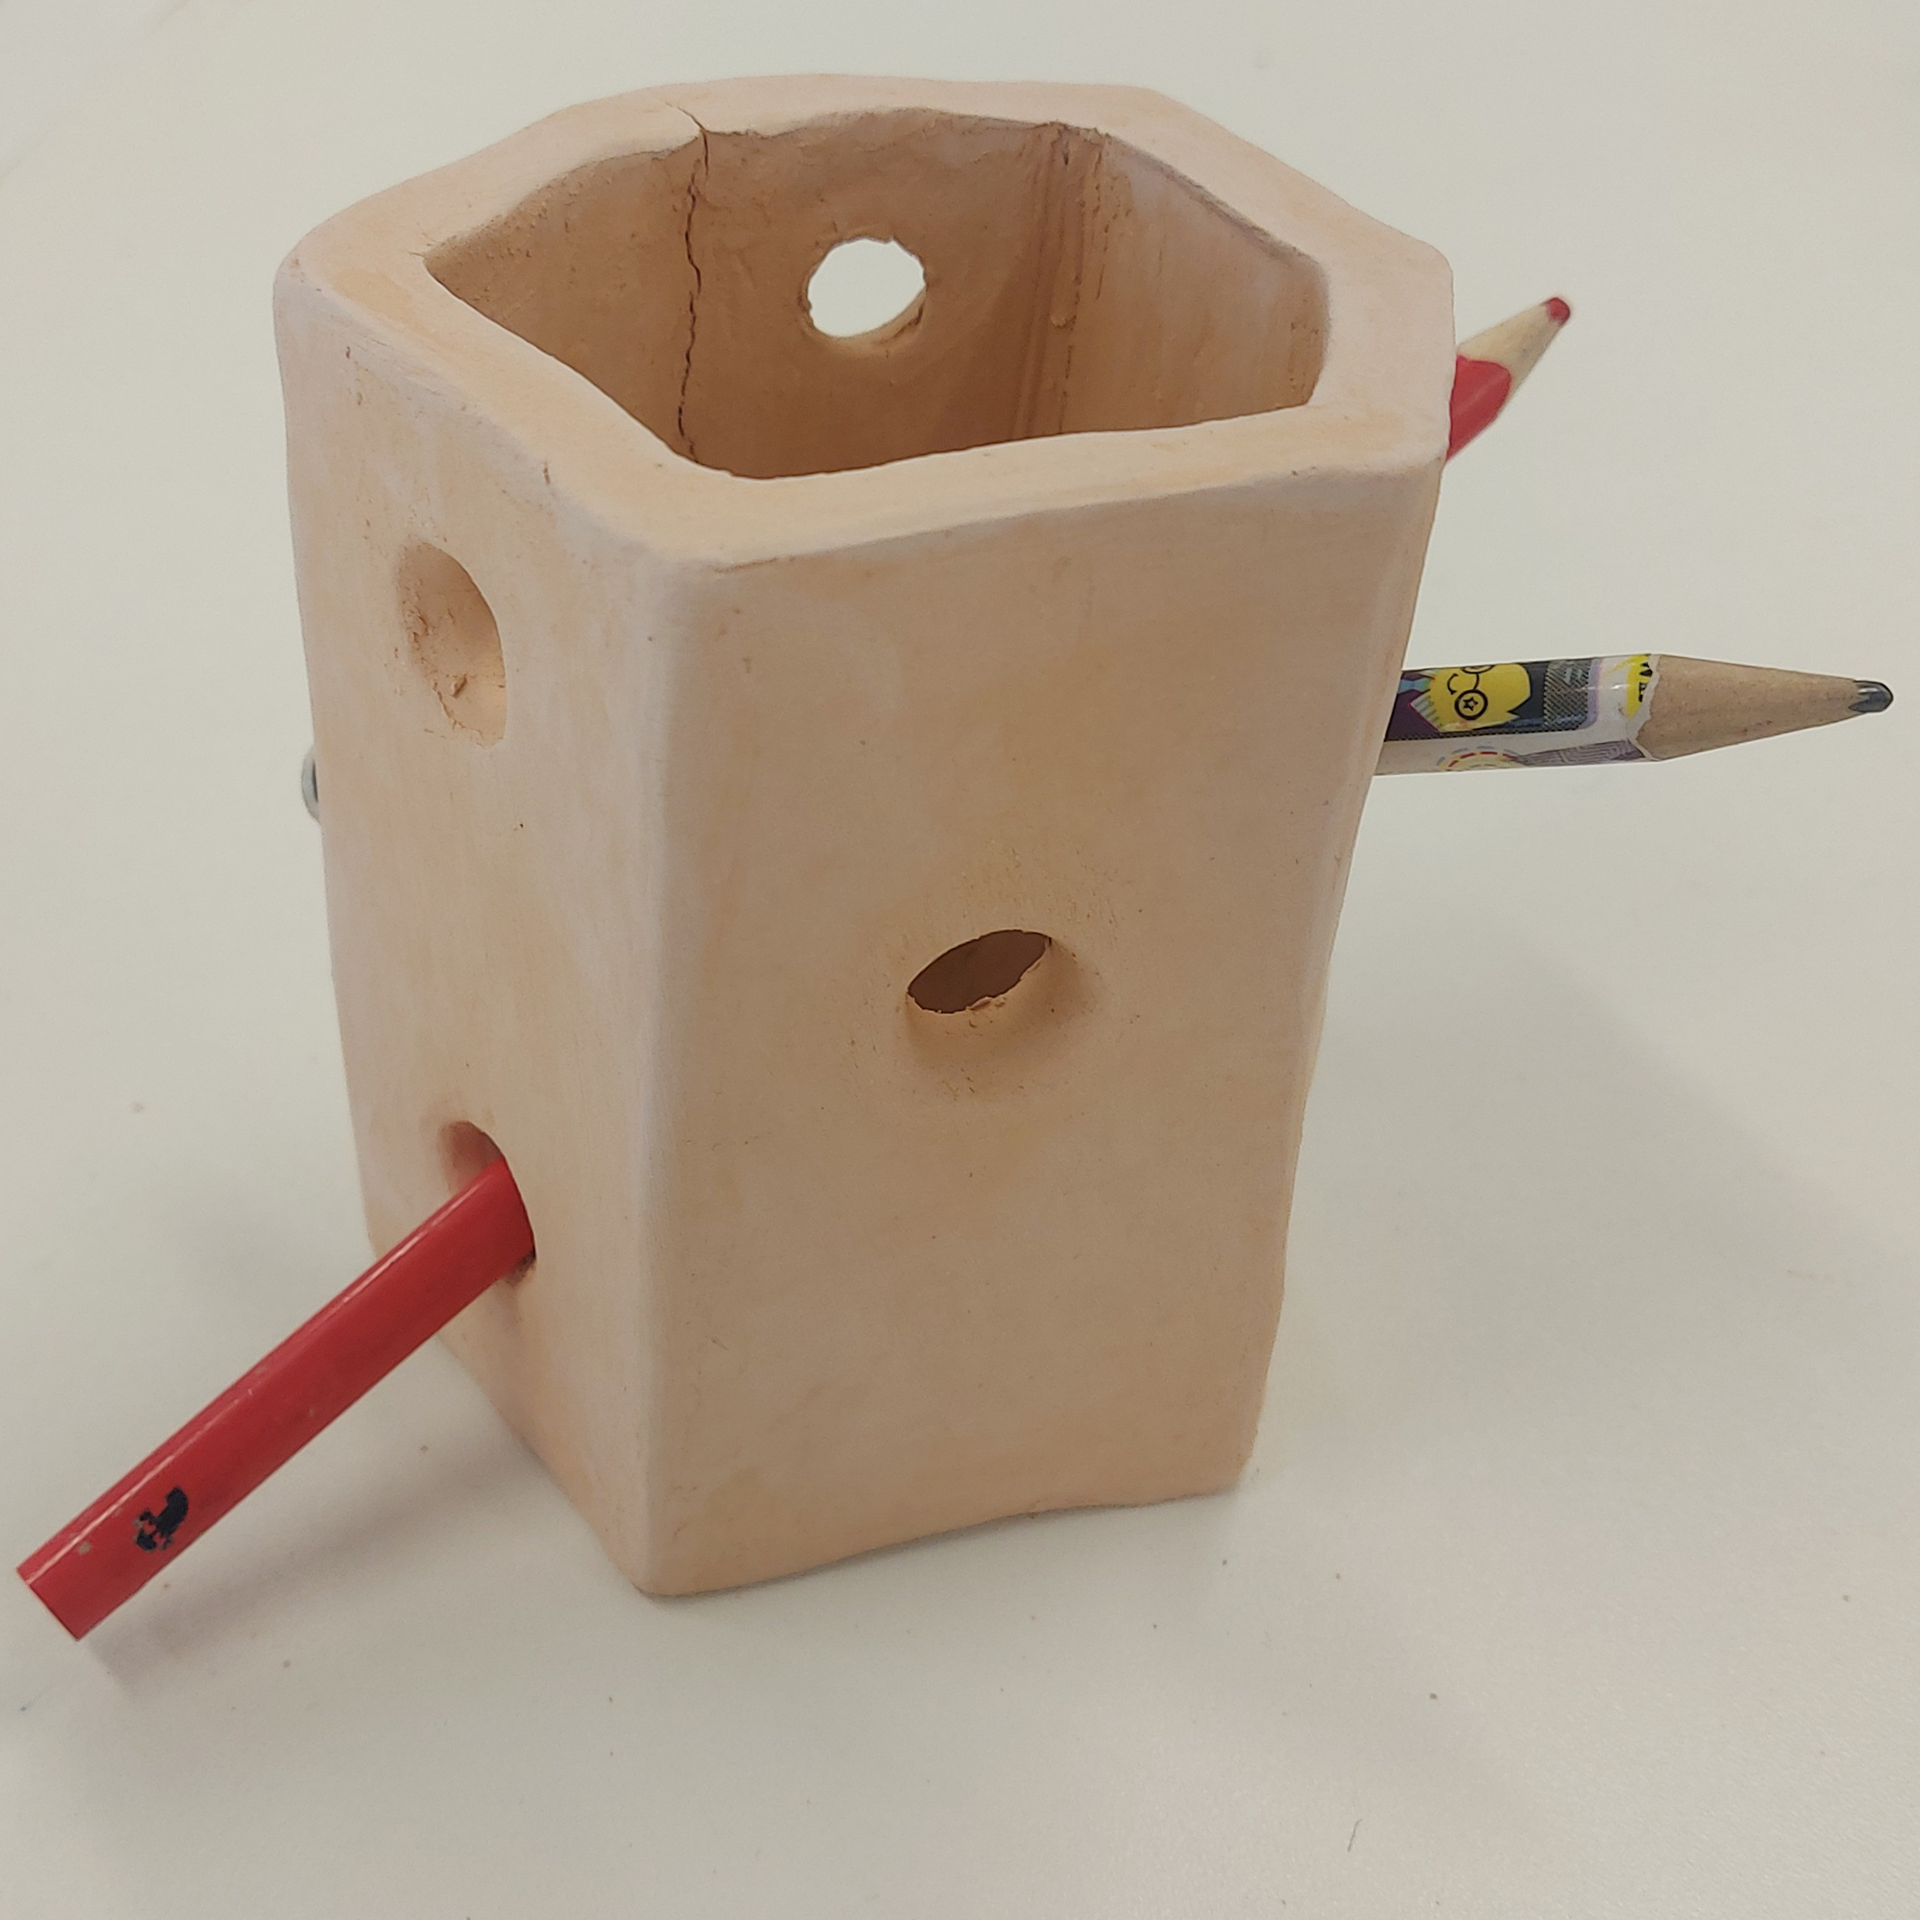
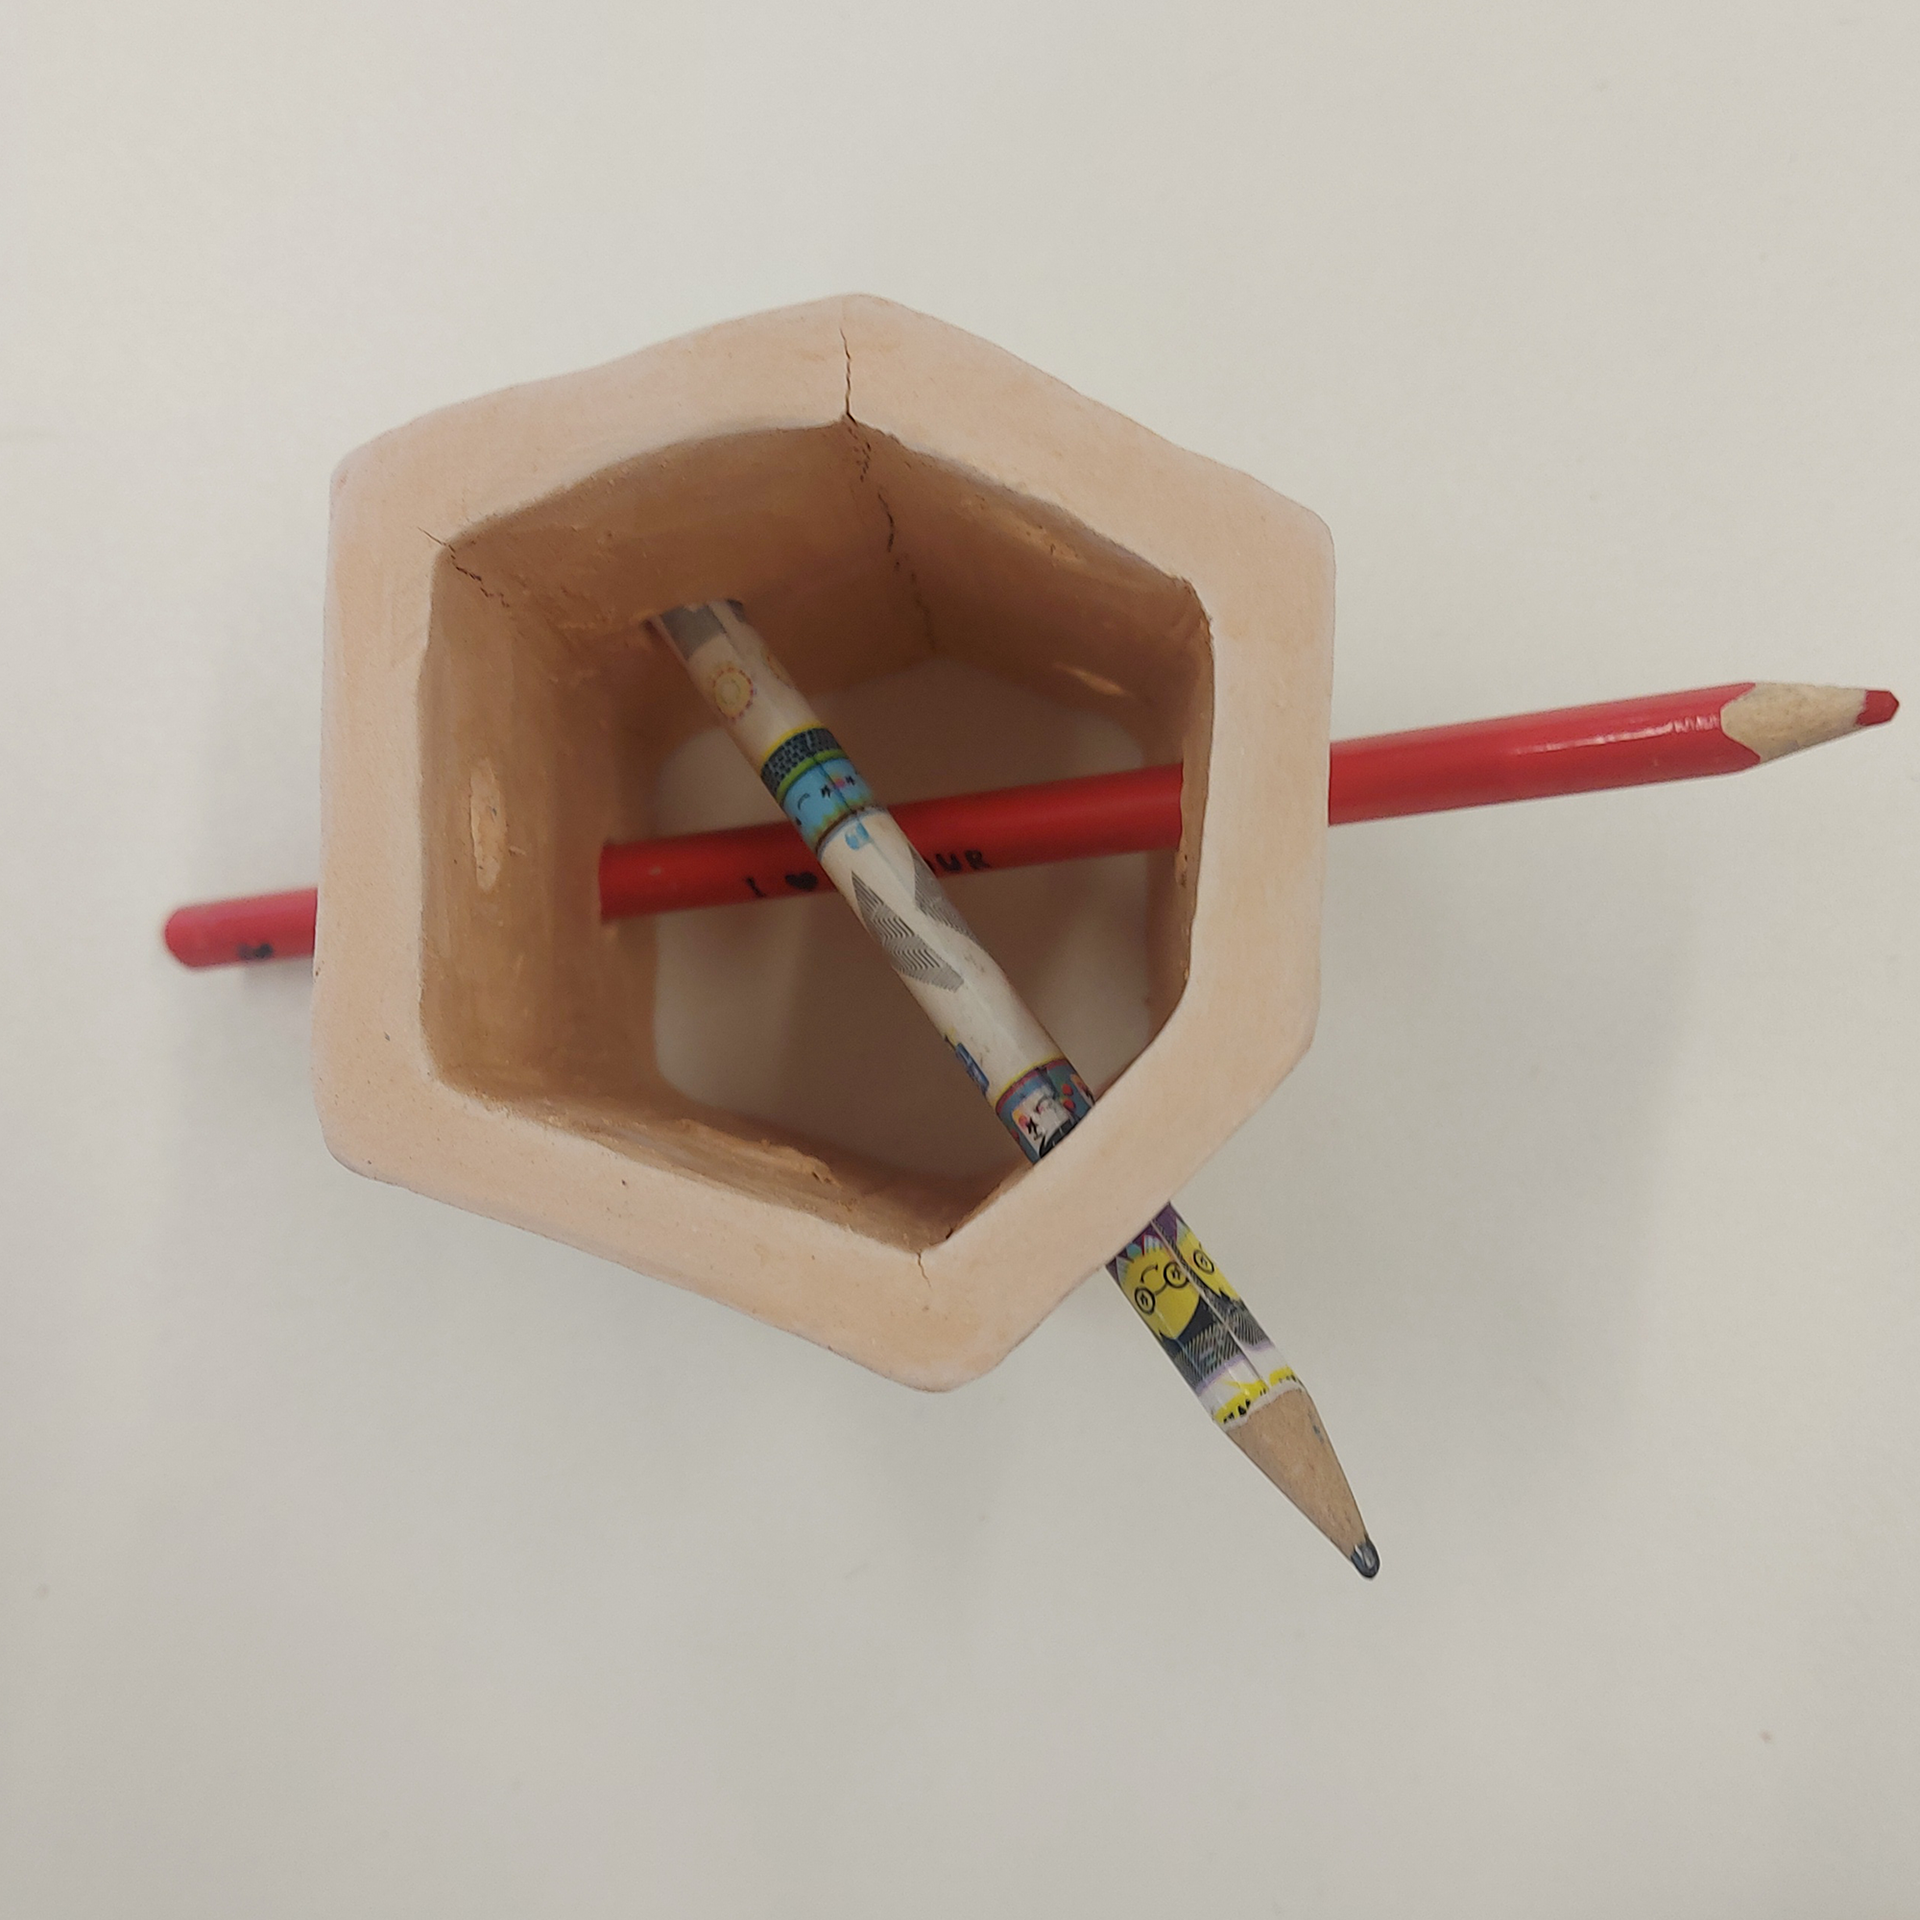
After the pieces were made I could see more easily the different combinations that the pencils could be put in the piece. In my tutorial I was told to experiment with different thicknesses of clay so I took this, and the other improvements I wanted to make, into my next iteration of this idea.
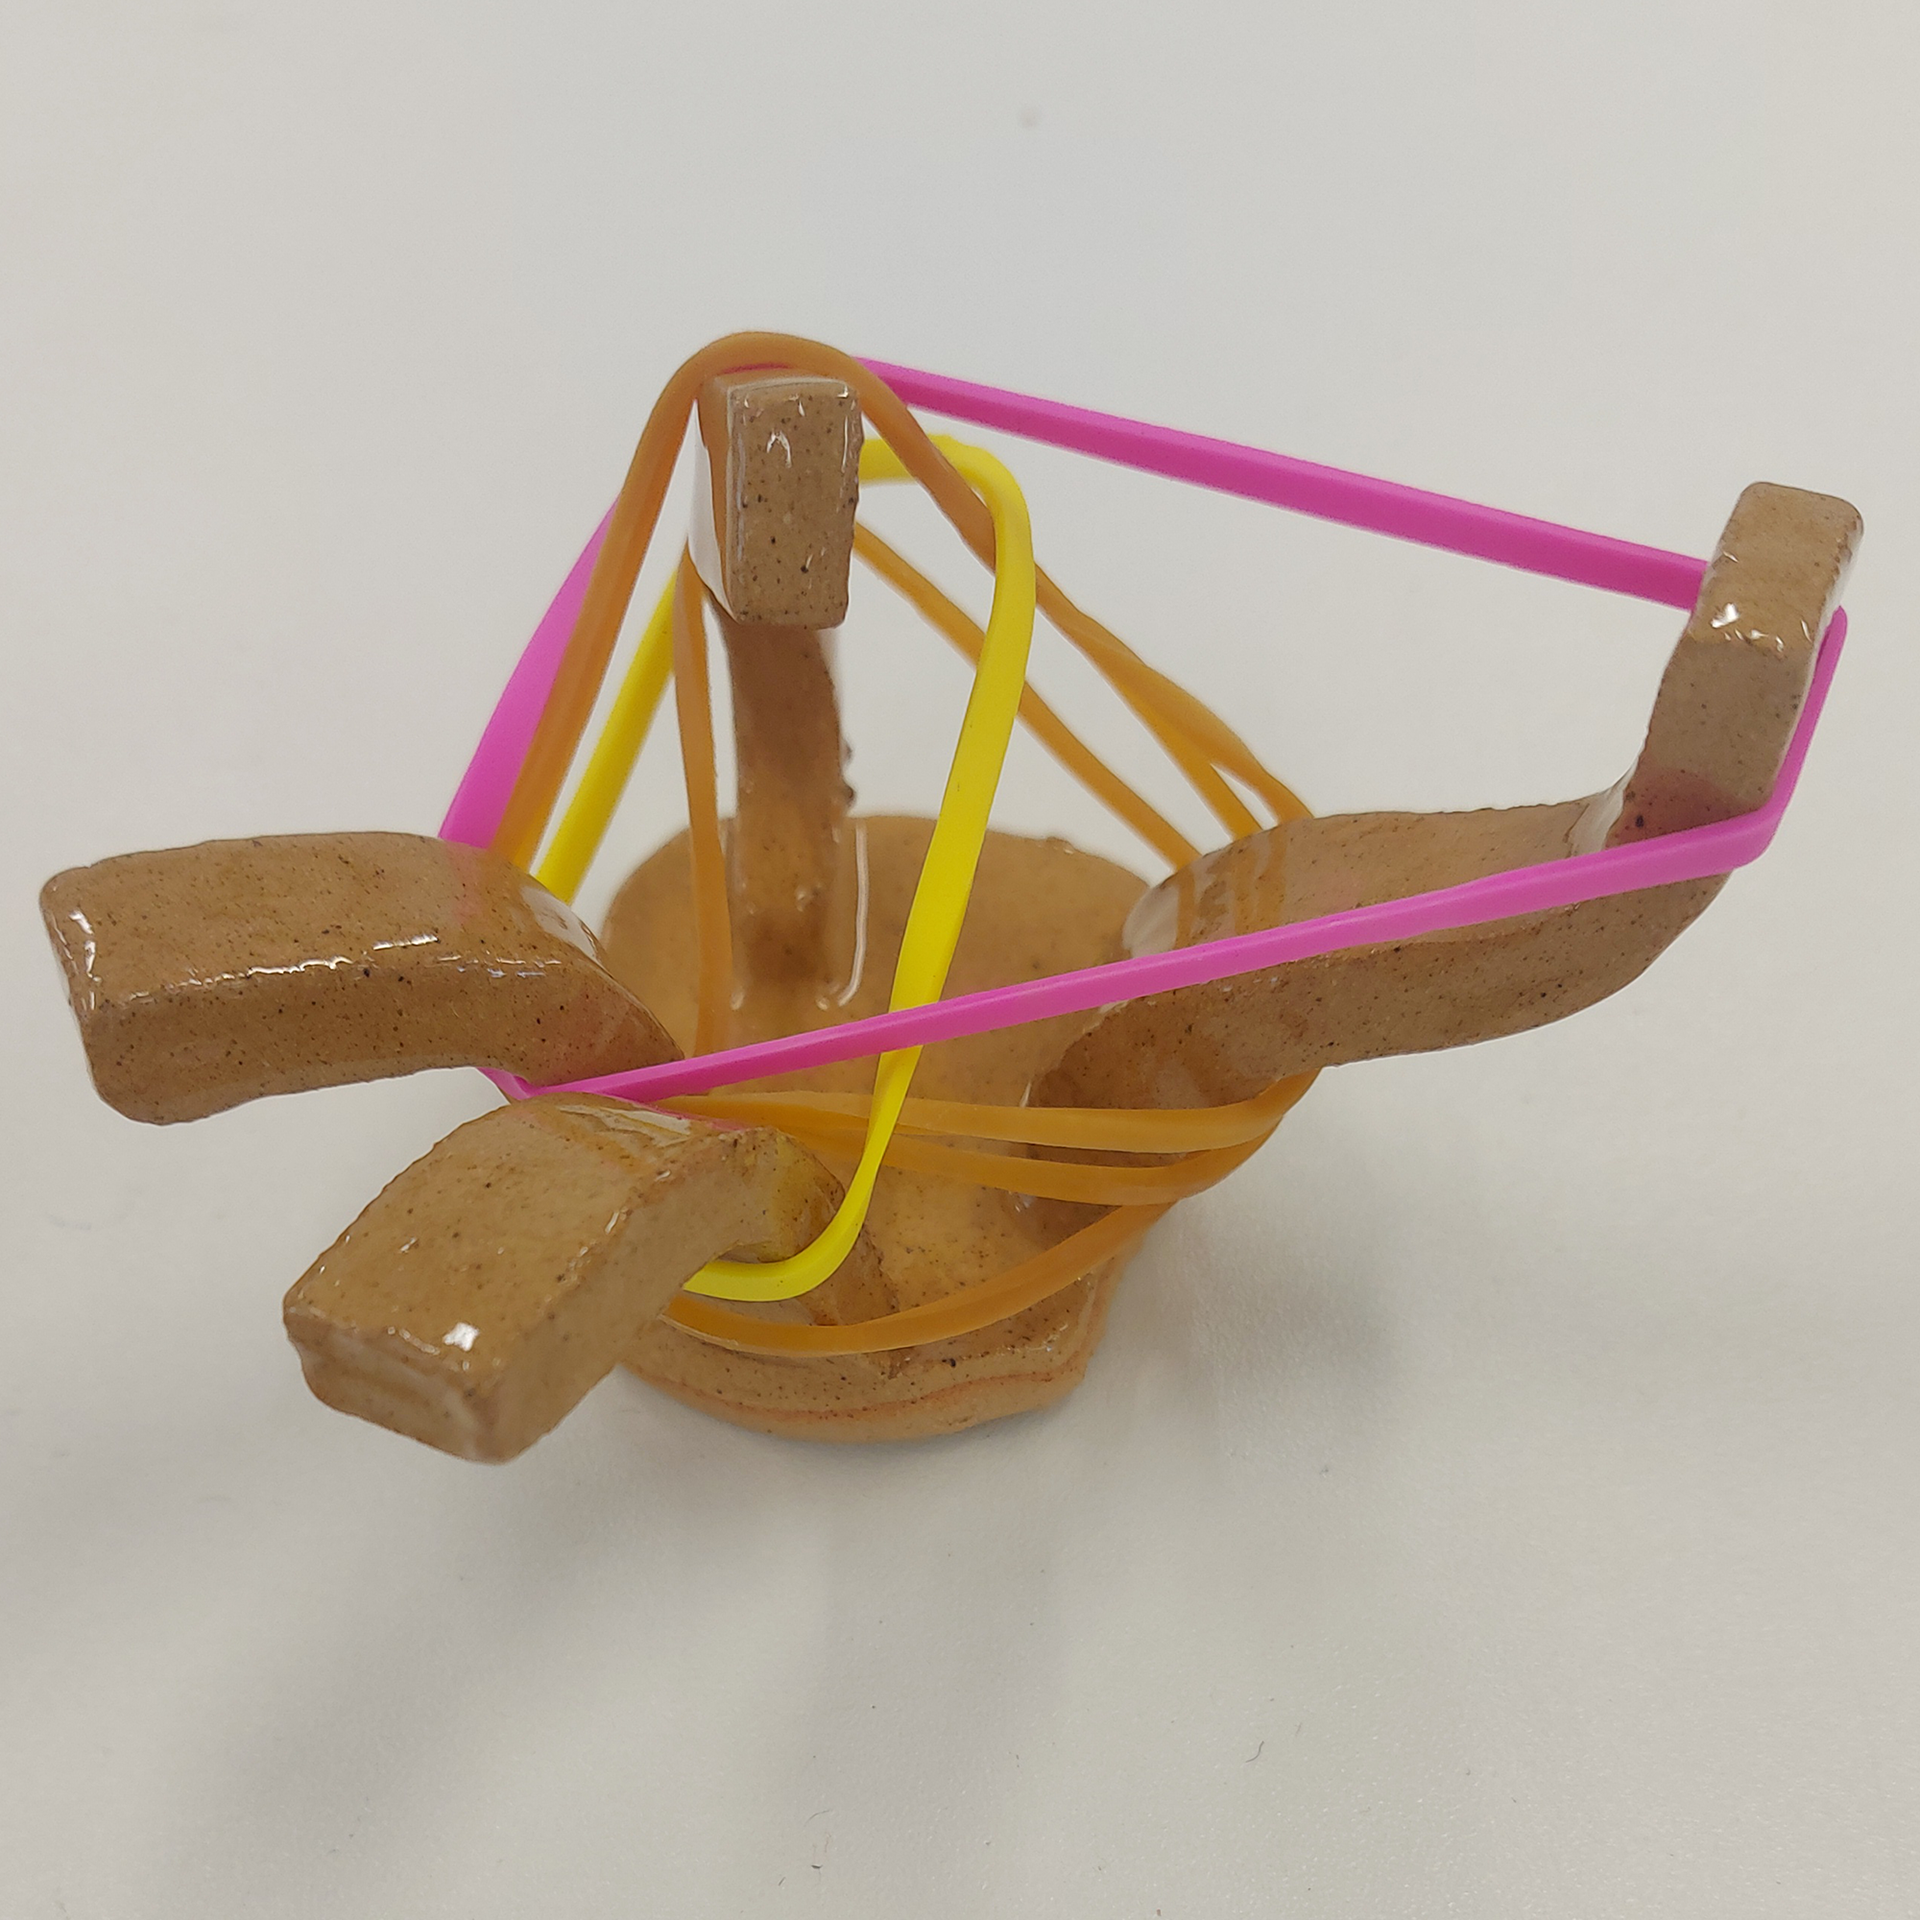
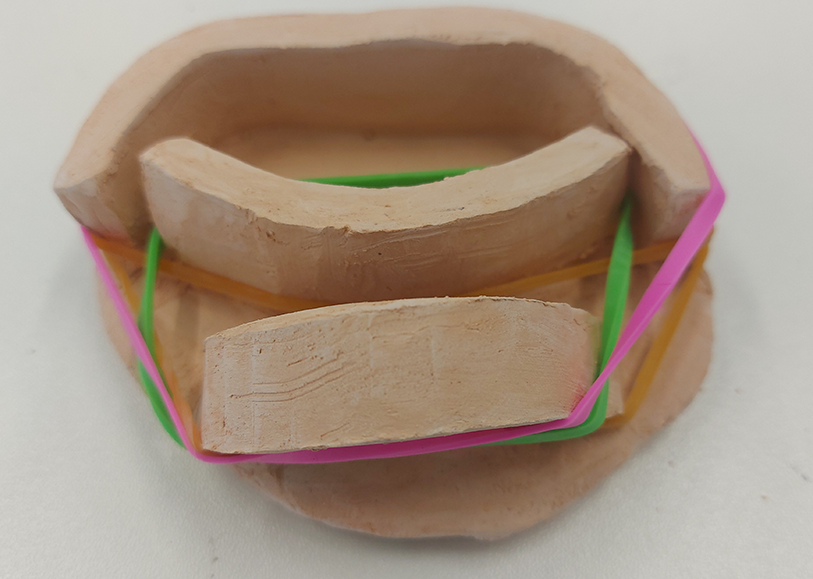
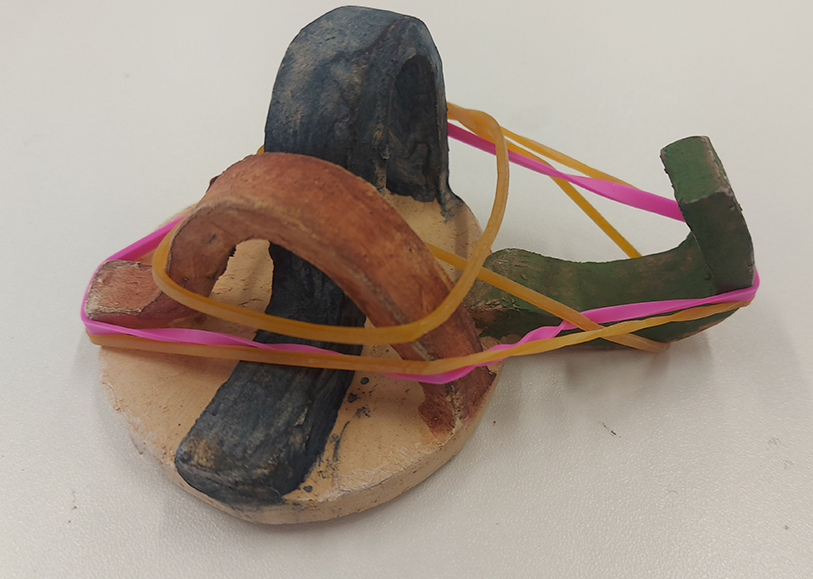
I decided to compare the different elastic band holders by glazing one and painting oxide on the other, this was to see what worked better with the bands. I really liked the look of the glaze on the piece as it emphasised the shapes coming out of the base. The oxides did not look as good as the glaze, however the use of colour differentiates the different curves. So far, I want to see where I could go further with the elastic band holder in terms of shape instead of glazing and maybe come to this later.
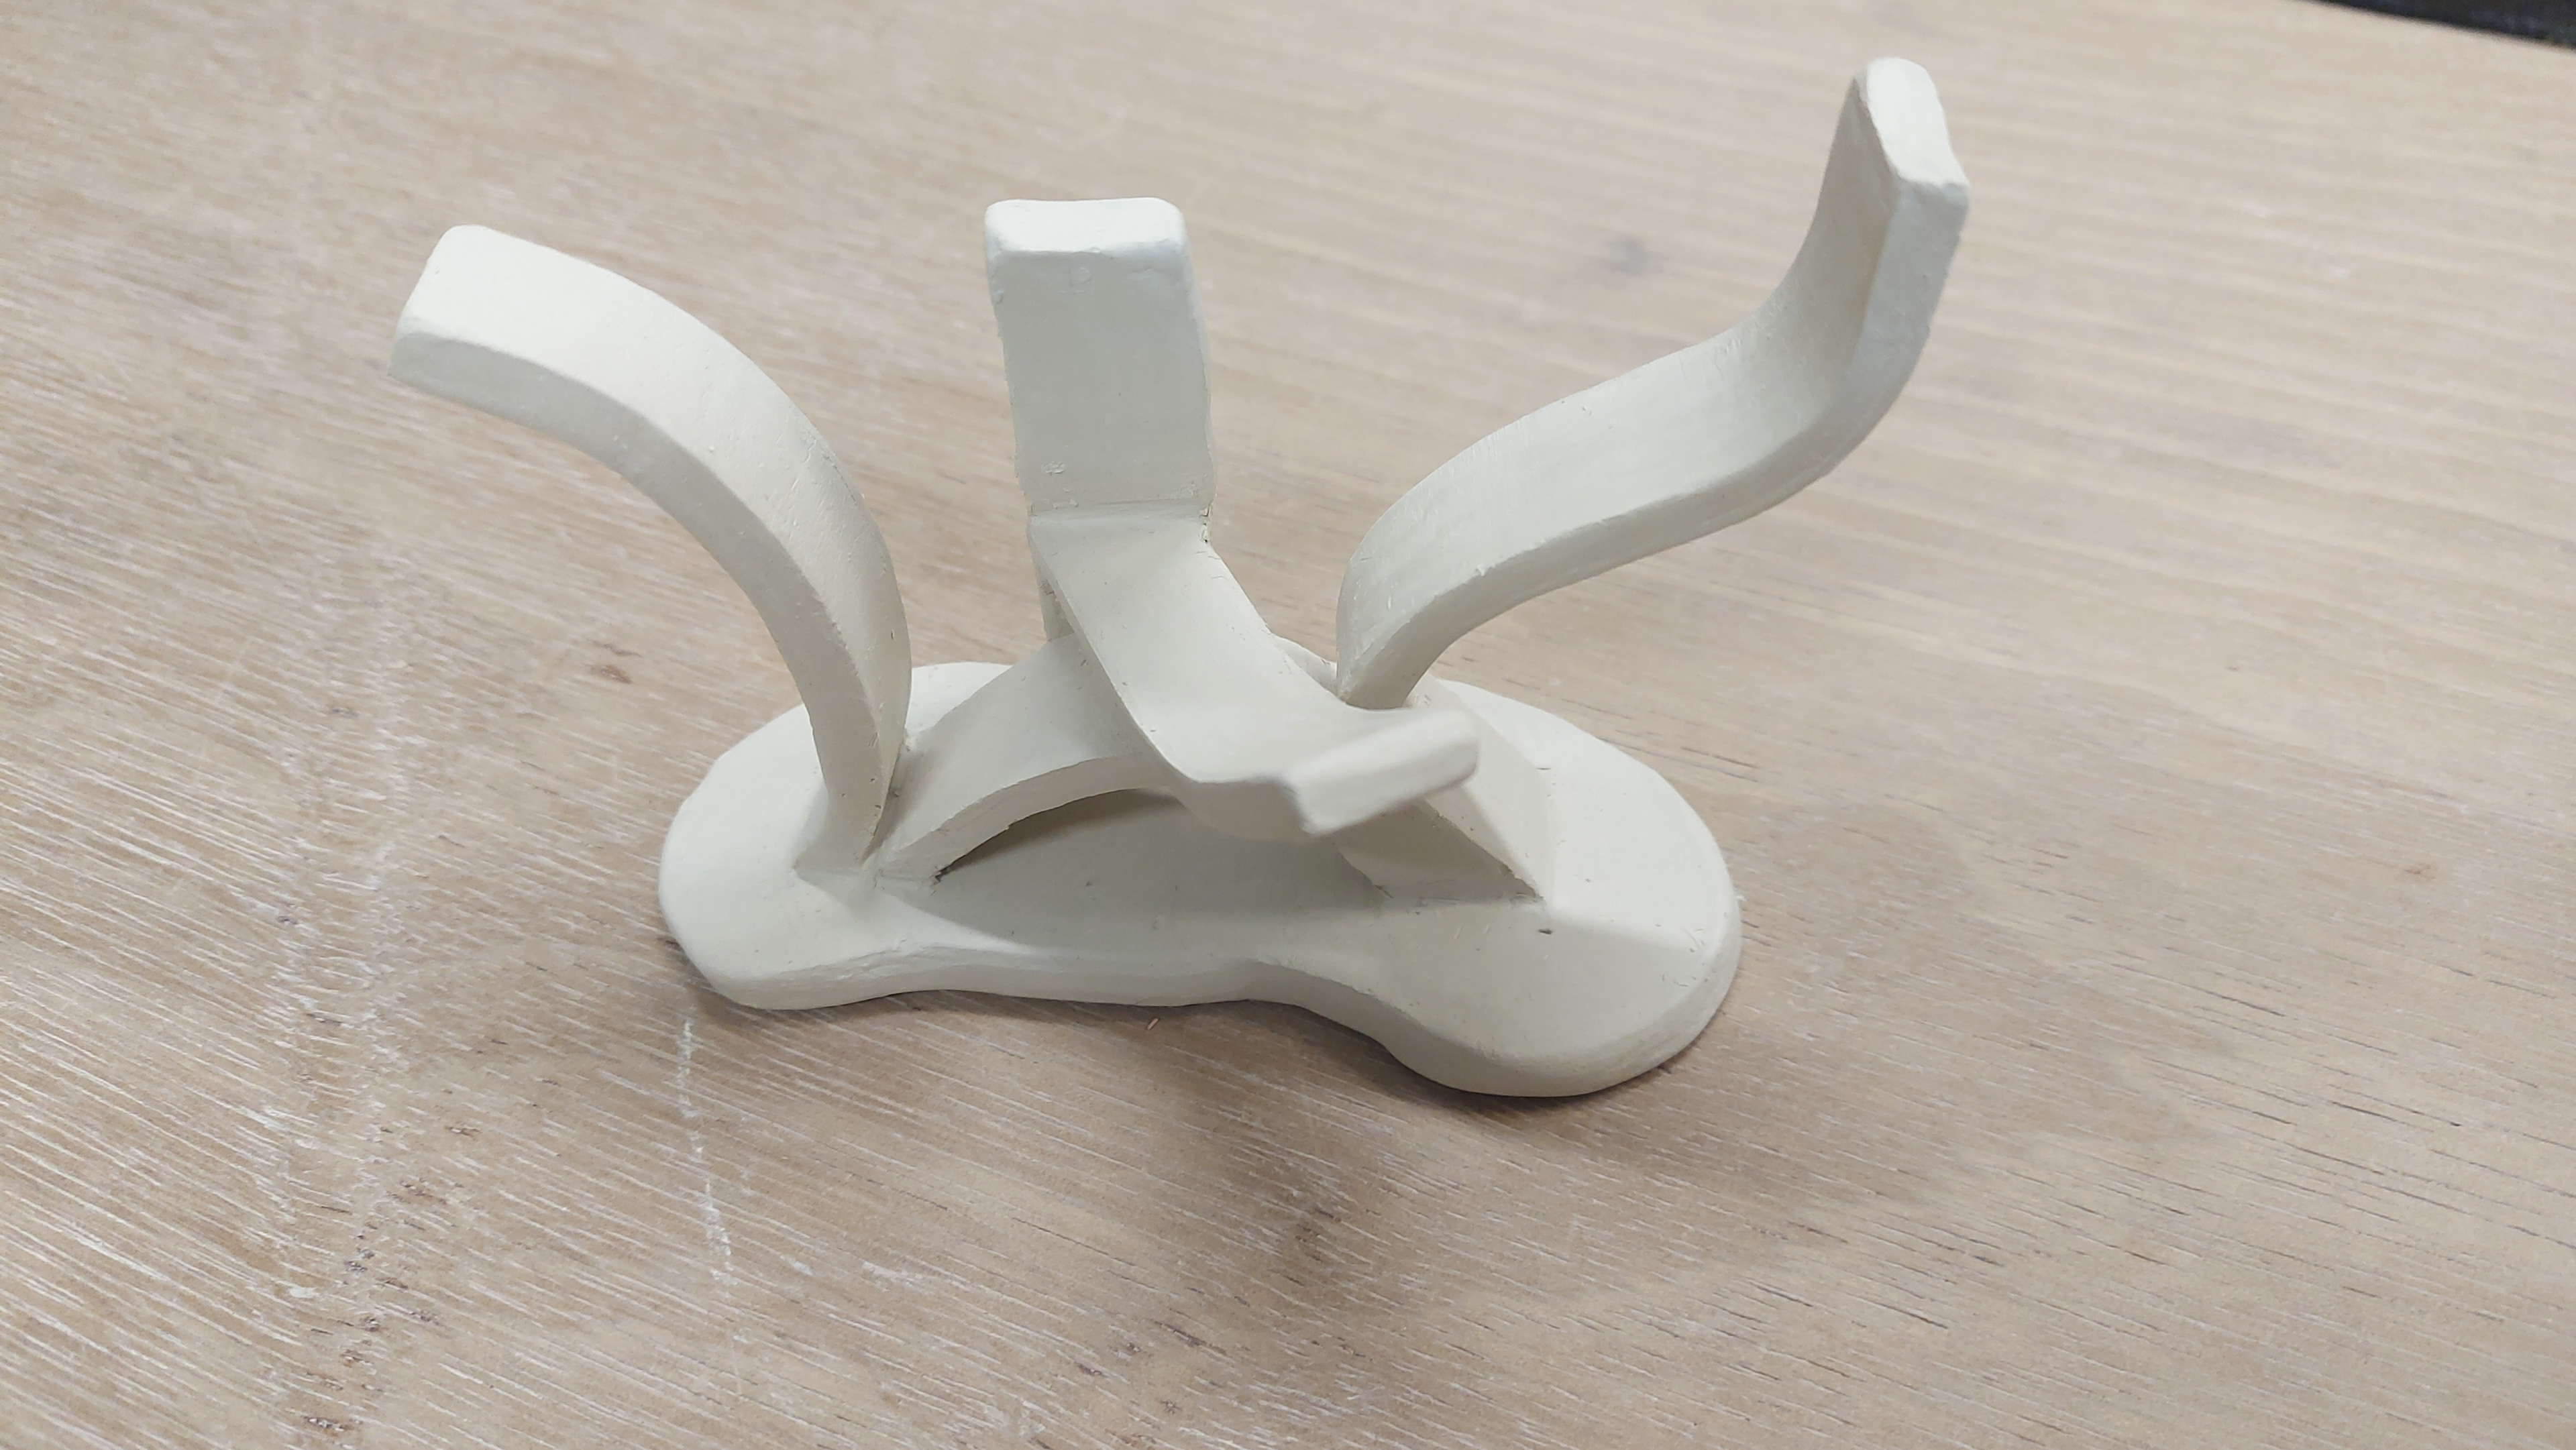
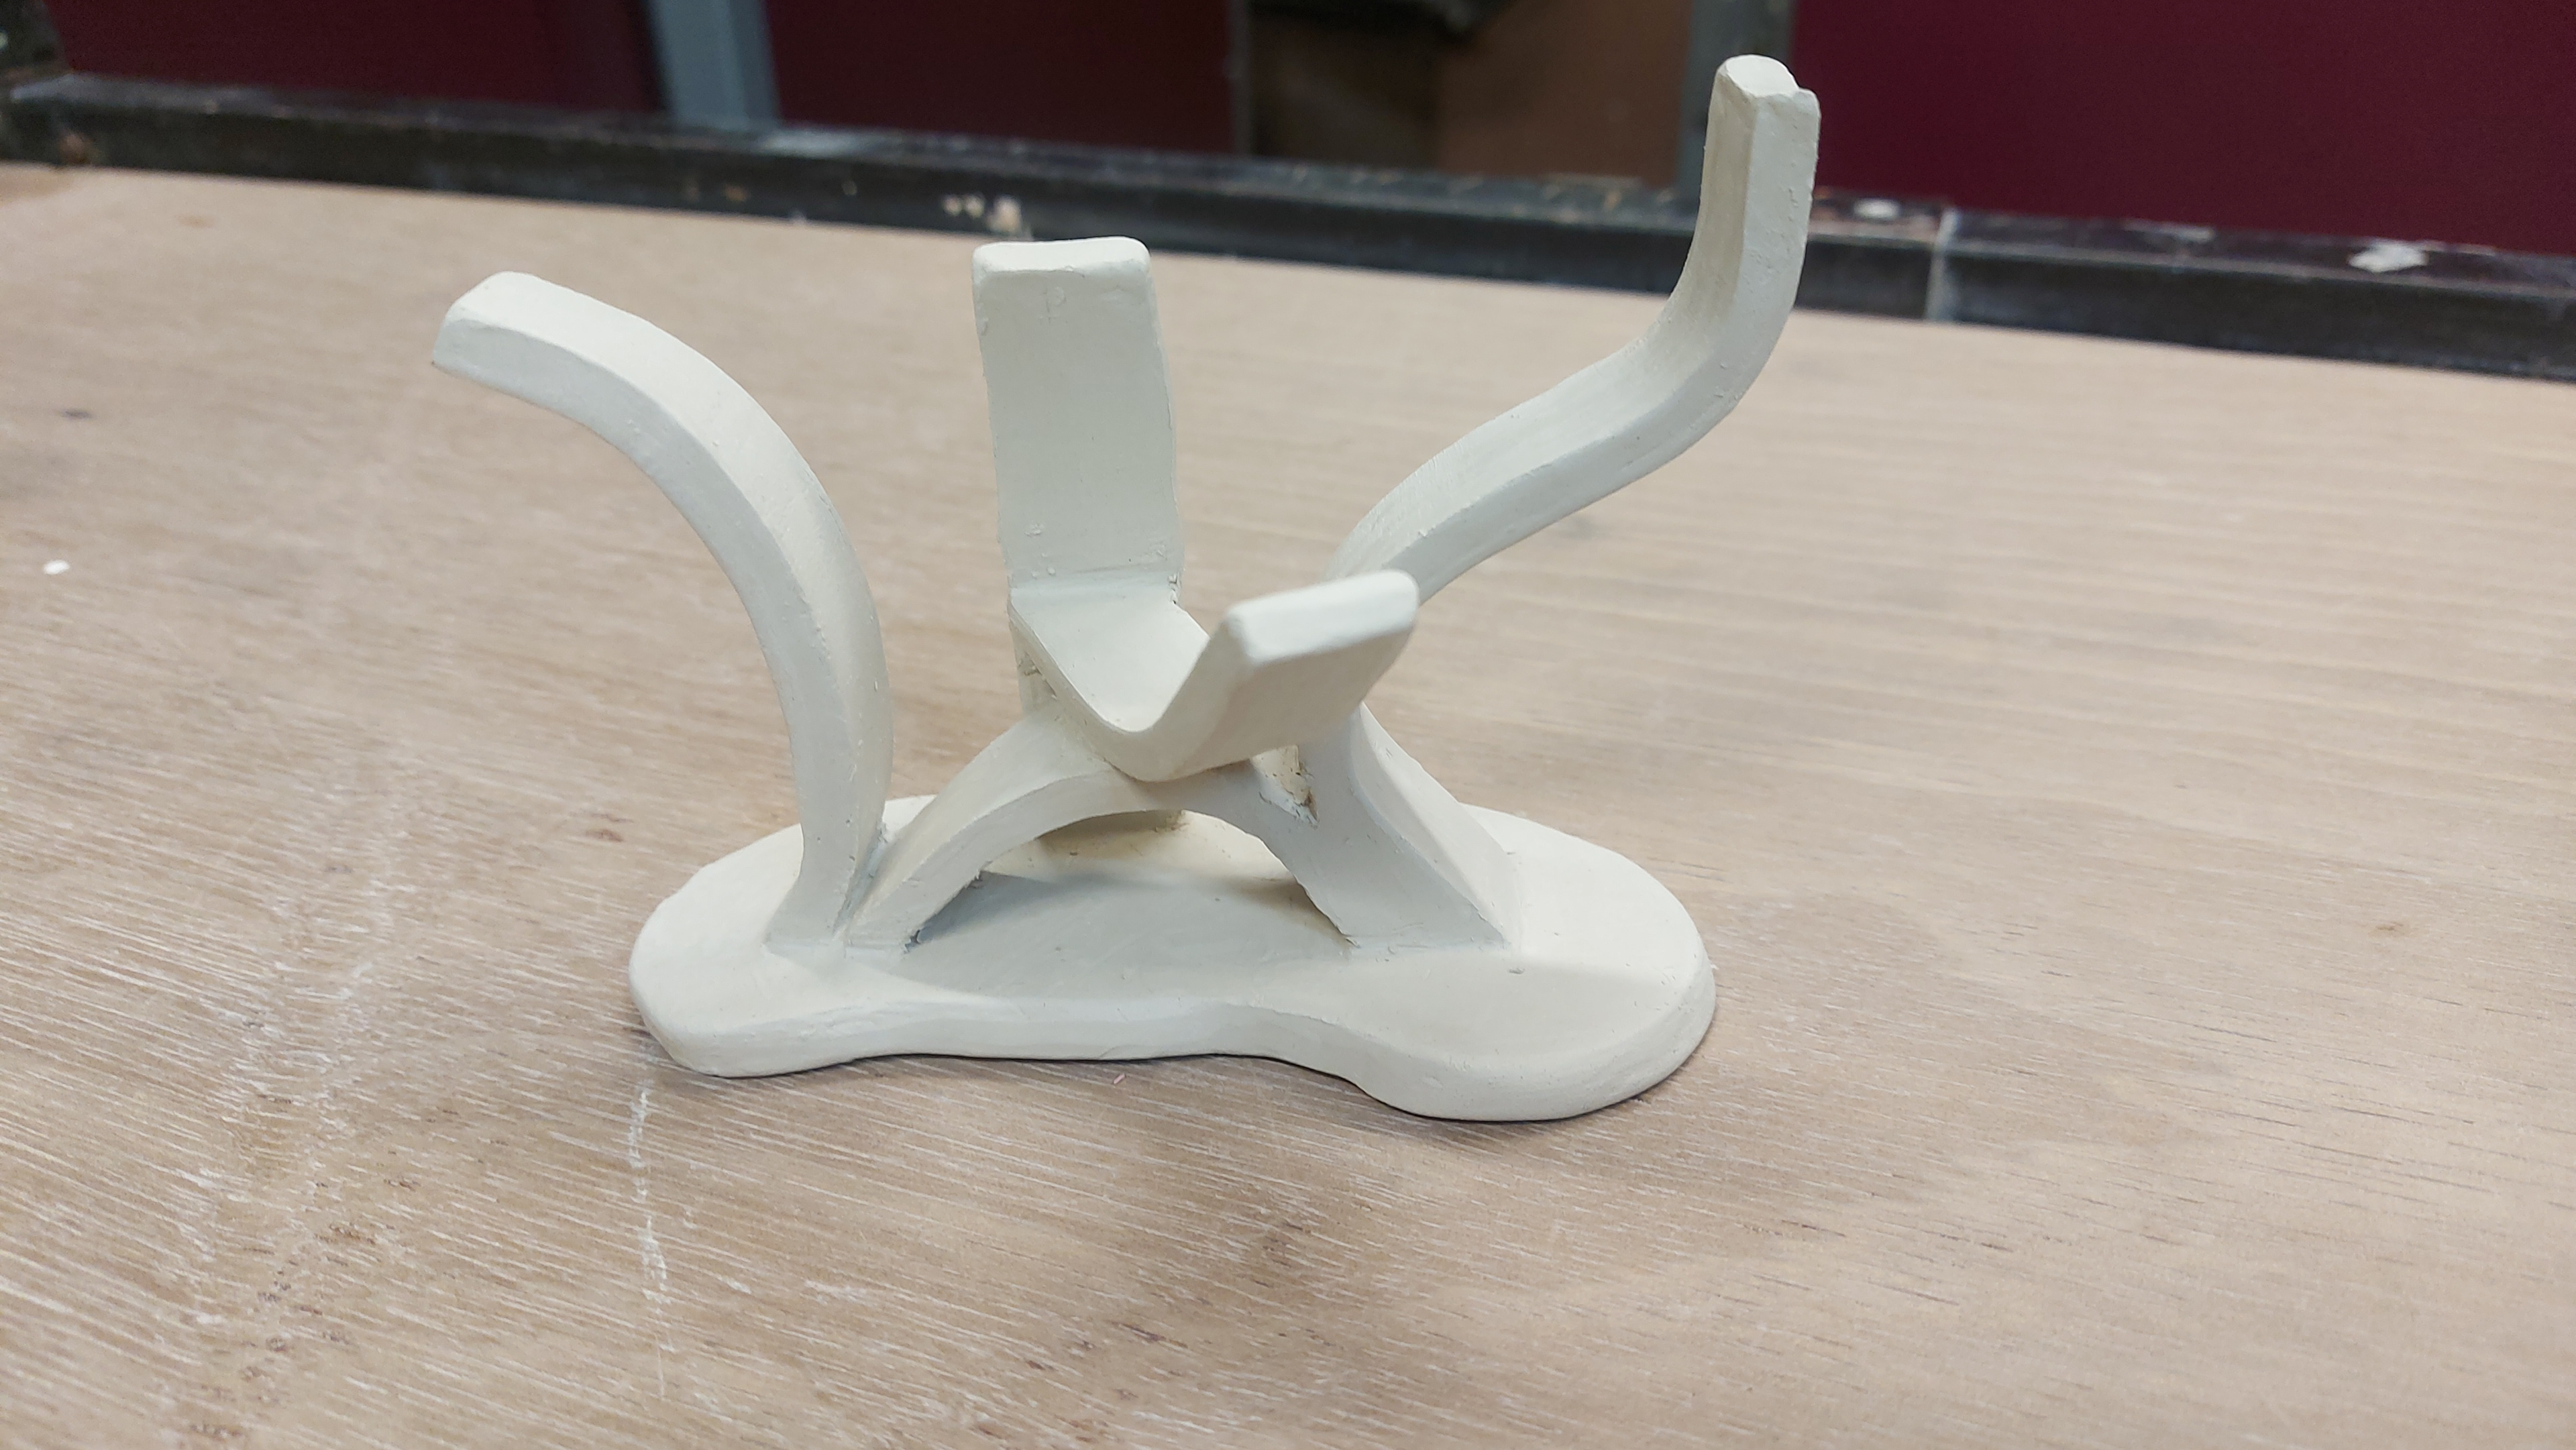
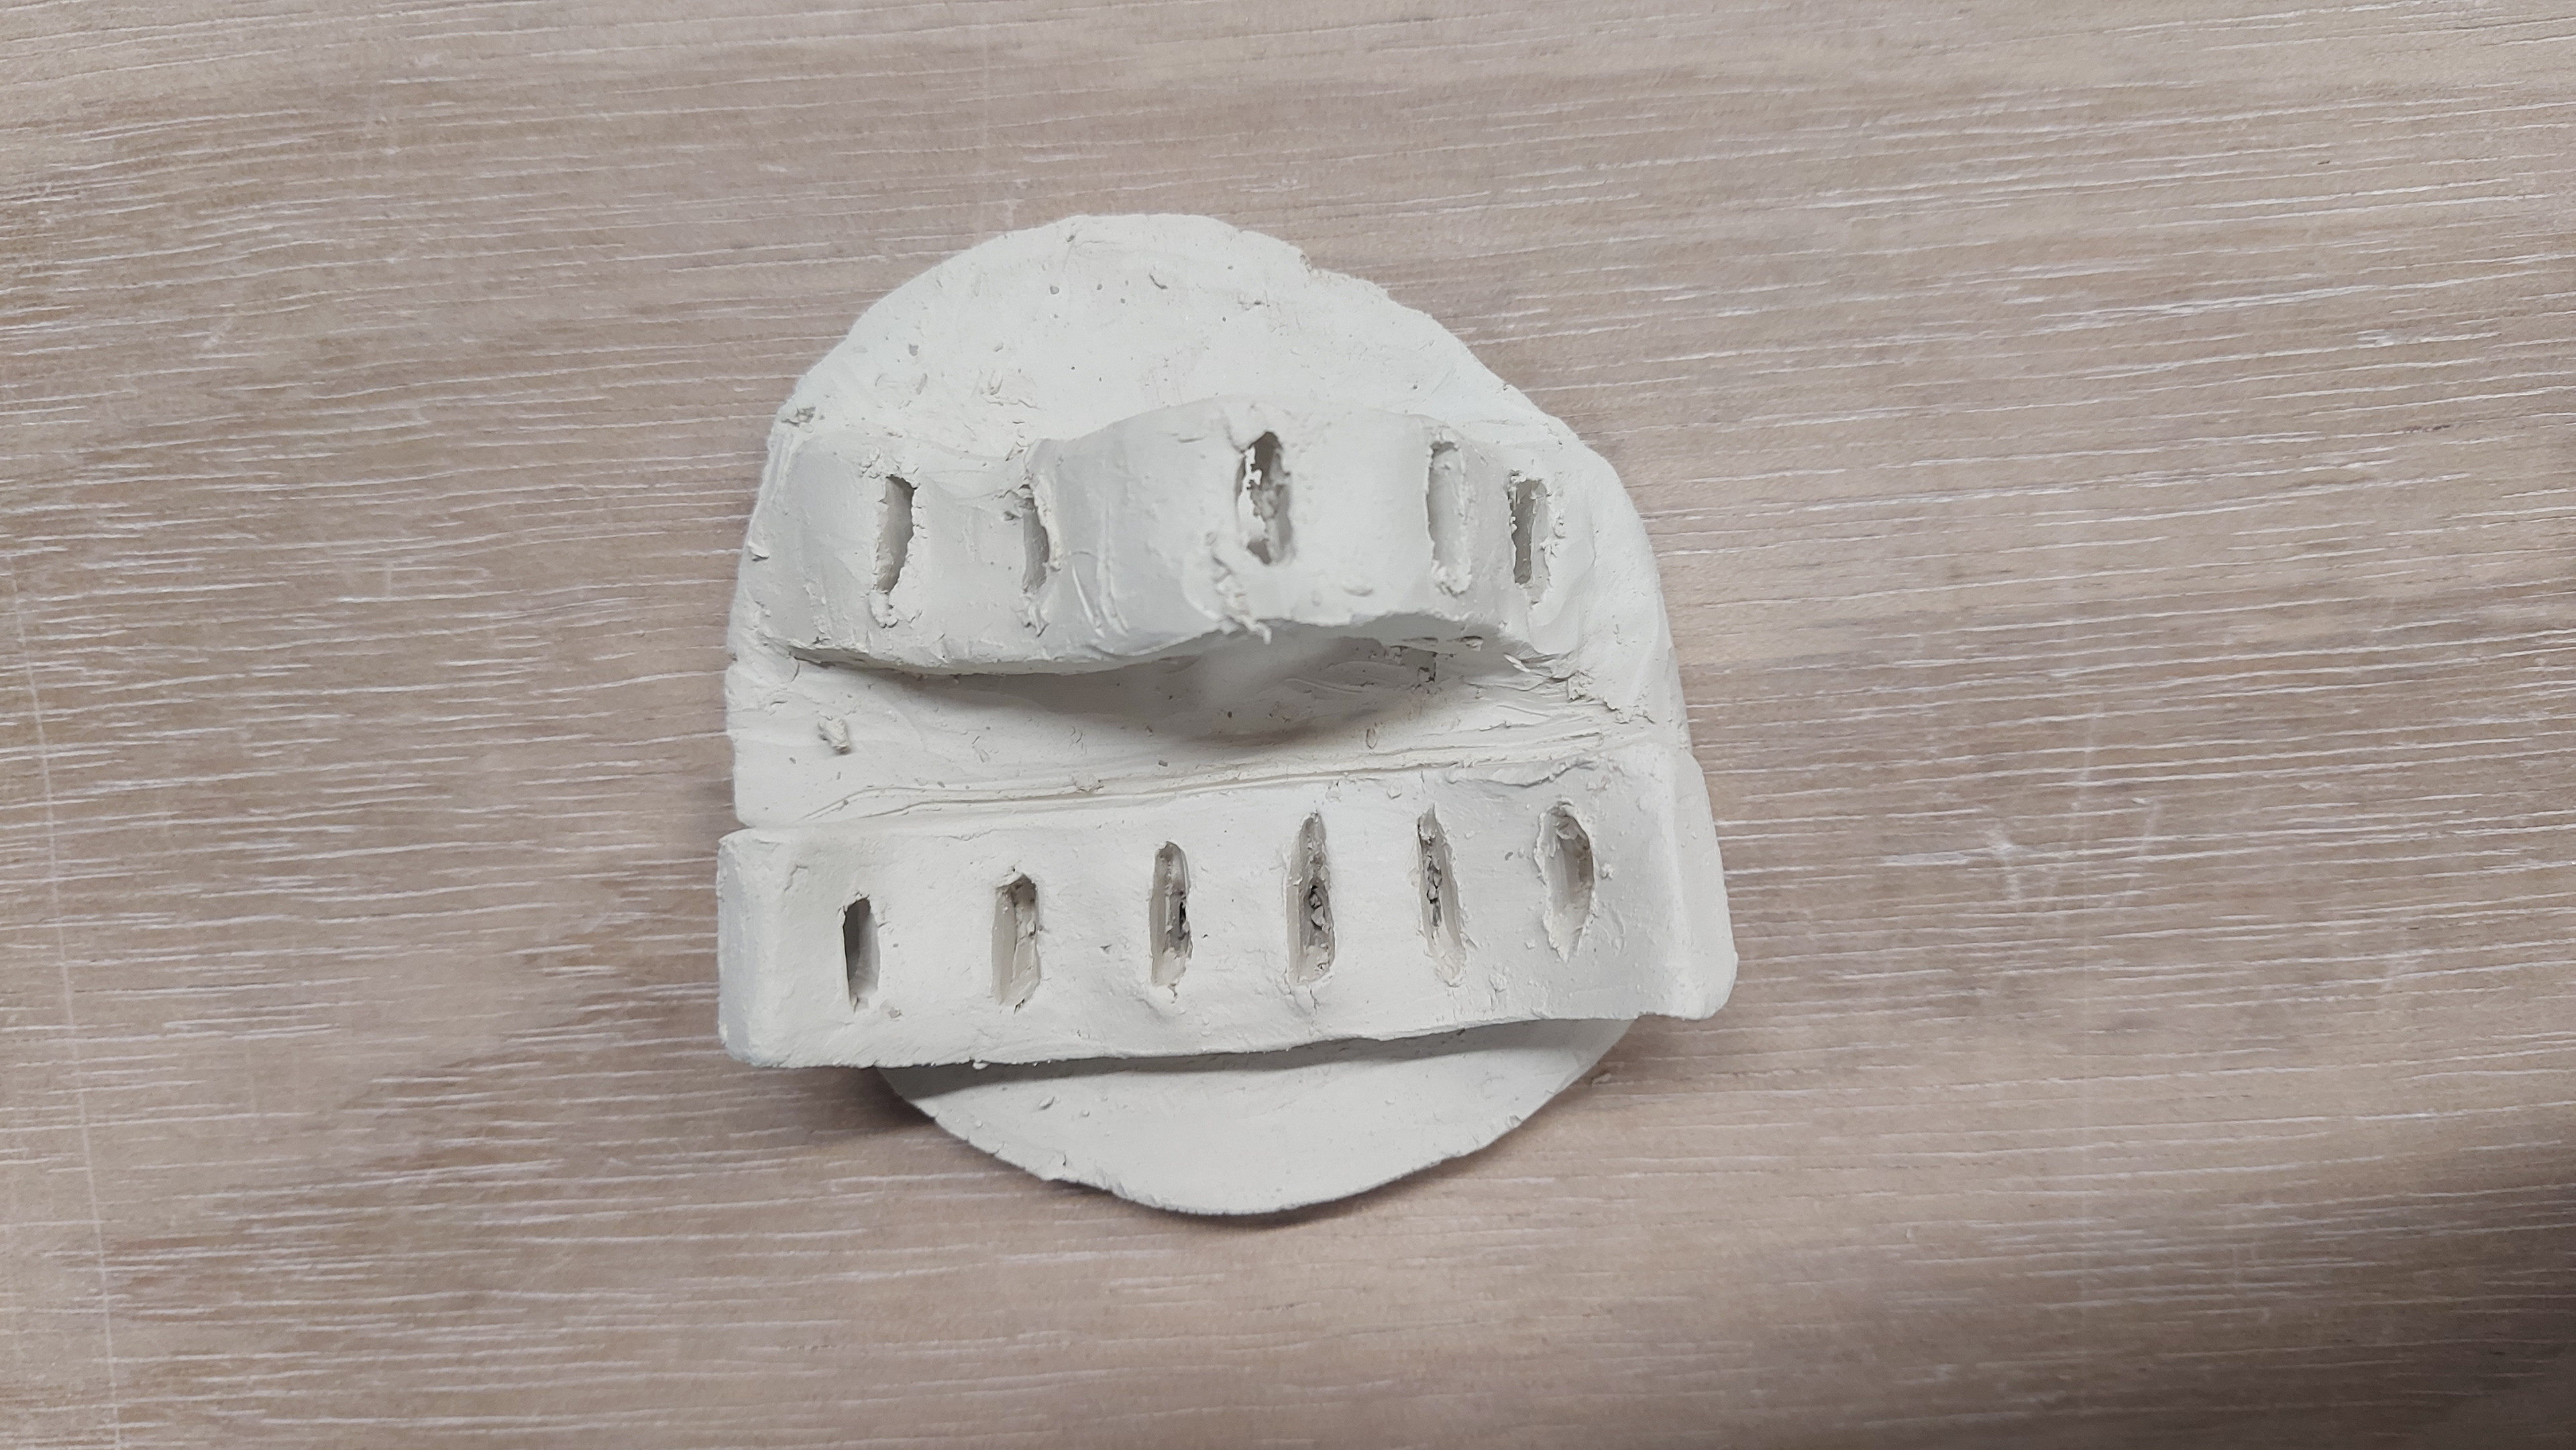
Above is further development of the elastic band and paper clip holders. The elastic band holder above is the best so far due to the multiple tiers and the finish. I decided to do two tiers of this as it allows more space for the bands to stretch over. The paperclip holder that is a similar design to similar elastic band holders is a rough model but I think there are other pieces that may fit the paperclips better.
At this point in the project, I decided to focus on the pen holders because I wanted to focus on the development of this piece rather than making three different pieces.
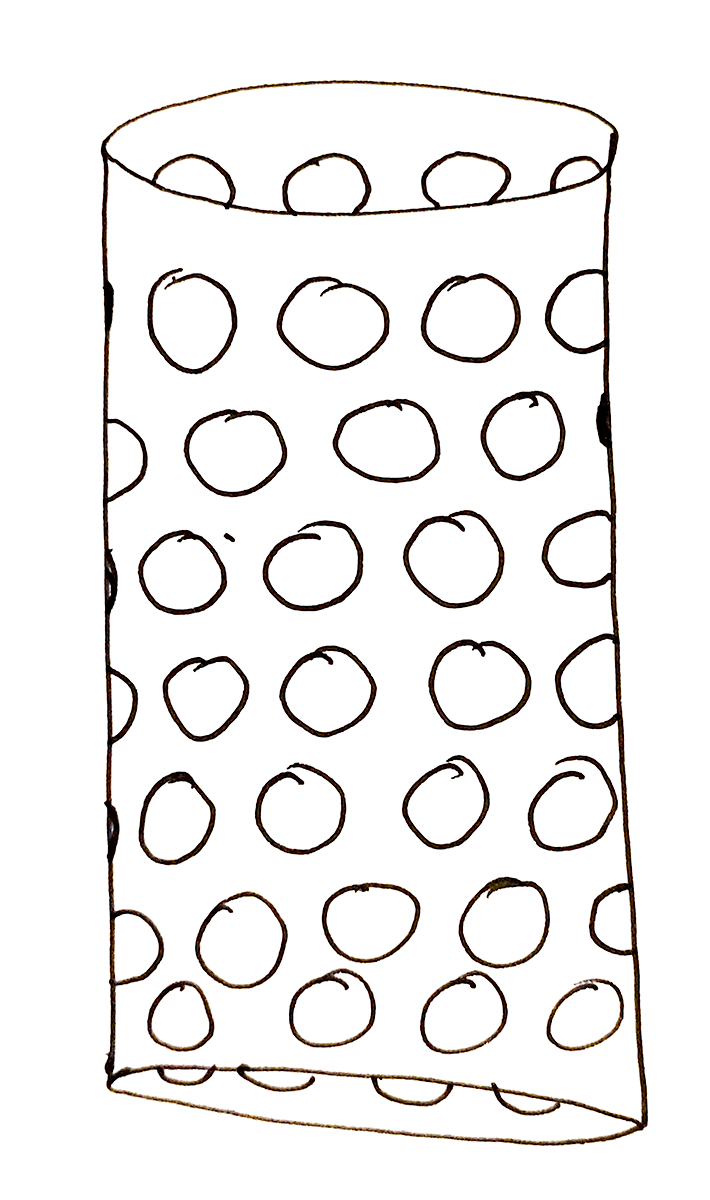
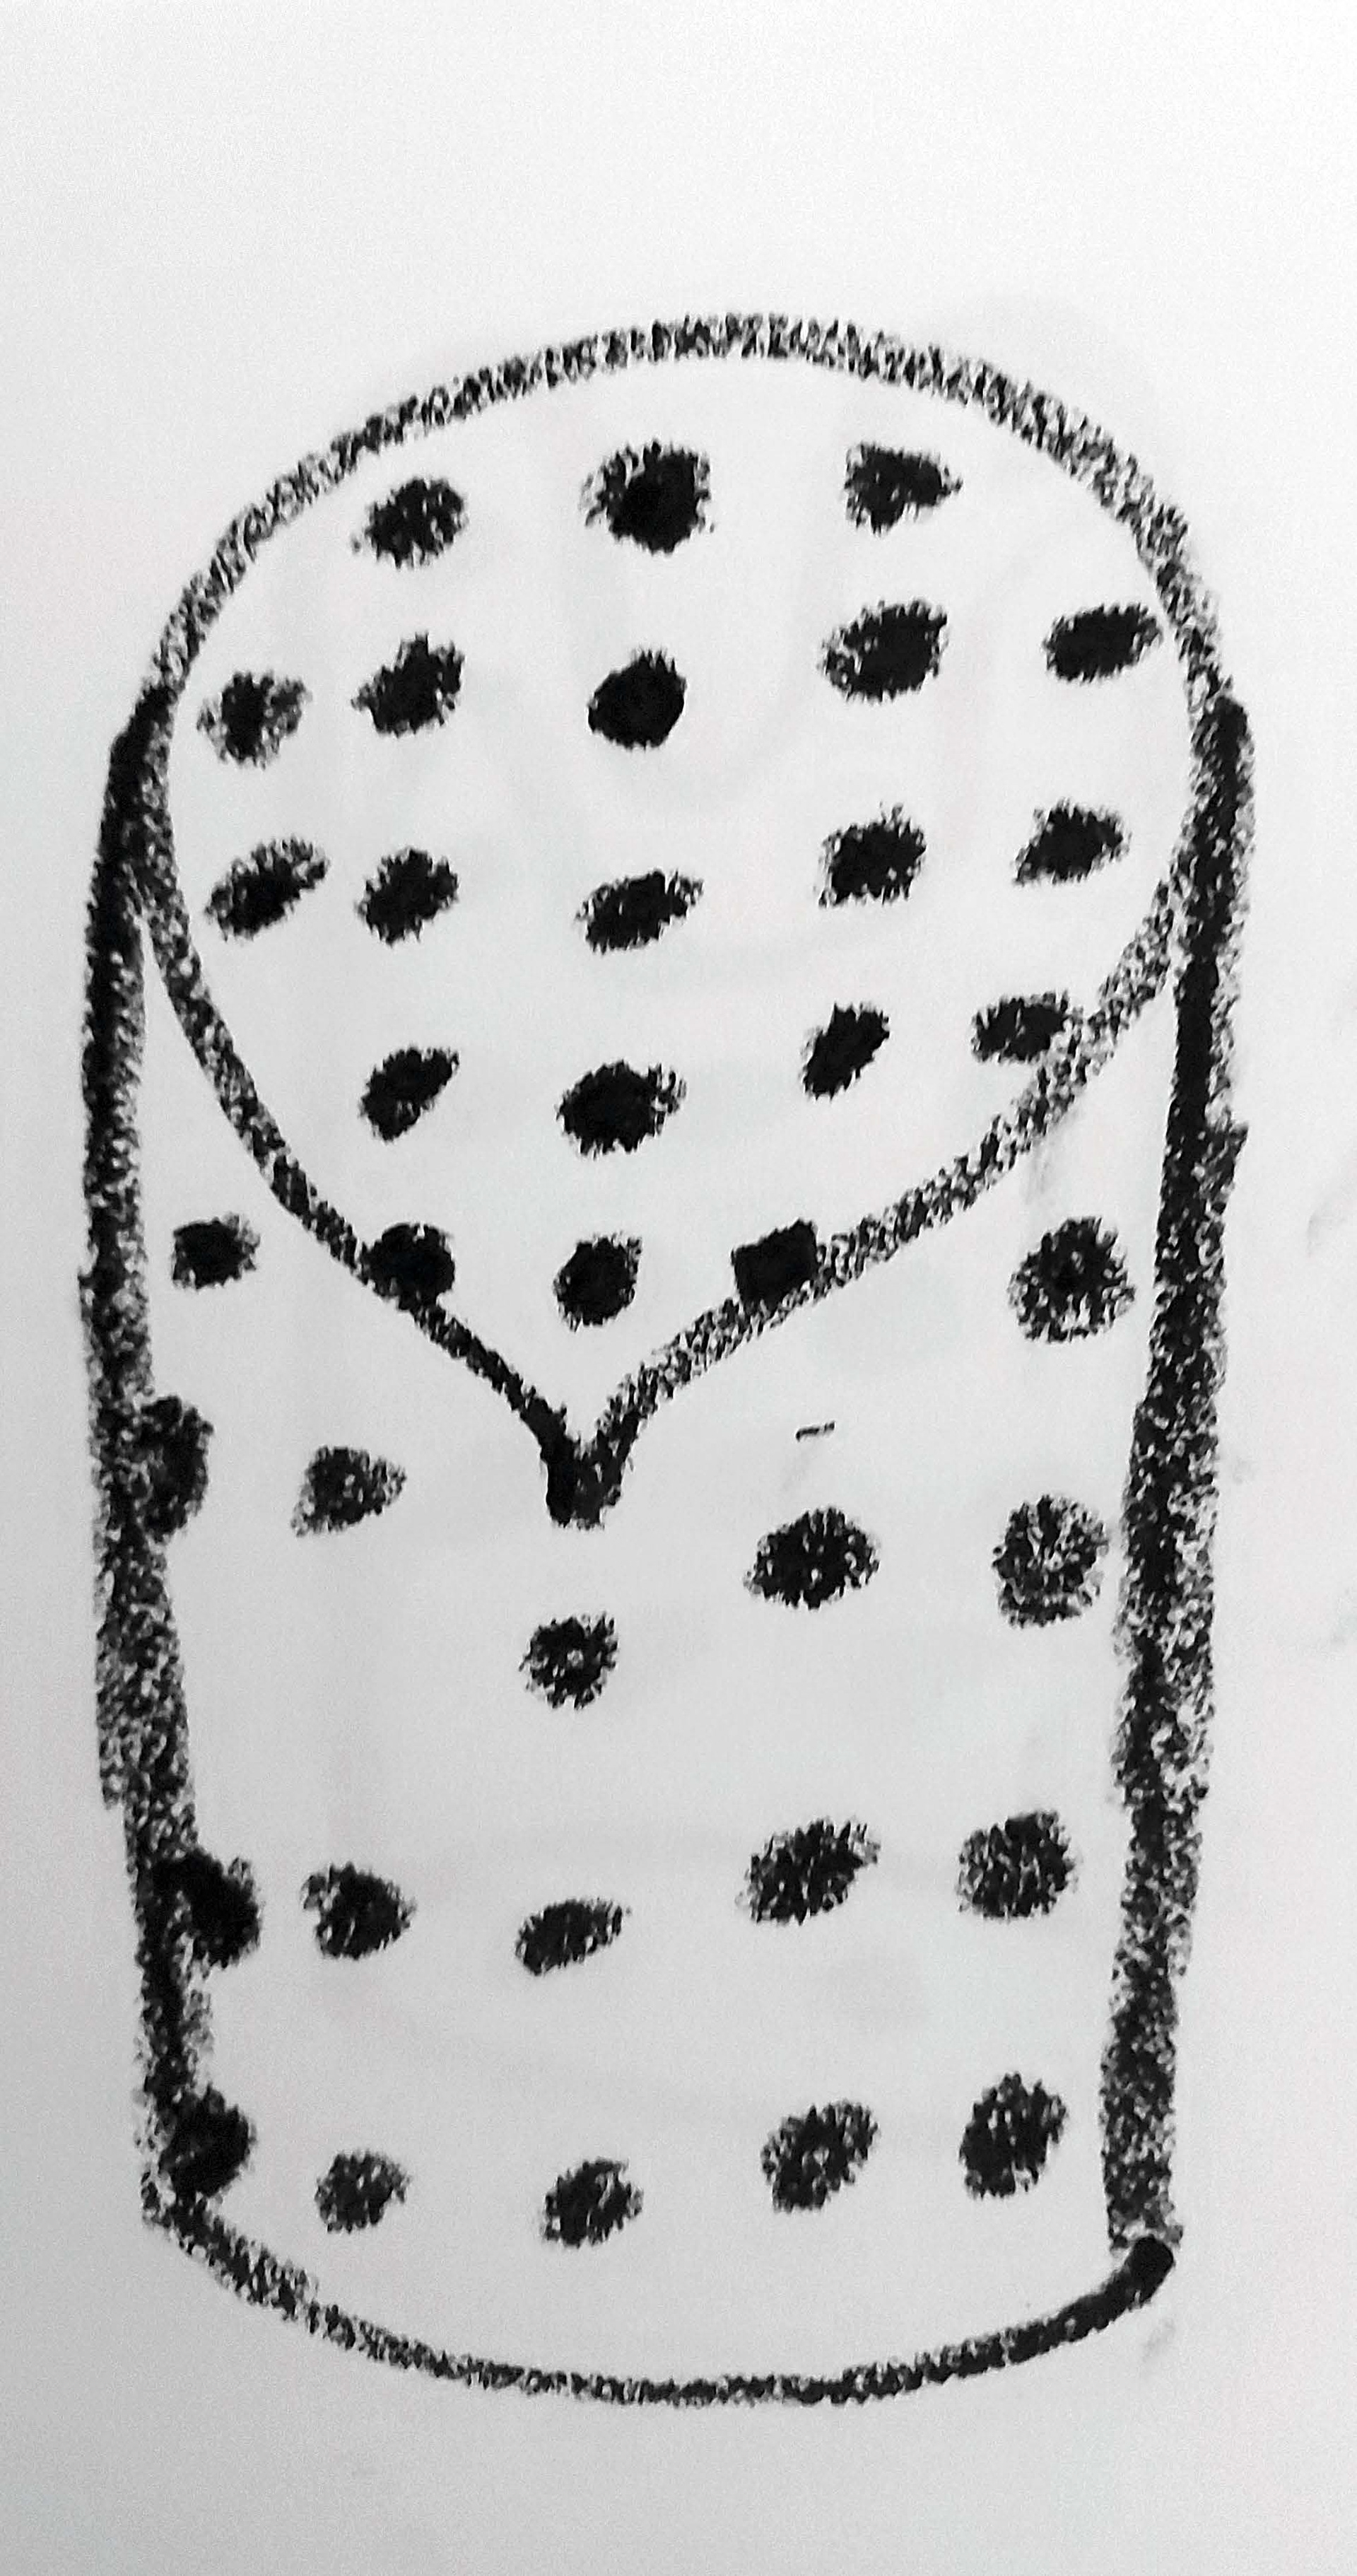
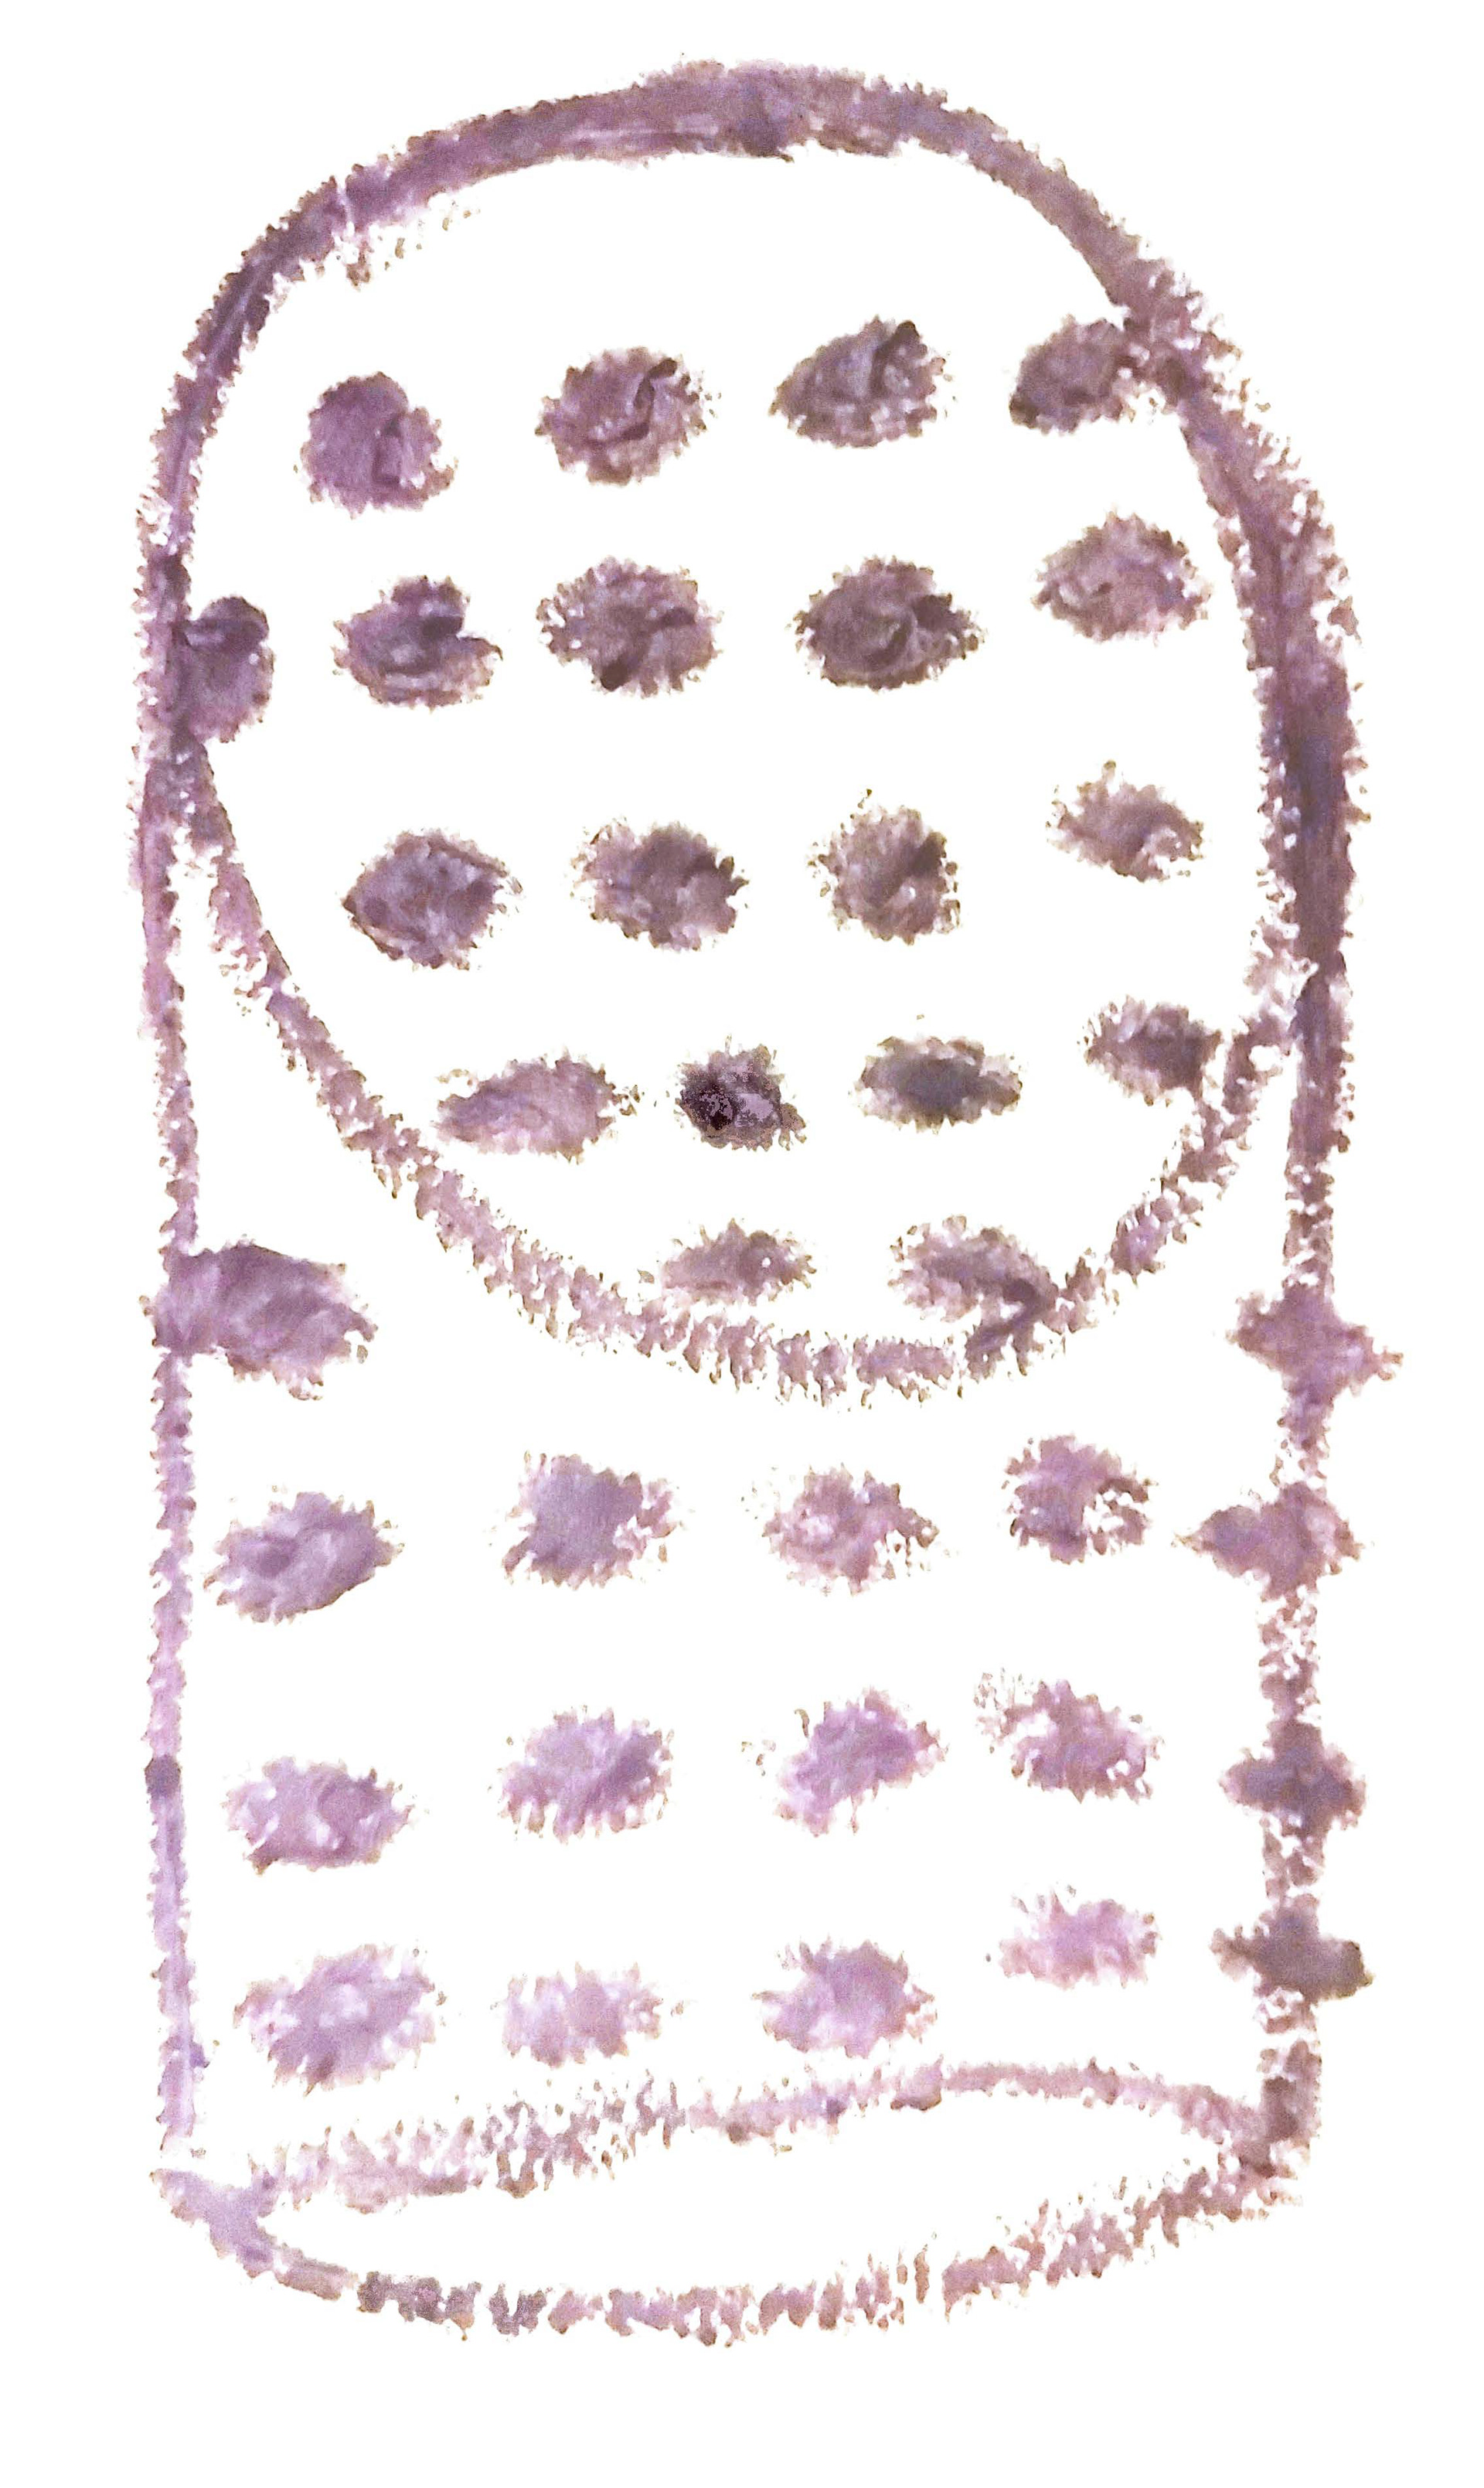
I sketched some different shapes to what I had already made within both units so that I was able to explore more shapes within the making part of the project.
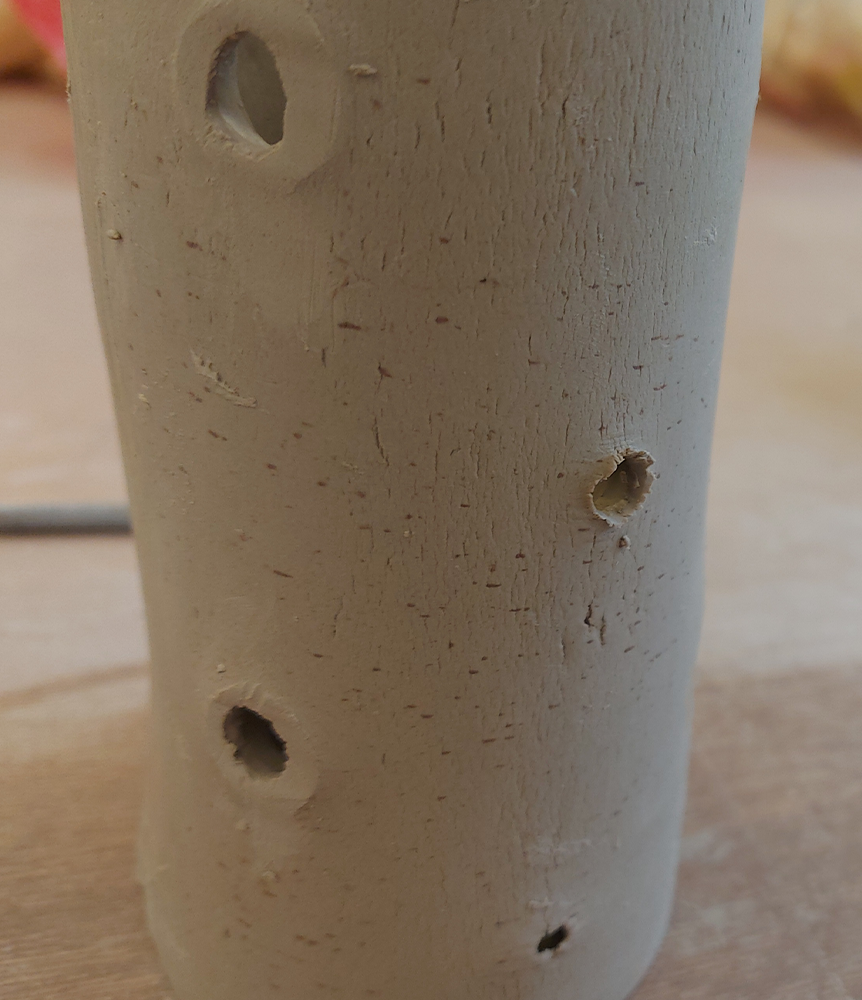
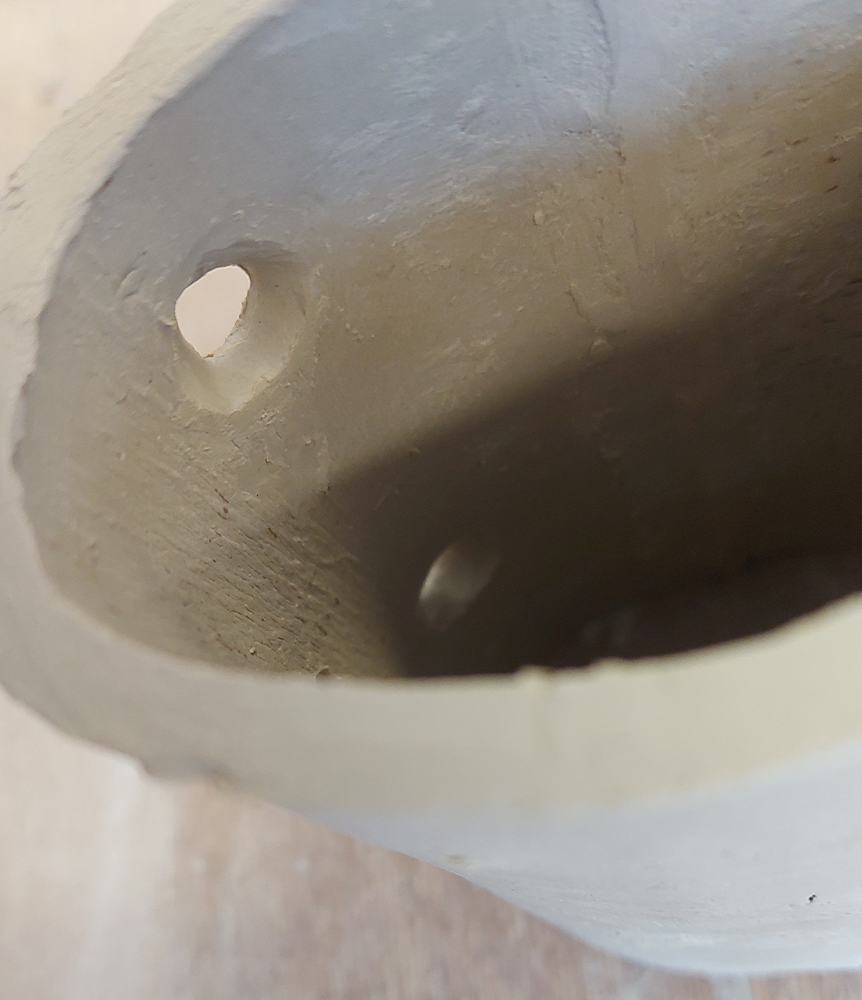
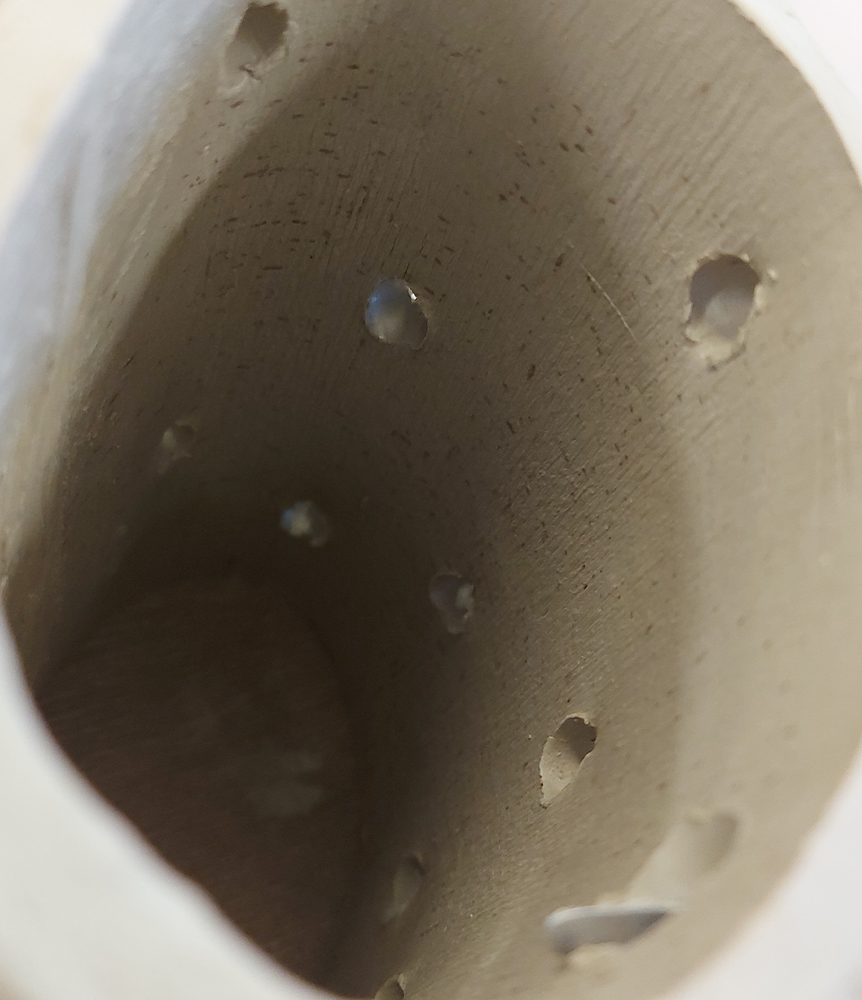
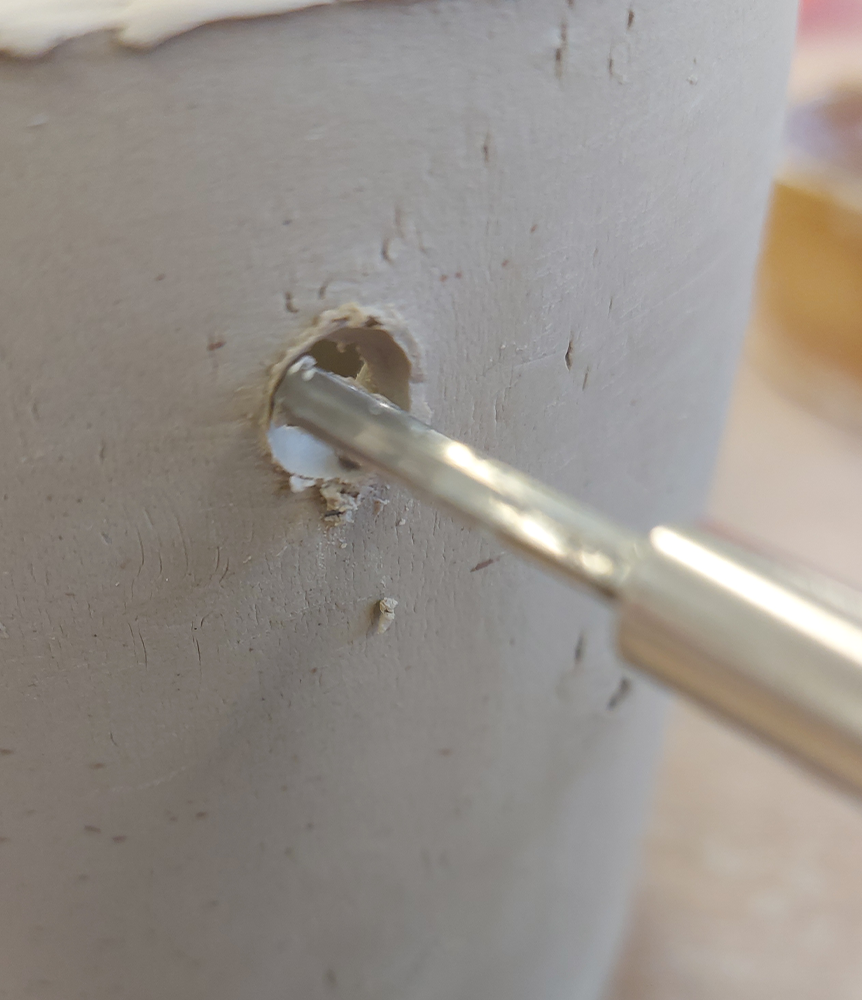
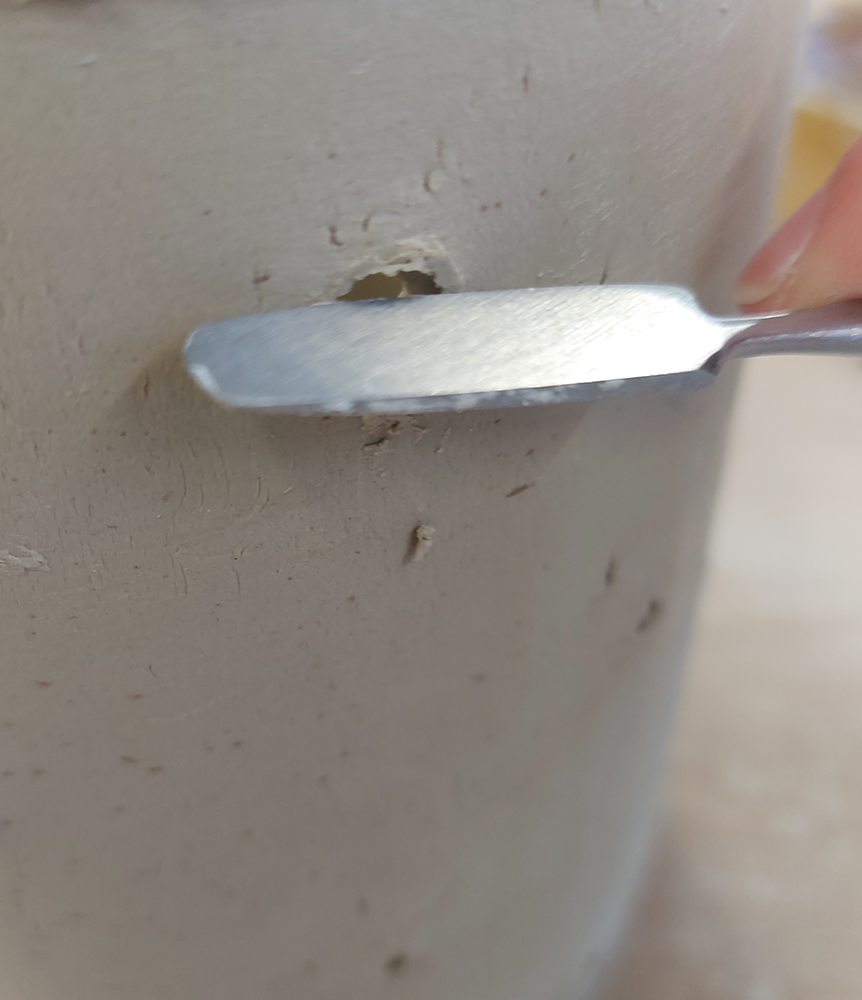
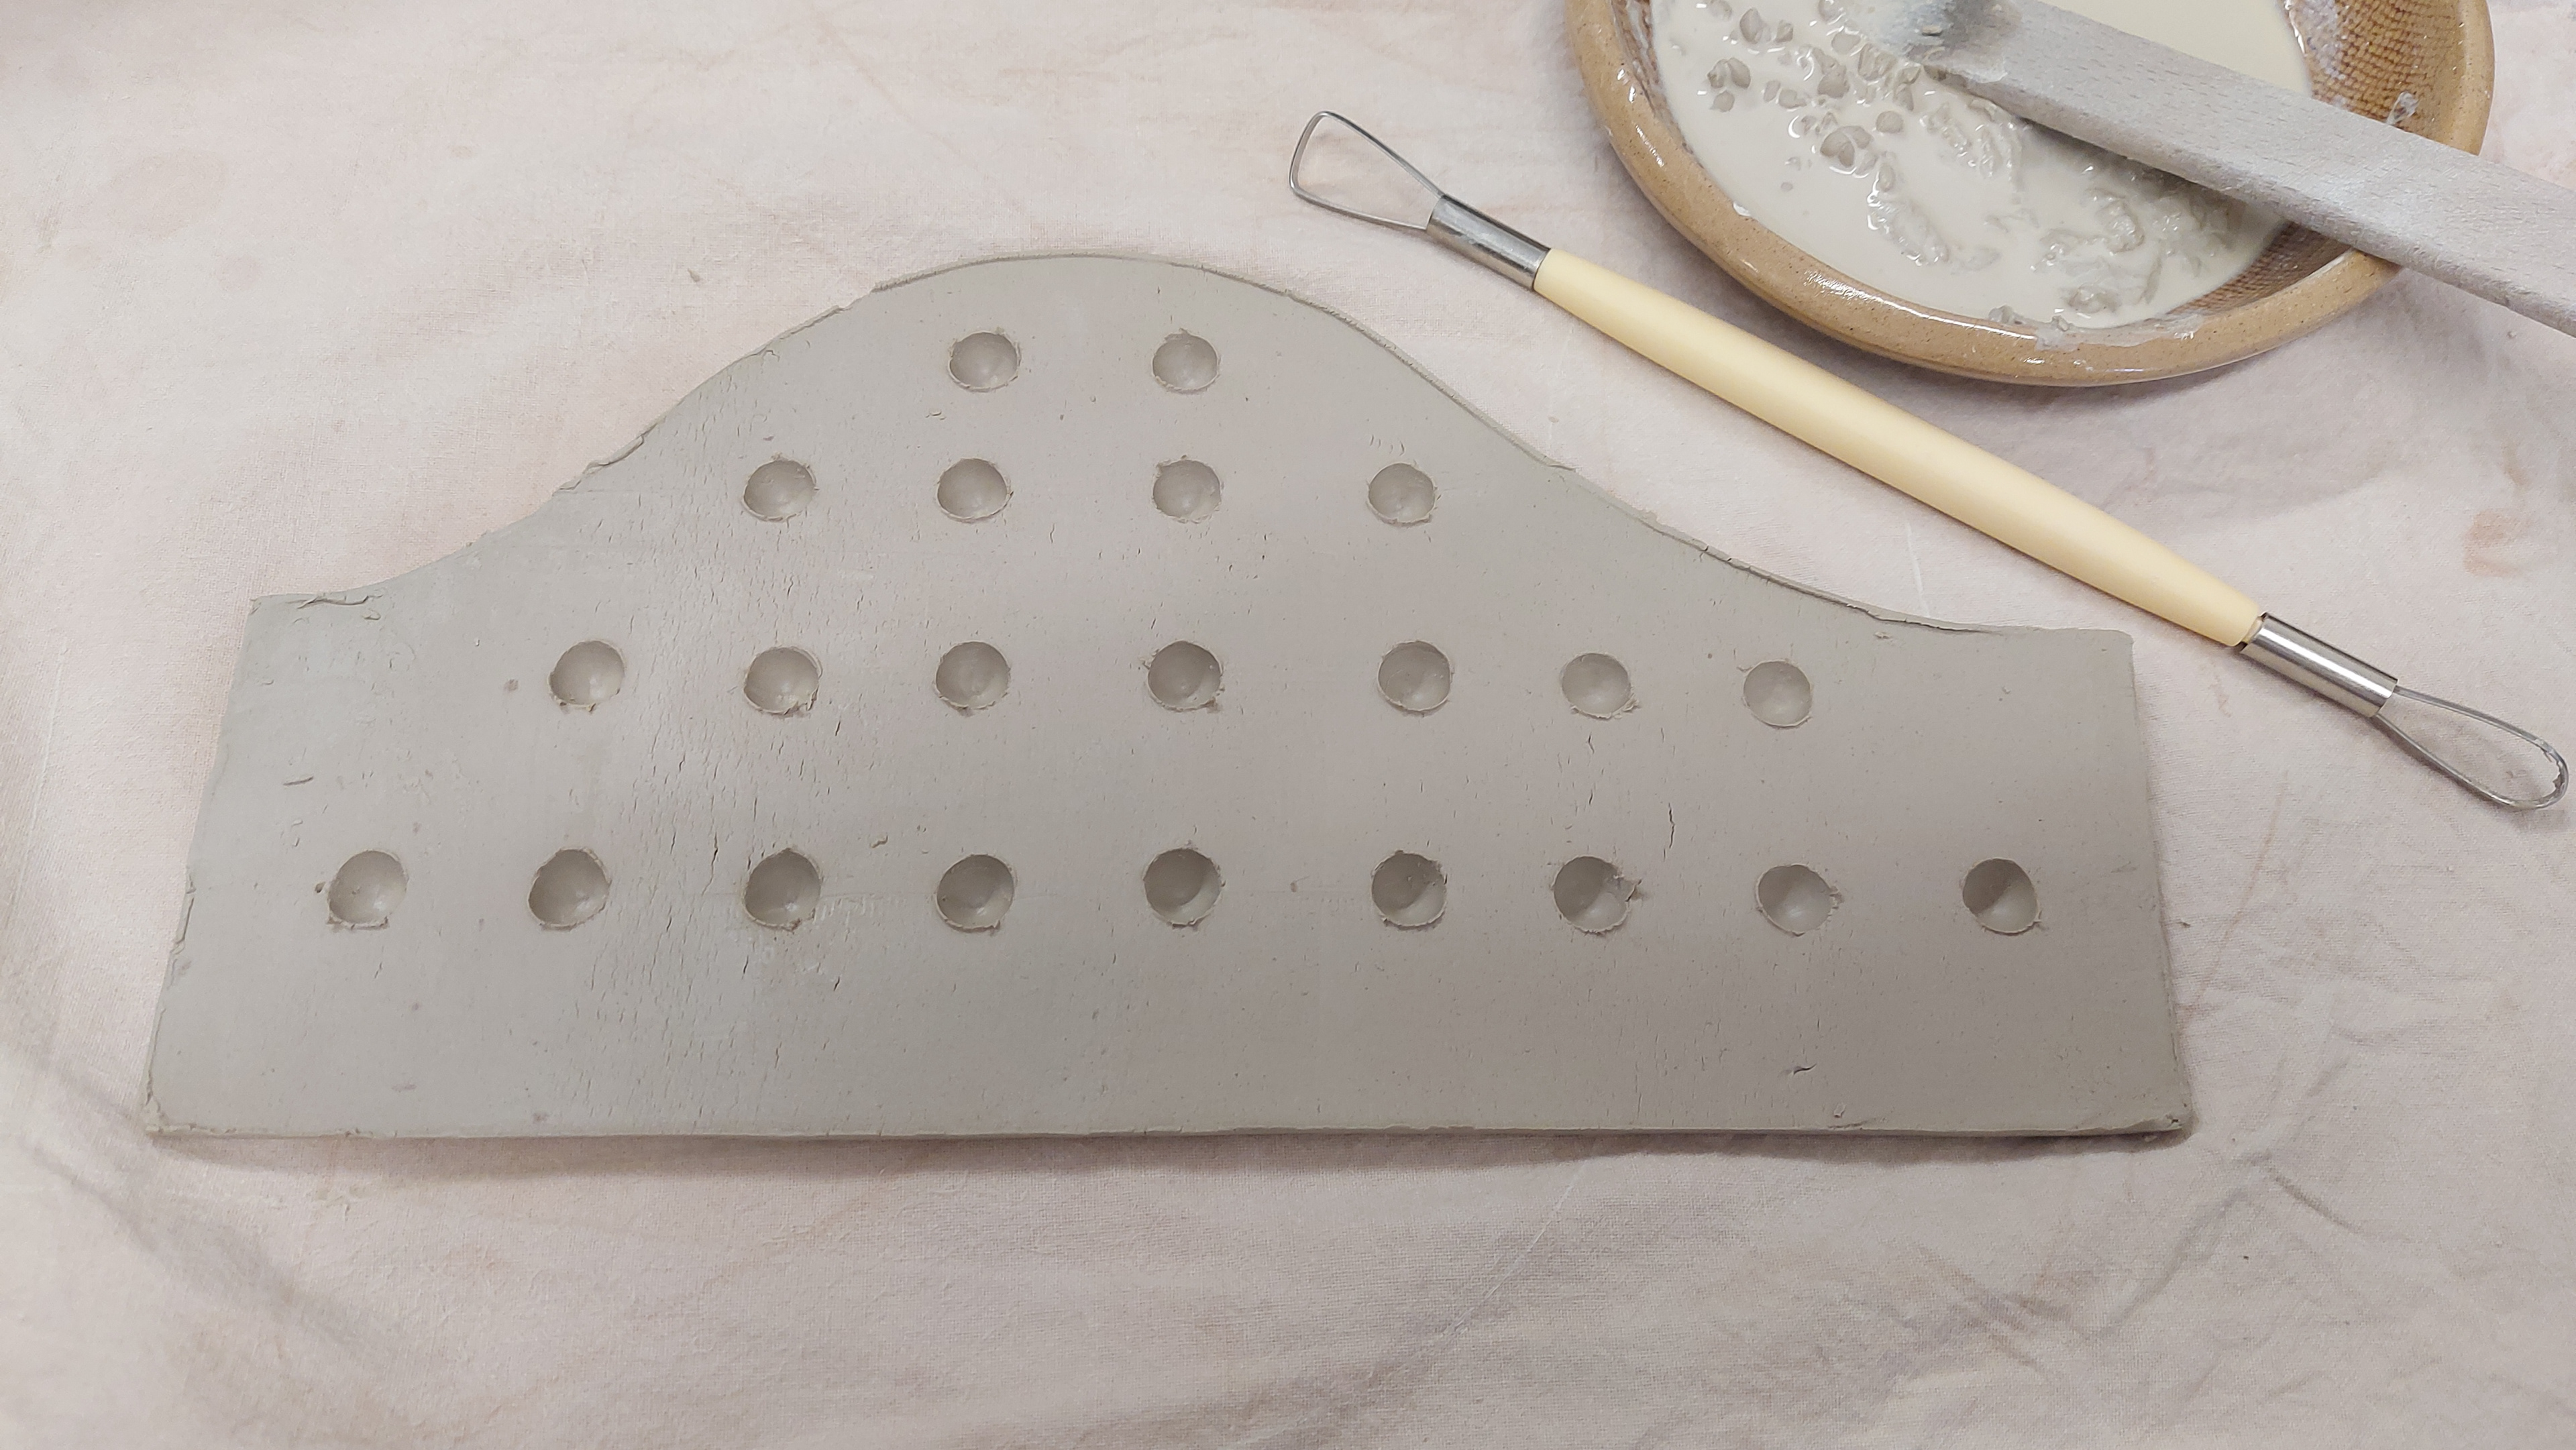
When creating this piece I made more of an oval shape to test out if this would be a better shape to use than a cylinder. Taking advice from my last tutorial to spend time getting the shape and holes of the piece right. I decided to think of an order to use tools to create as smooth a tapered hole as I could. This started with using a looped tool to create a round hole on the inside of the cylinder when the slab of clay is flat. I then put the slab of clay into its cylindrical form and used an engraving tool with an angled hook to scrape out the clay and give the taper on the inside of the piece. I then used the same looped tool to create a circle on the outside of the cylinder and used the straight engraving tool to flatten it to create this slightly raised ring around the hole that I hadn't found before when creating the holes in this or the previous unit.
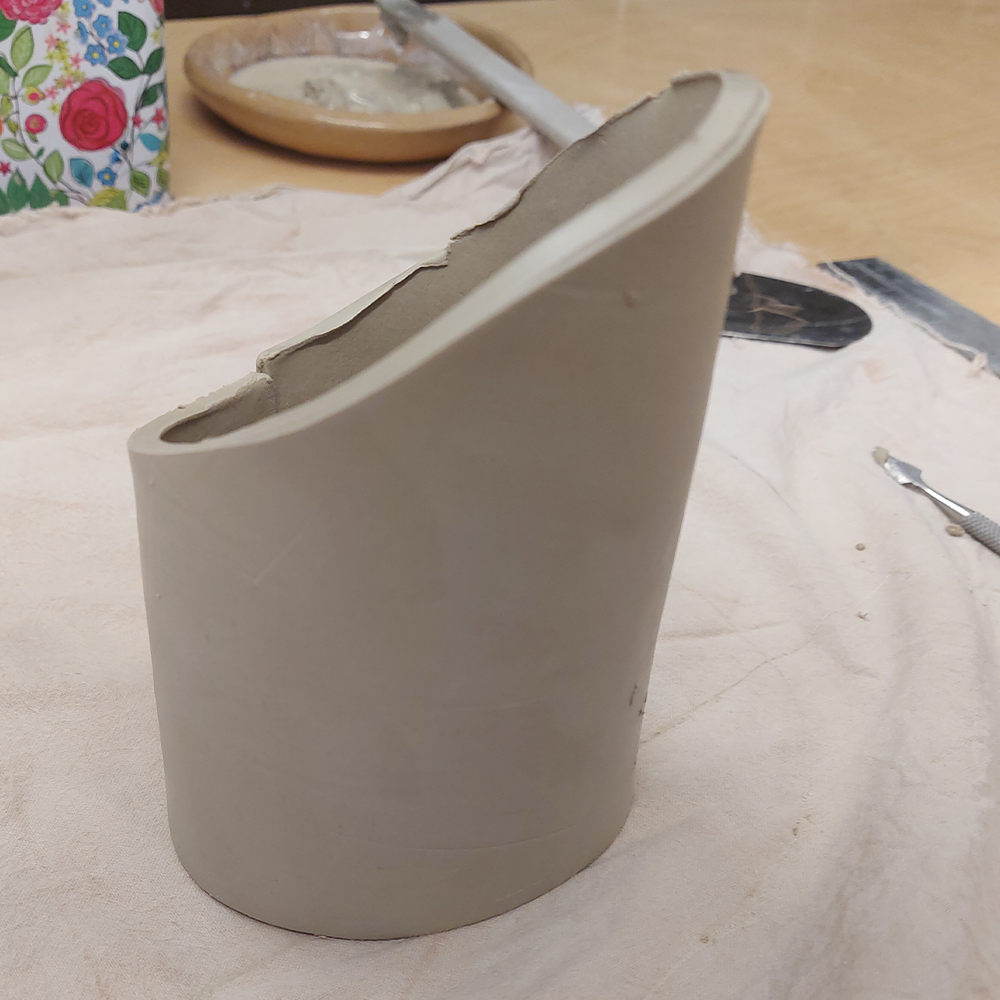
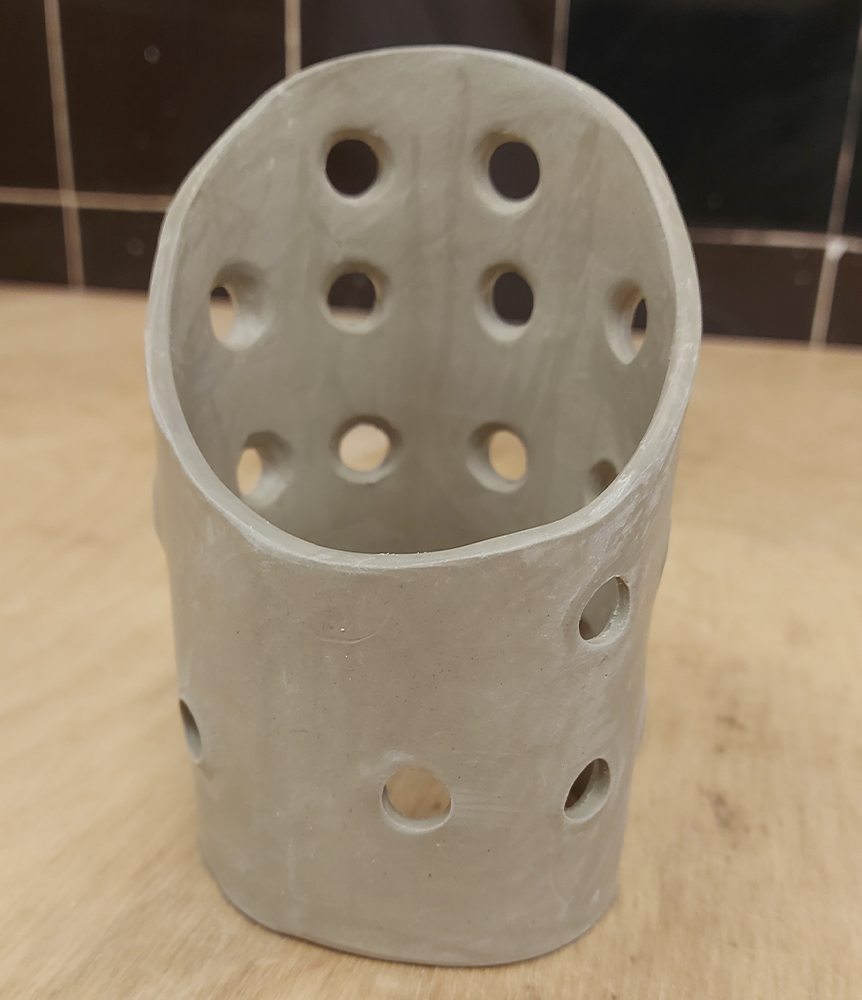
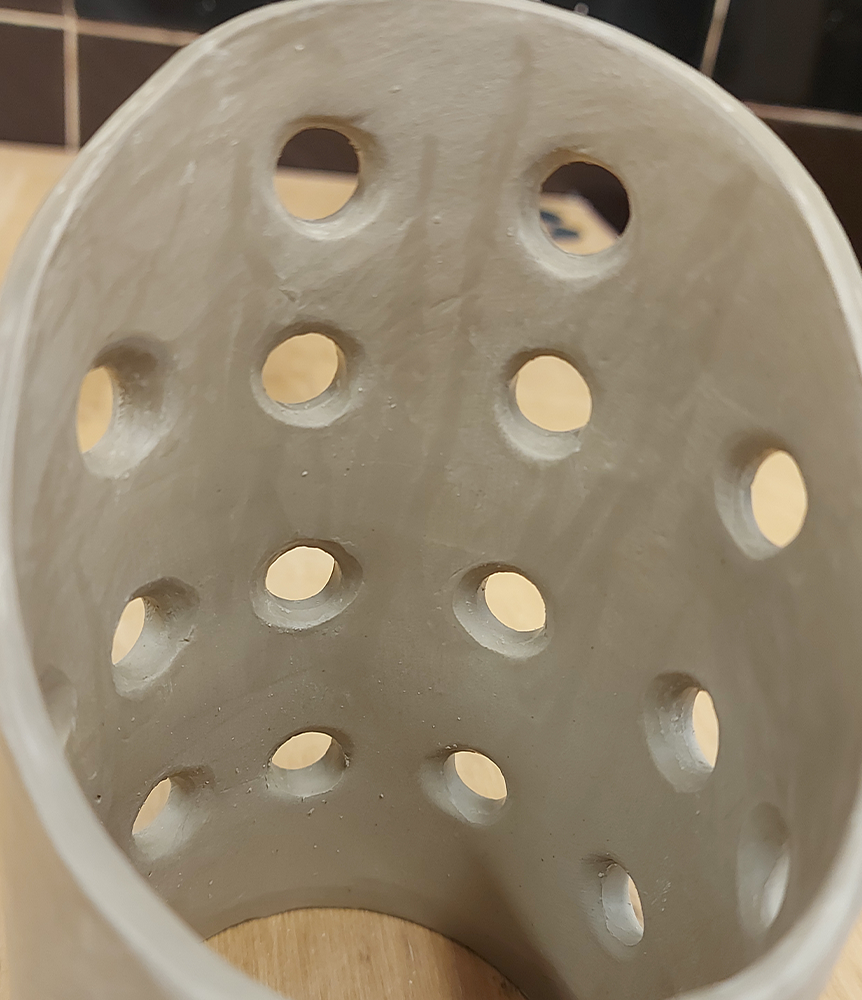
Following on from the ovular shaped piece, I then decided to create a piece that was different in shape and had a curved down front. This shape is found in some desk tidies and I thought it might be a way to reference older ways of storing stationery. I used the same method but there was less of a ring shape around the holes which makes the holes looks more identical. Because I burnished this second piece the feel is a lot smoother and softer which means that when the user handles the piece it feels better than the other pieces I have made.
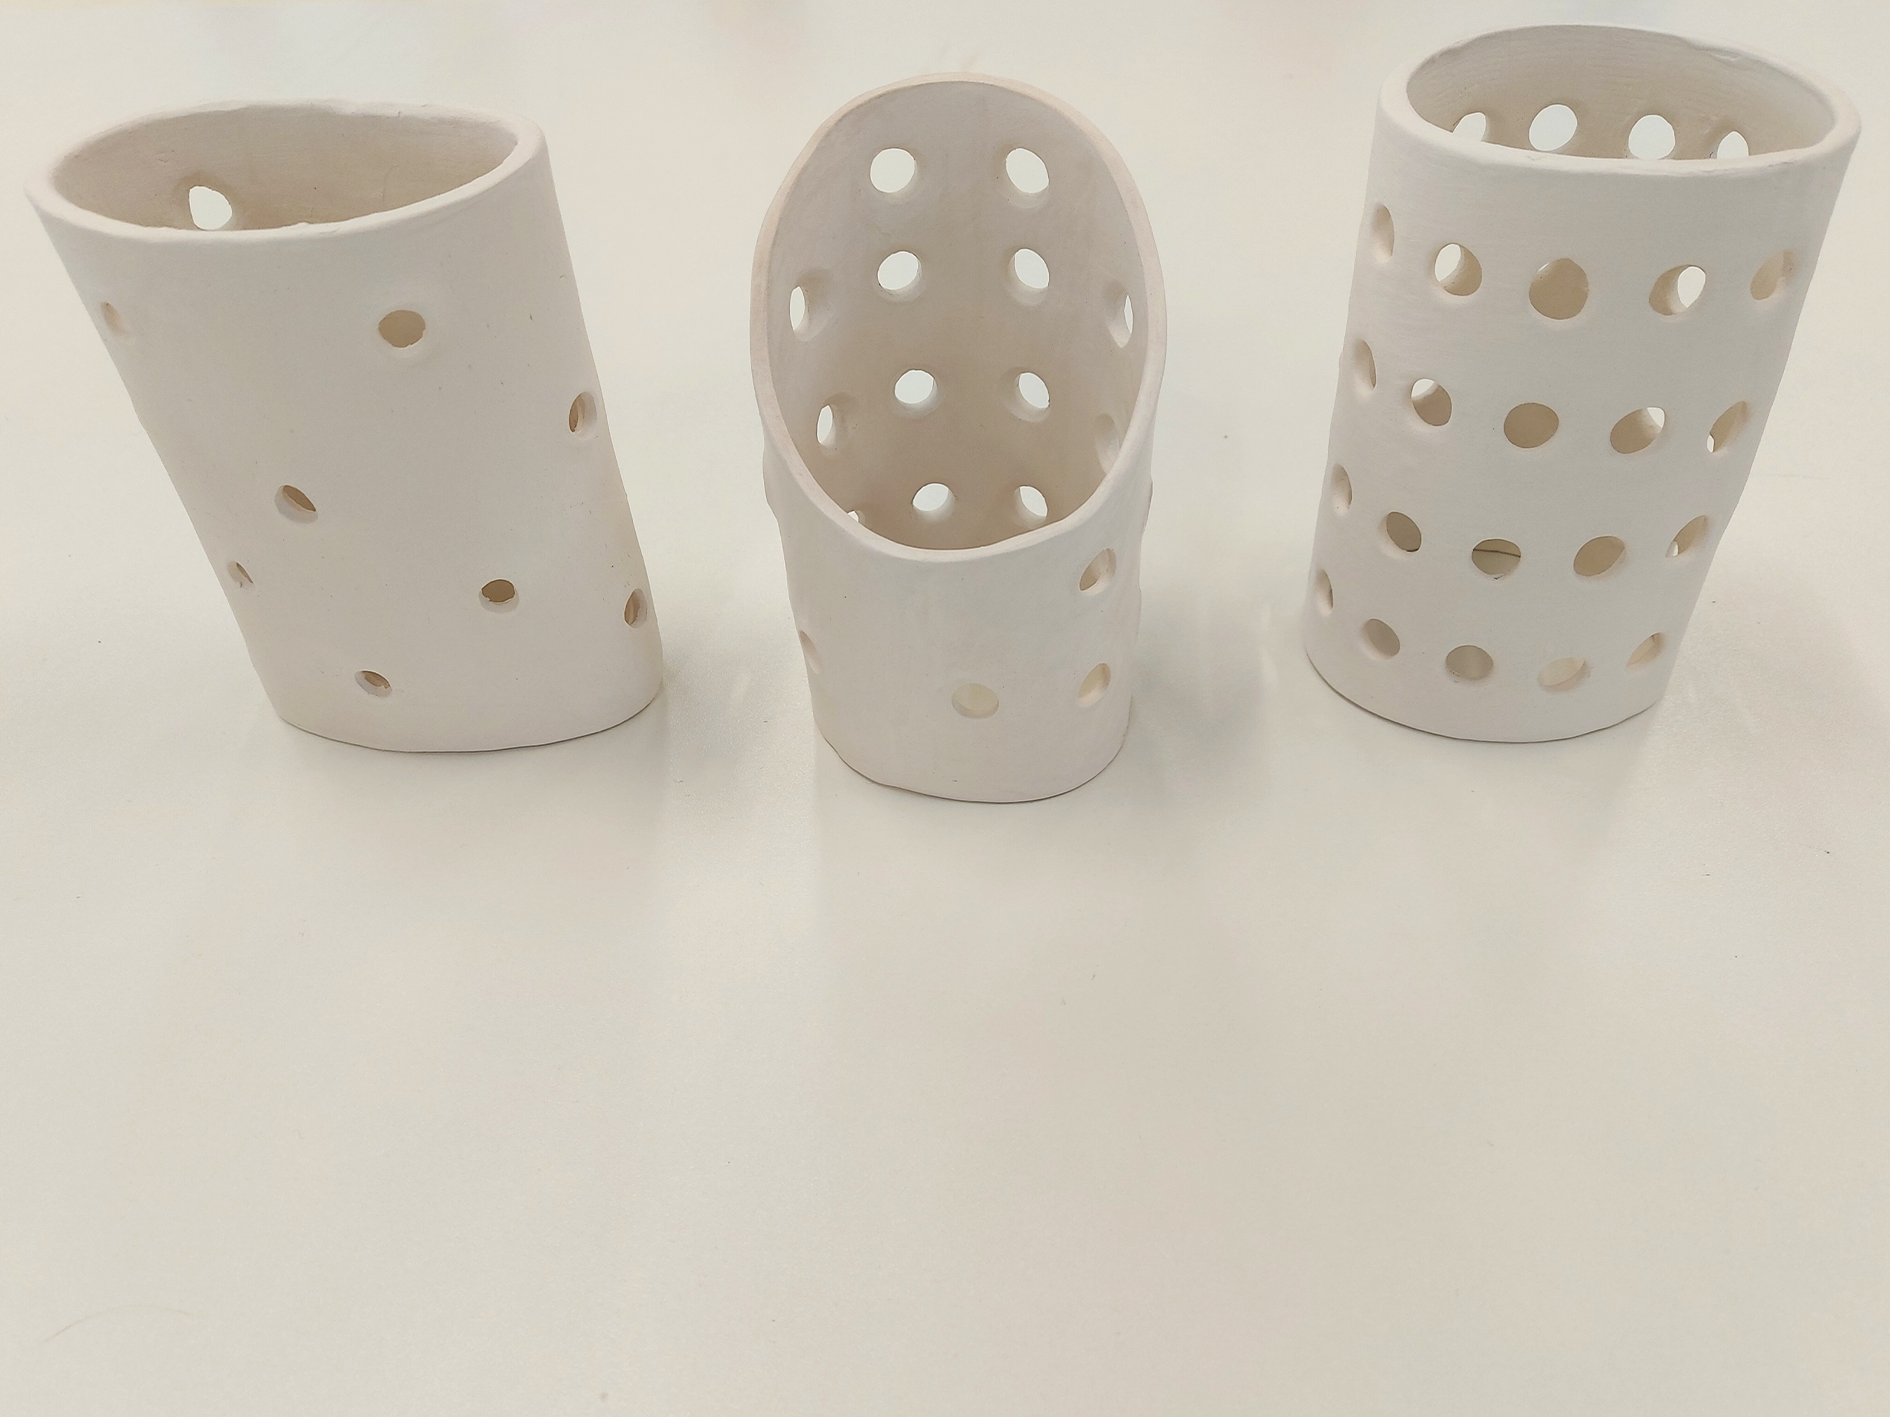
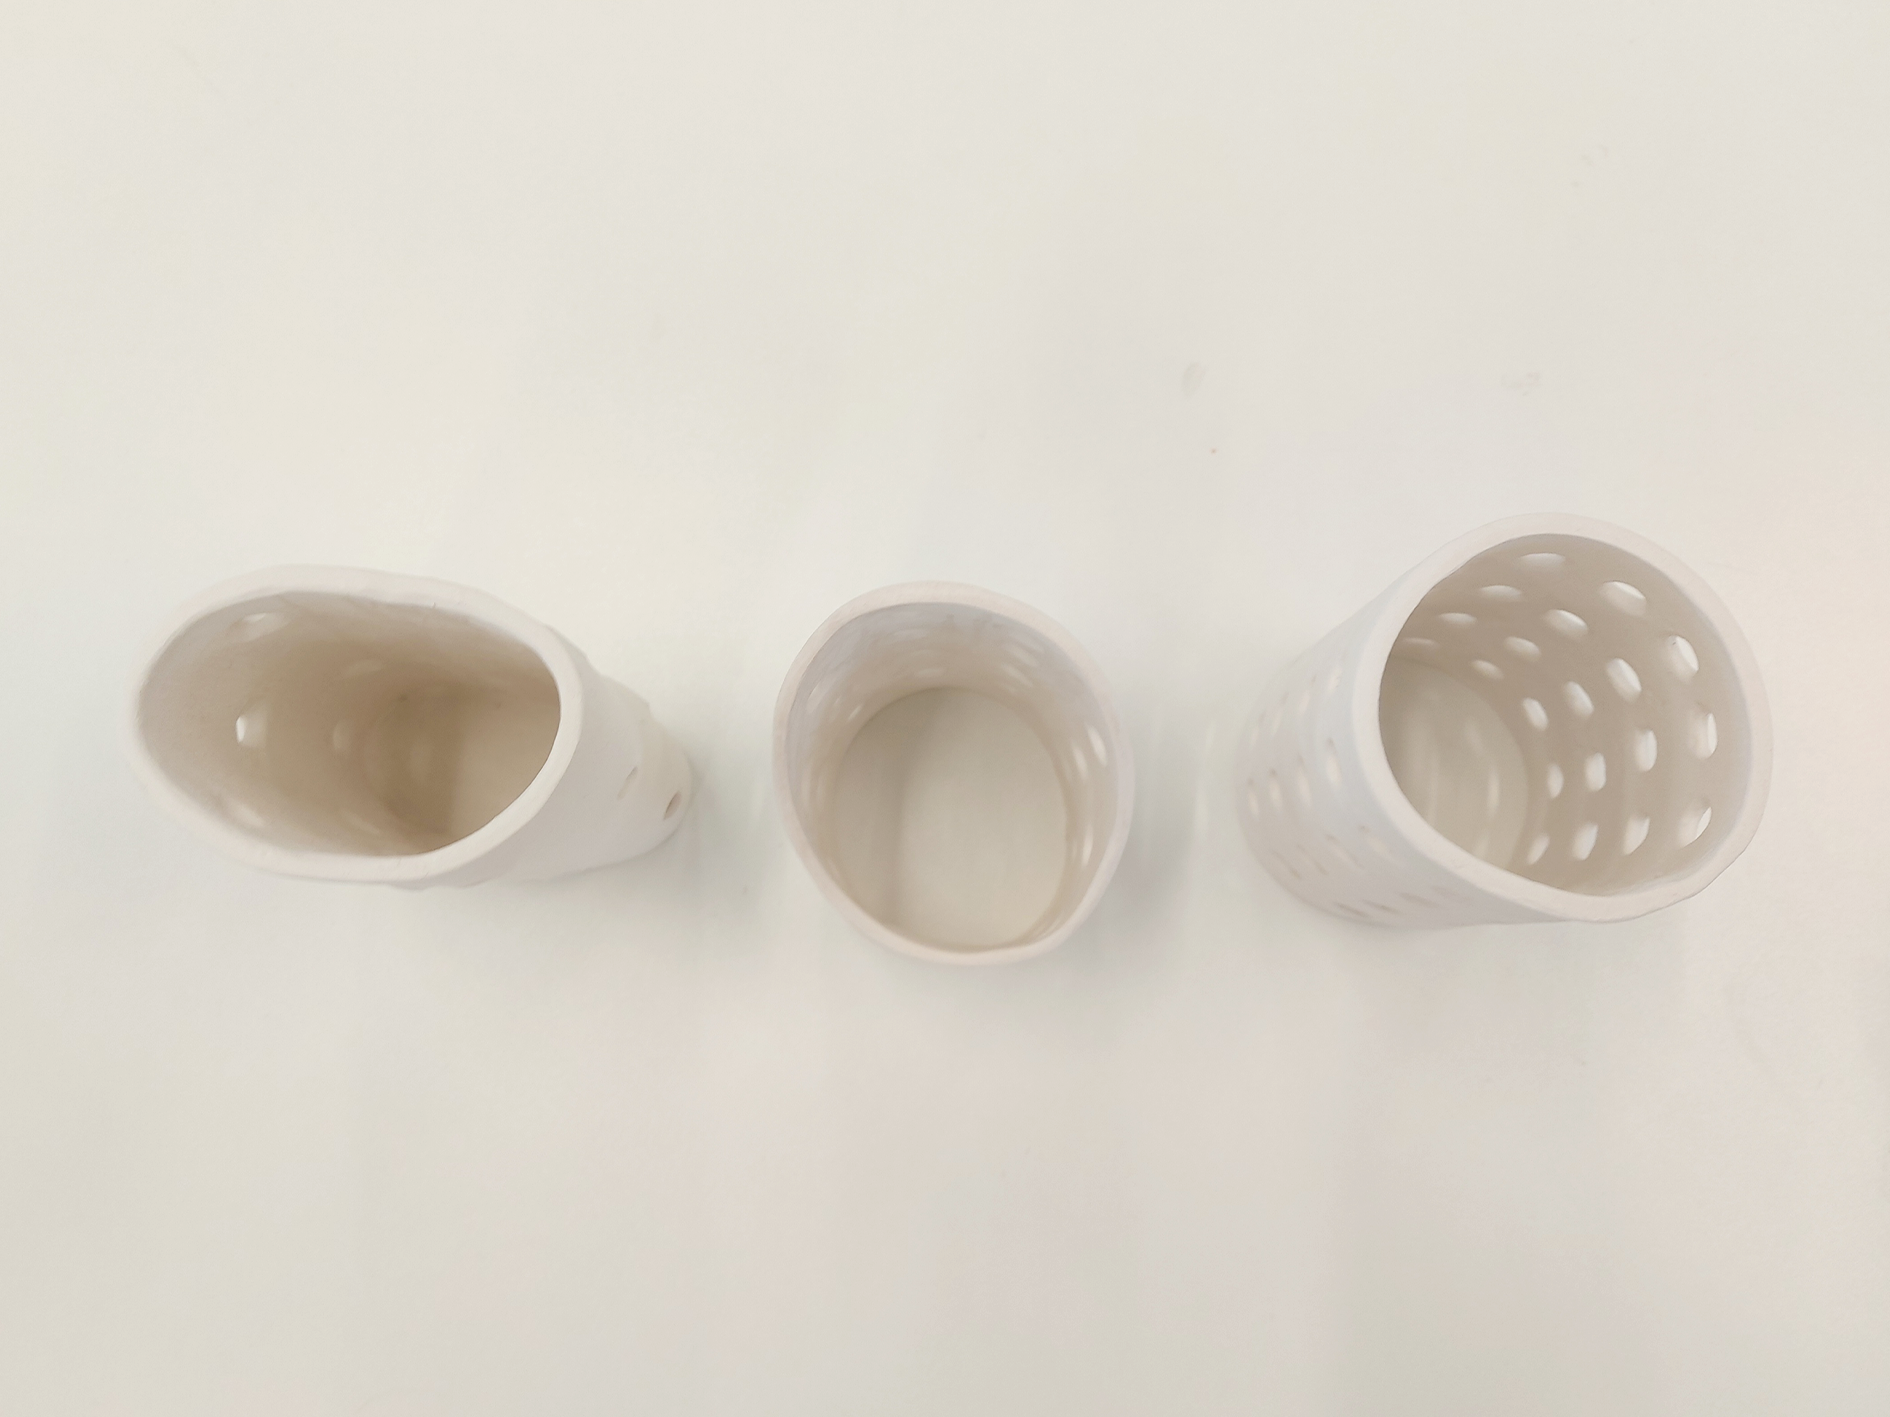
These are some of the models that I'd been working on. This was a part of the project where I was focusing on the finish of the holes I wa smaming.
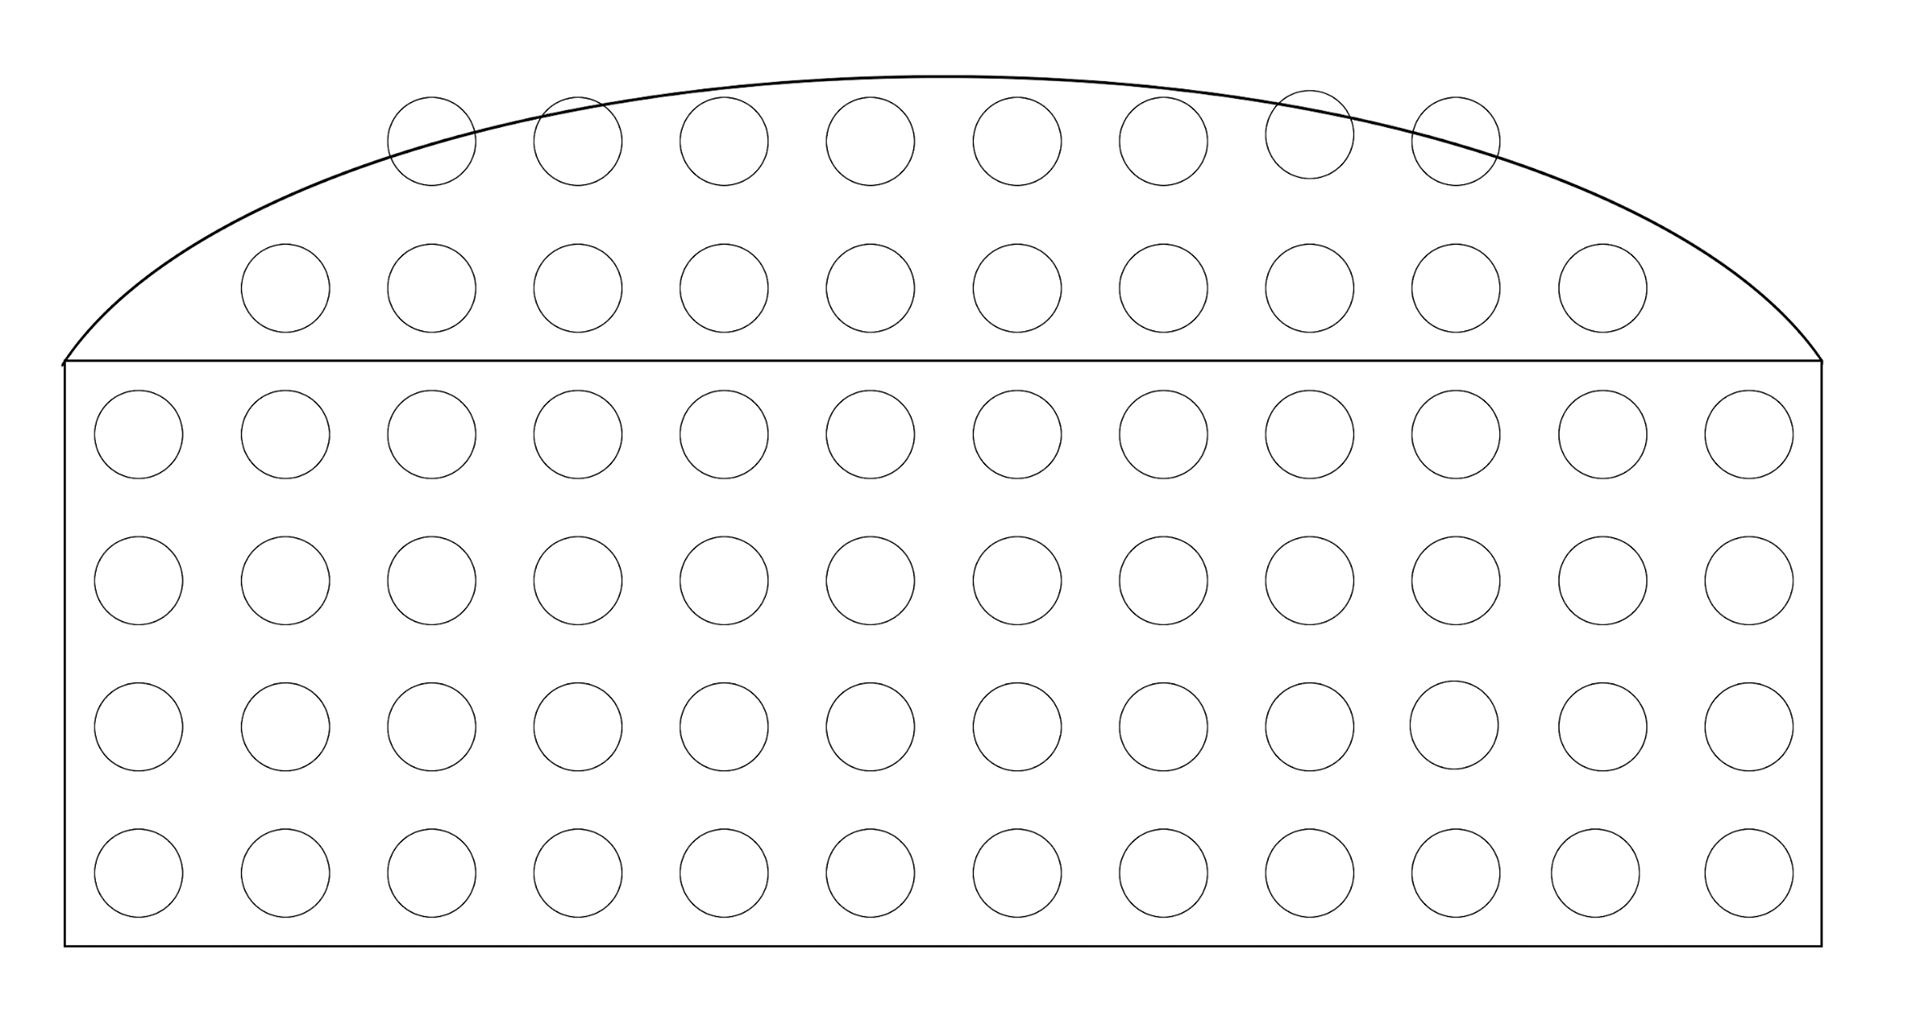
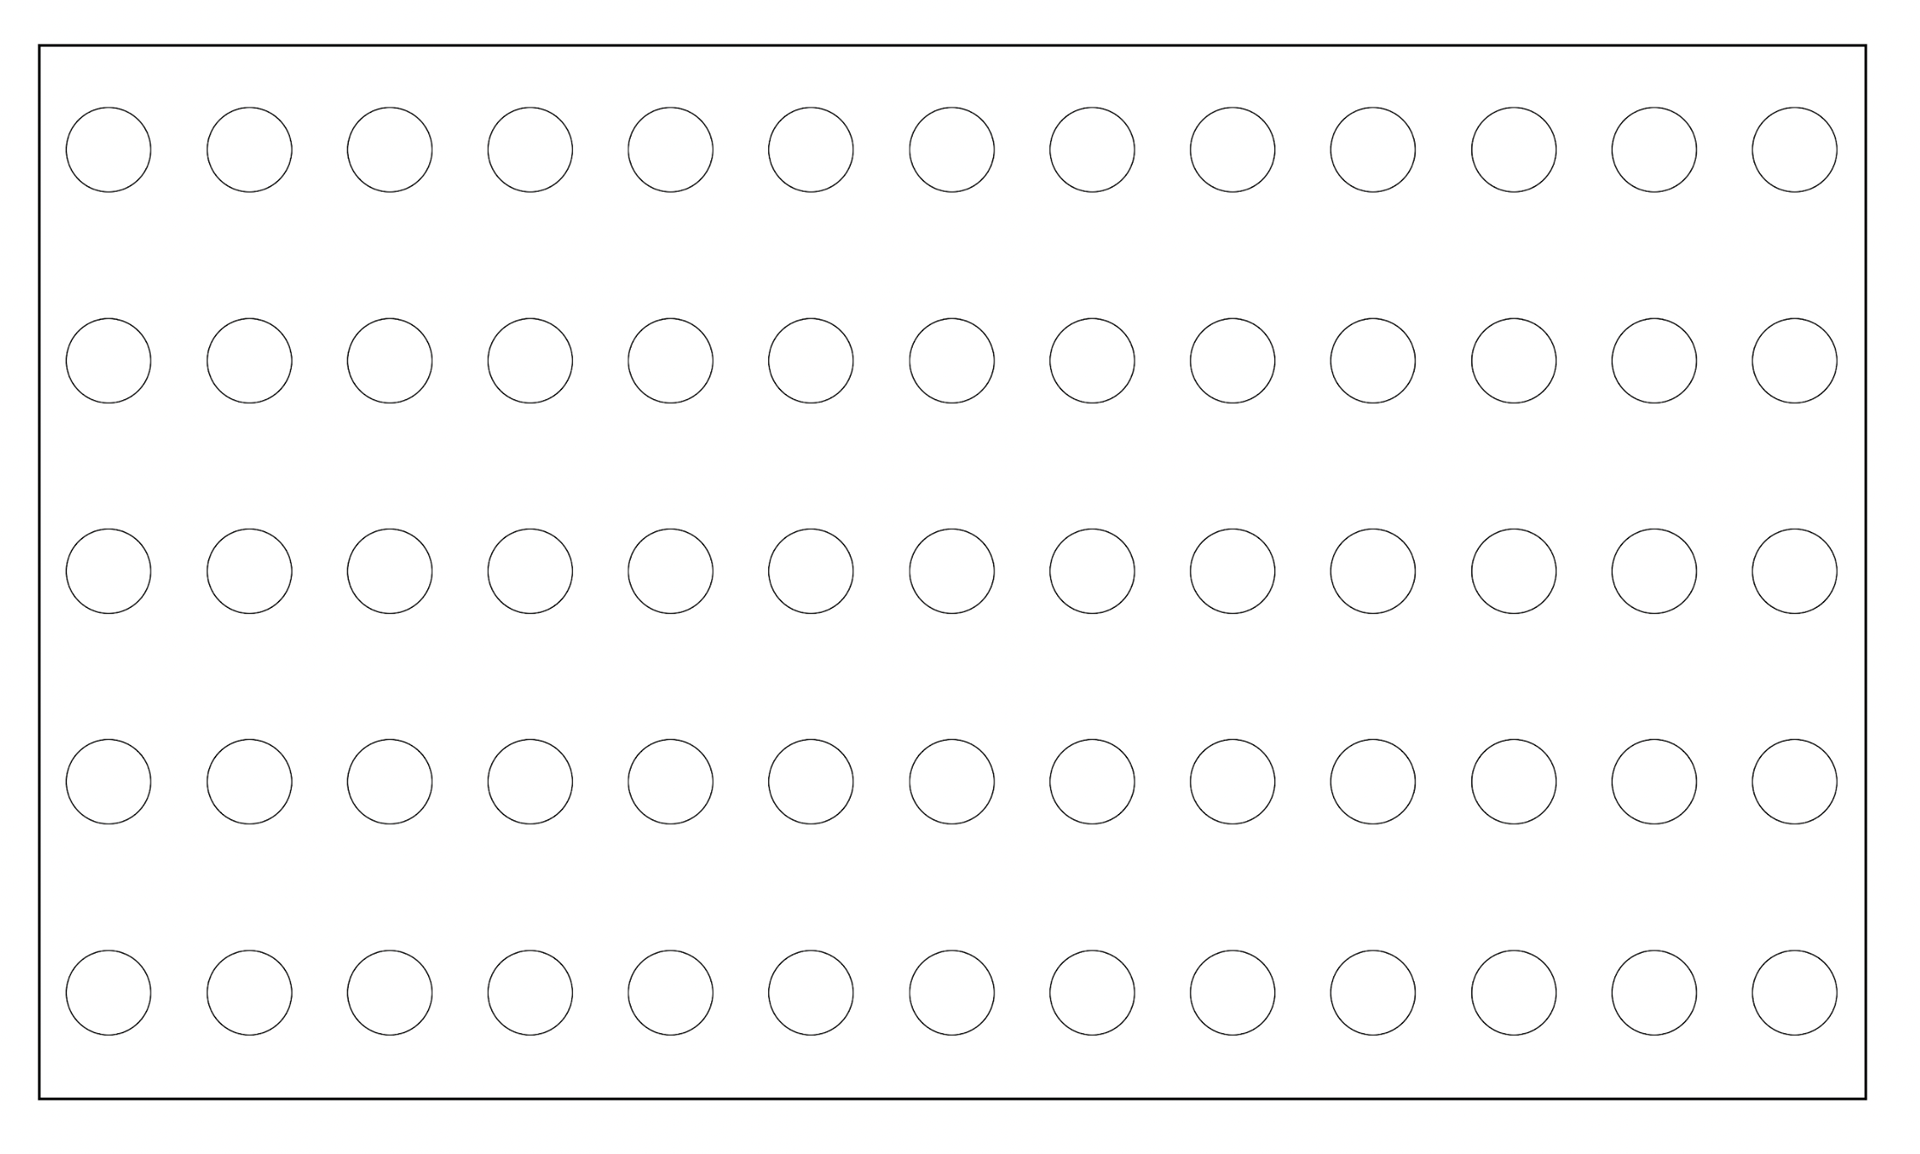
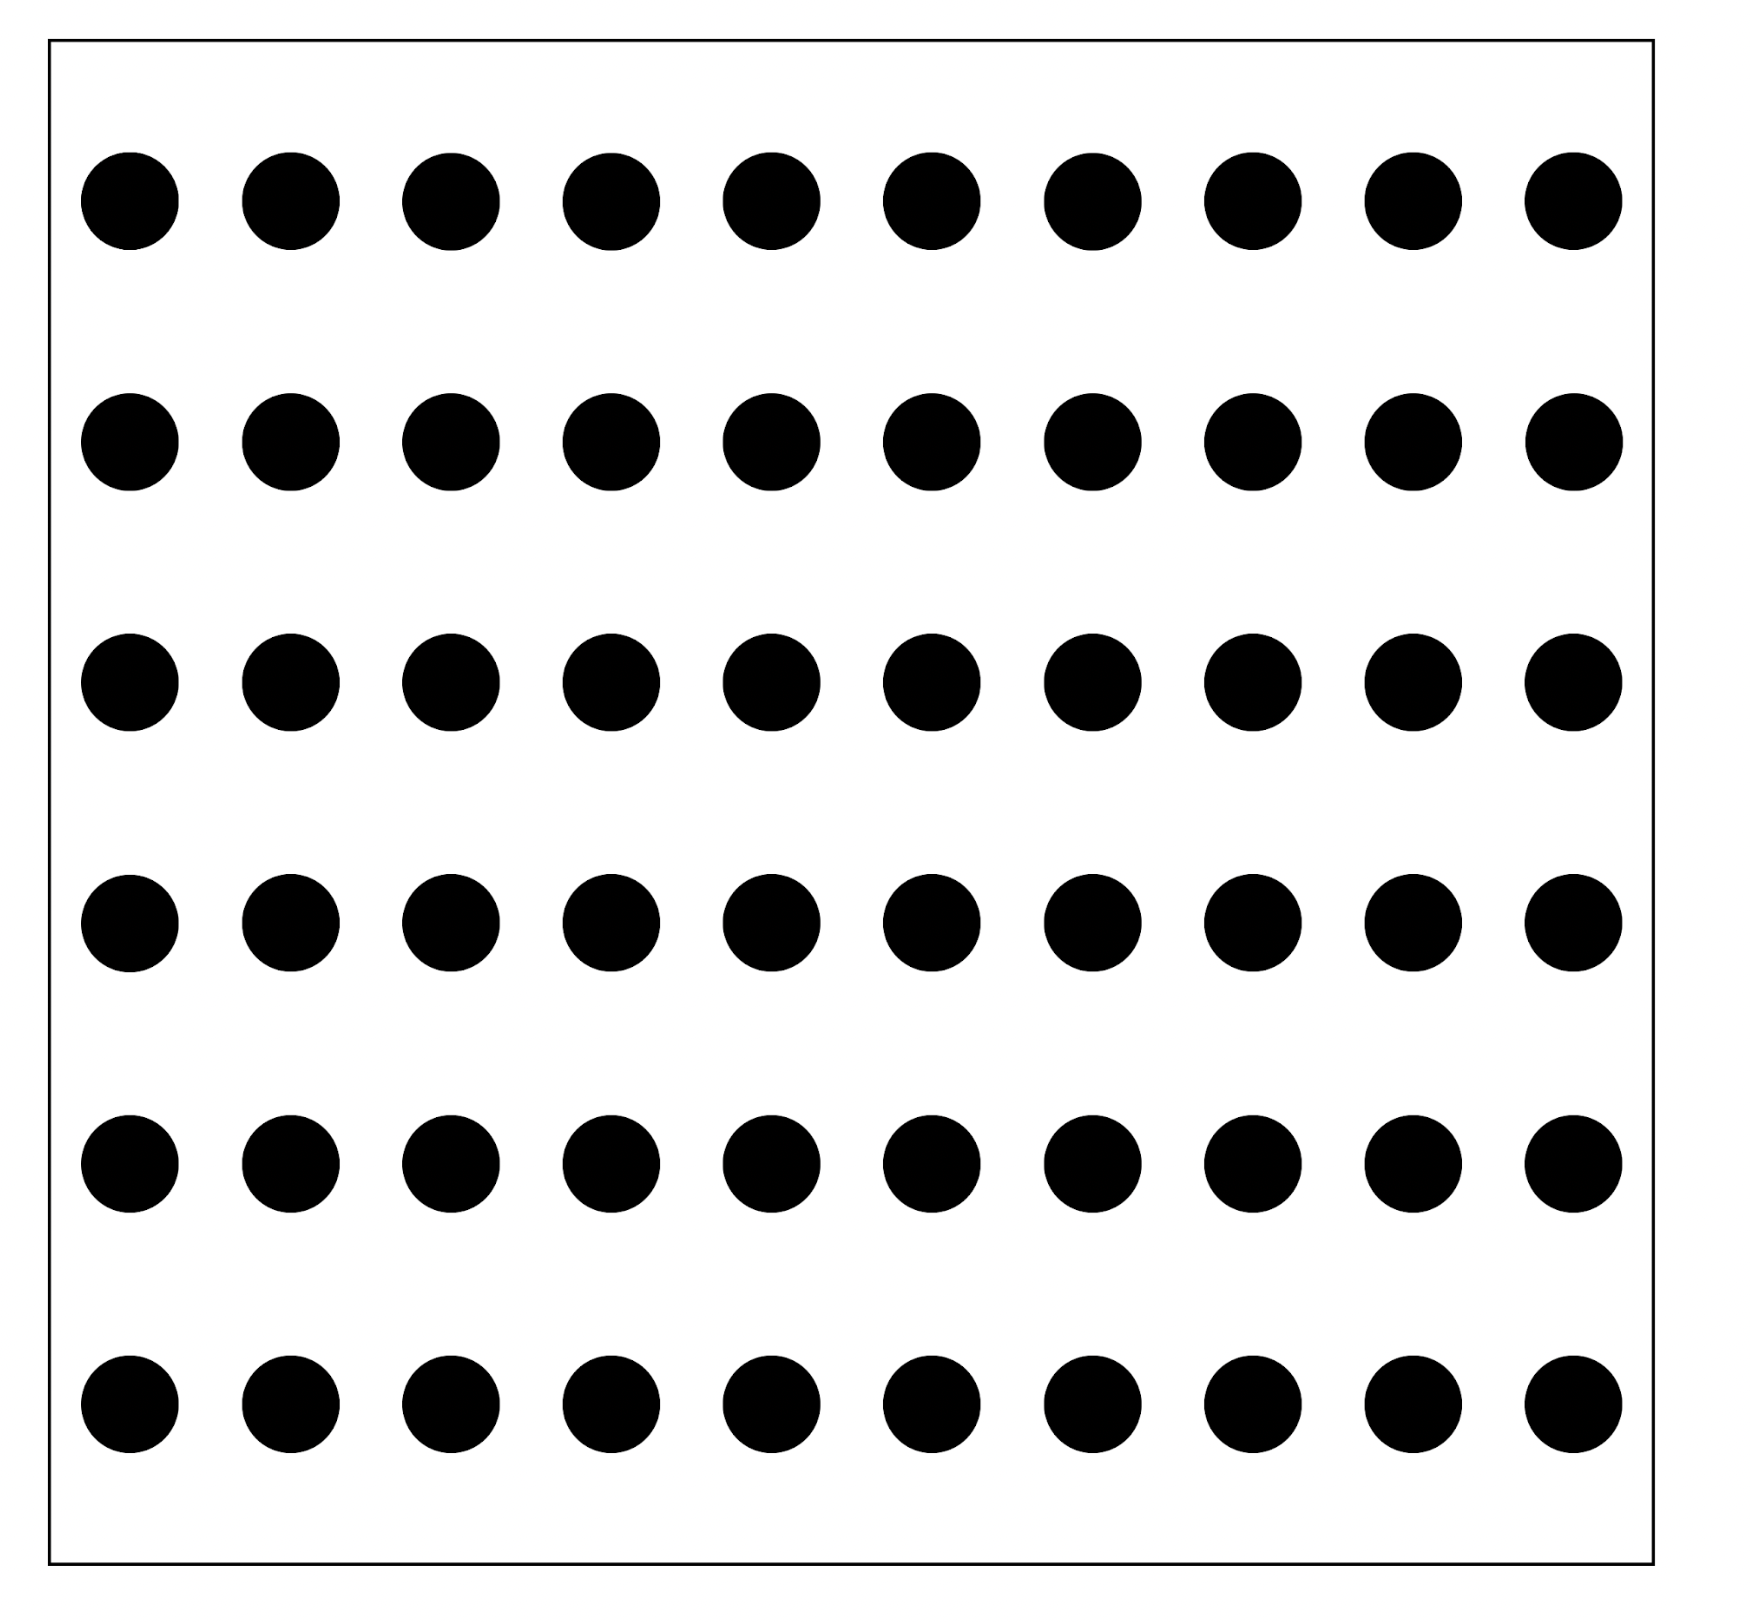
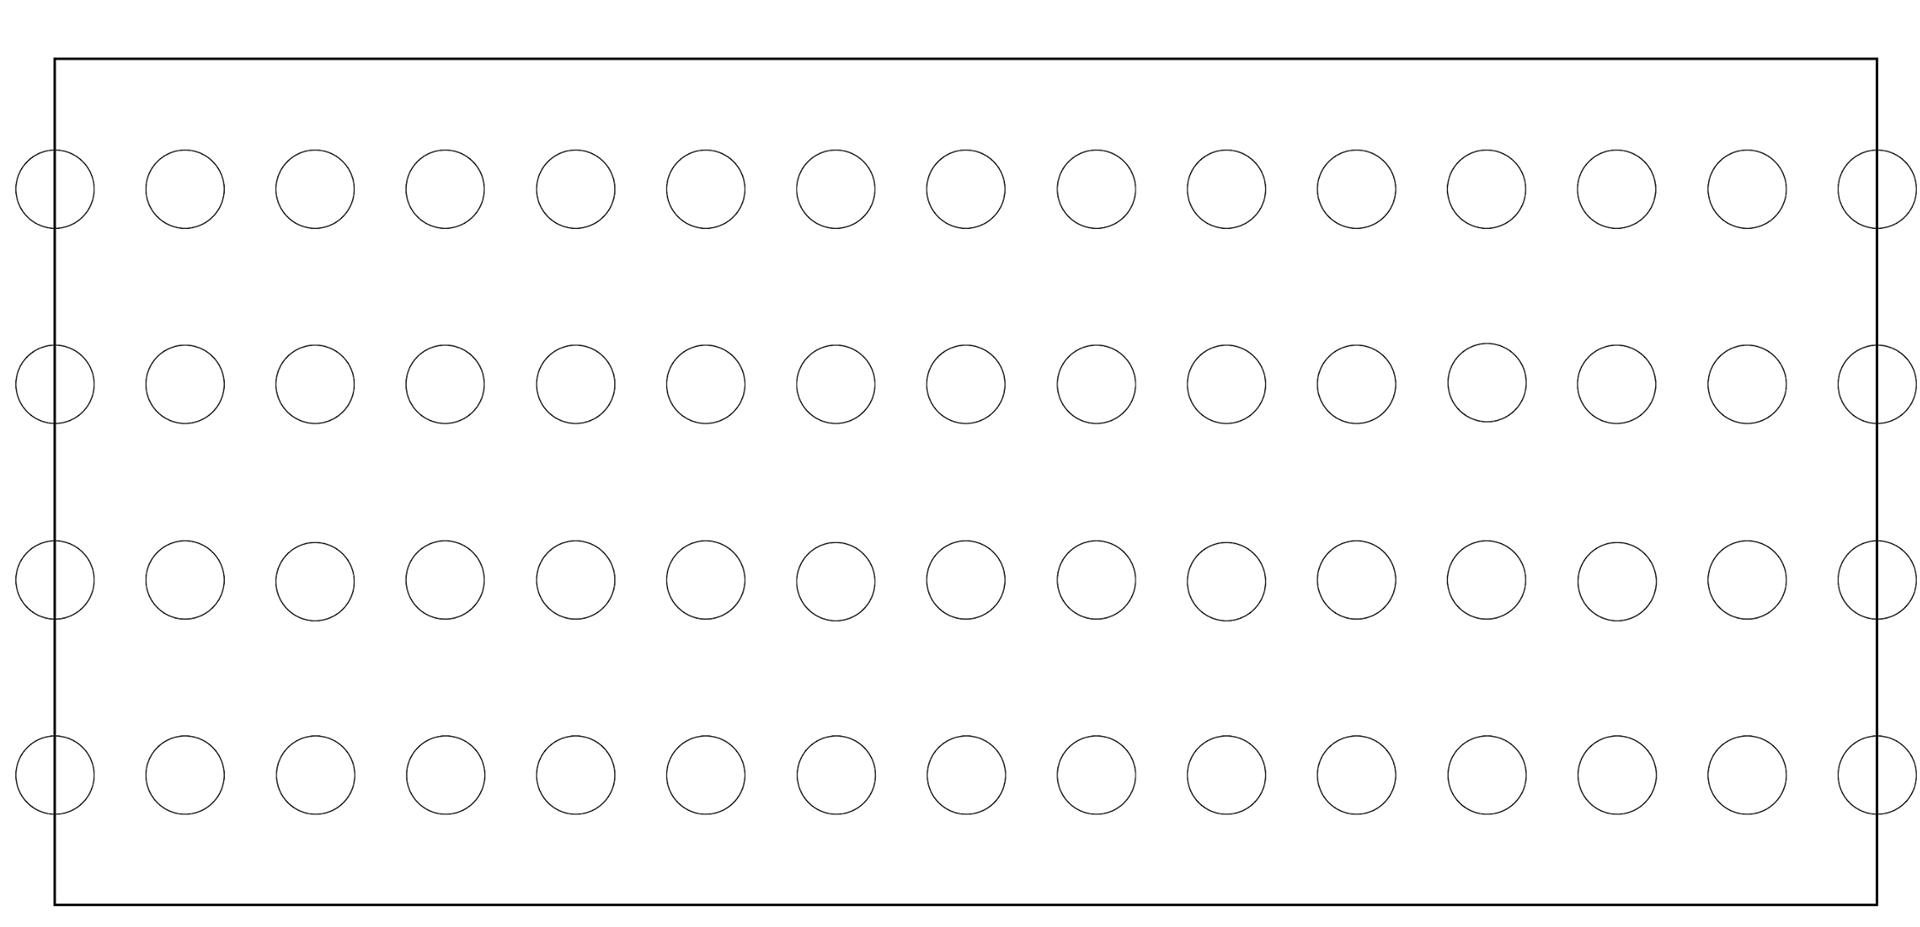
After feedback from my tutor to use nets to make the process easier and faster, I decided to use Photoshop to create different sizes of shapes to create the pen pots. When using the nets I realised that the paper I printed it off of was not thick enough, this let to small pieces of paper on the clay. On the next round of using nets to make the pen pots, I will use a thicker card so that its not going to ruin the clay or lead to me taking up time by scooping paper out of the clay.
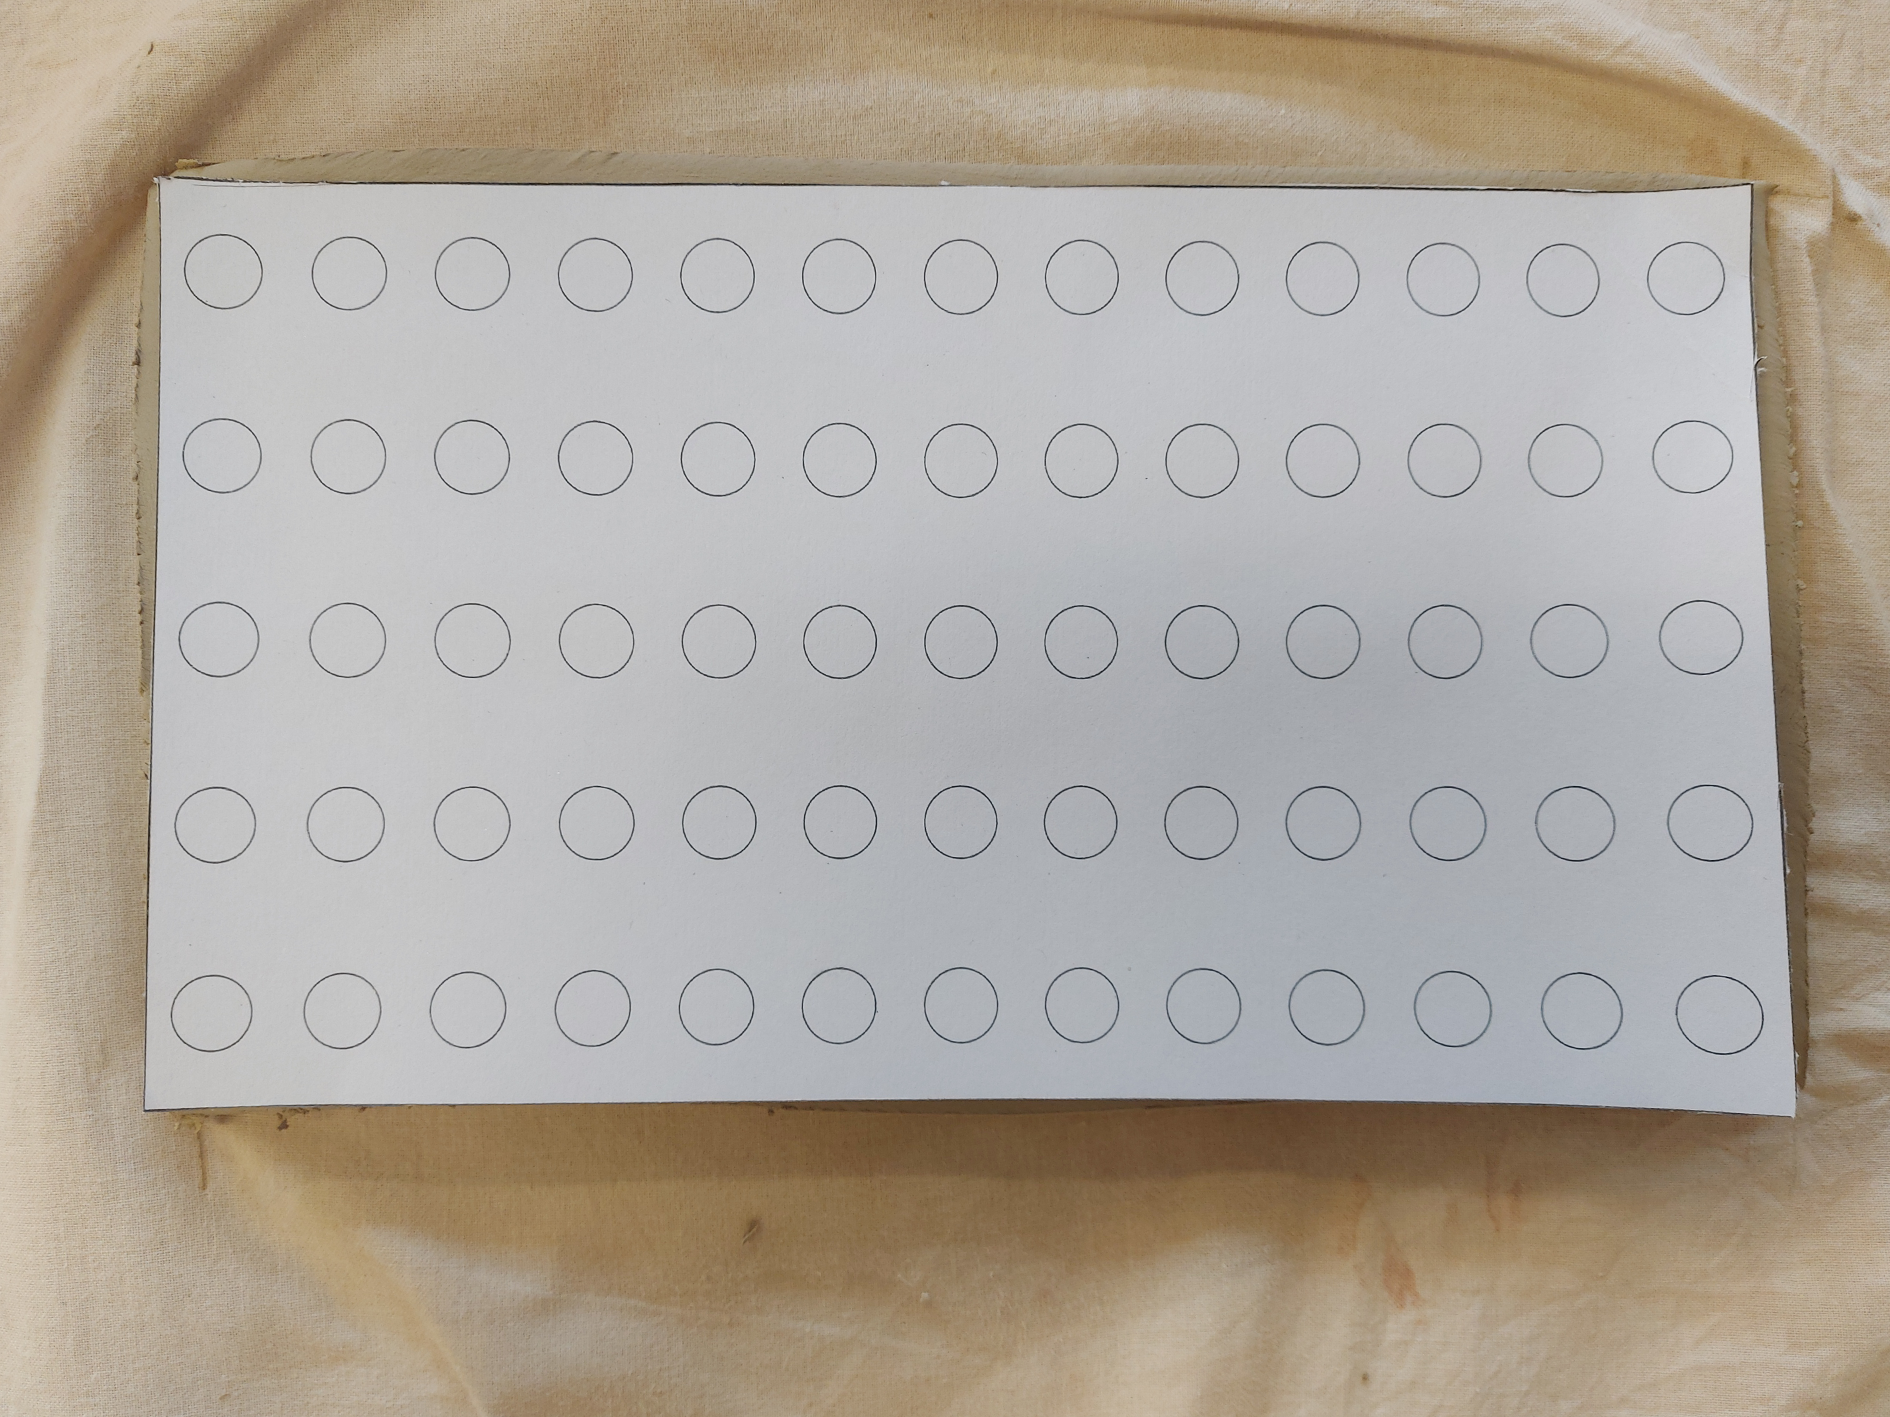
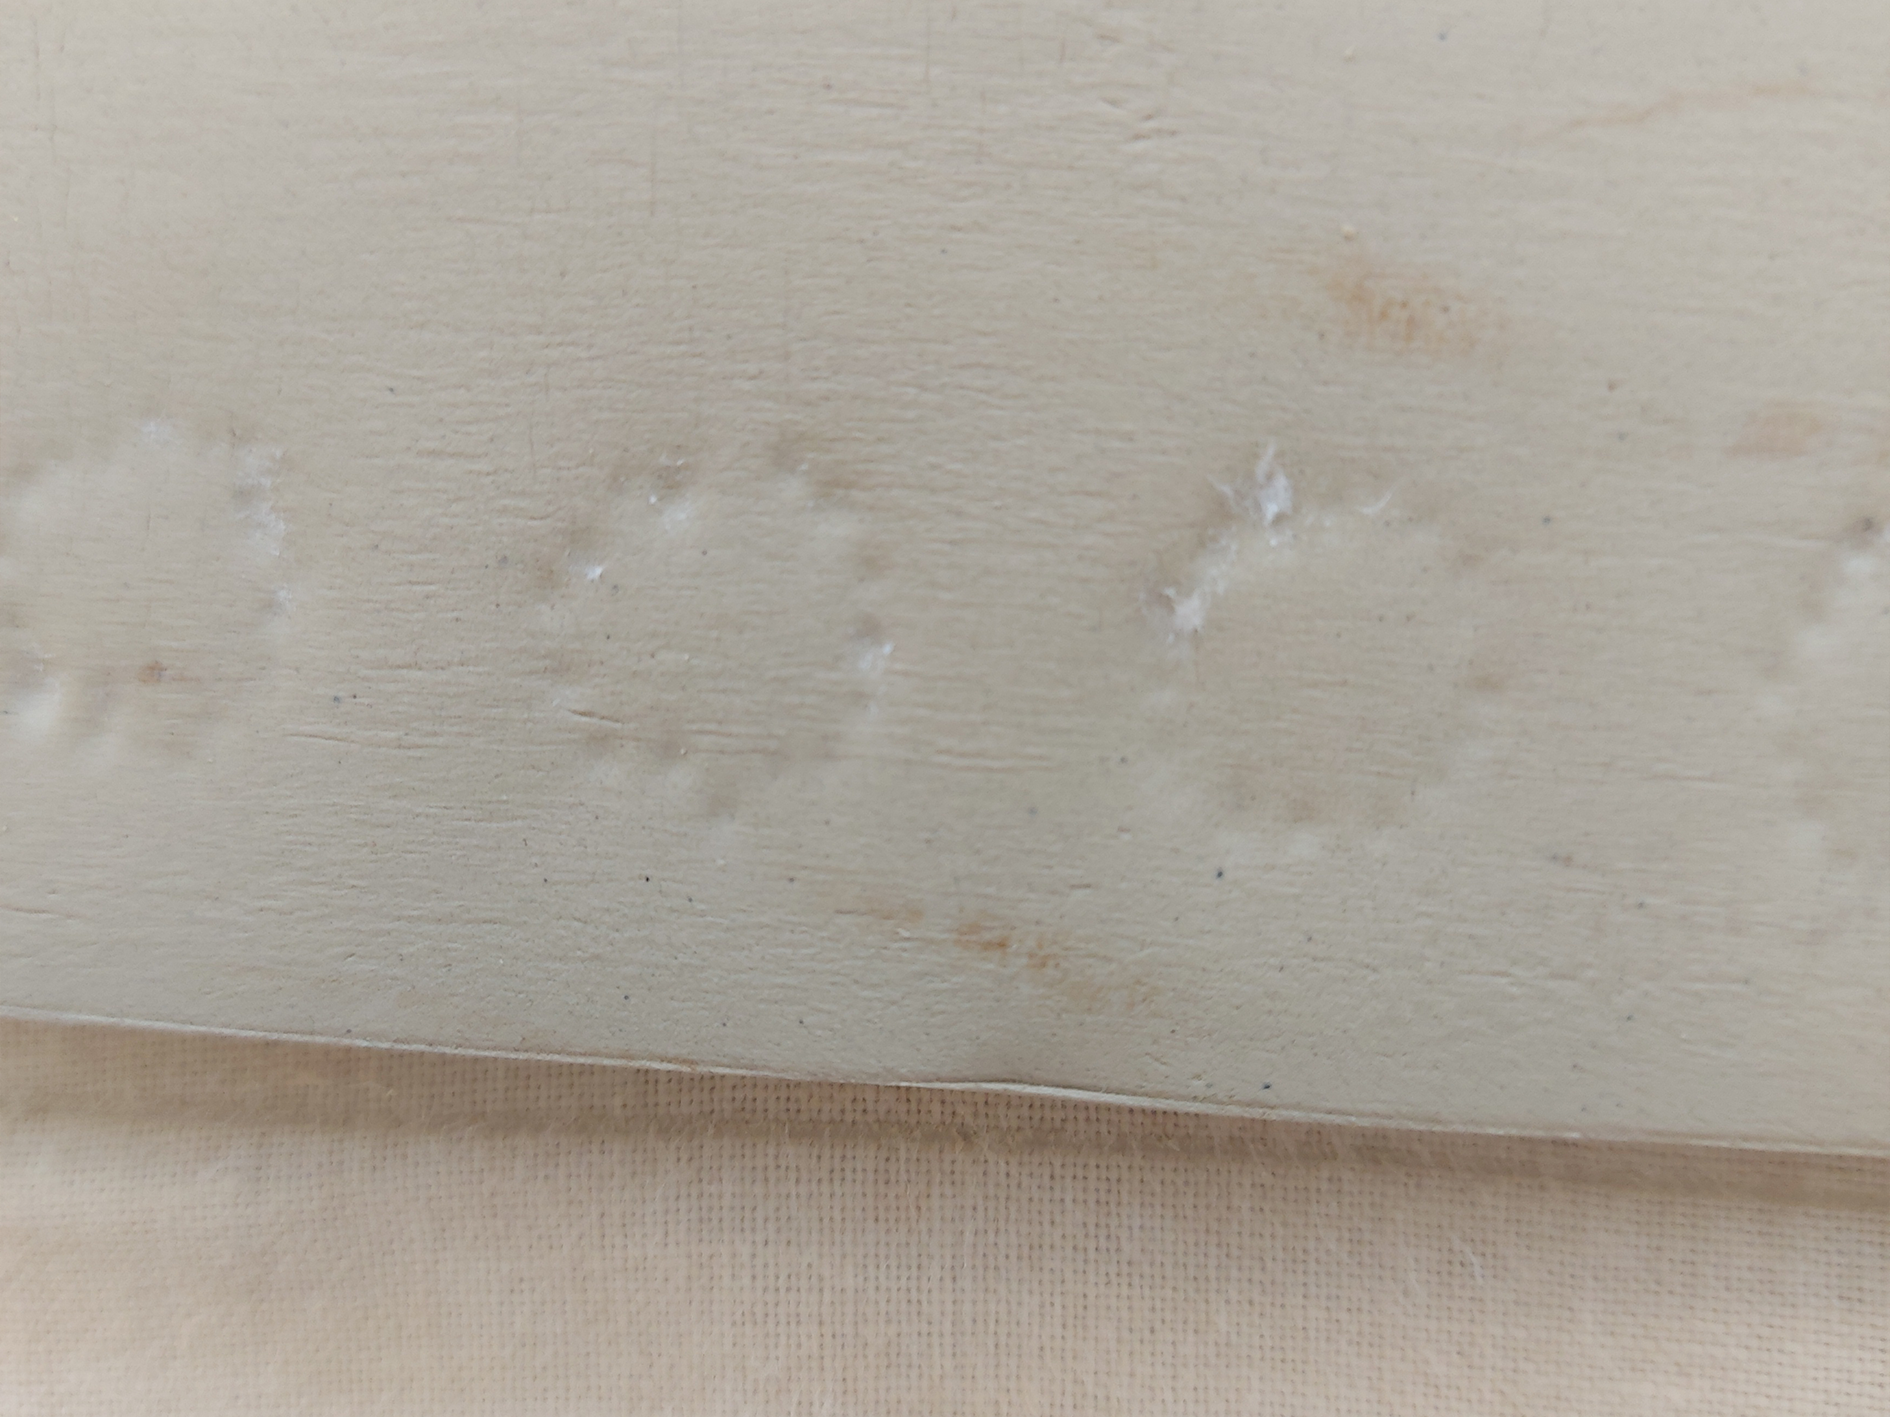
When marking out the circles on the clay I used holes going around the edge of the circle which I think worked well but I do want to find an easier way to signpost the holes to scoop out of the clay. During this first round of using the nets, I cut out the slabs before cutting out the holes. This led to me running out of time and not being able to make all the holes in all three of the pieces I created during my workshop session that day. During the next round of using nets, I will cut out the slabs one at a time and manage my timing so that the clay can dry a little bit before cutting out the holes but not so much that I run out of time.
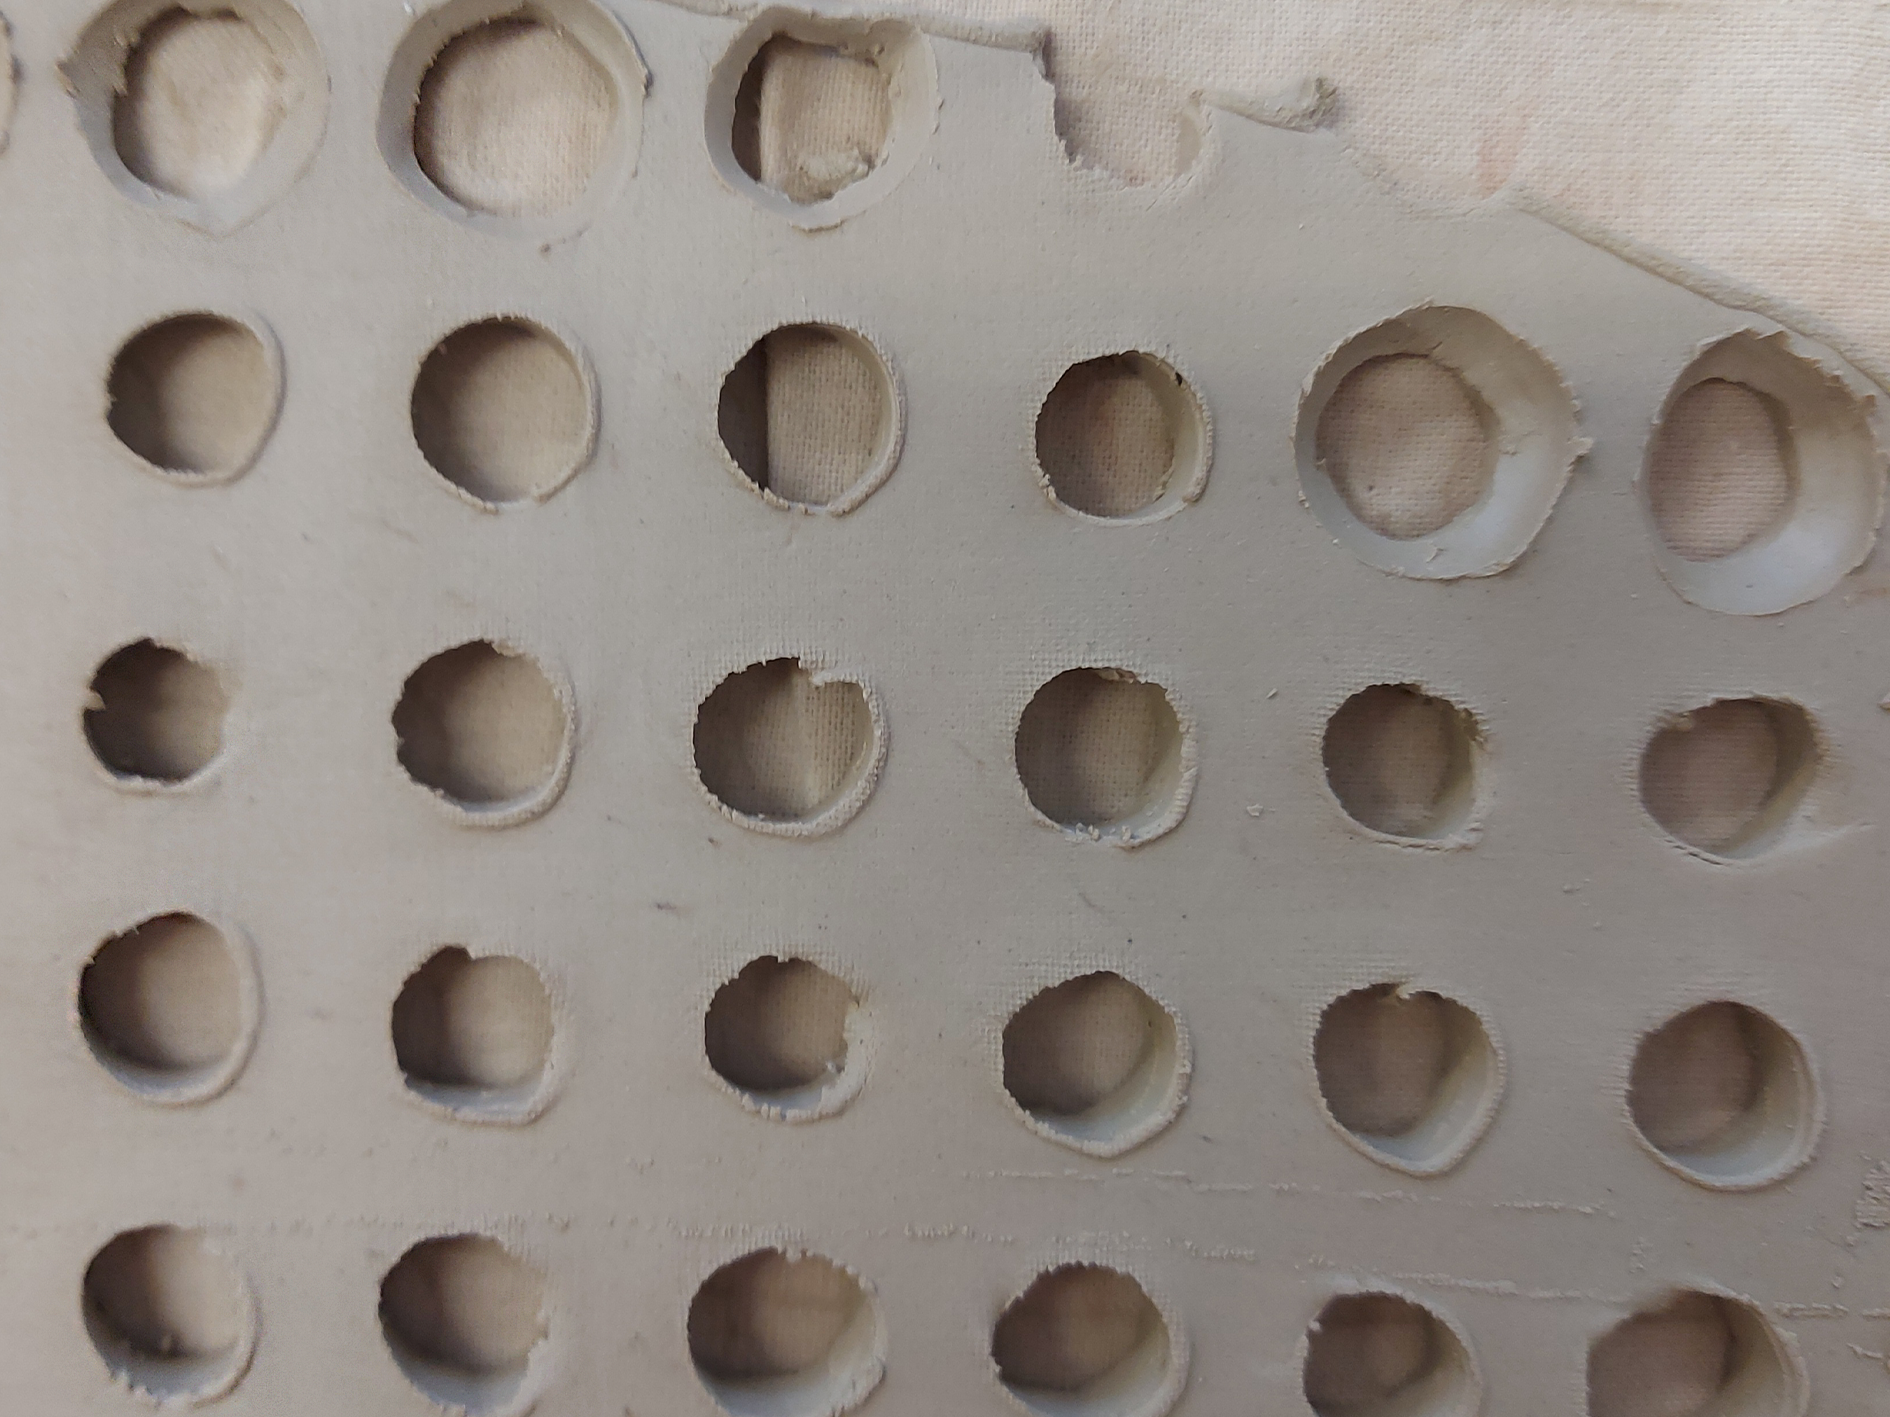
Because I had started using nets, I cut out the holes flat and then started scooping the bevelled parts out of the clay. What I noticed was that the holes were not identical in size and the bevelled parts looked uneven. In the workshop, I received feedback to use a drill bit to make more even shaped holes. I decided to revisit the making of the pen pots after I had bought the appropriate equipment.
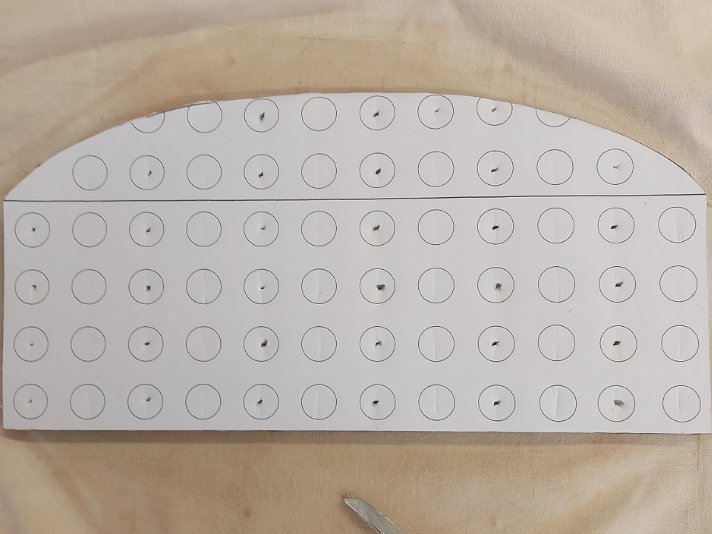
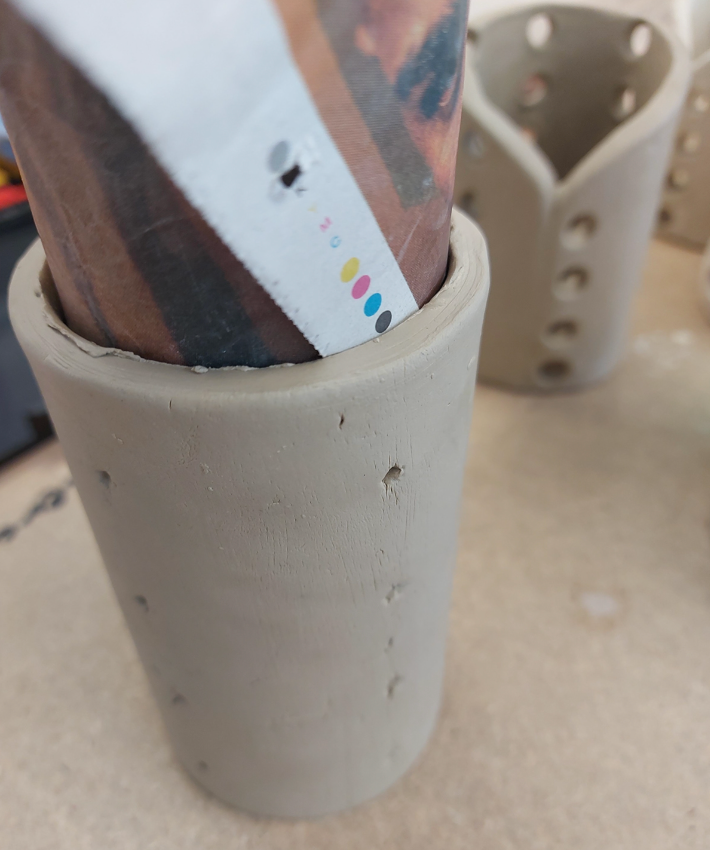
I started using the drill bit by using it to mark out the holes in the middle of the circles so that I knew where to drill the holes once I took off the net. I was originally intending to use a bigger drill bit to drill out the inside of the holes to get the bevel effect, however, this wasn't working and ended up making the already drilled in holes break. I decided to just make holes without the bevel and make sure that the holes have softer edges to allow for the pencils to have some movement.
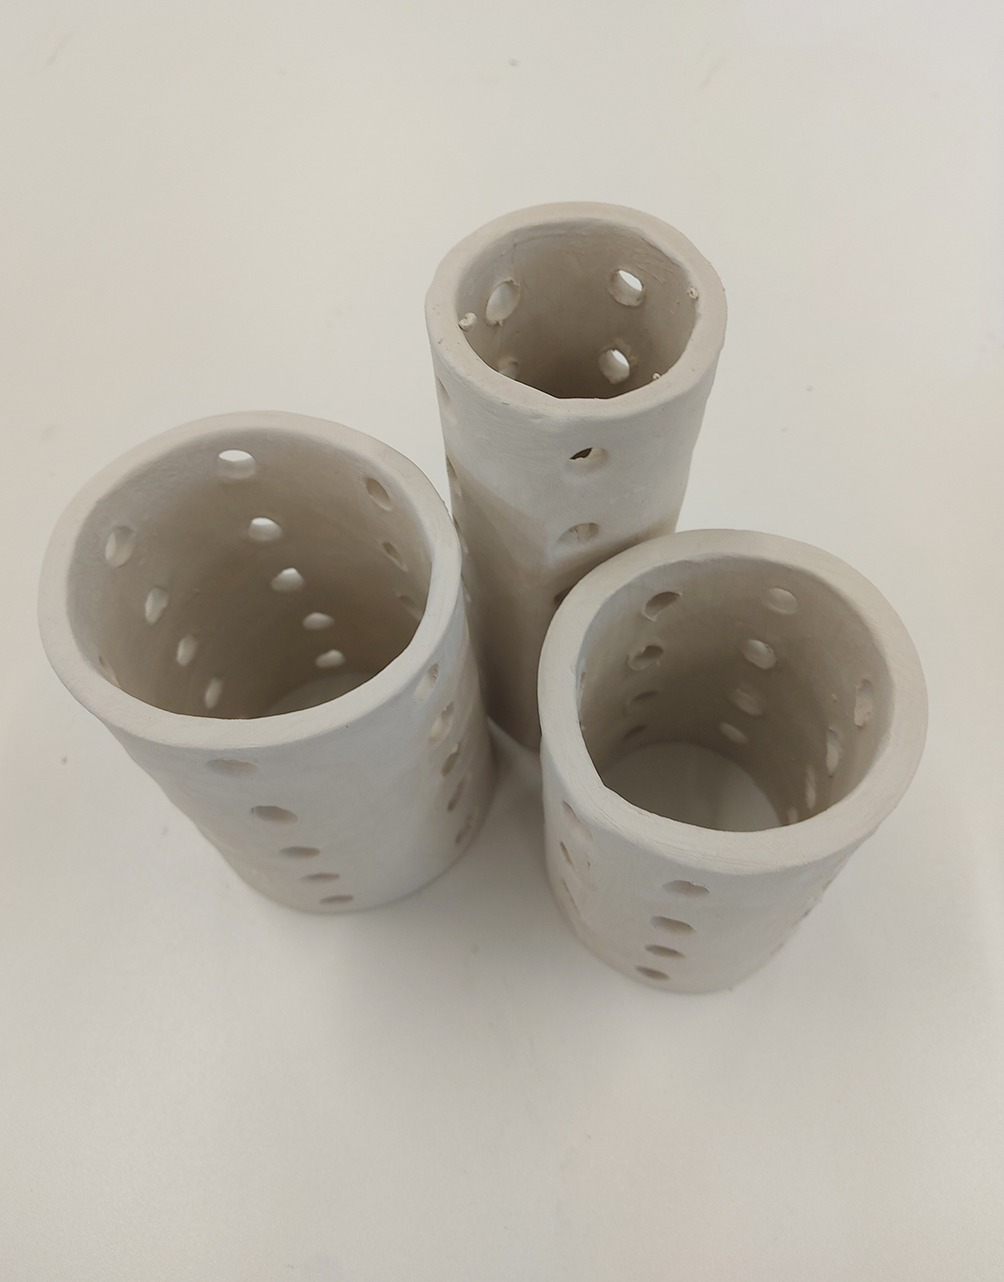
Unfortunately, my first set of 4 pen pots cracked, so I wasn't able to put them in the kiln. This was due to my pieces drying too quickly, I went on to make the next set of pieces and made sure to dry these in the cupboard.
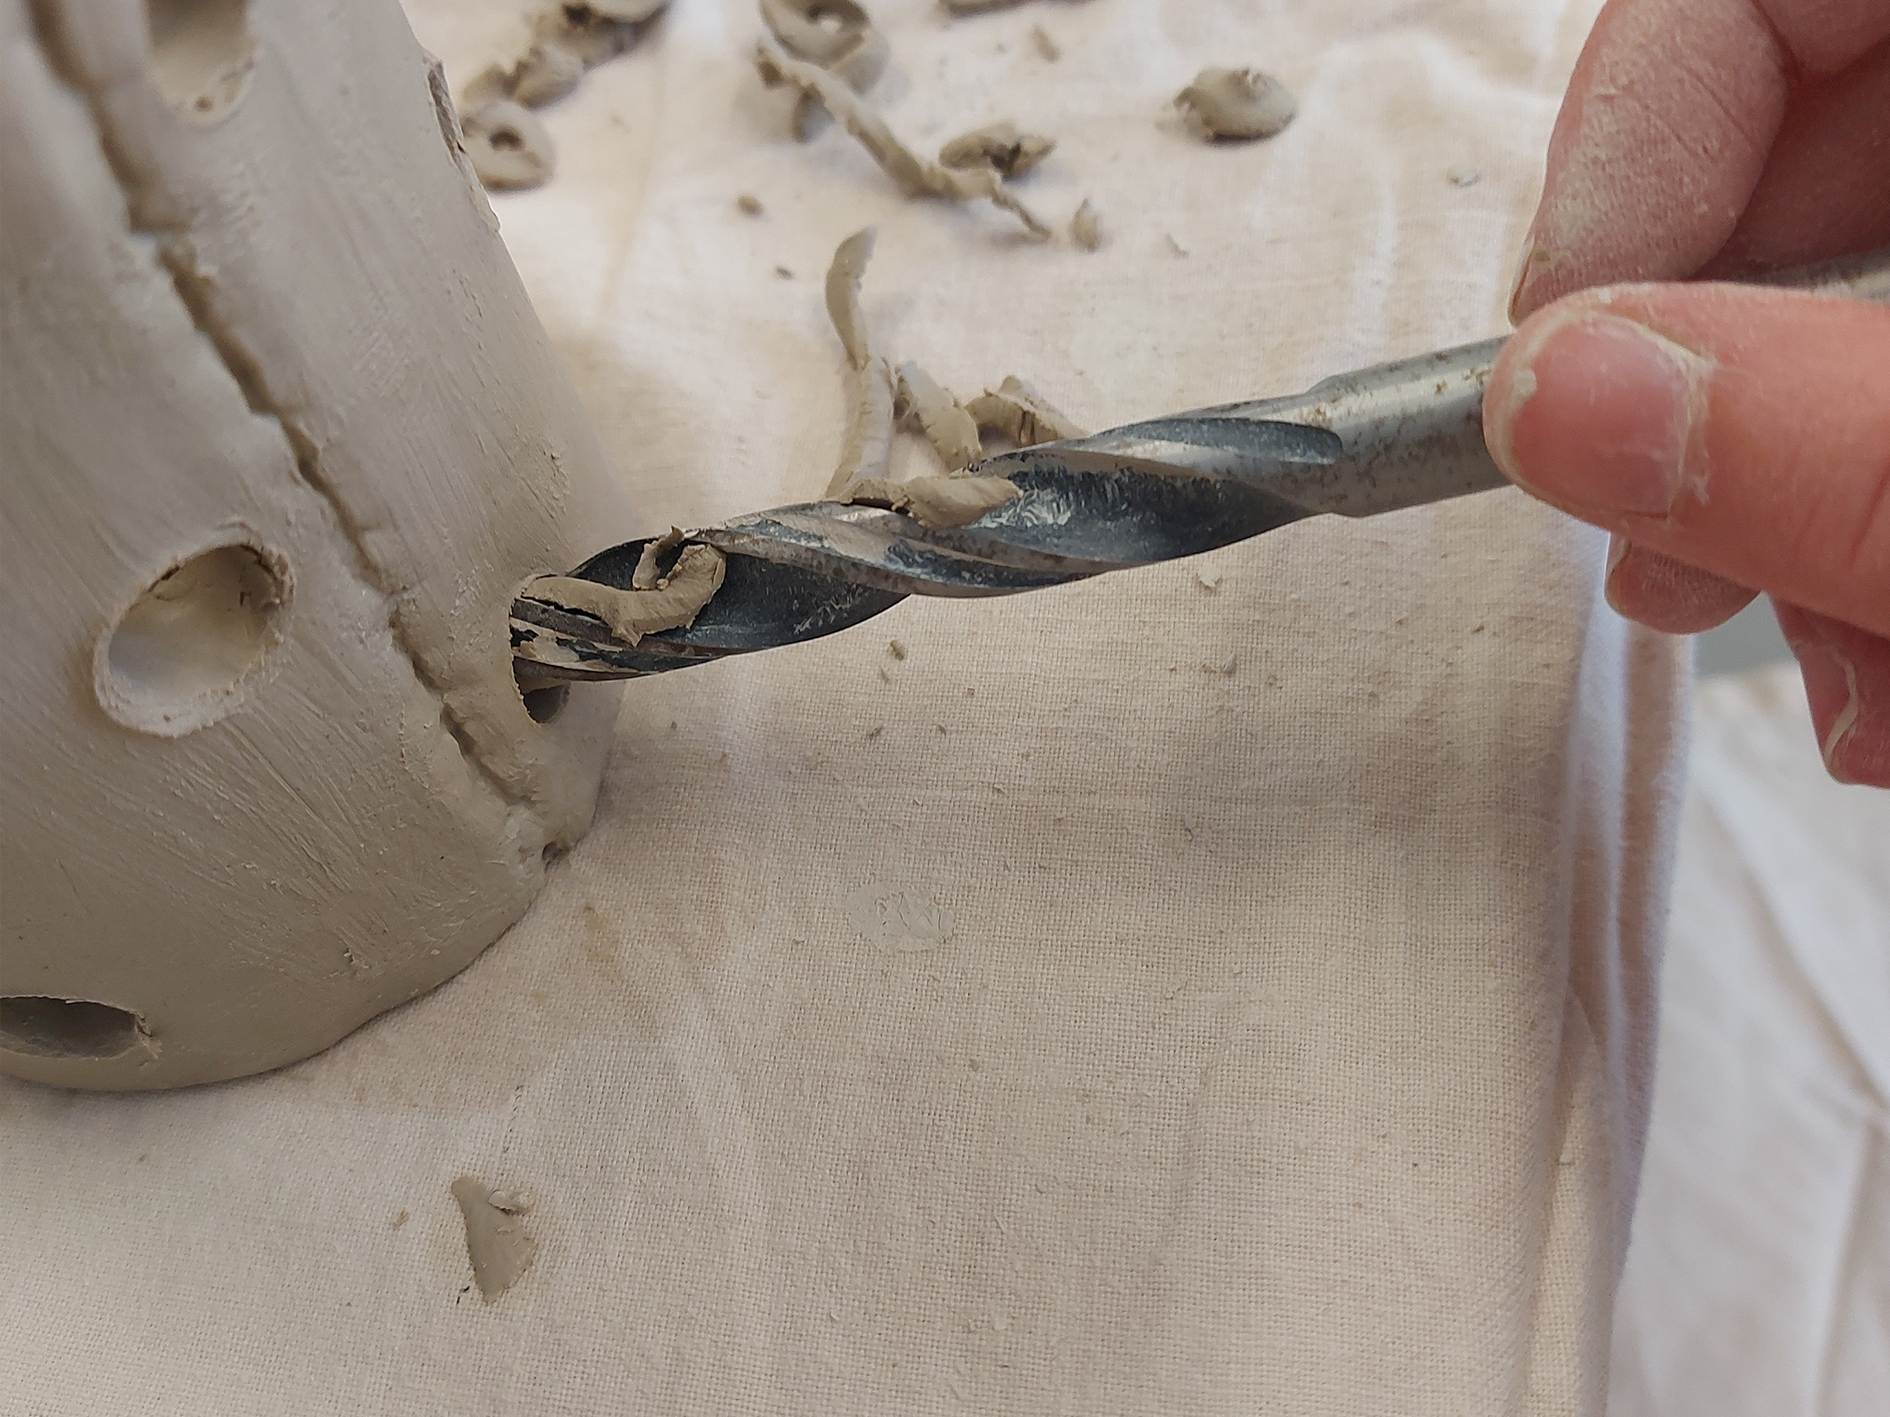
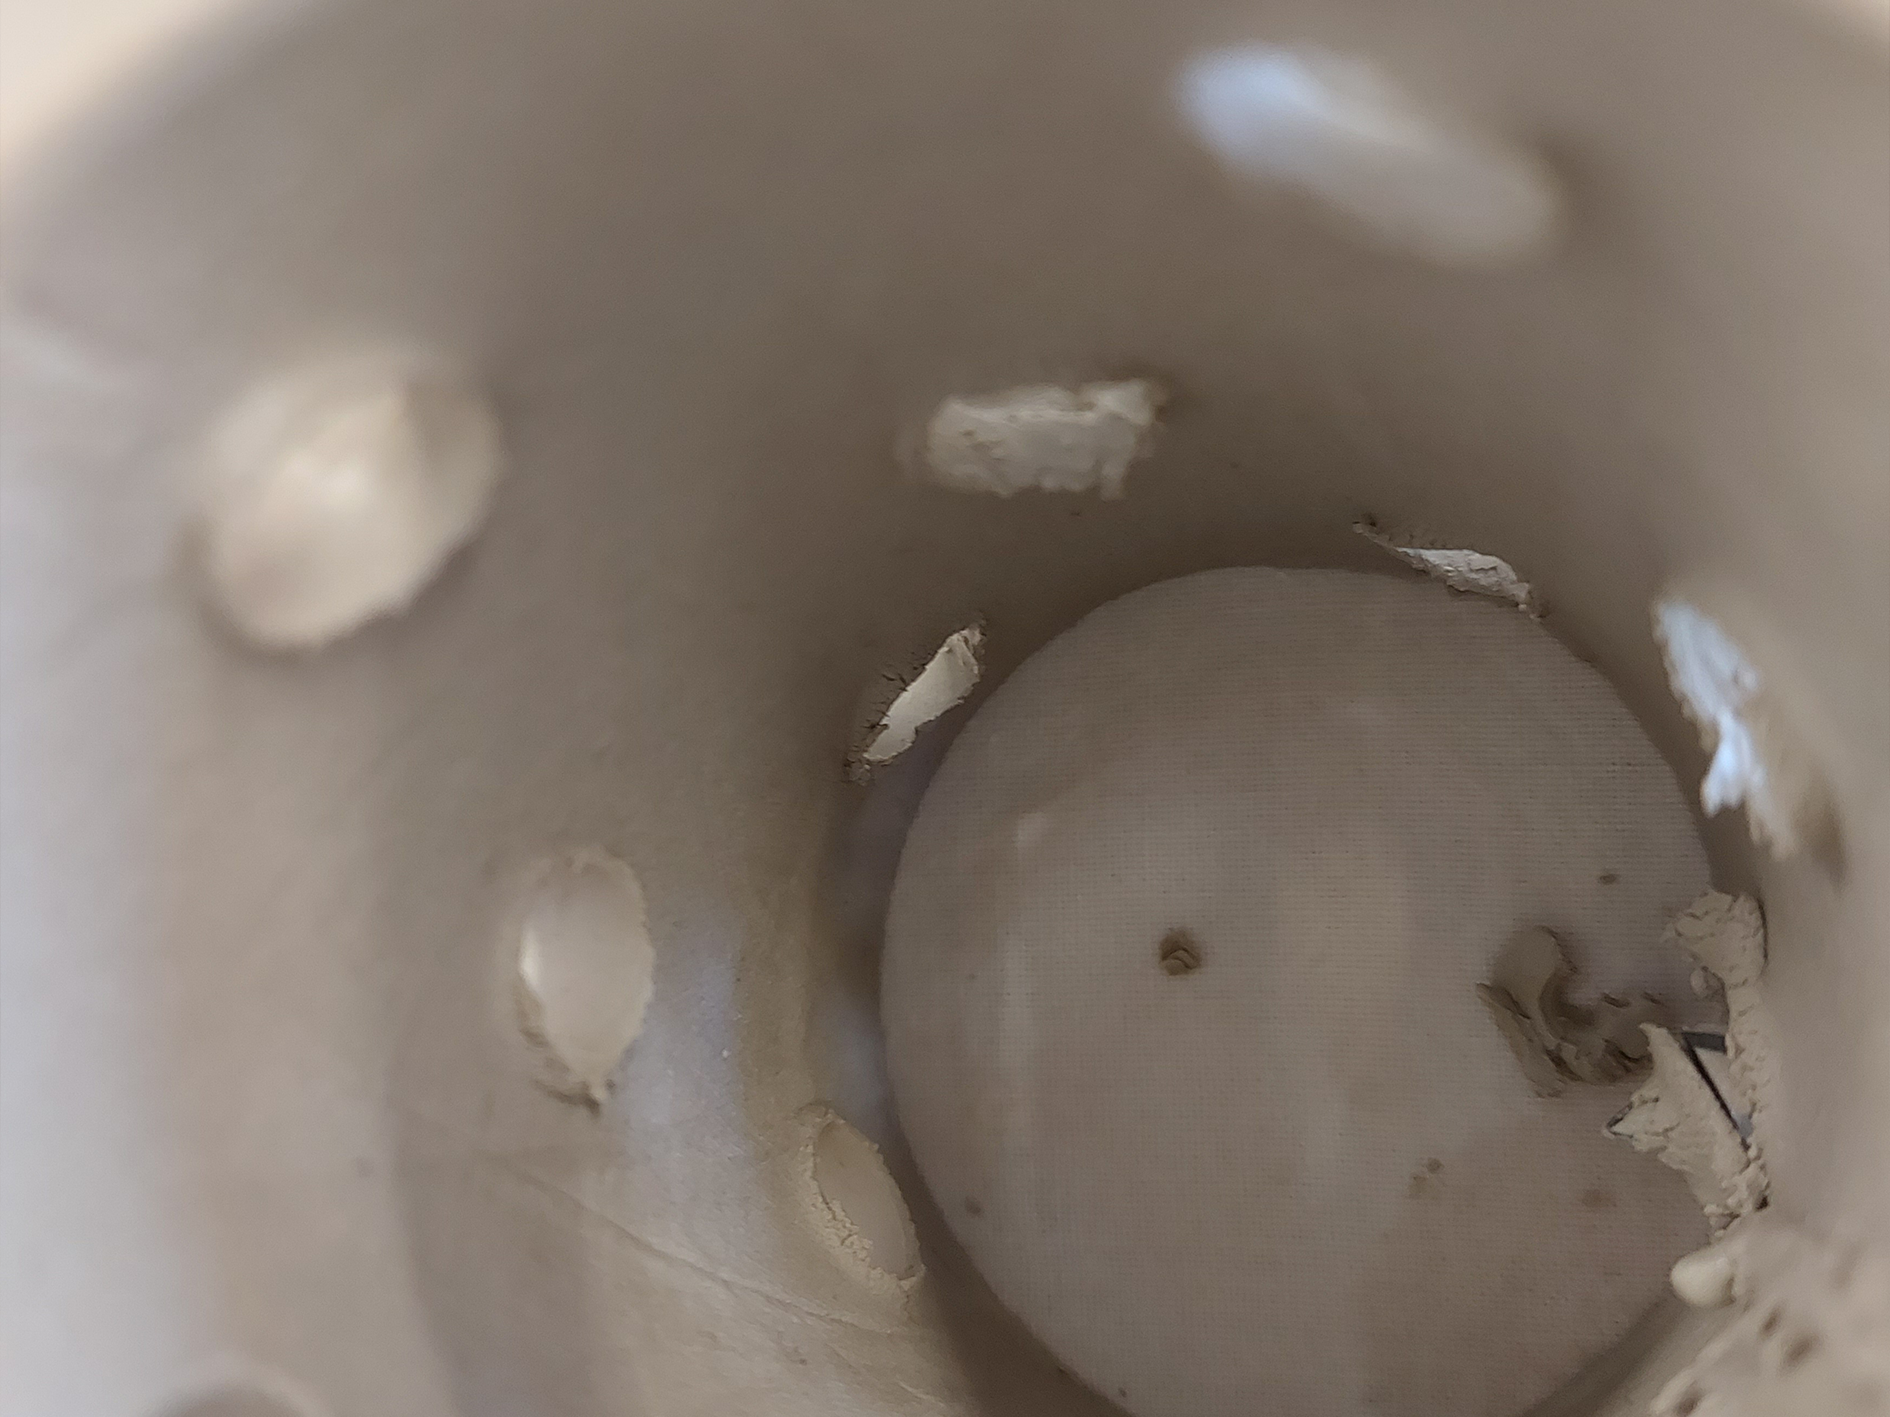
Using the drill bit meant that I could make the holes quicker and this allowed for more time spent finishing the pieces. One challenge I found while drilling the holes were the excess clay that stuck to the inside of the pot. I found that using a brush to flick the pieces away caused less marks to the pots overall. I was using a brush and slip to smooth the holes so that the piece was finished to a higher standard.
When creating the holes on the piece I was becoming concerned as to whether the pencils were going to be able to slot into the different holes. After talking to a tutor about this, he said I could potentially mark small holes to guide the sharp end of the pencil to rest on the side of the pots. I used this feedback on some of my pots where the opposite holes don't align.
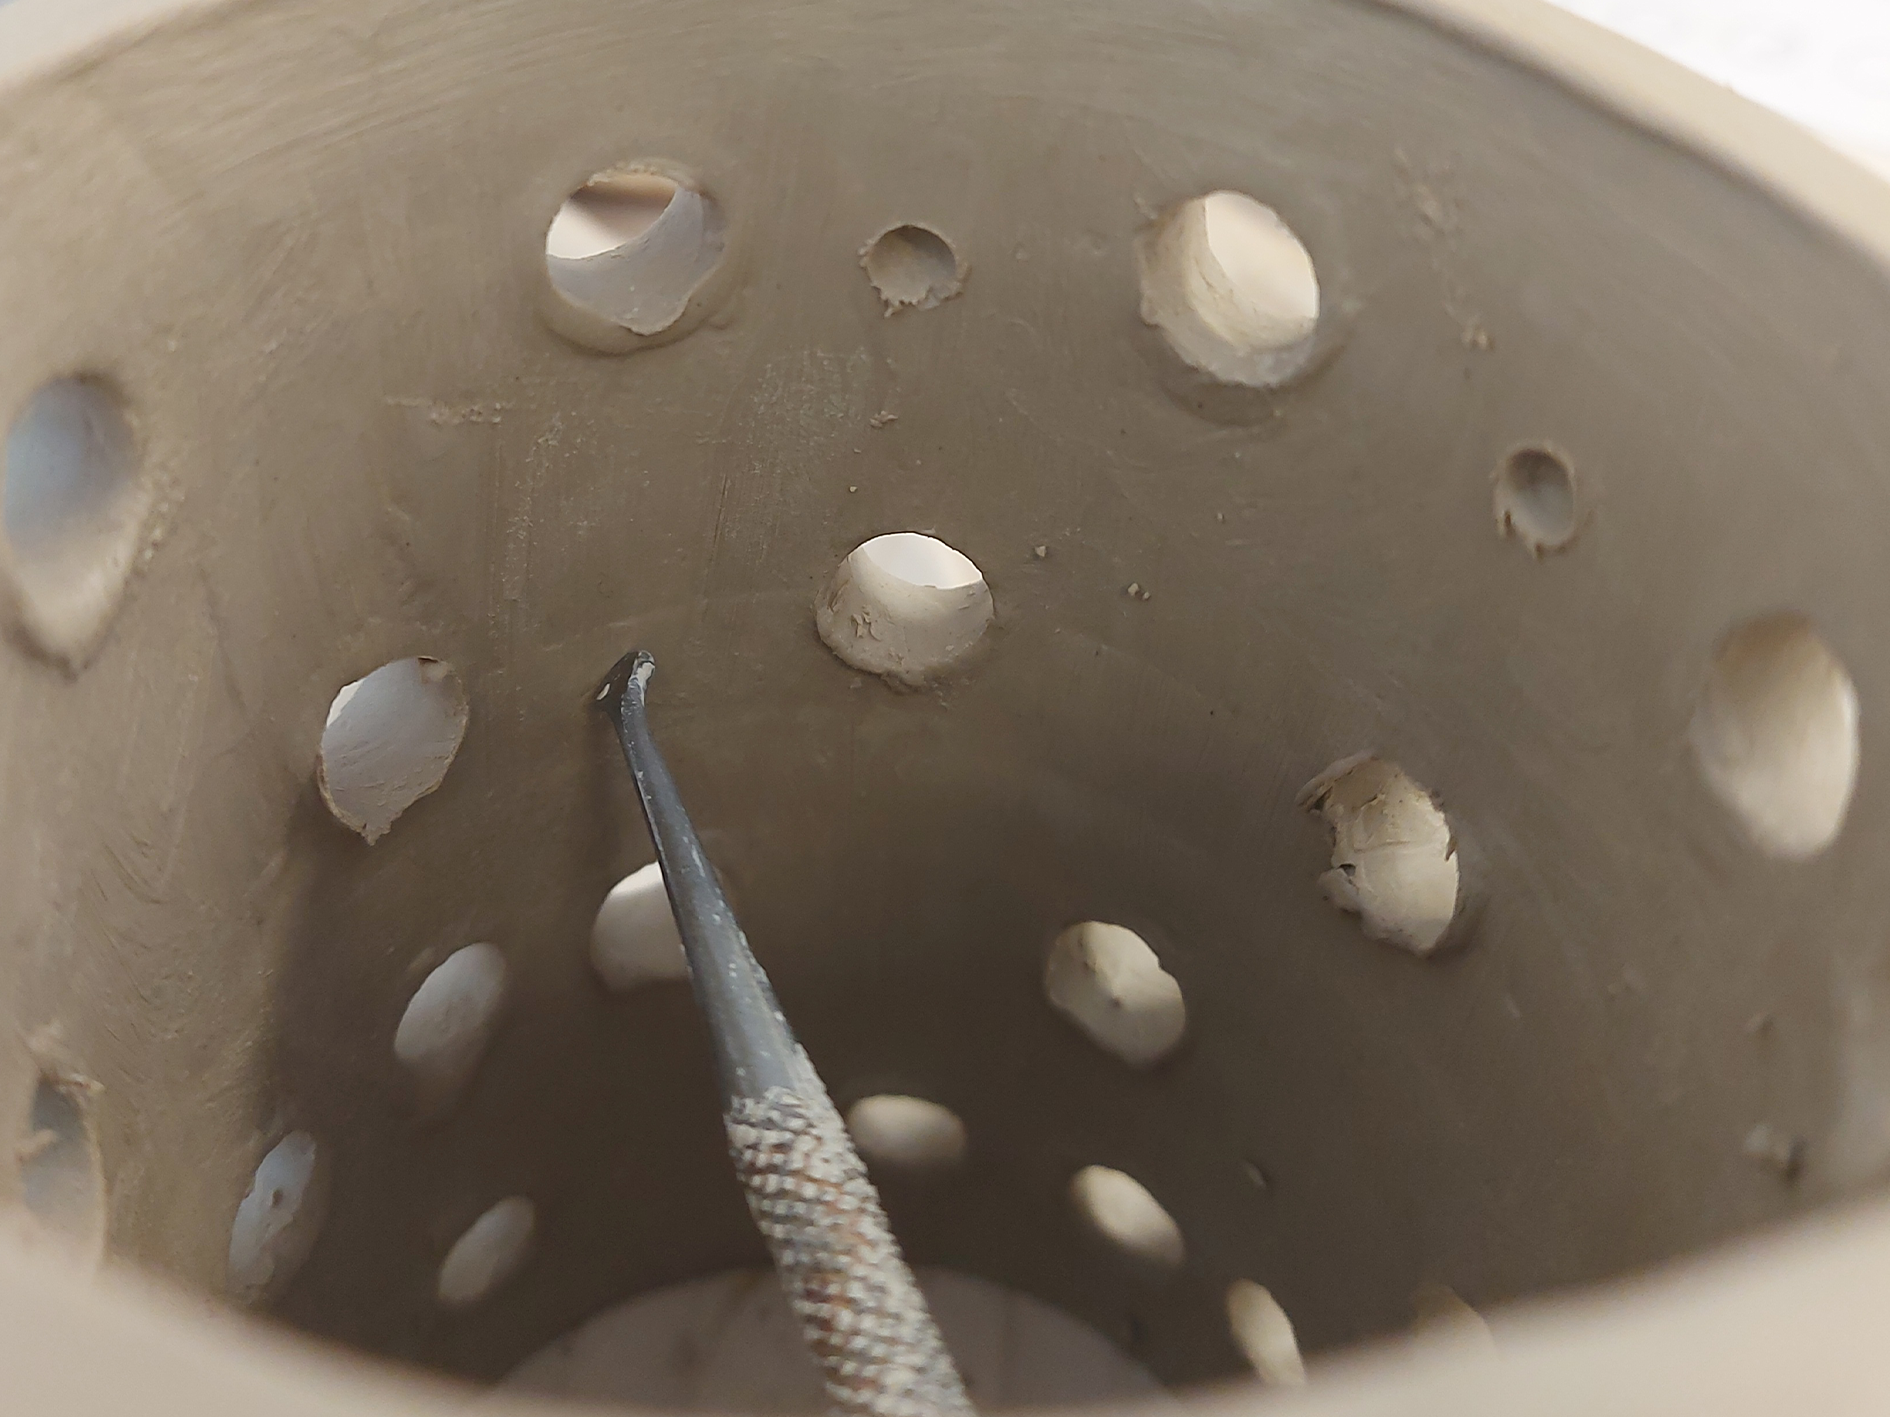
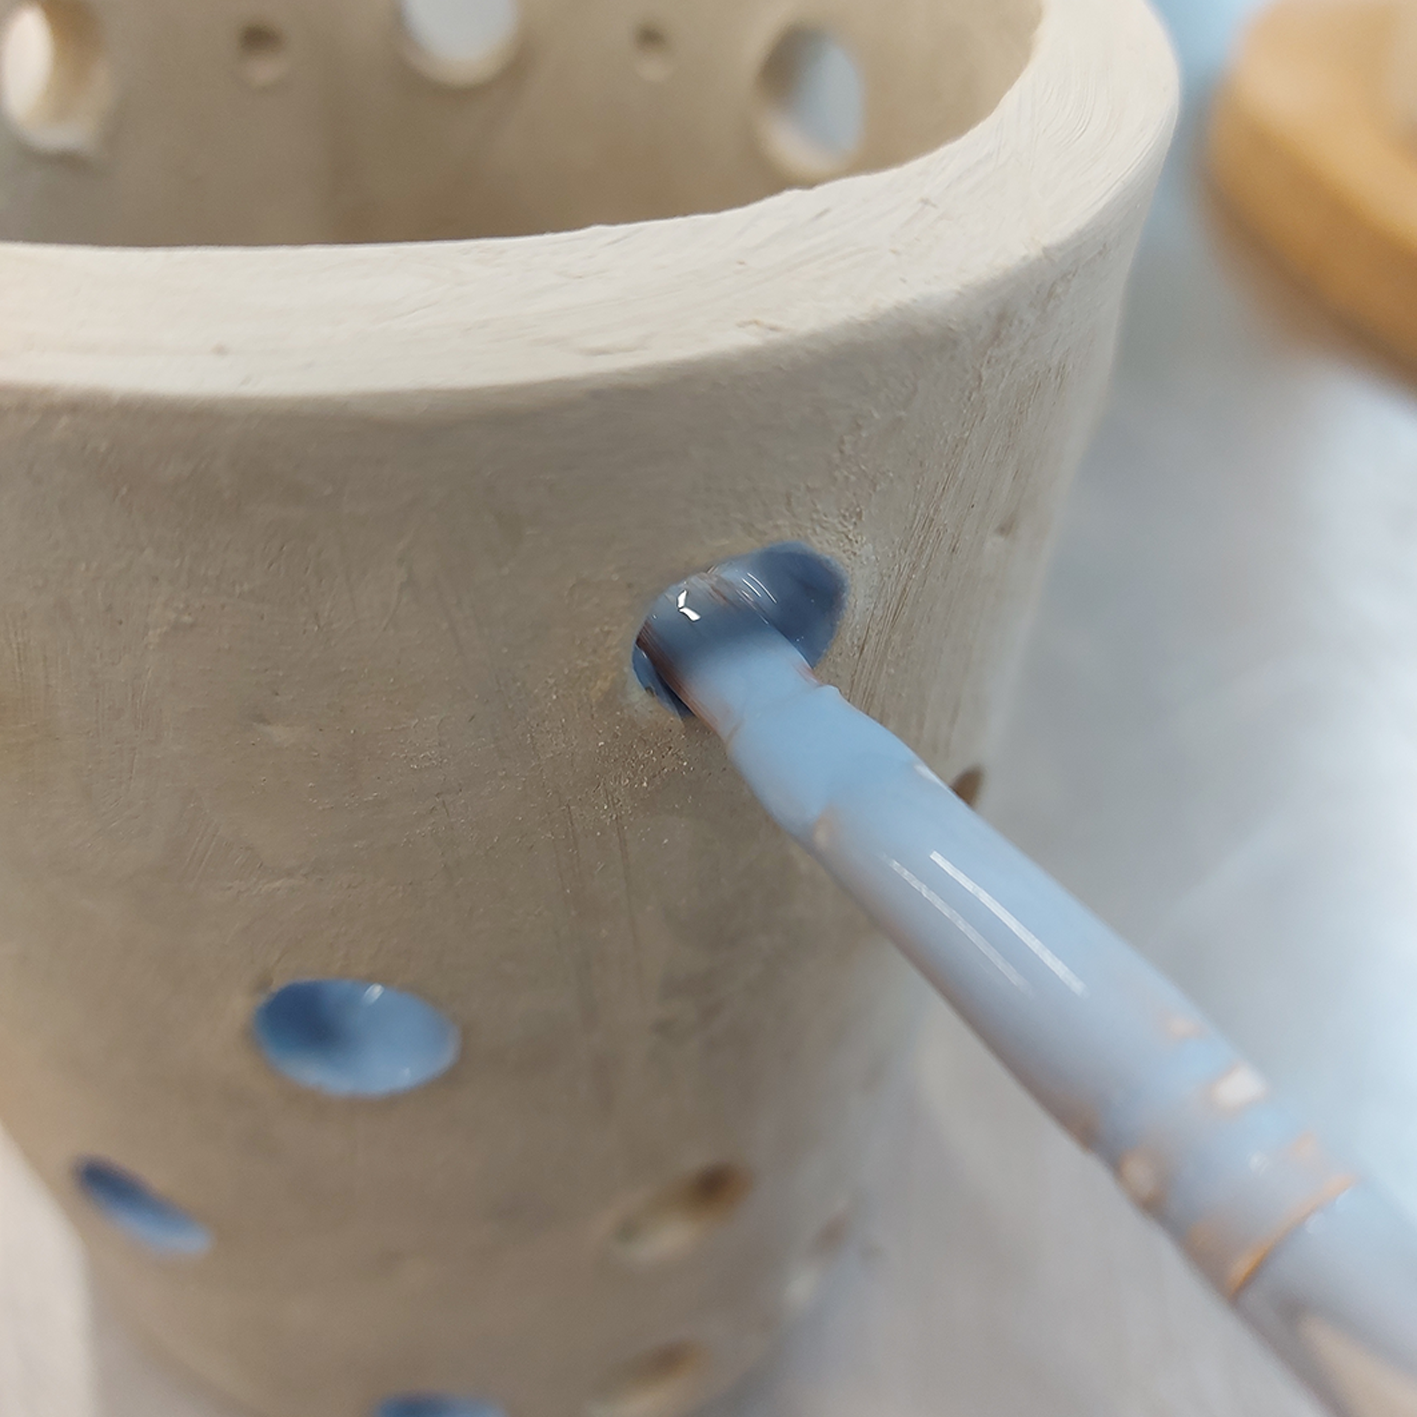
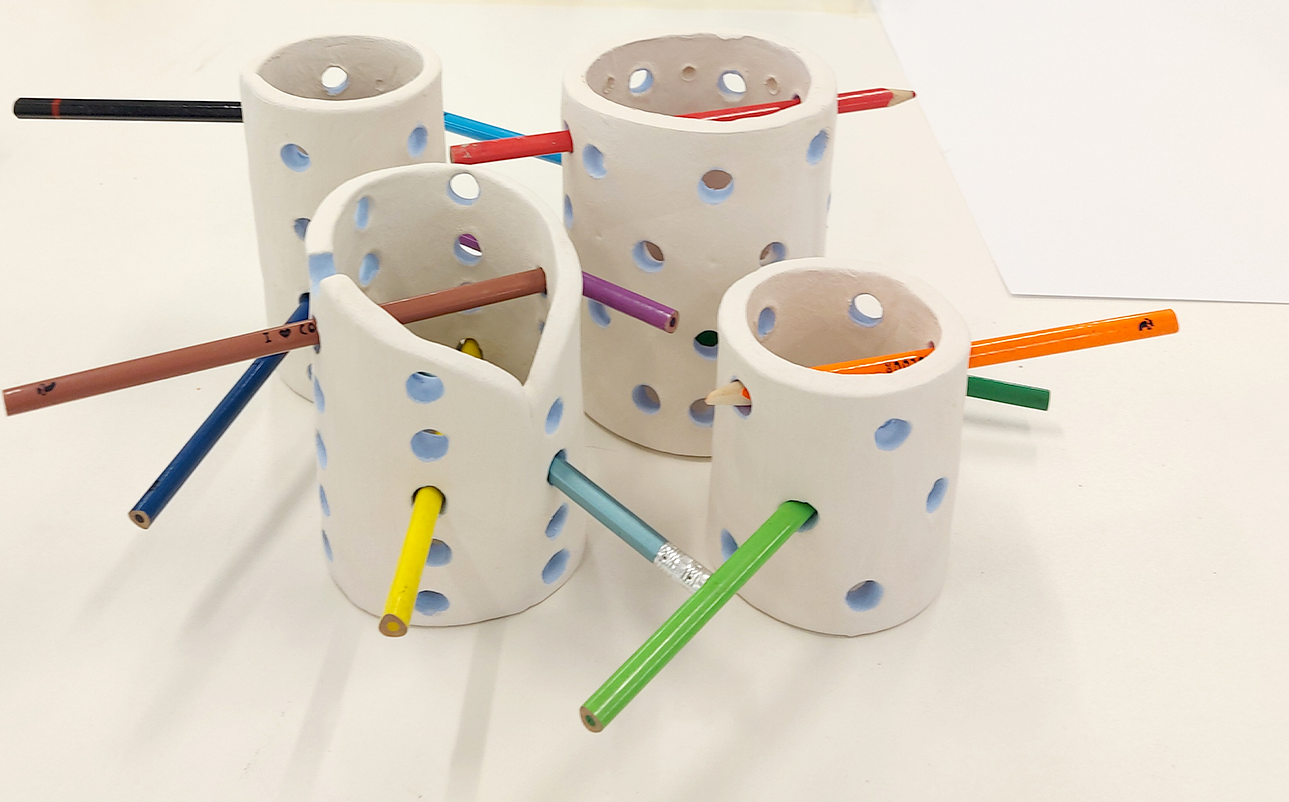
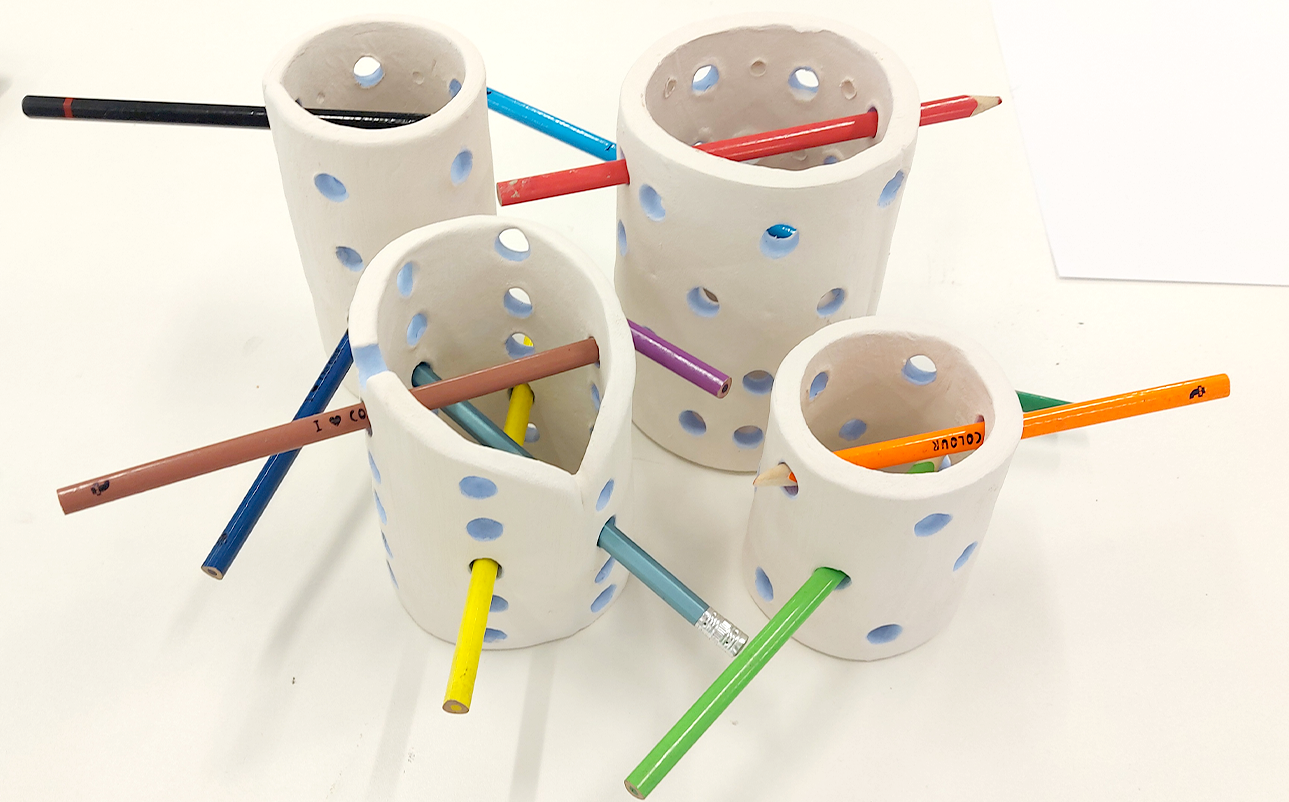
I wanted the holes on my pen pots to be emphasised by making them a different colour. I used a light blue underglaze on the inside of the holes.
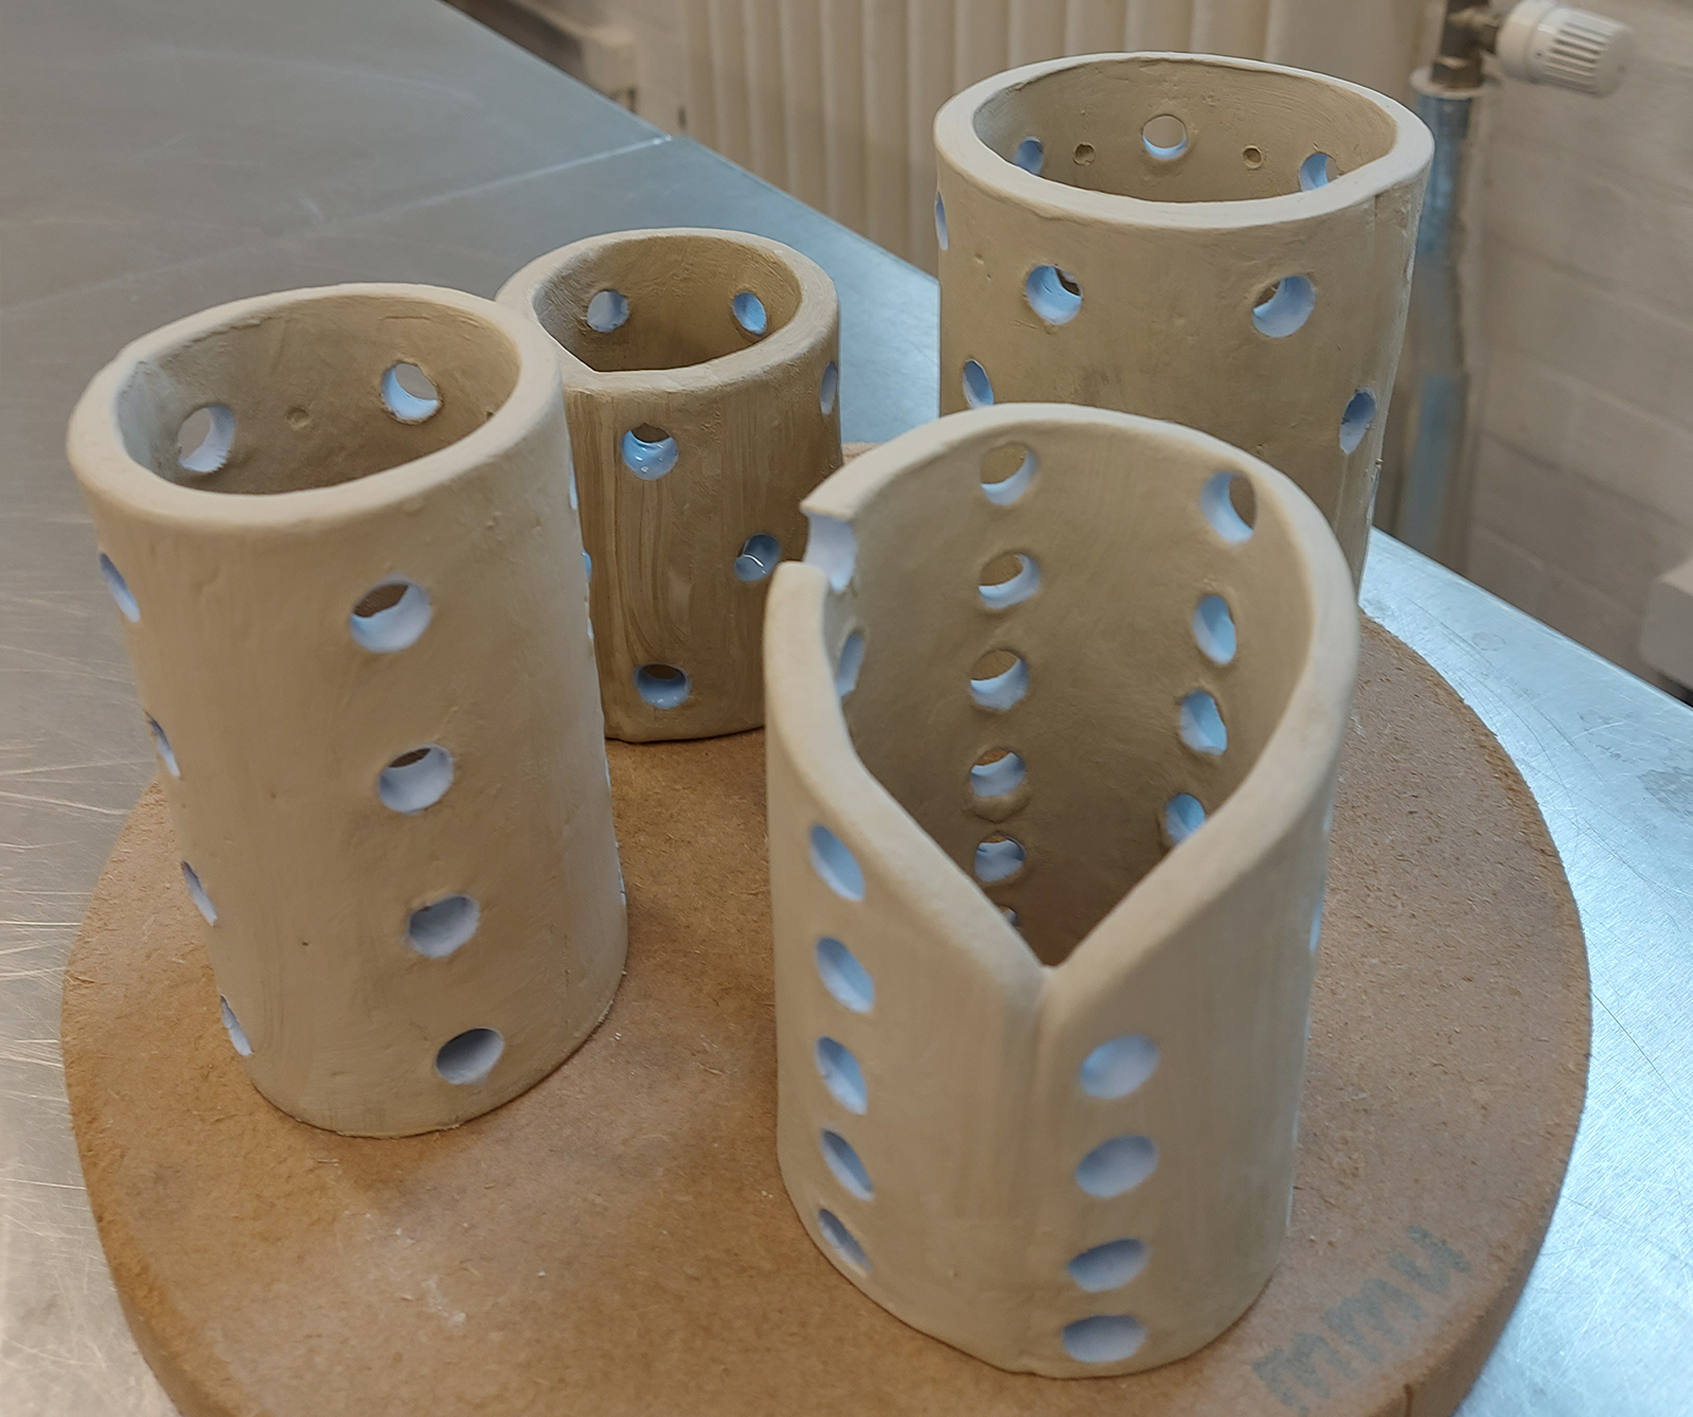
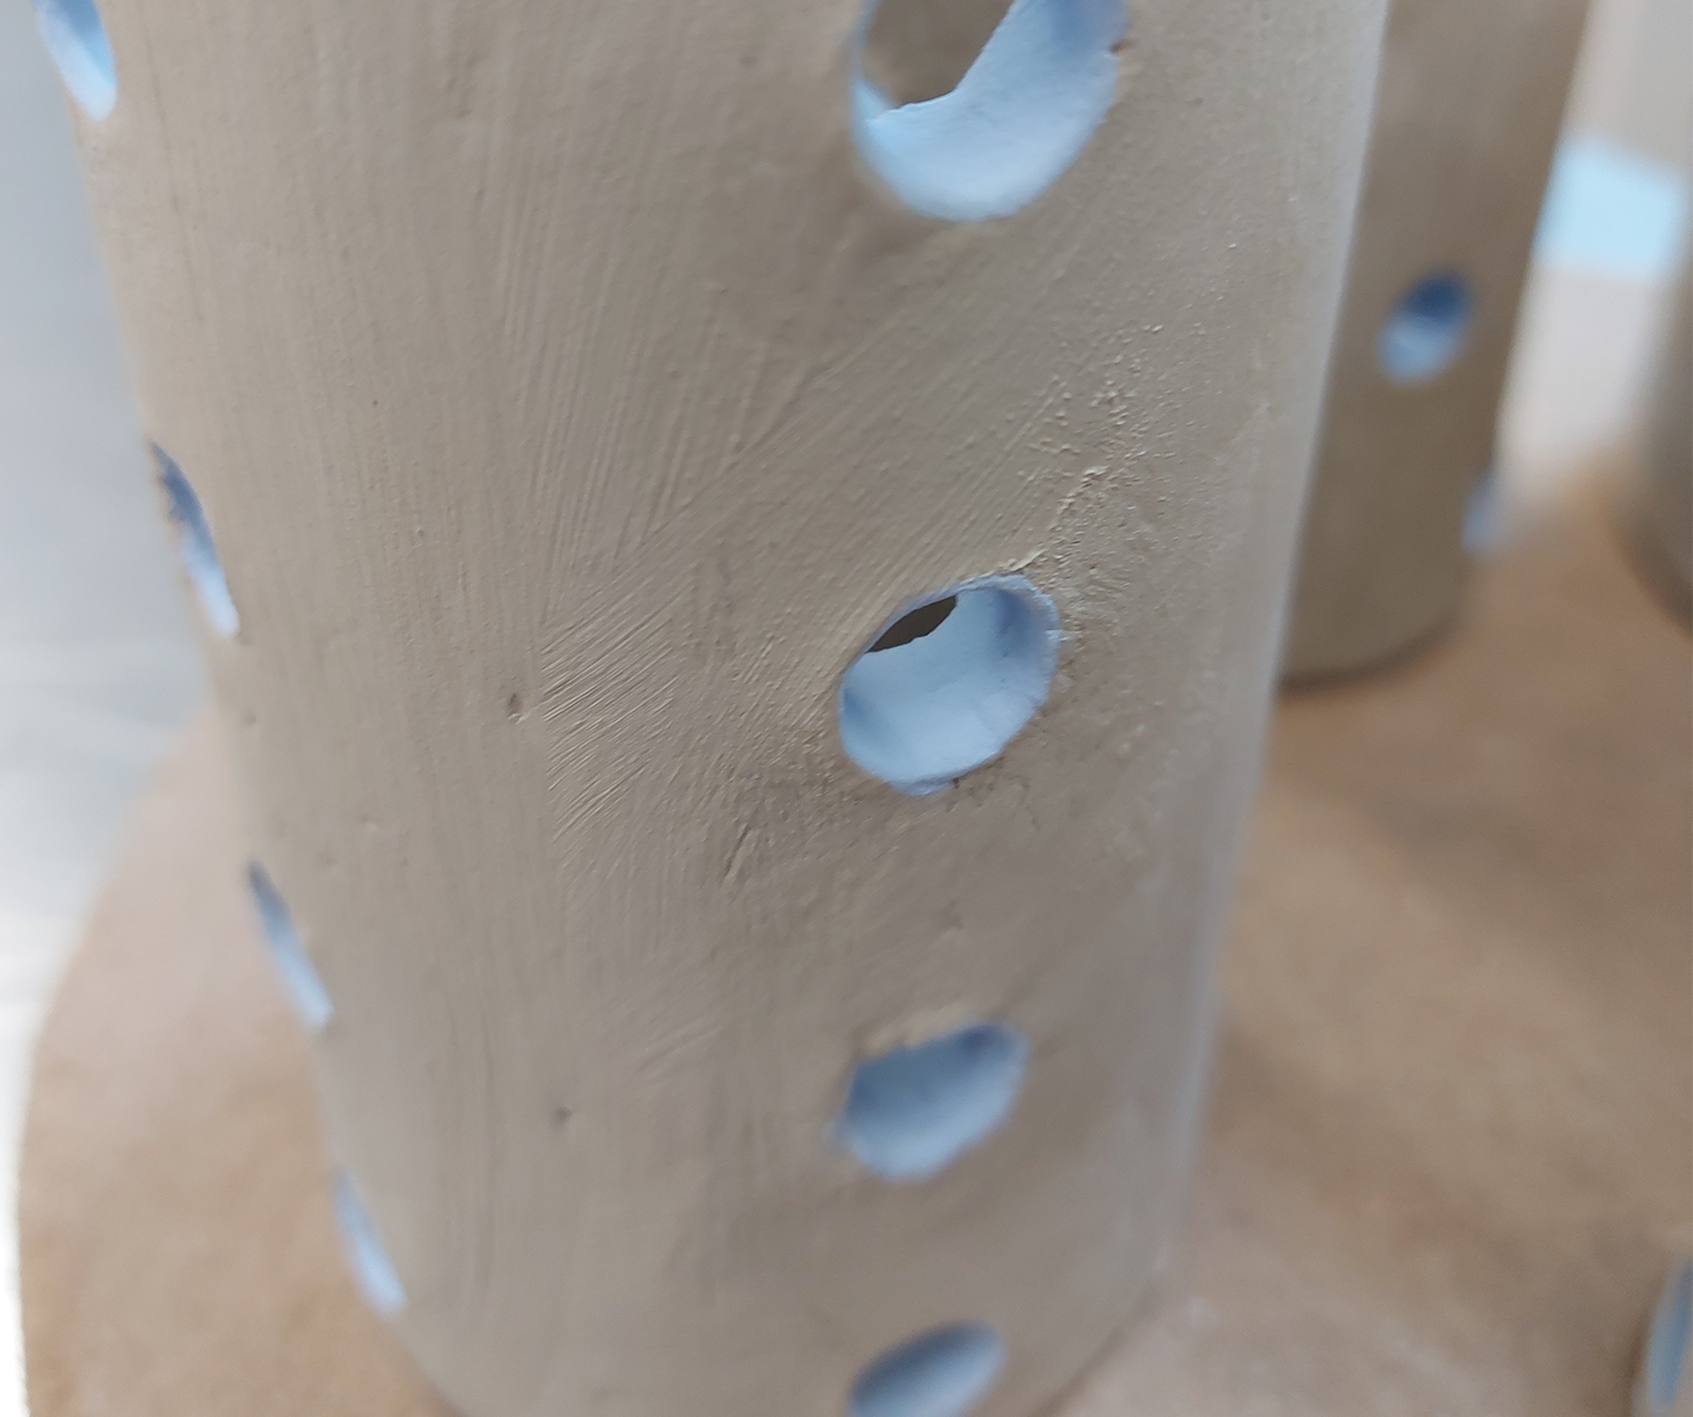
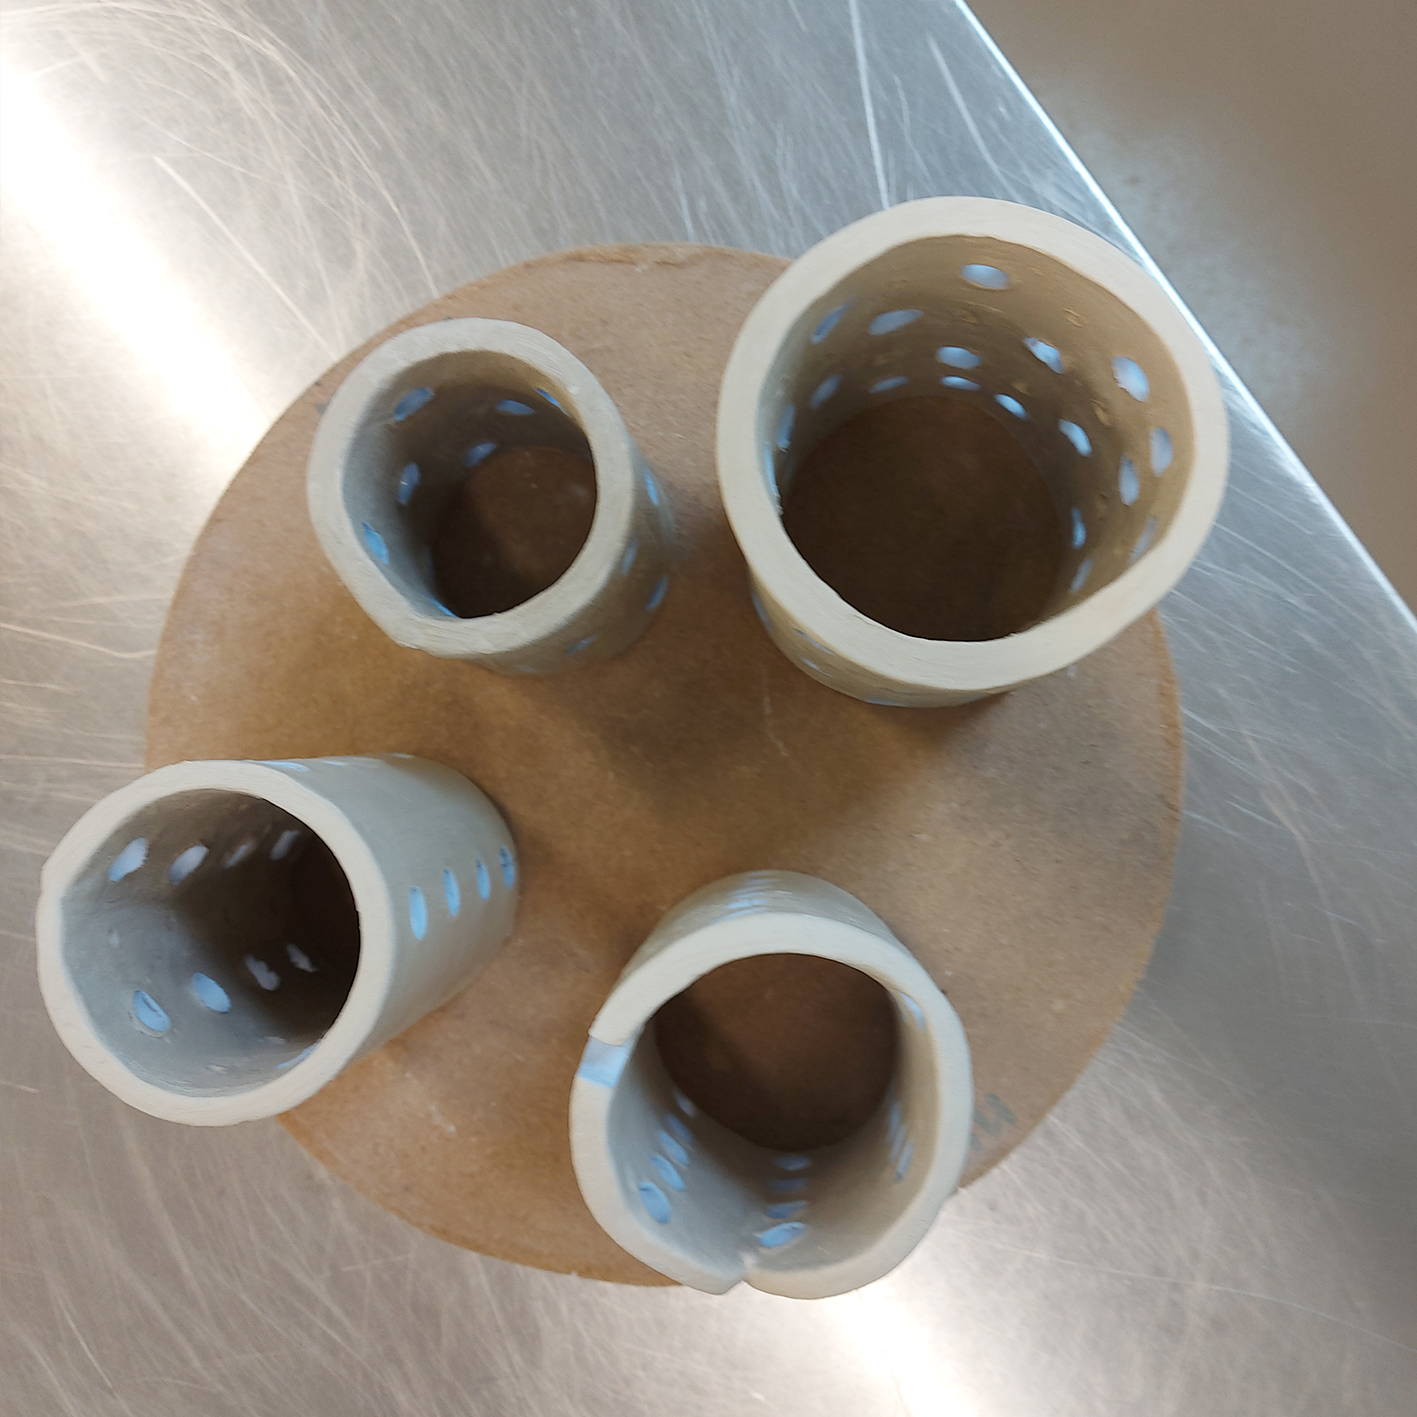
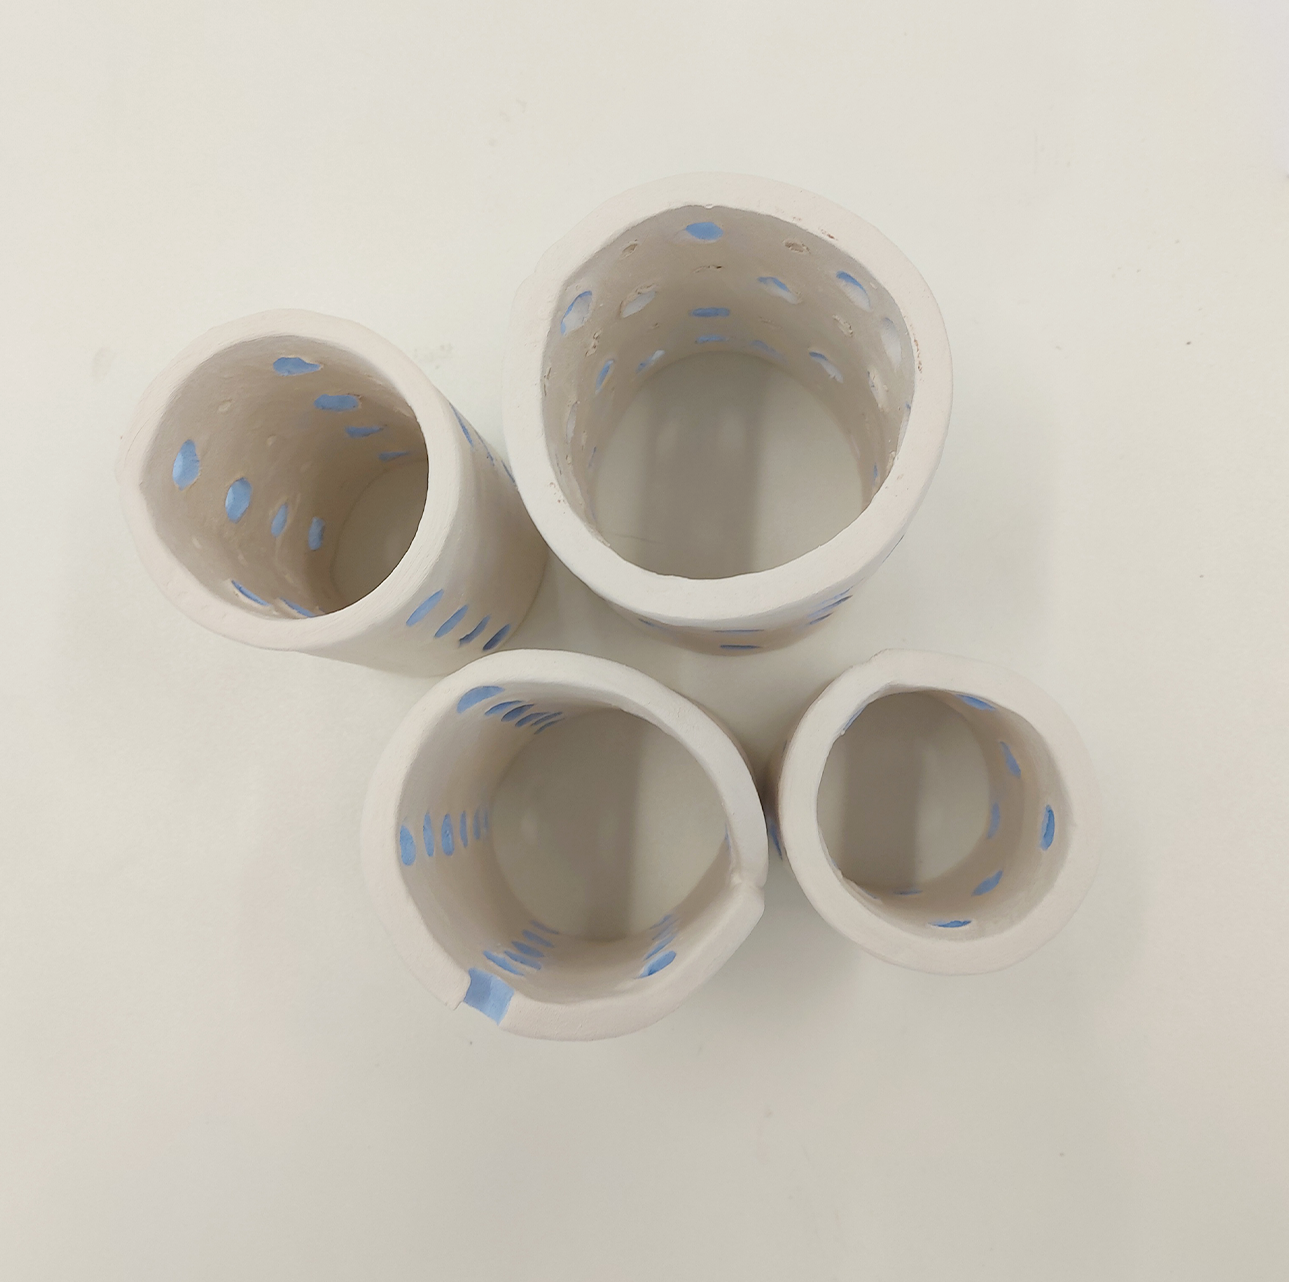
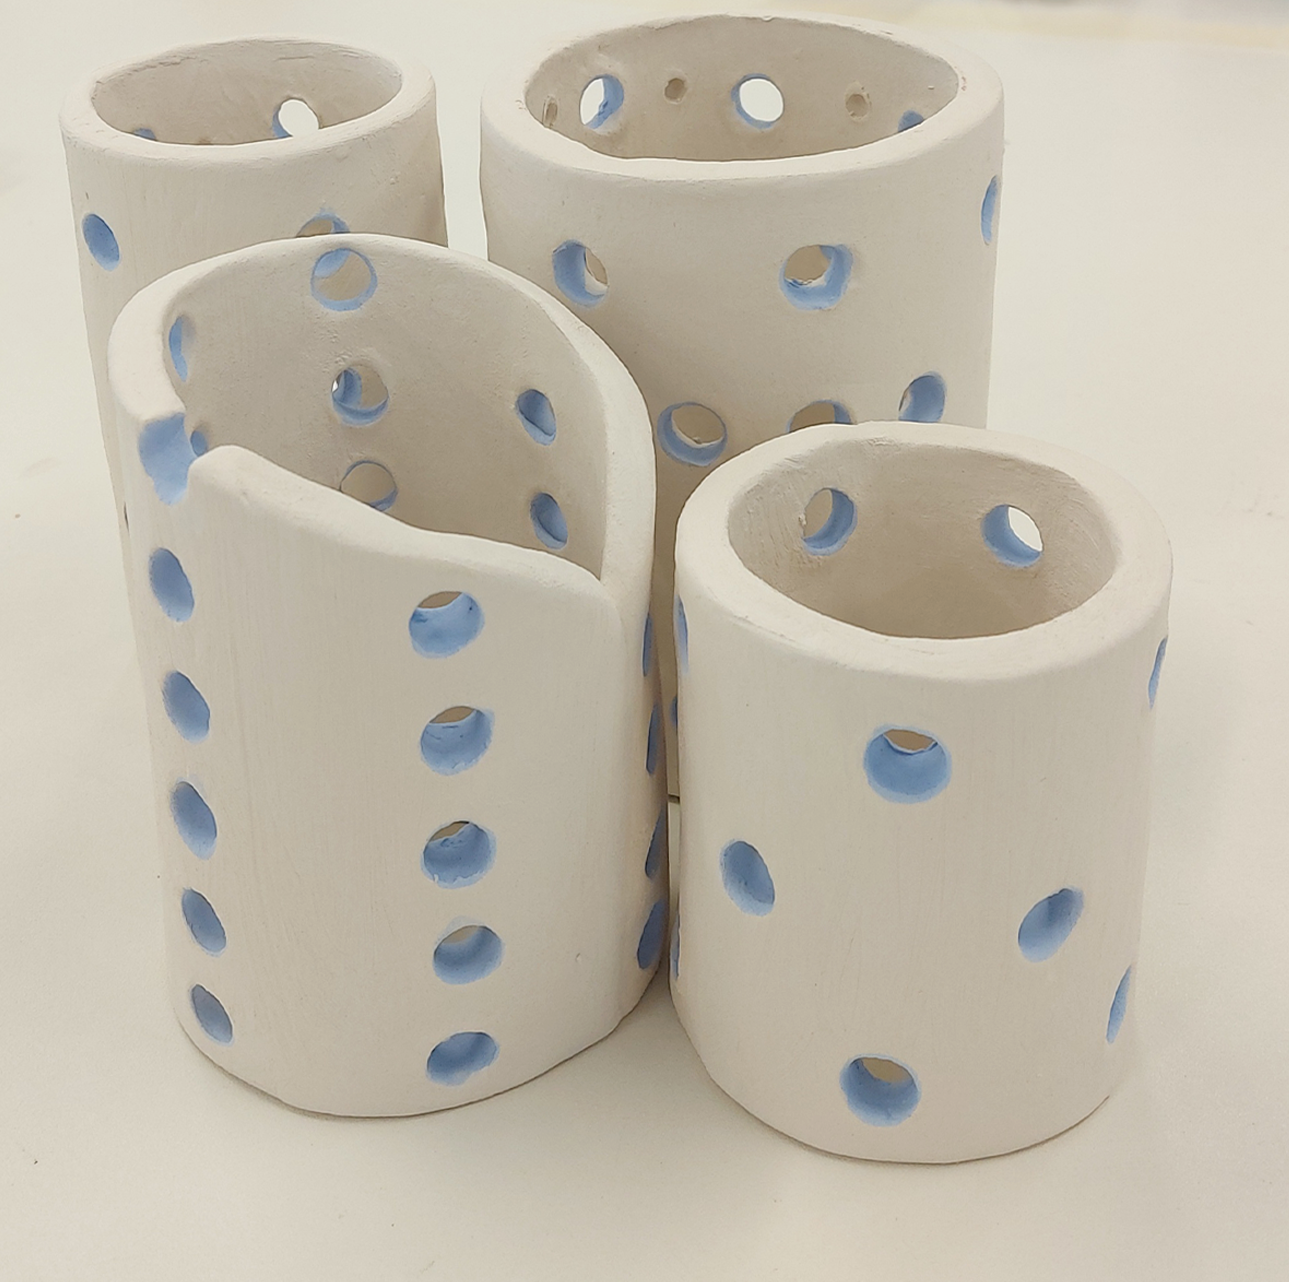
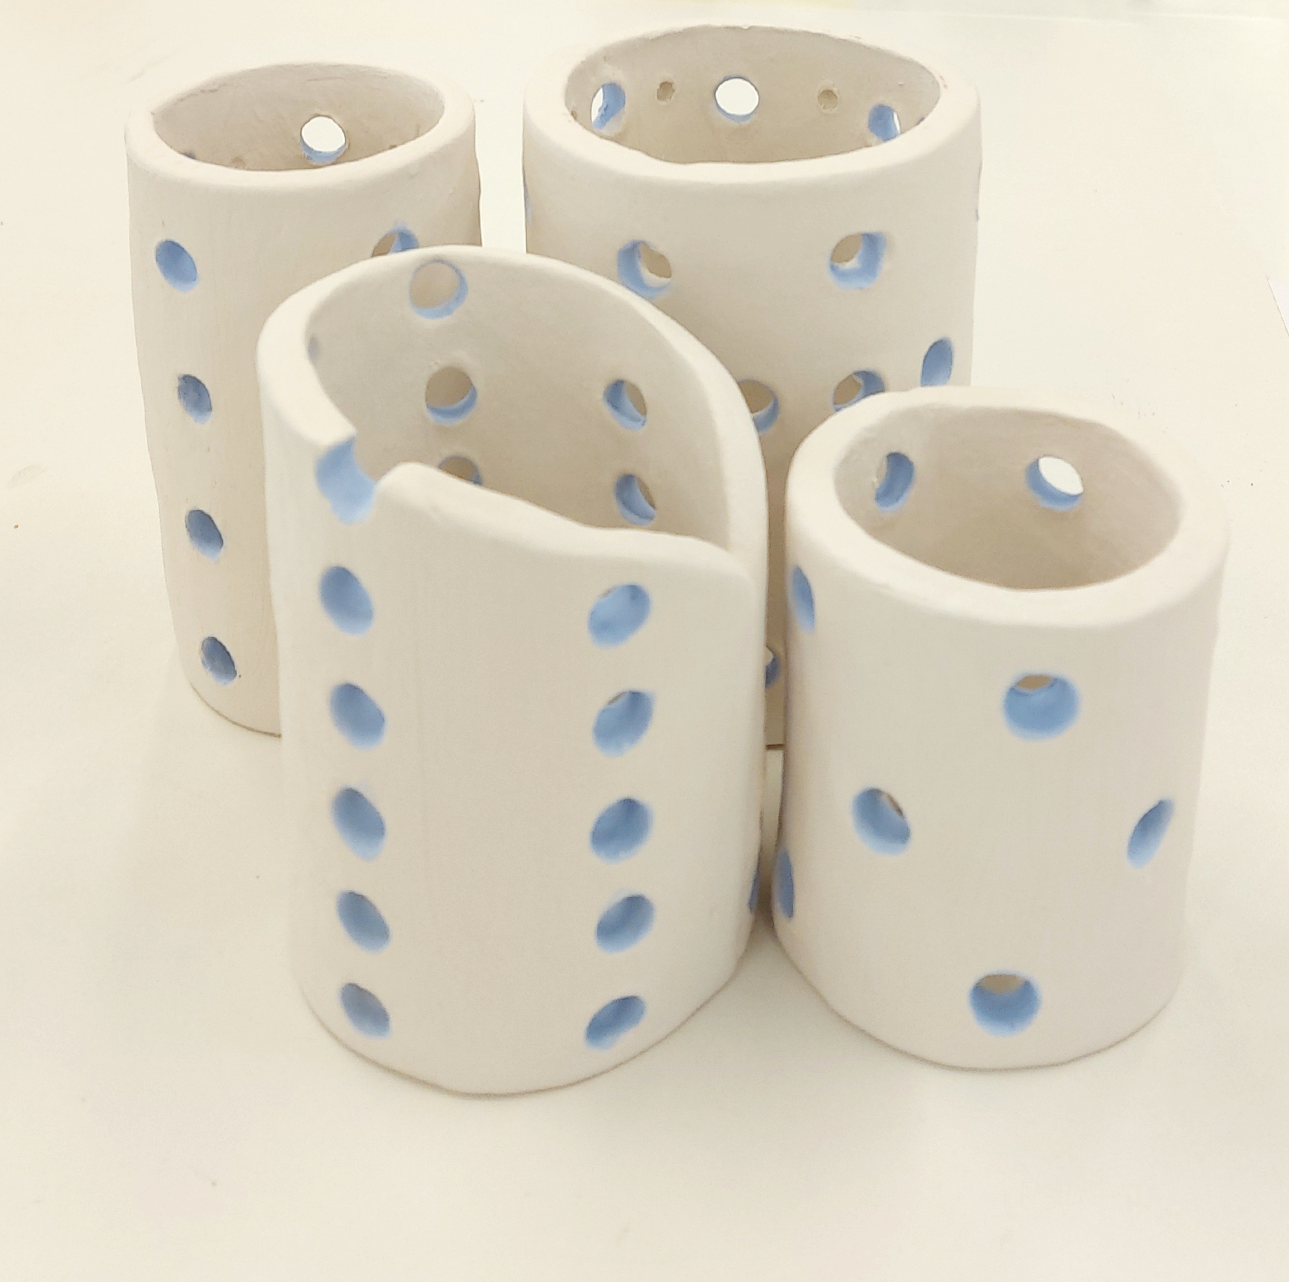
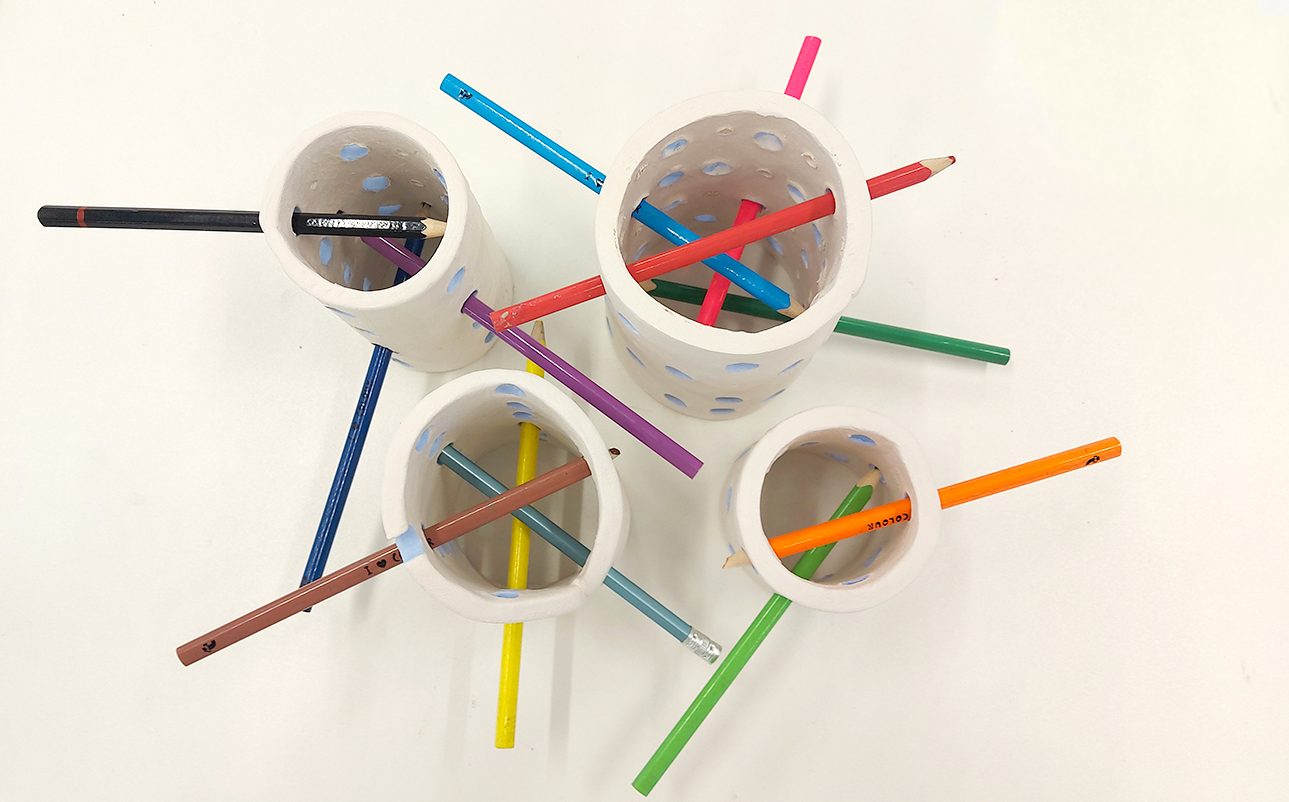
This is my final set of 4 pieces that are fired. The pencils fit inside the holes and I have been able to have some pencils fit through two holes while some rest inside the small marks on the side of the pots.
